BOW-11 / Building a Home (on Wheels)
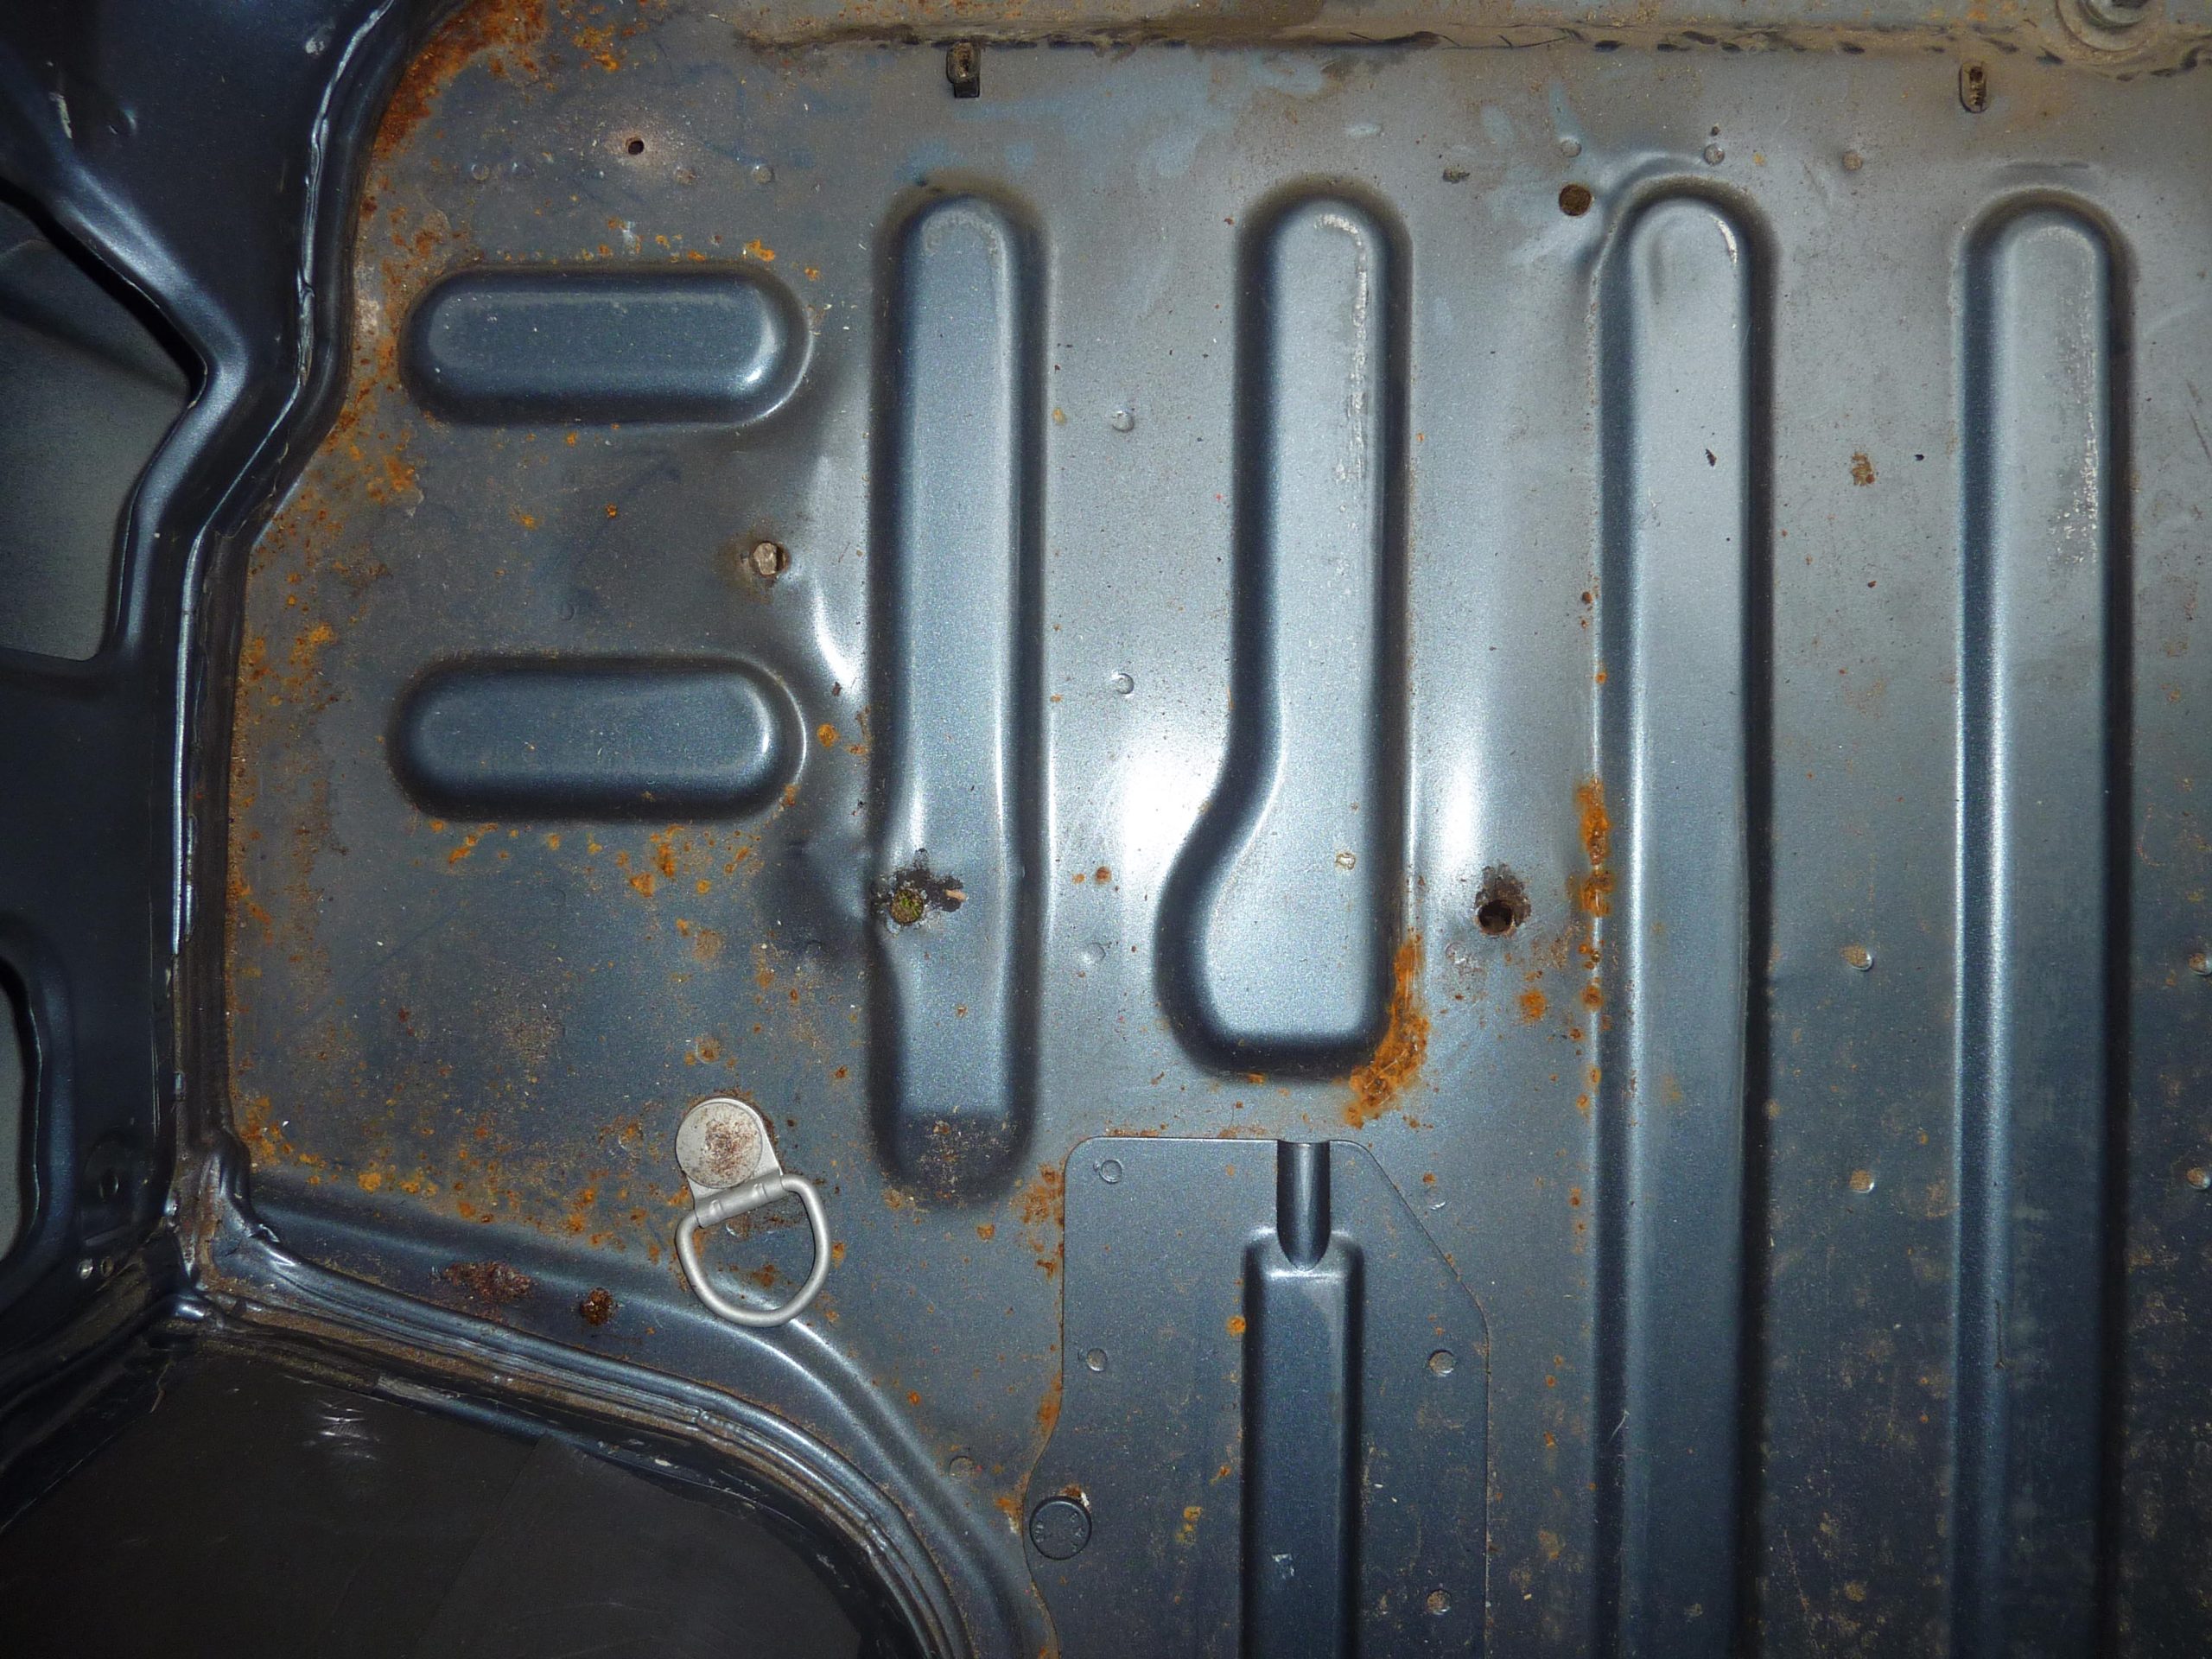
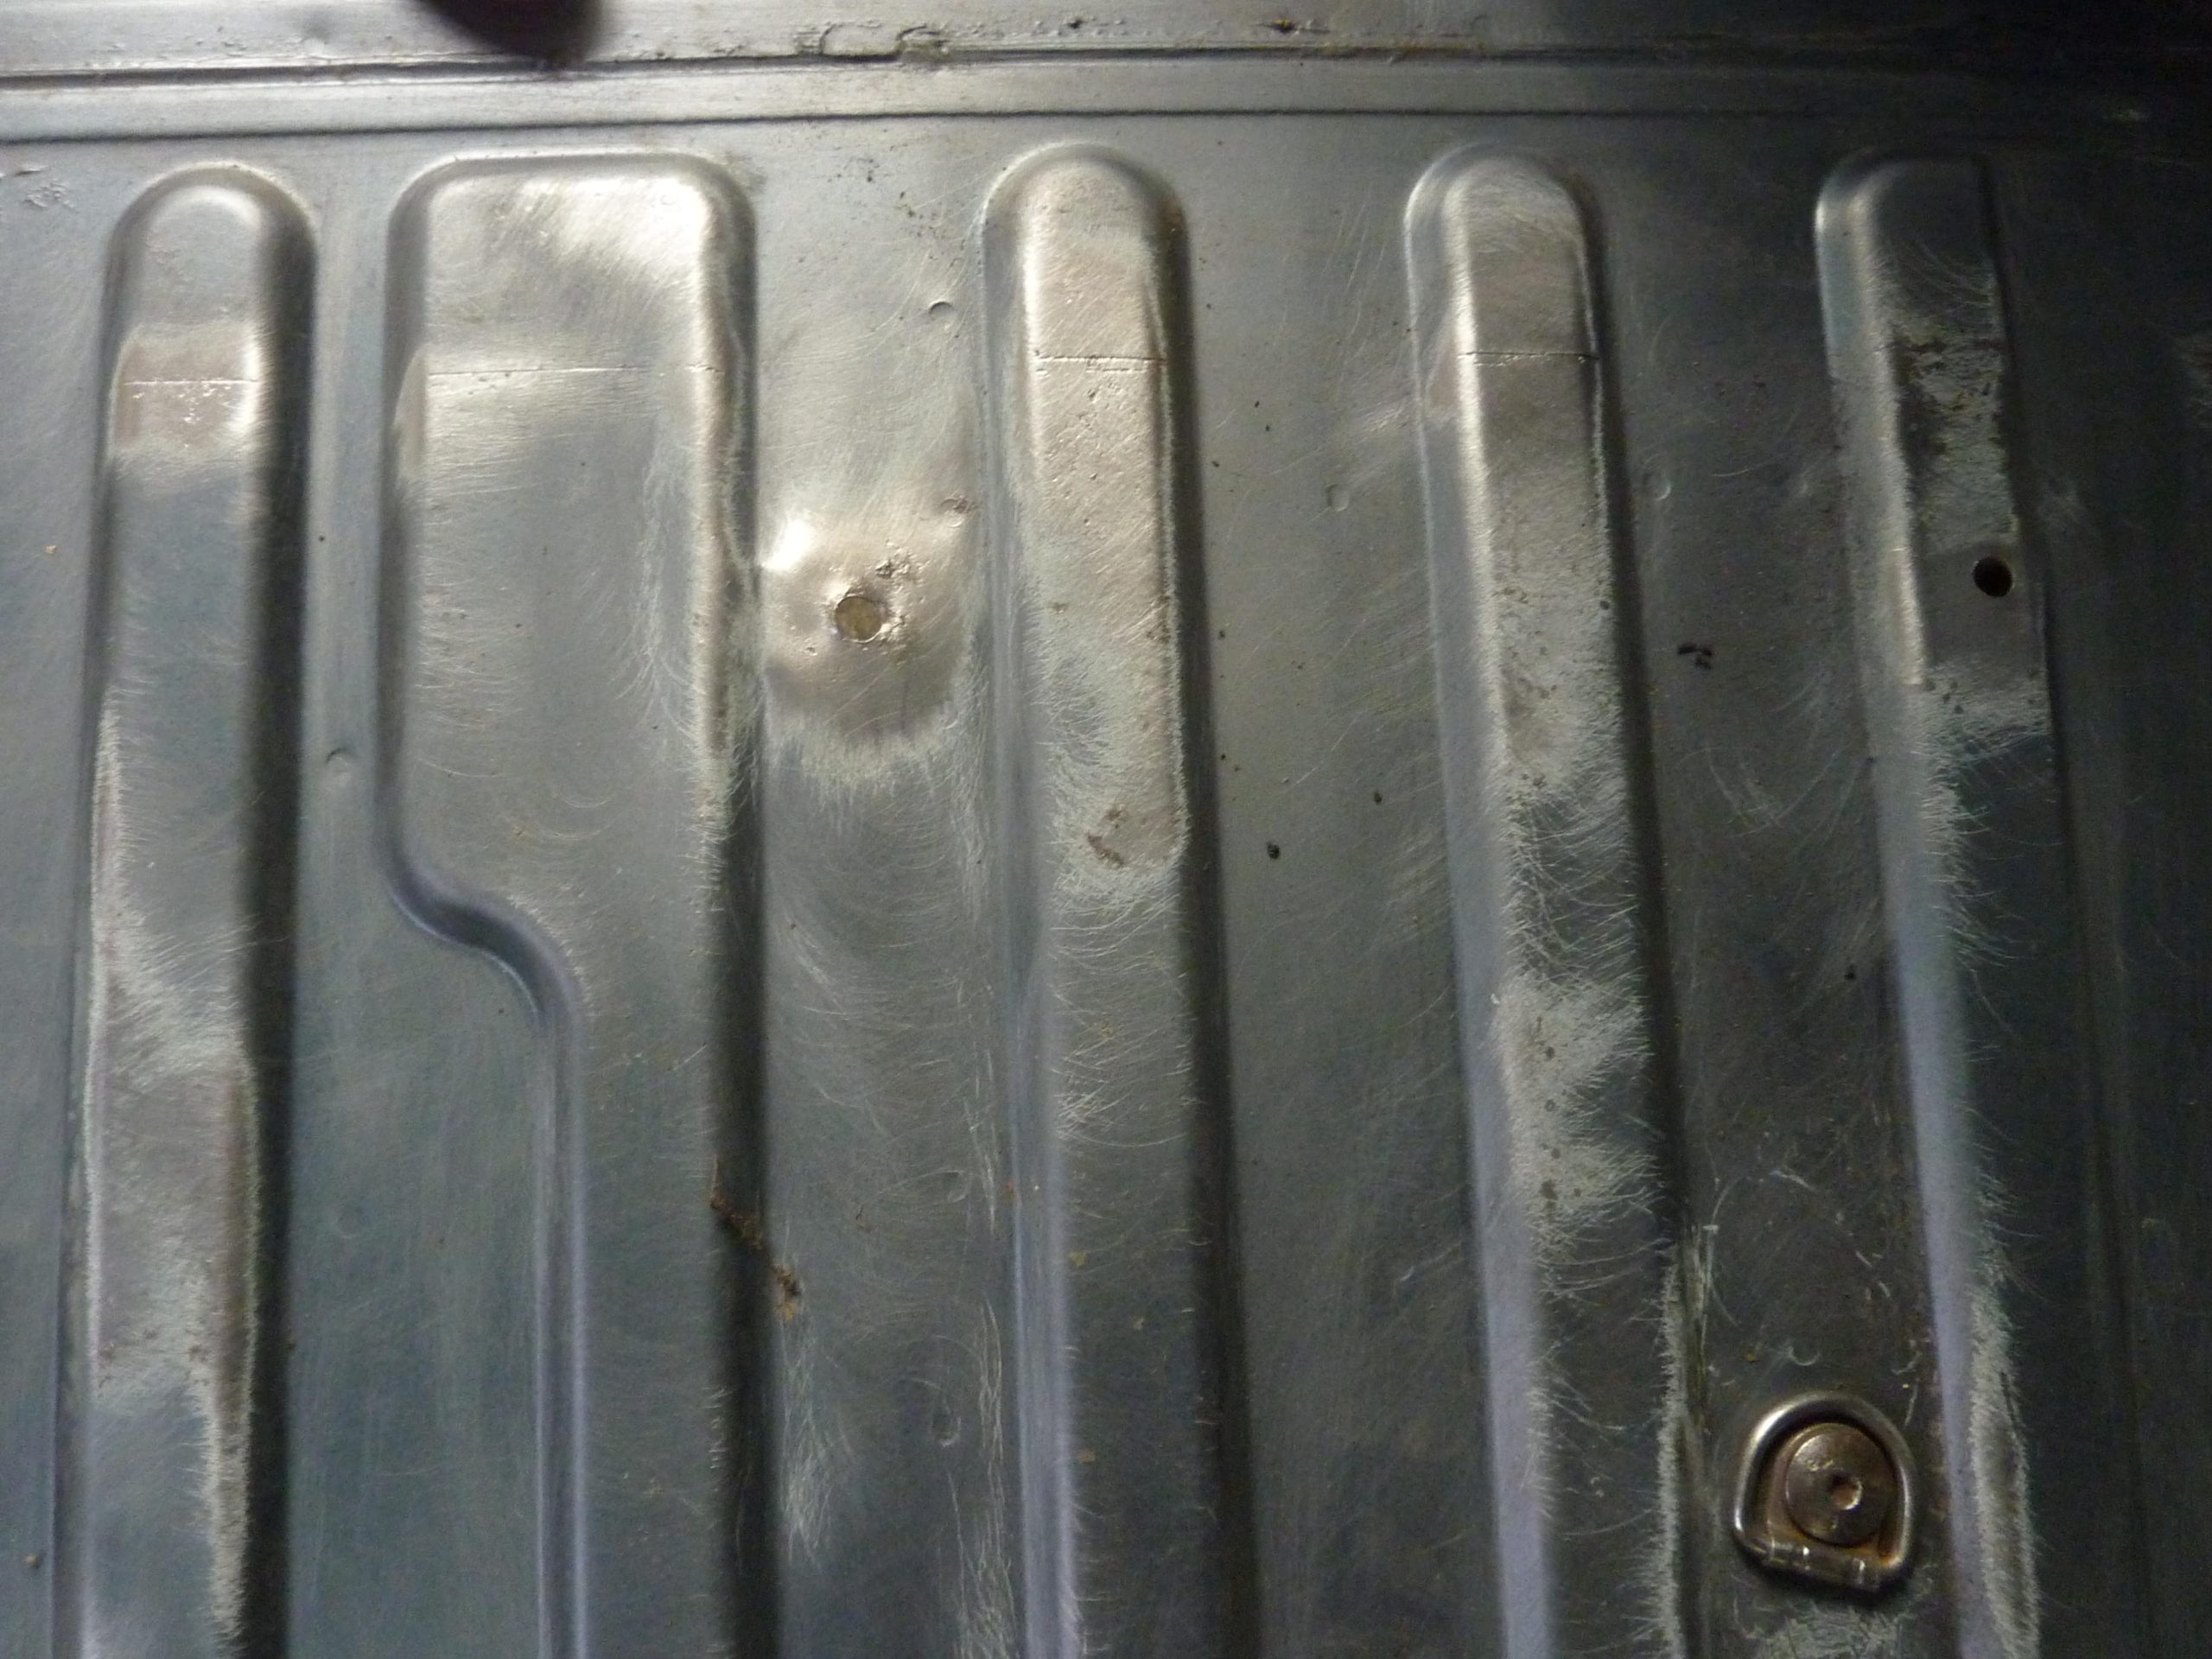
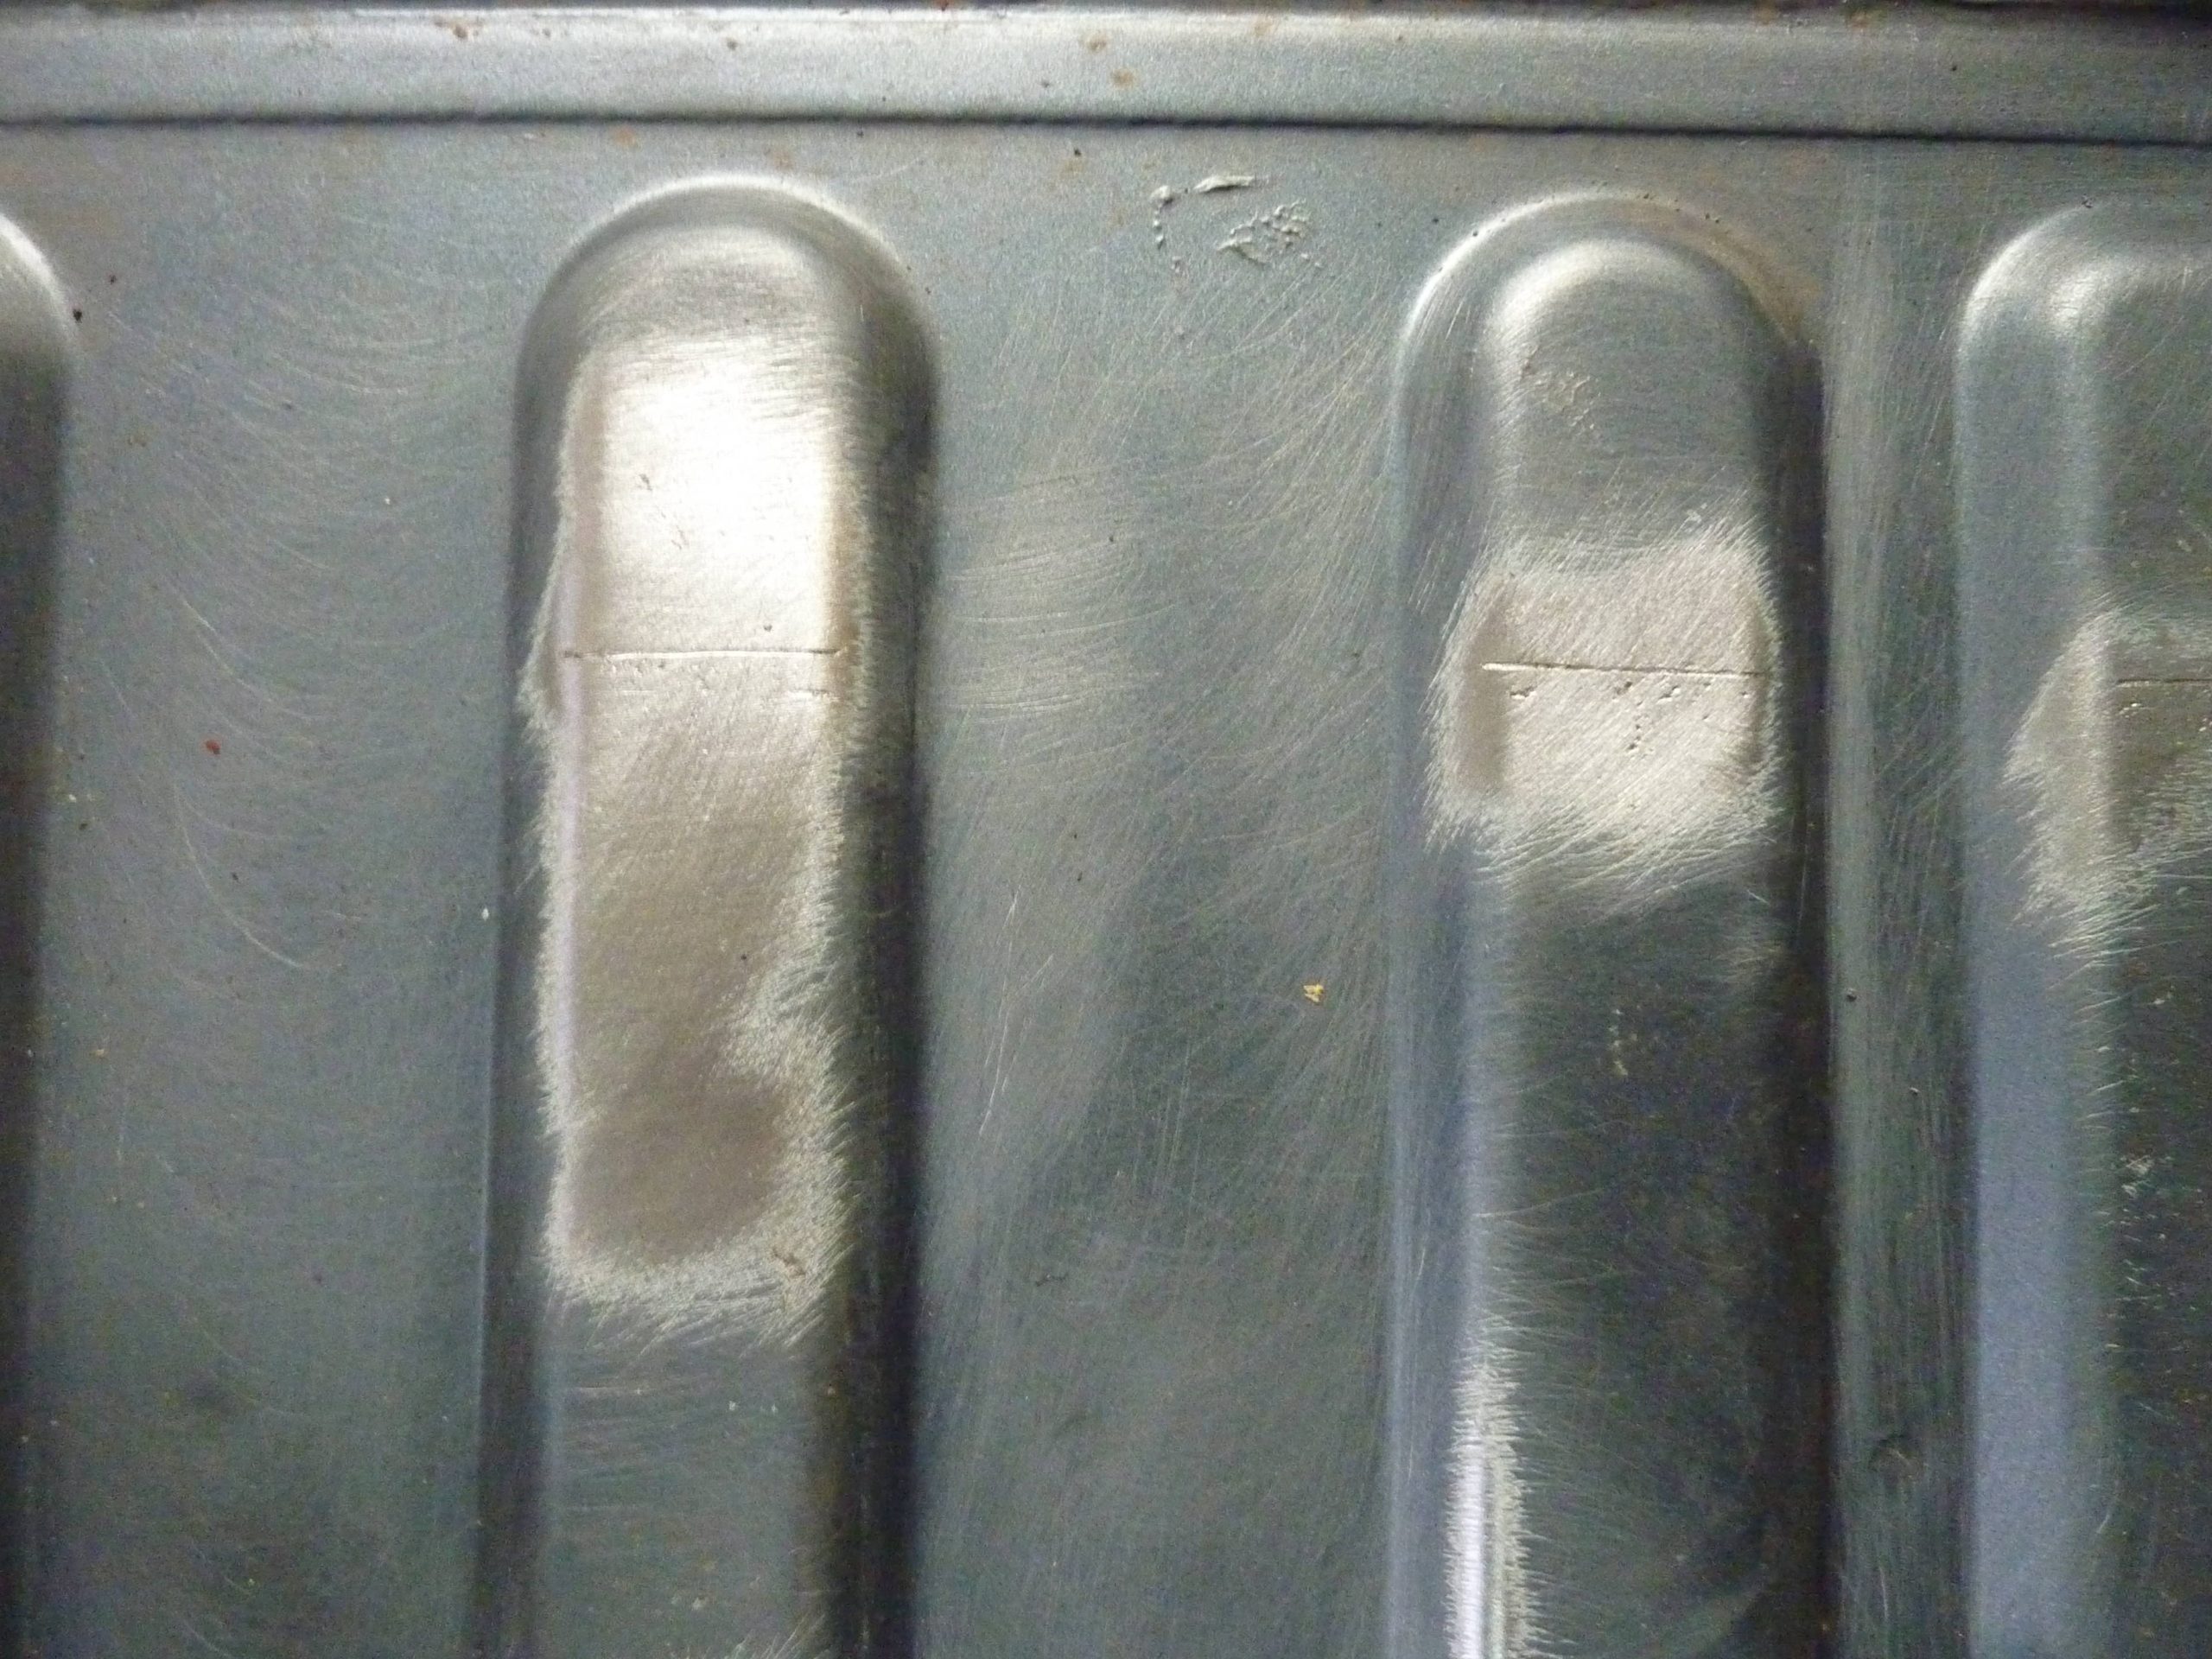
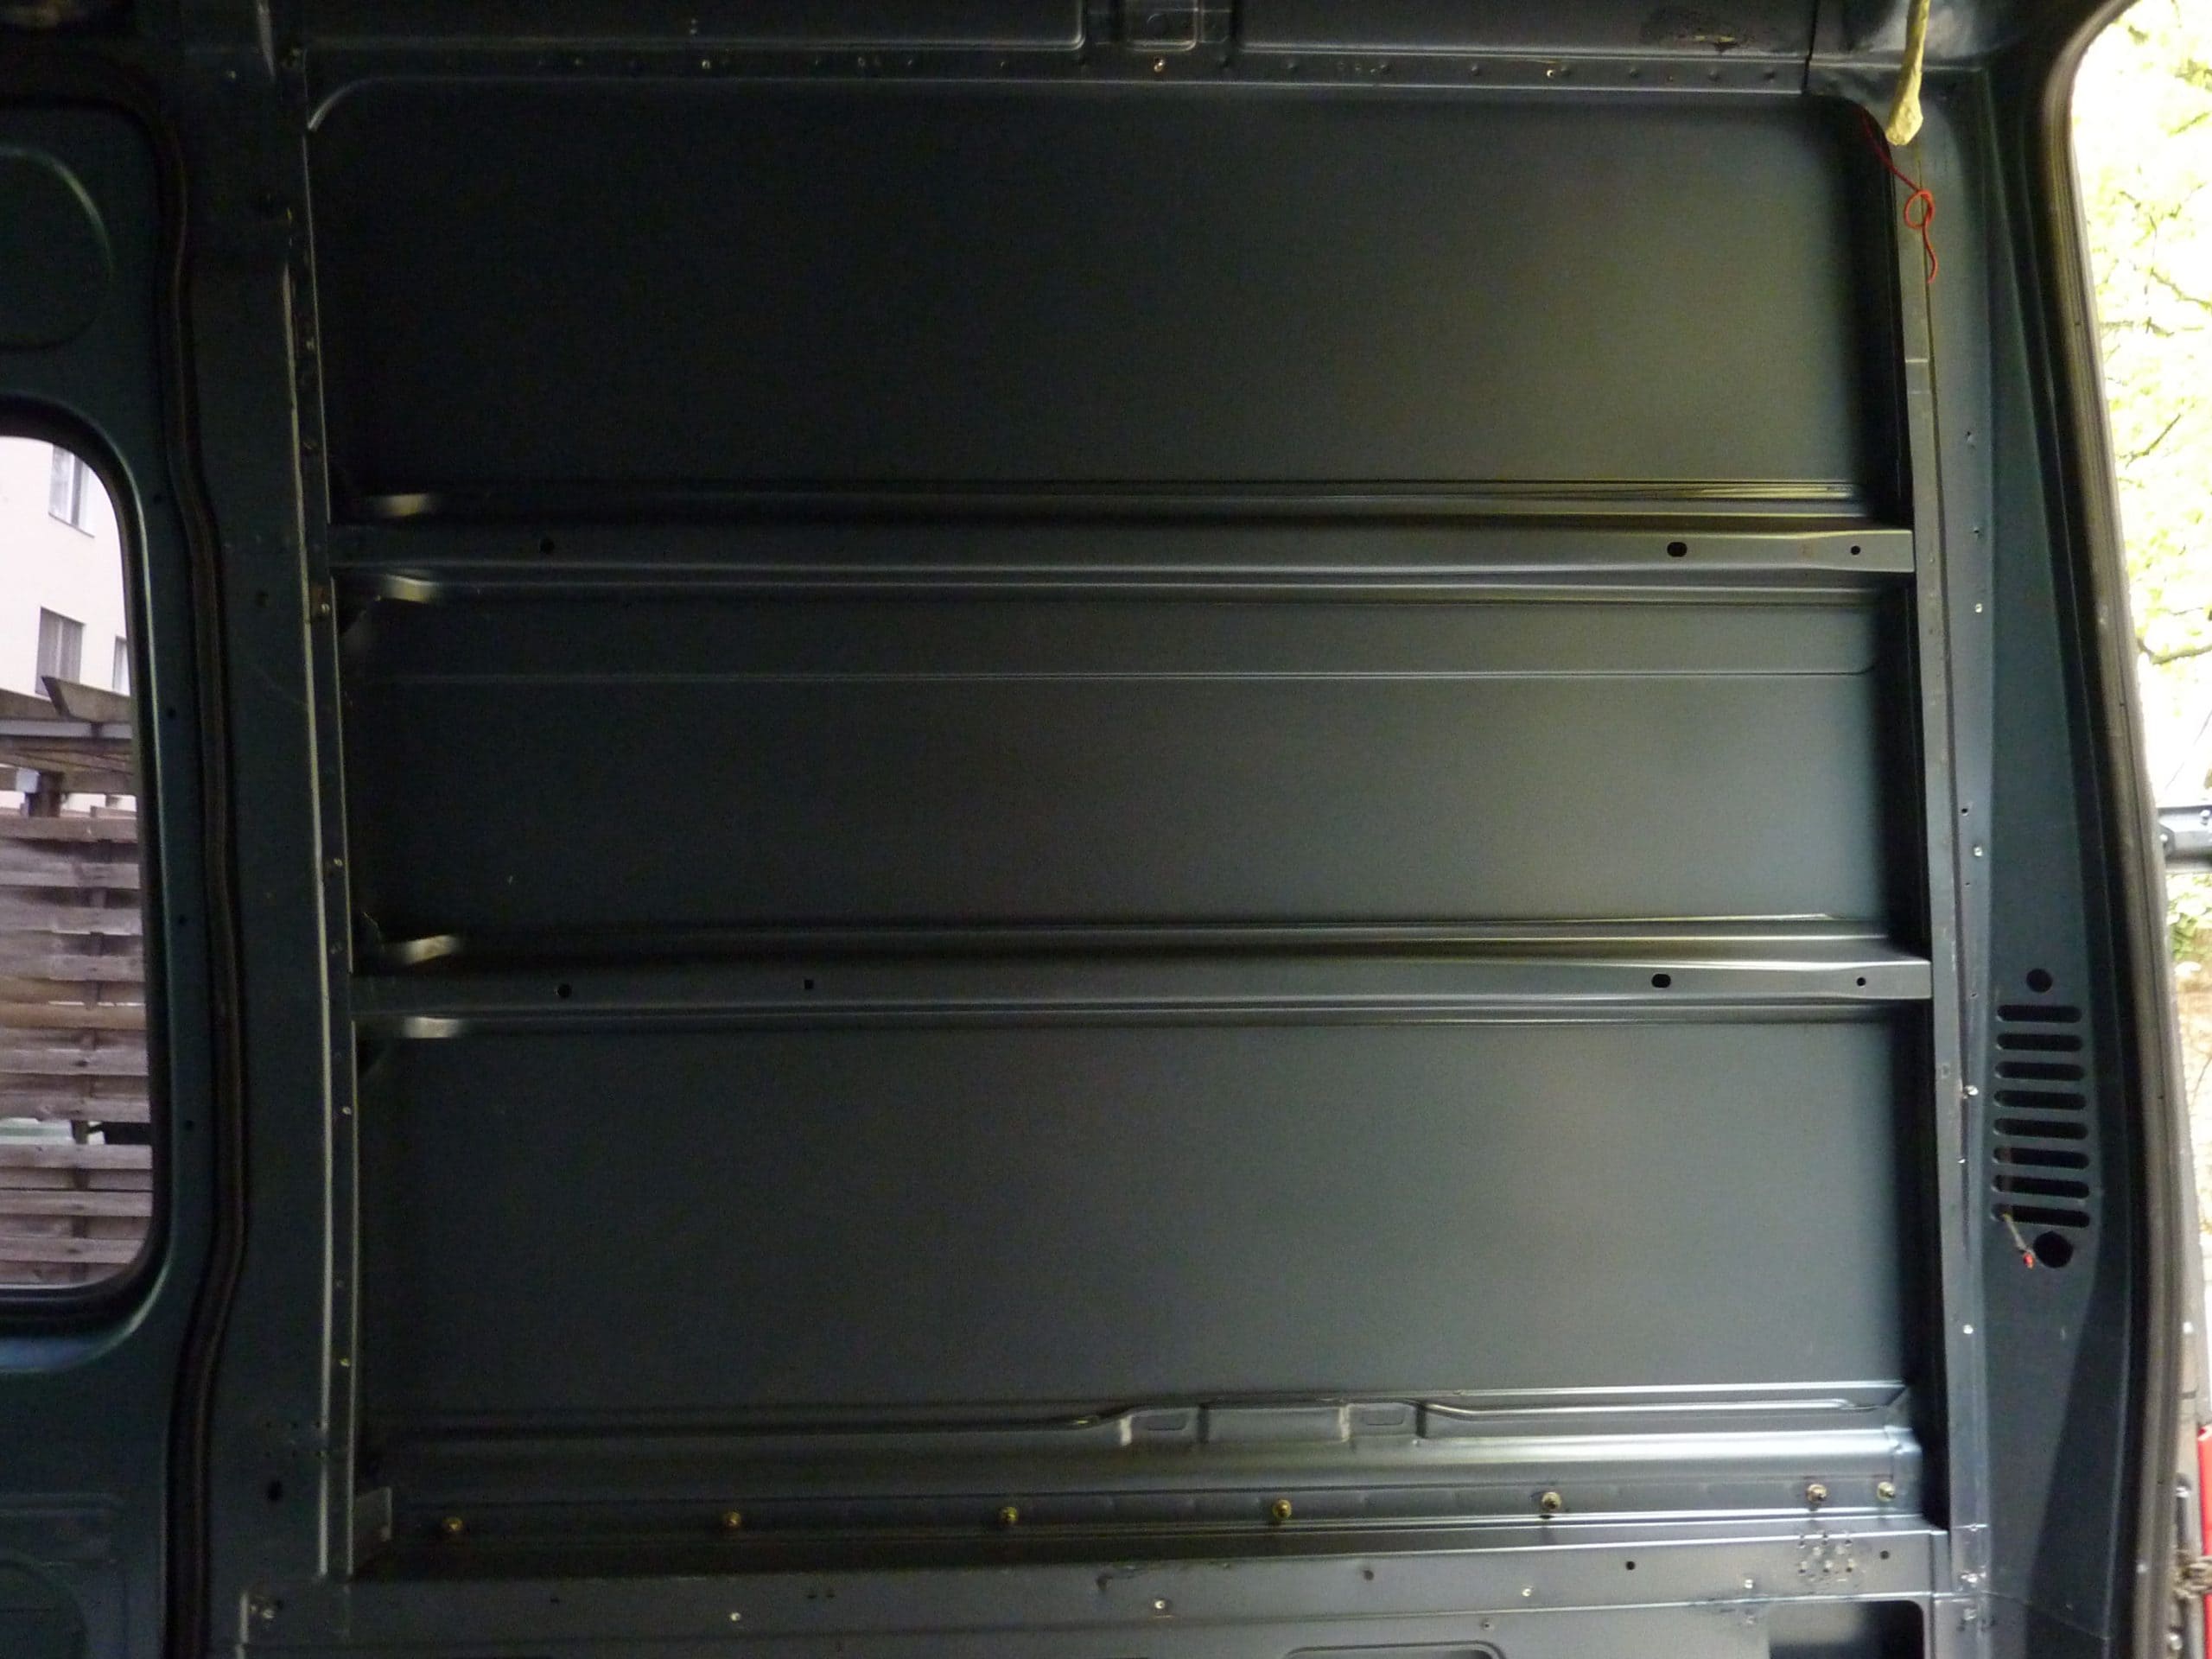
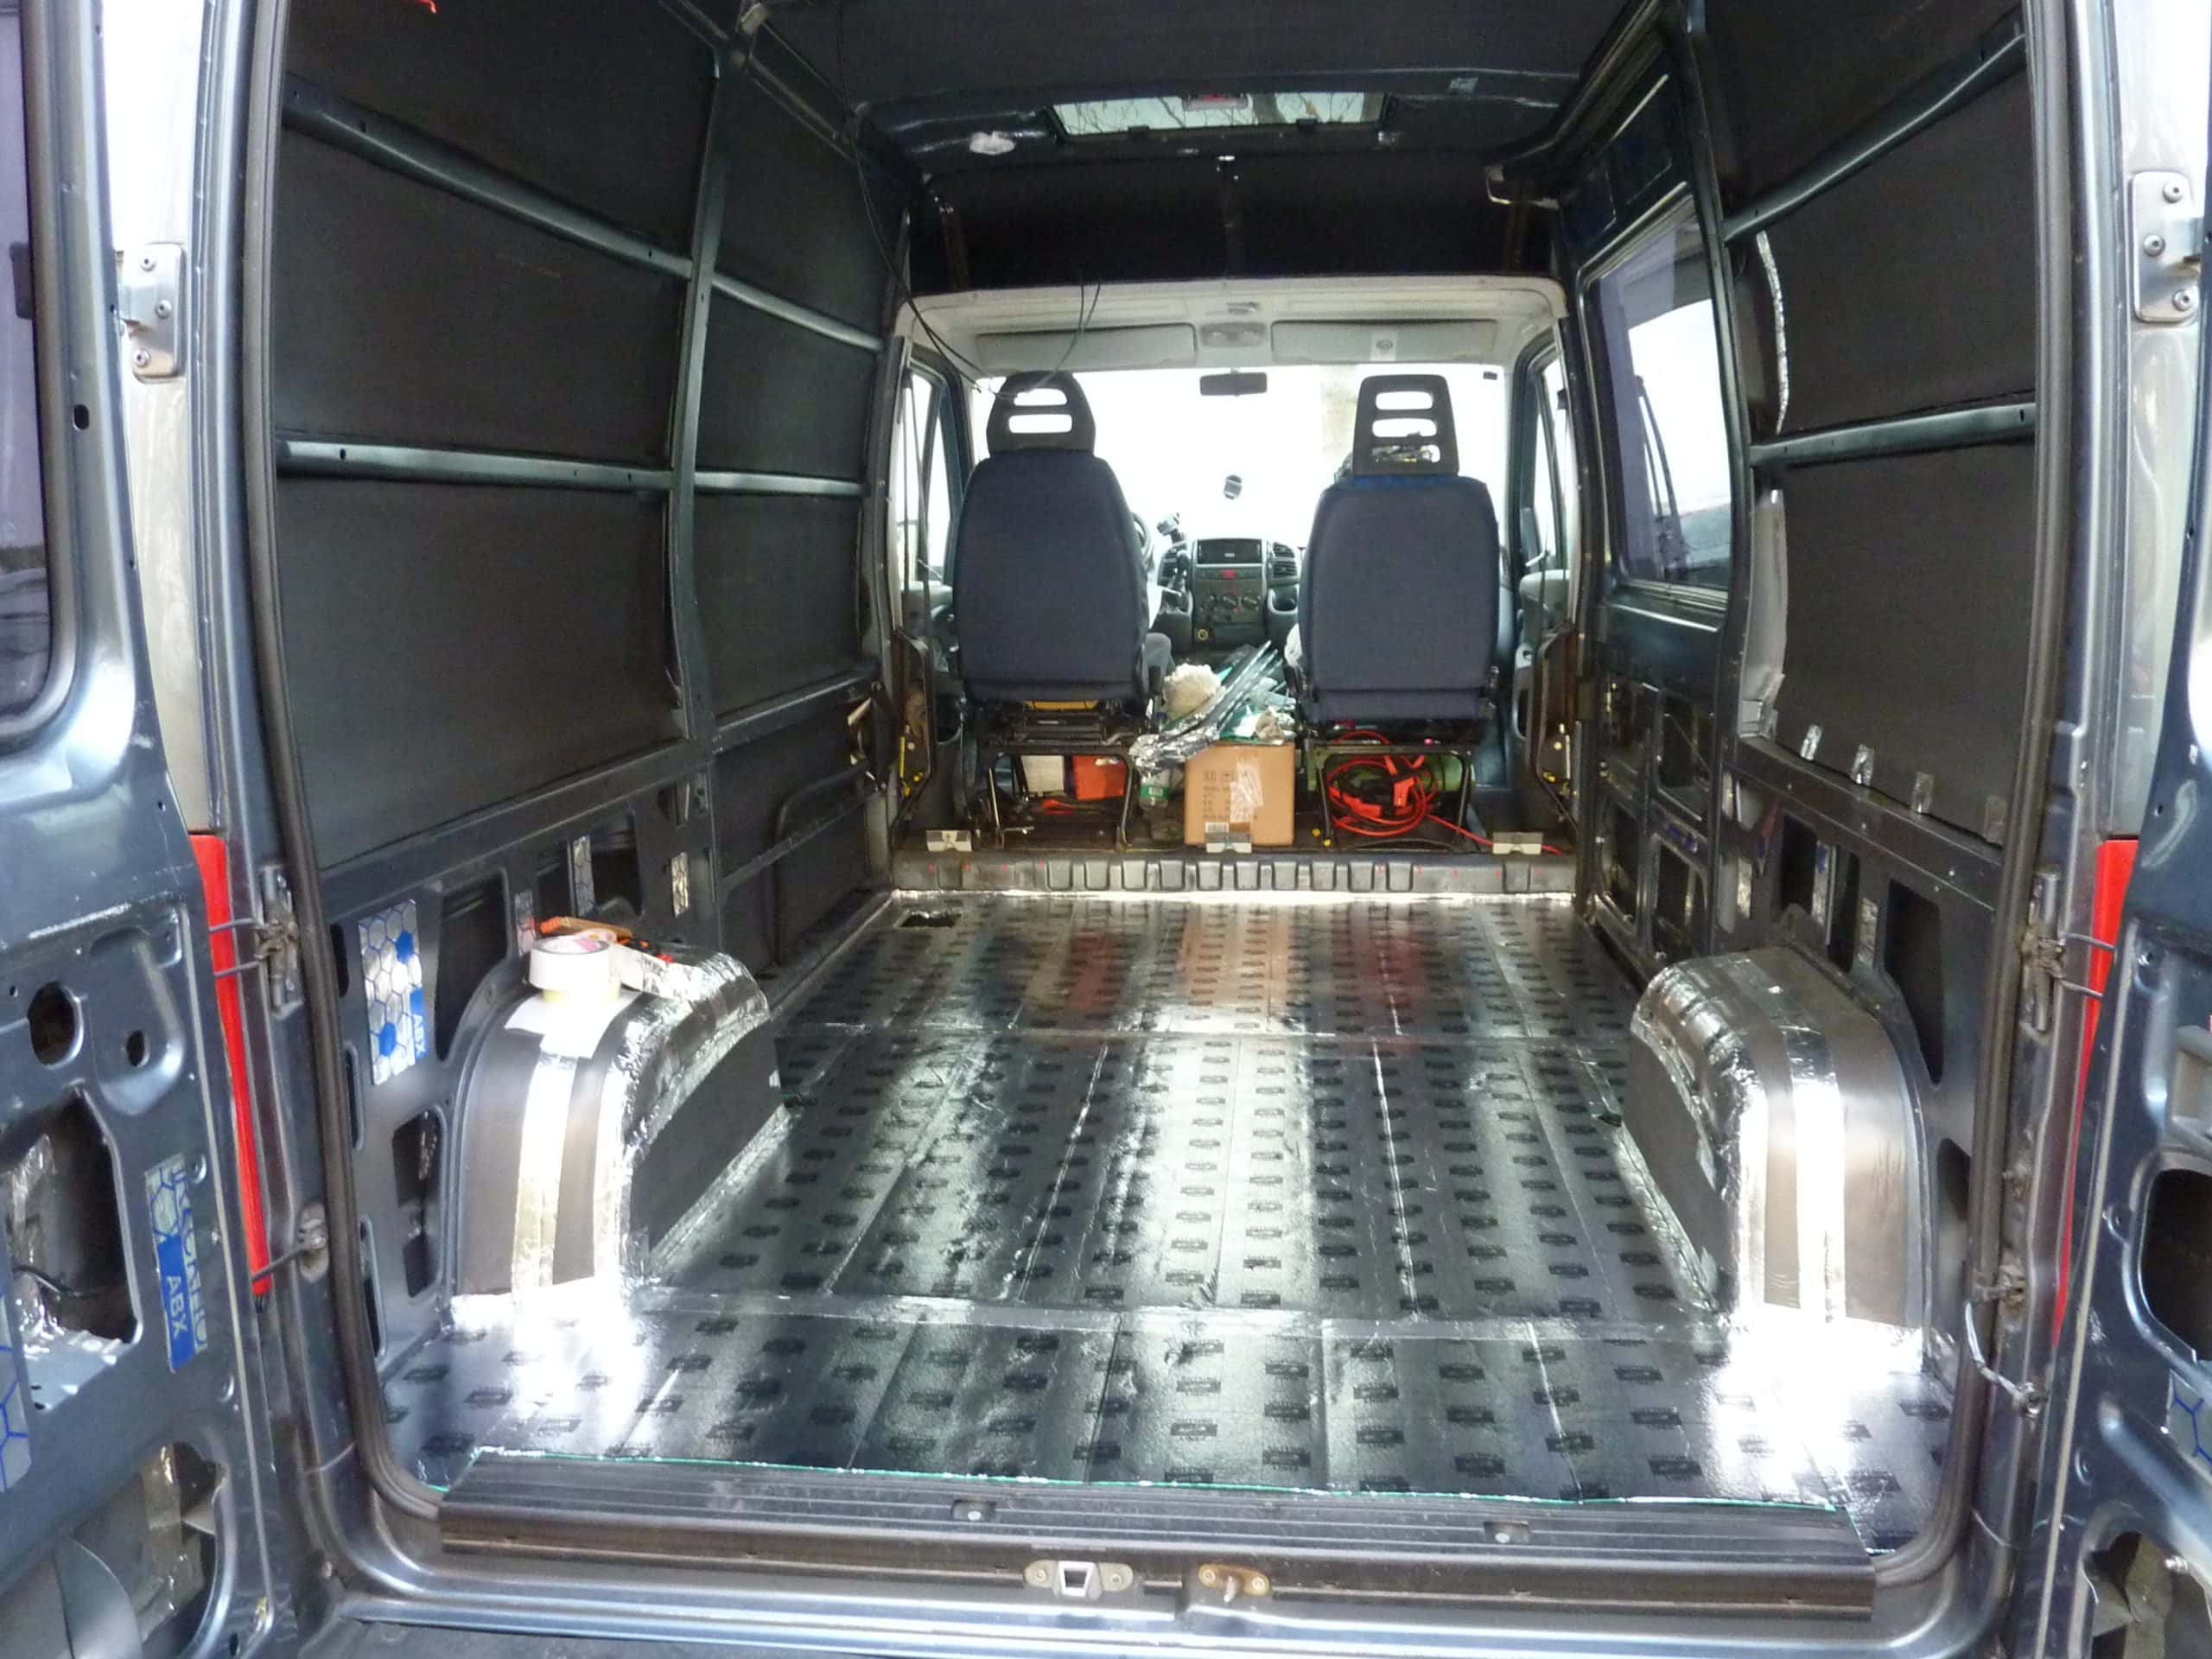
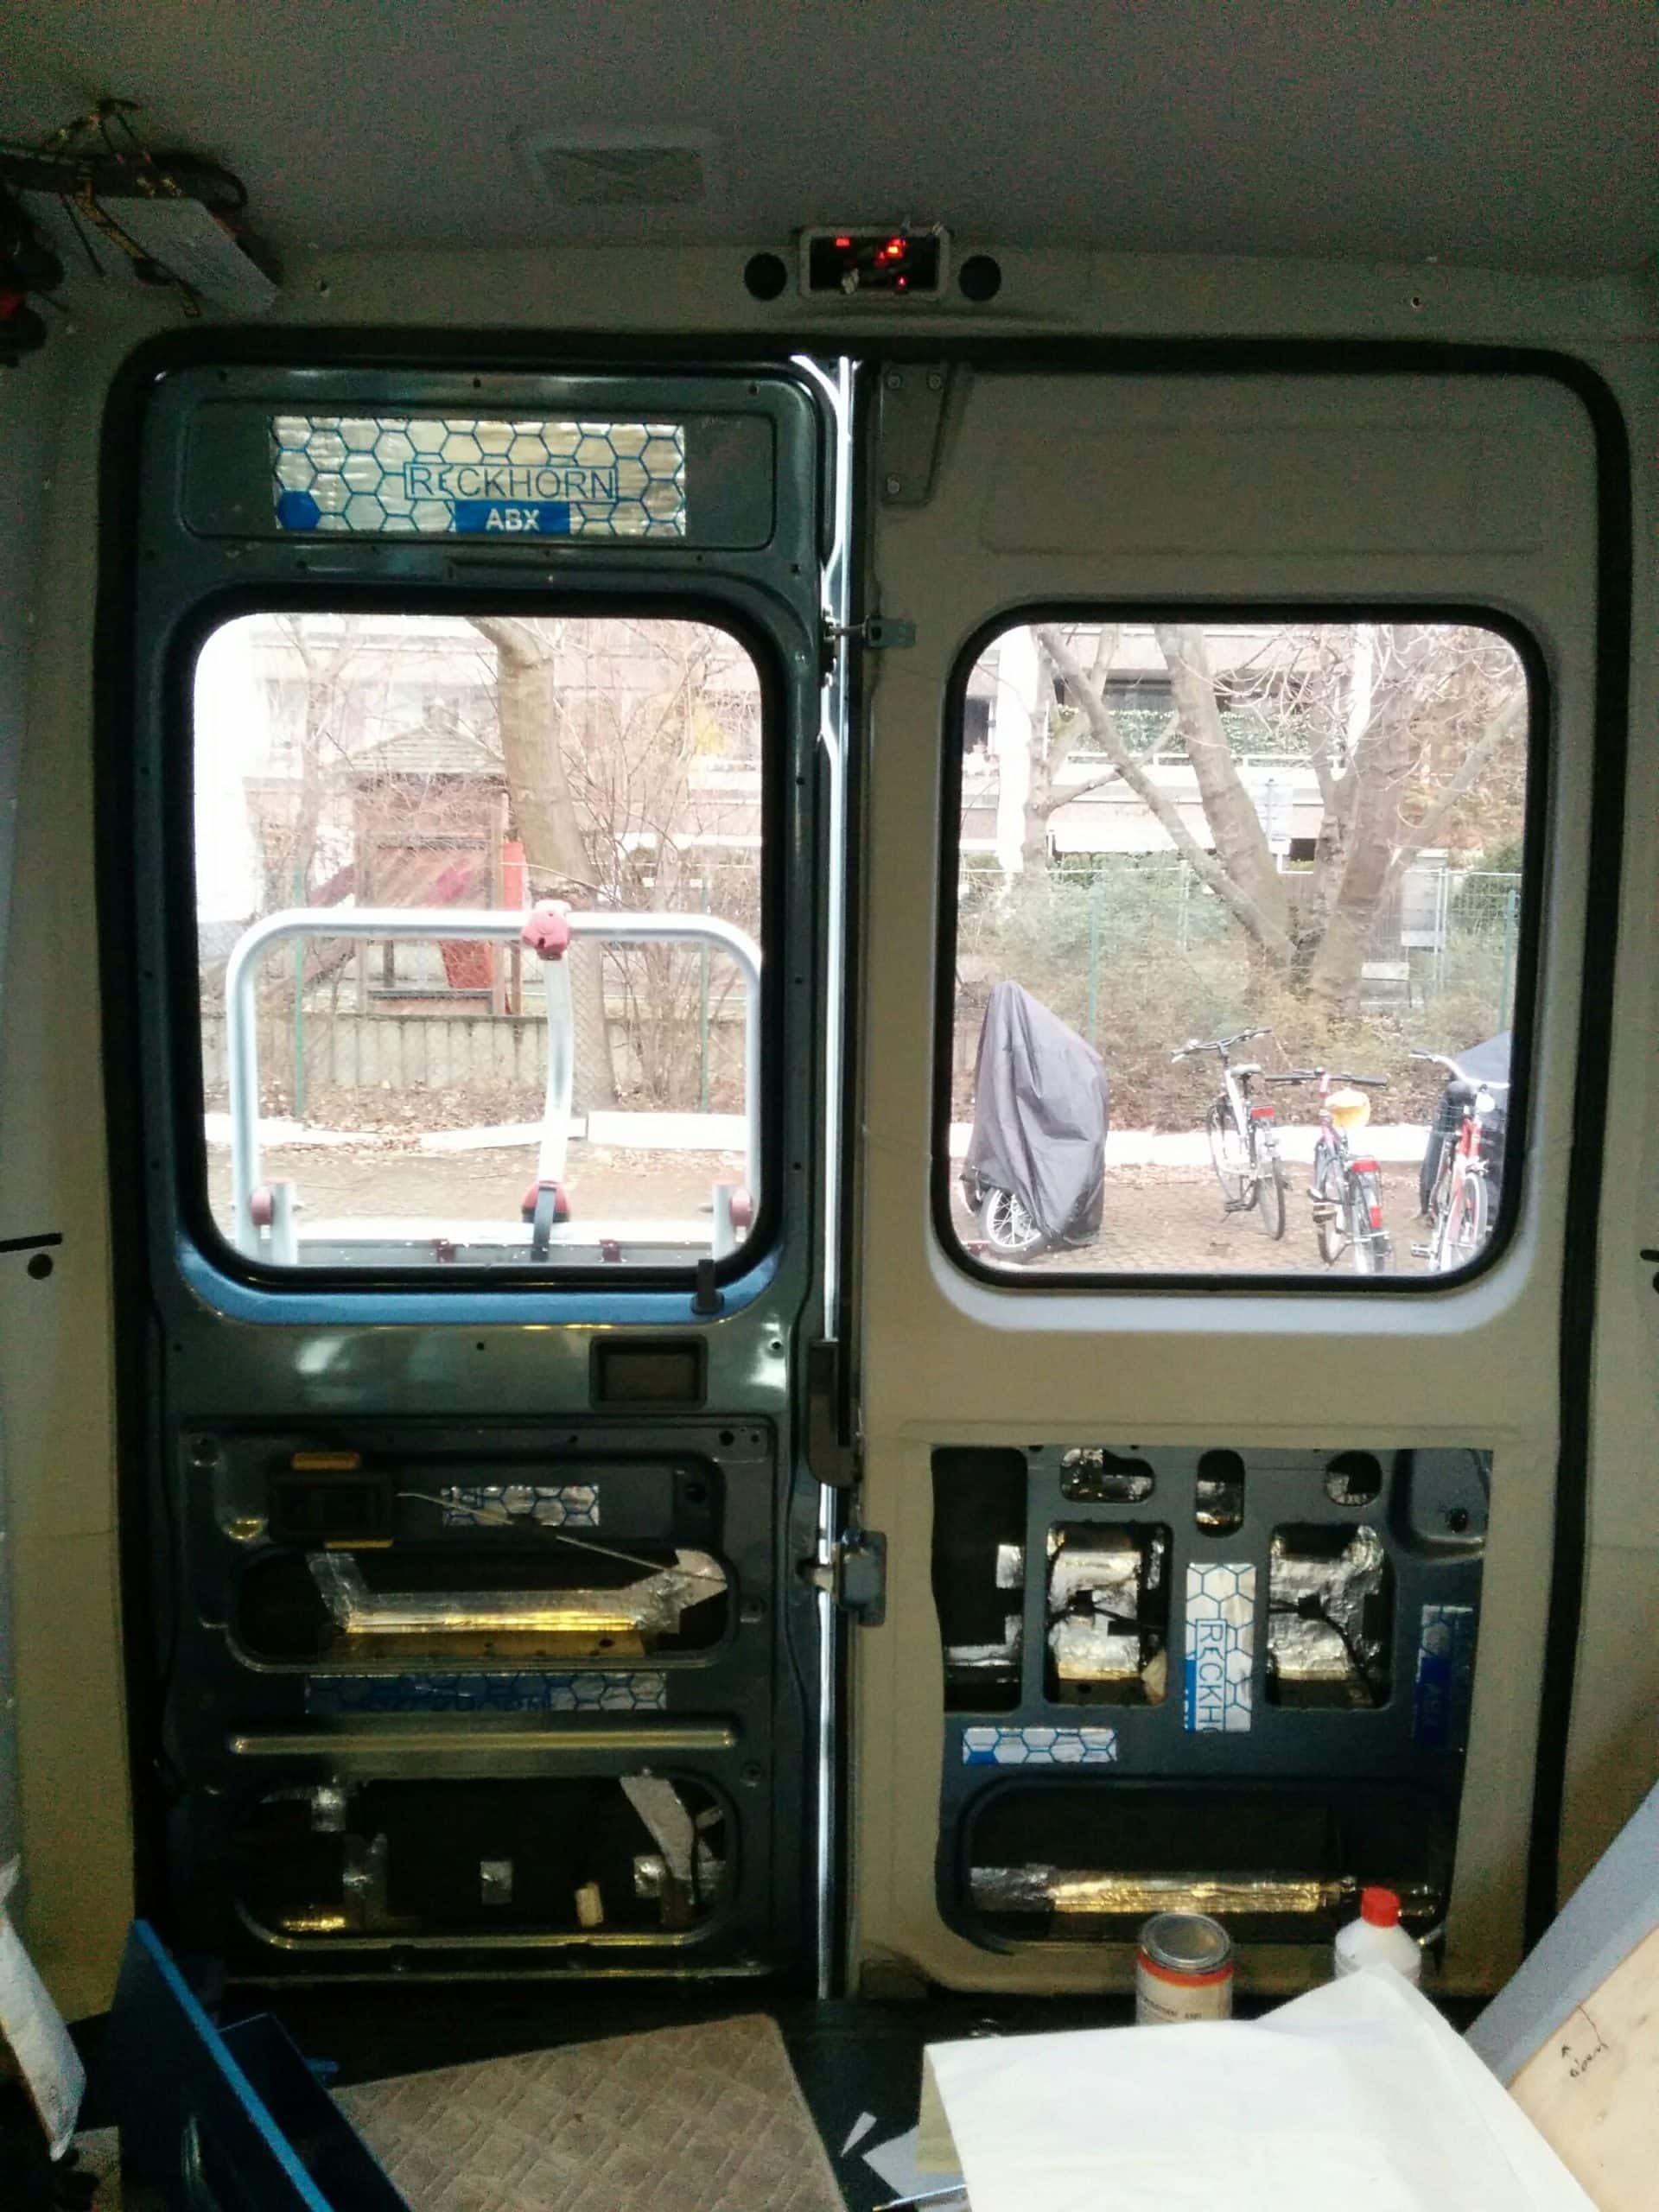
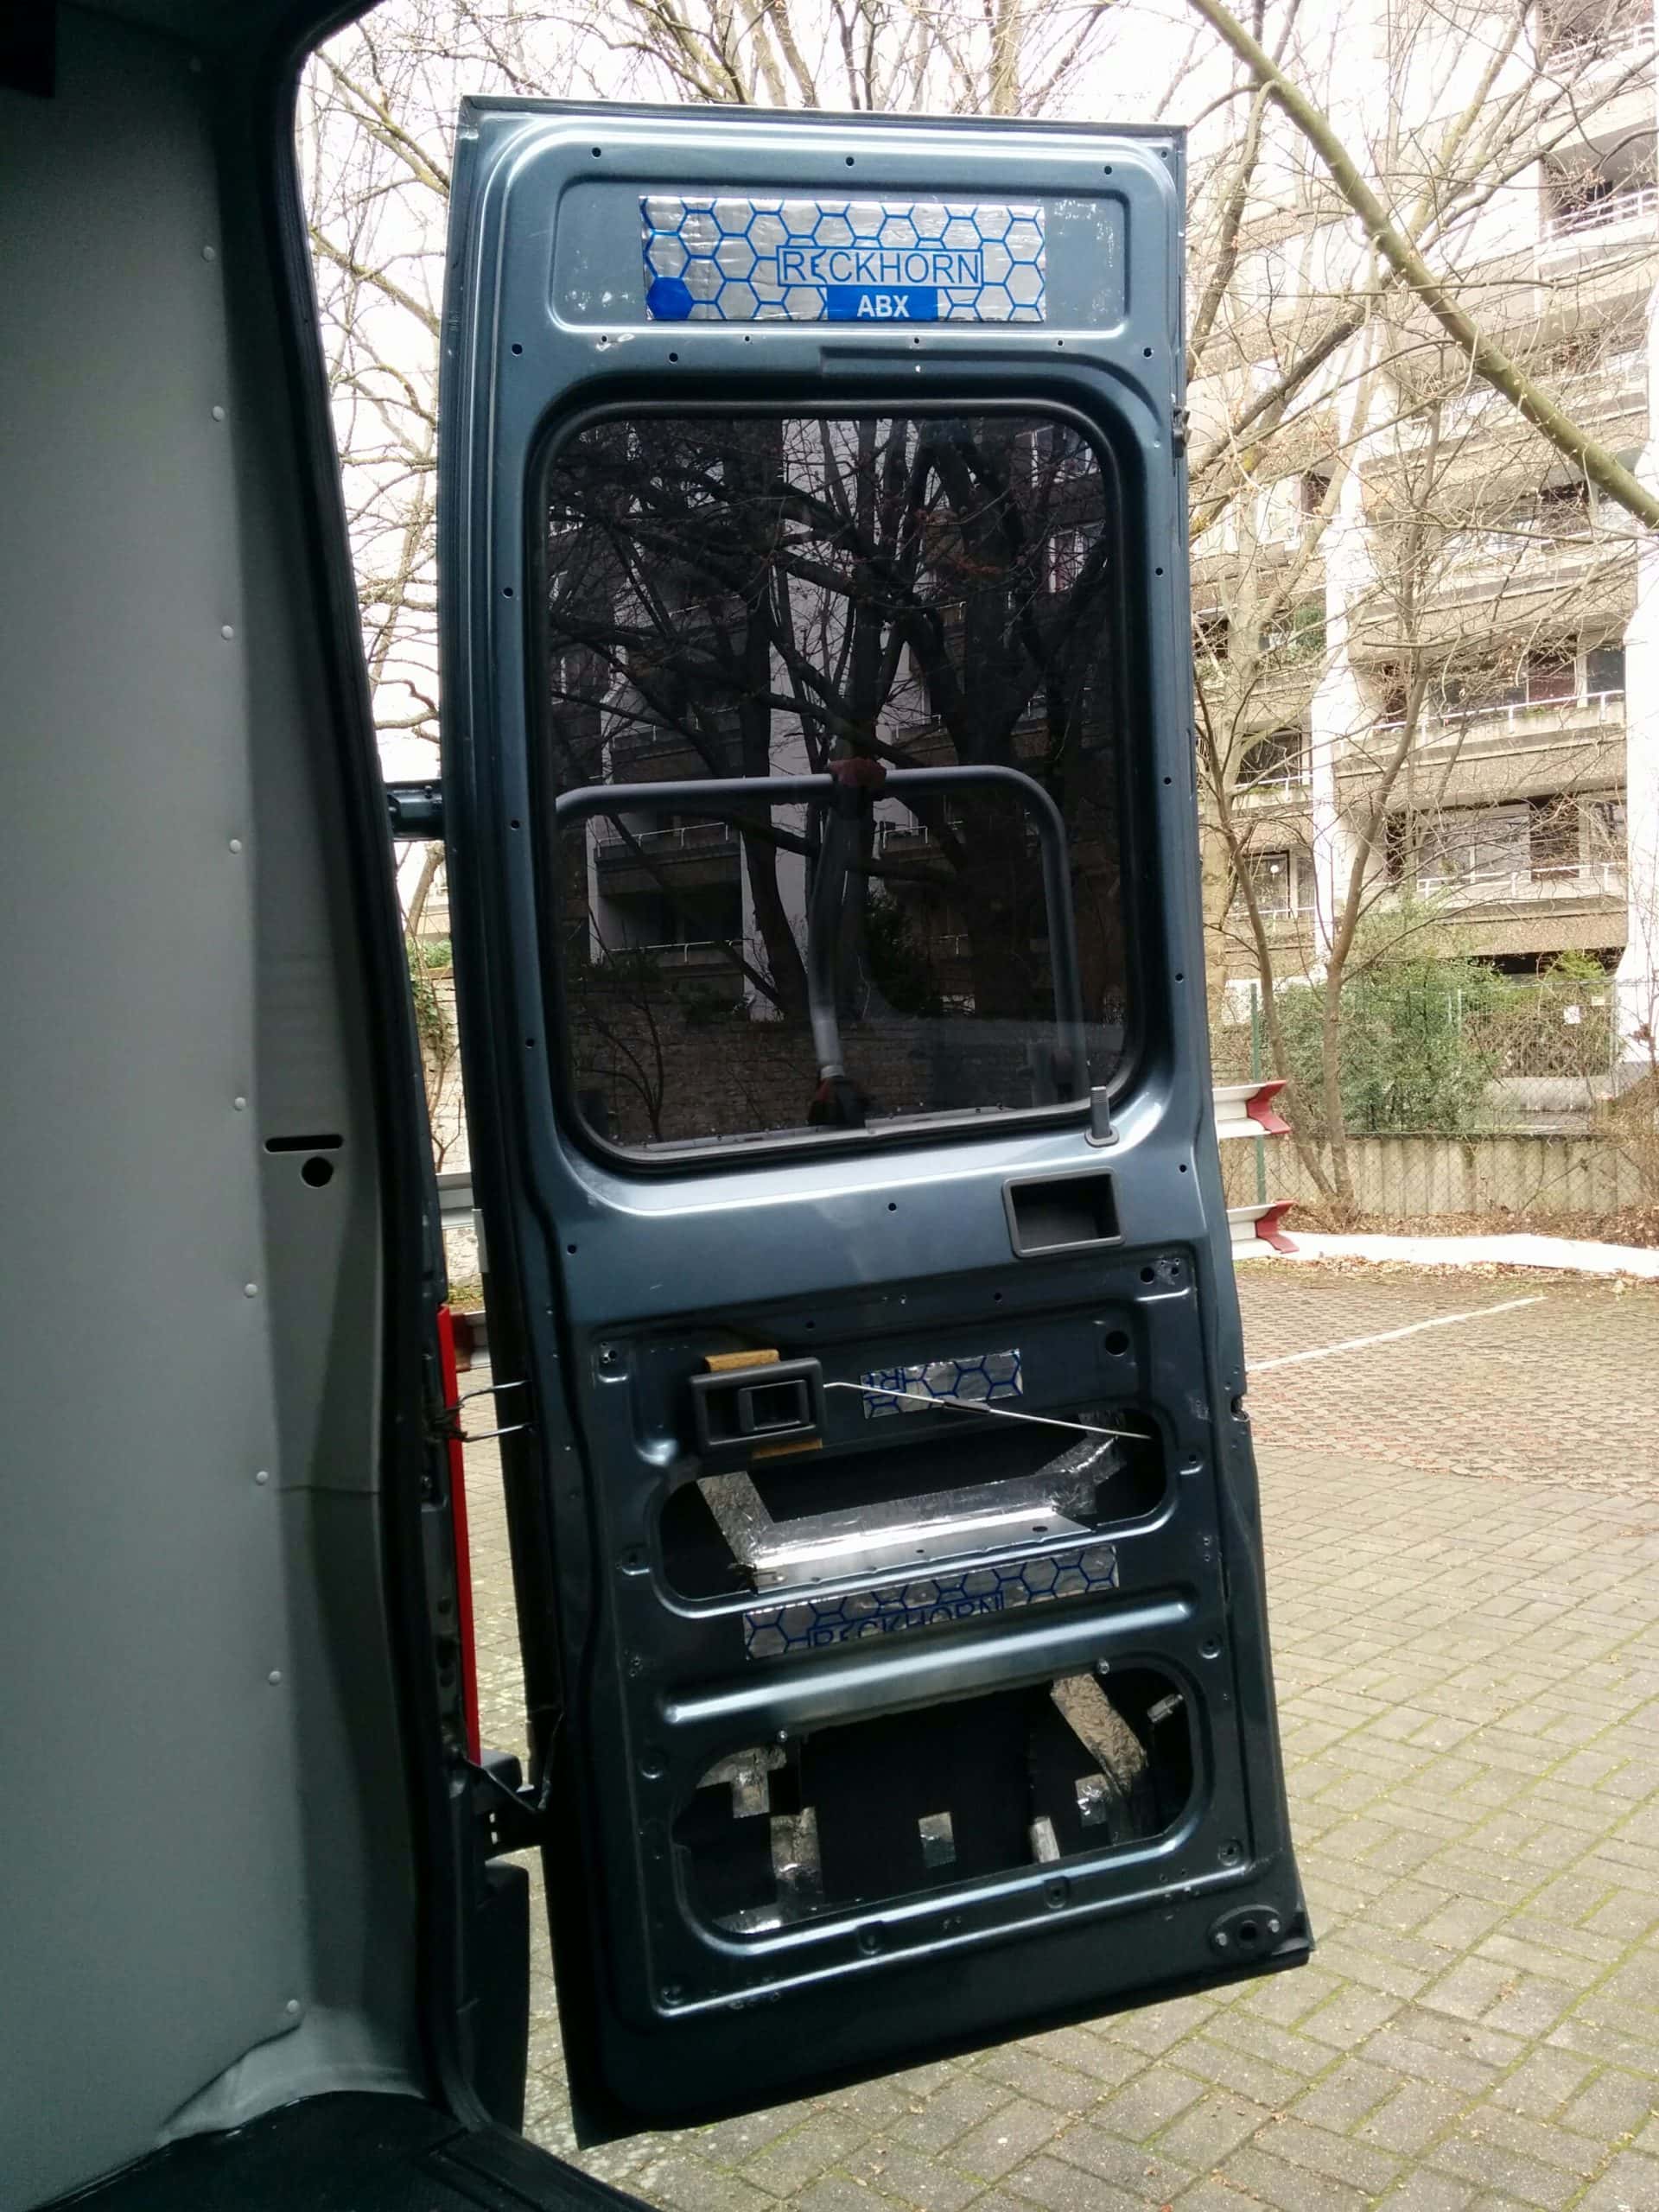
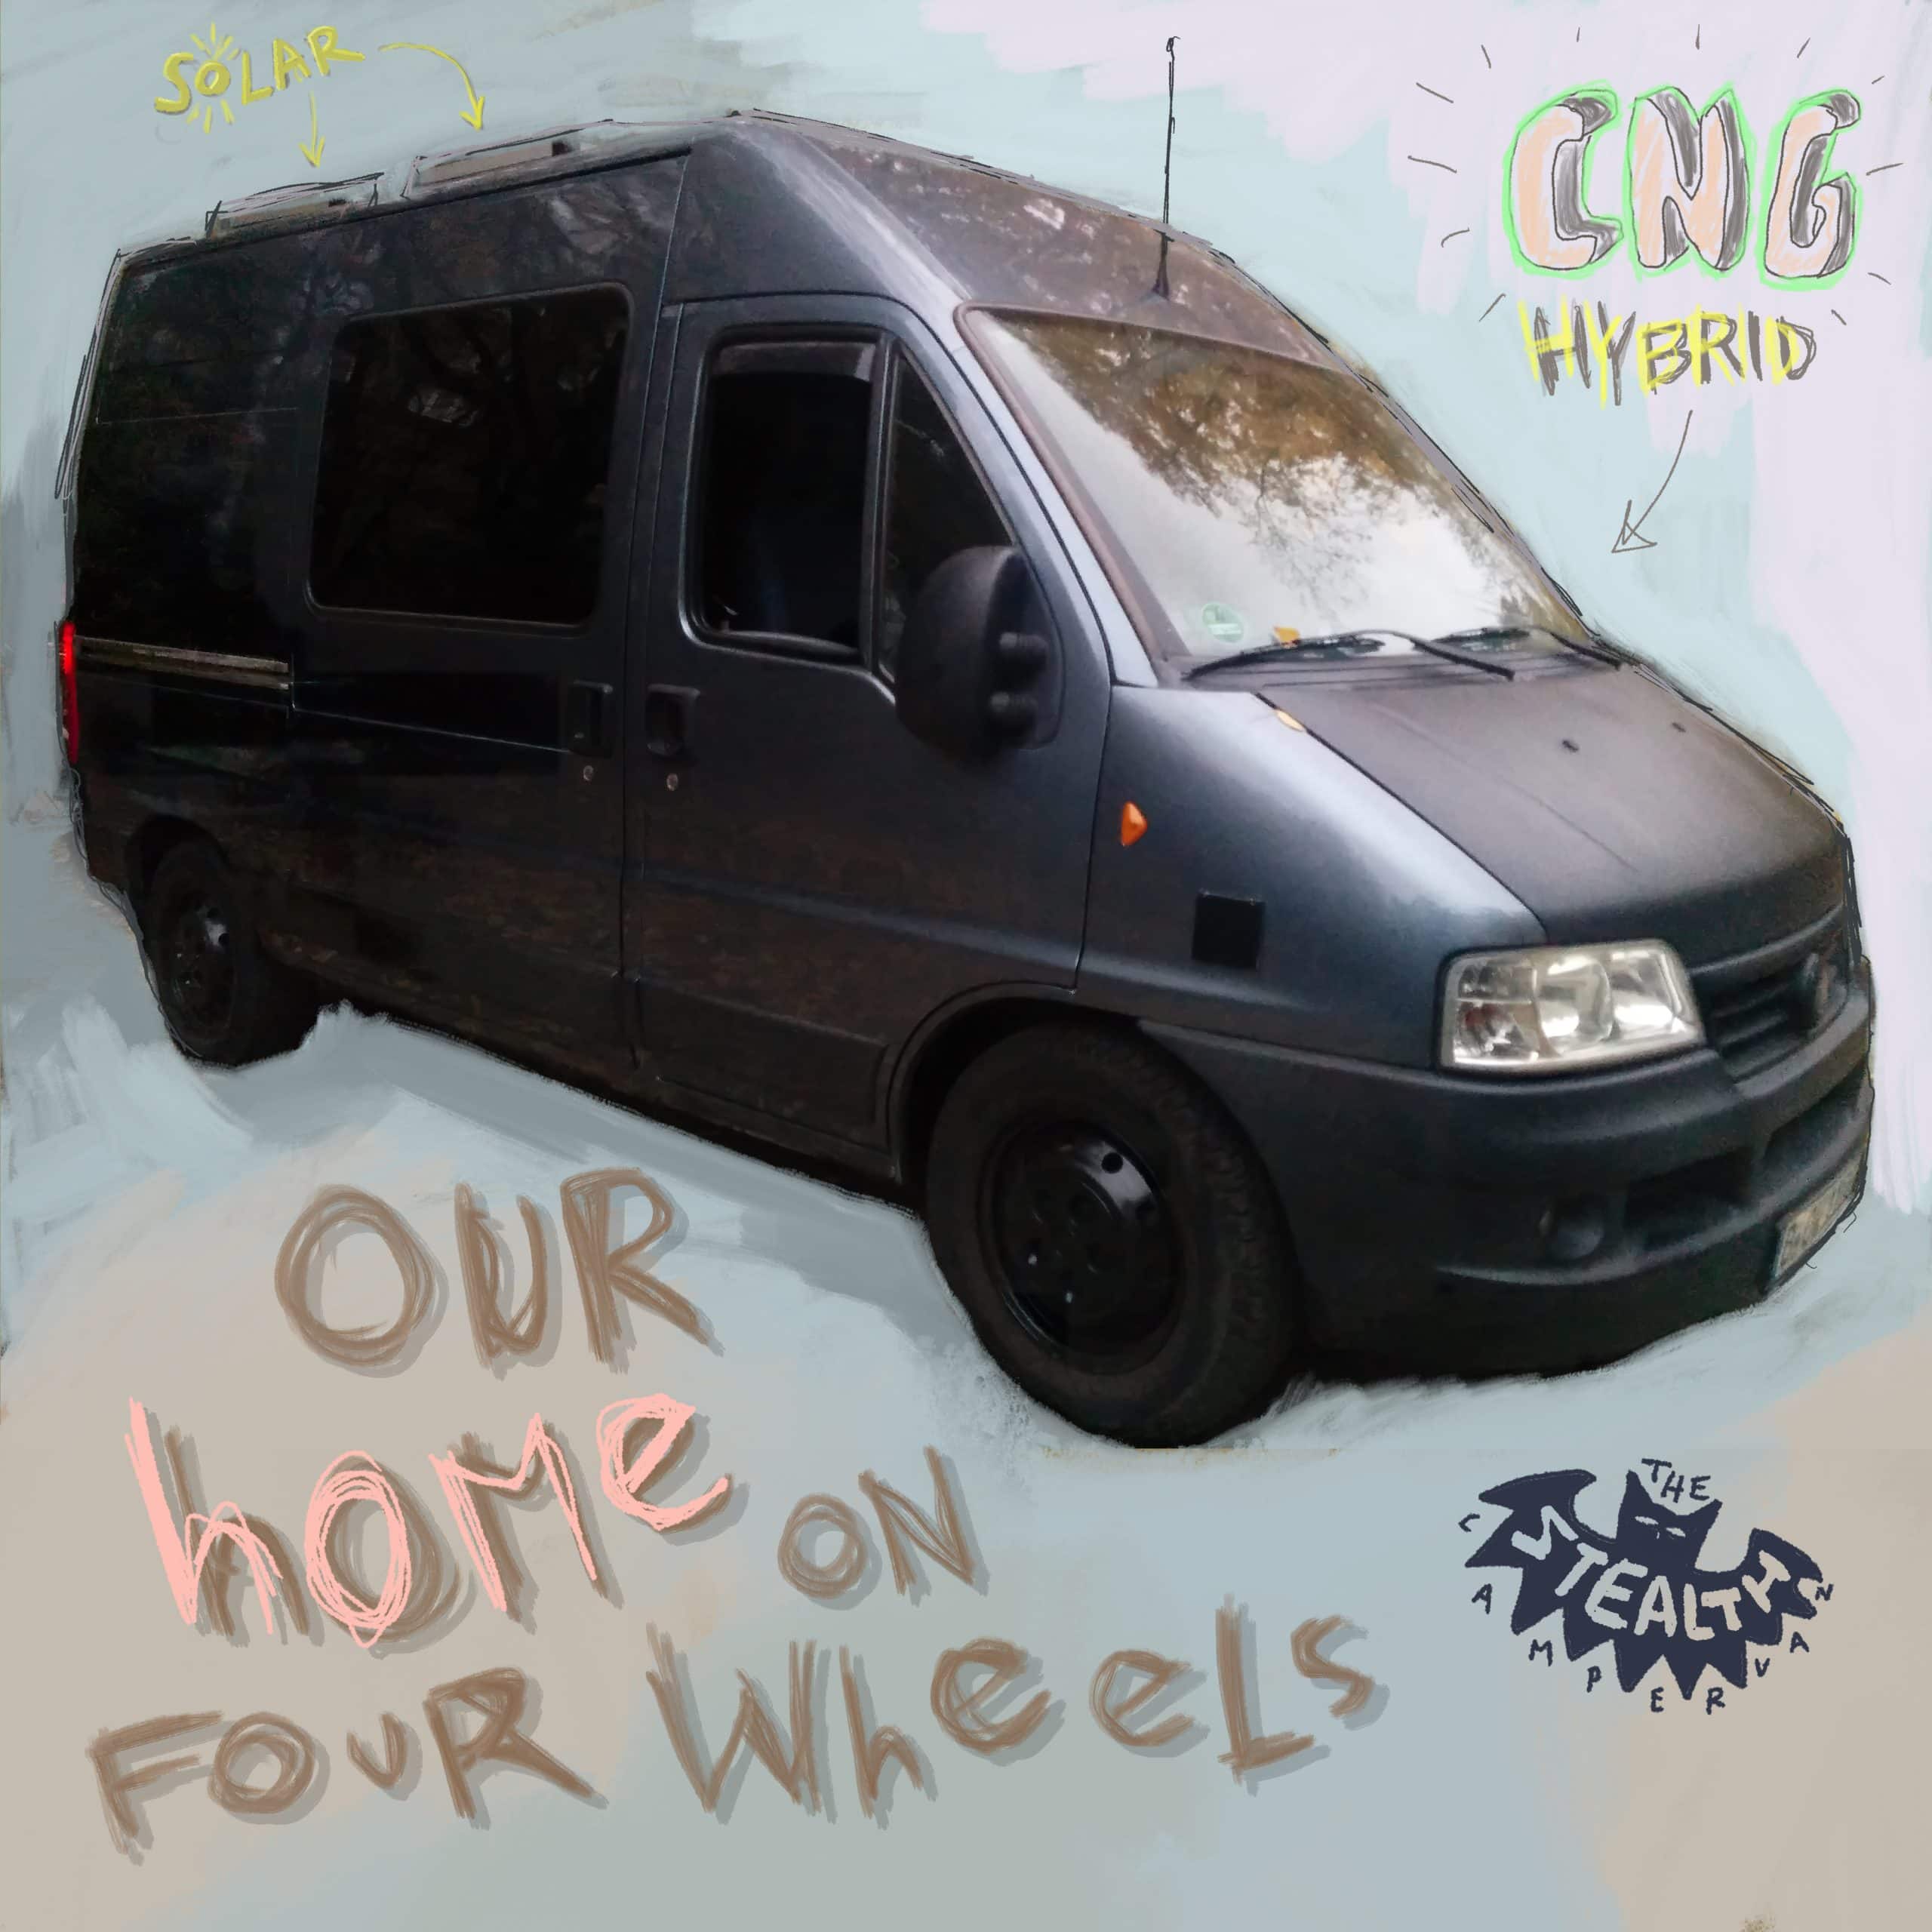
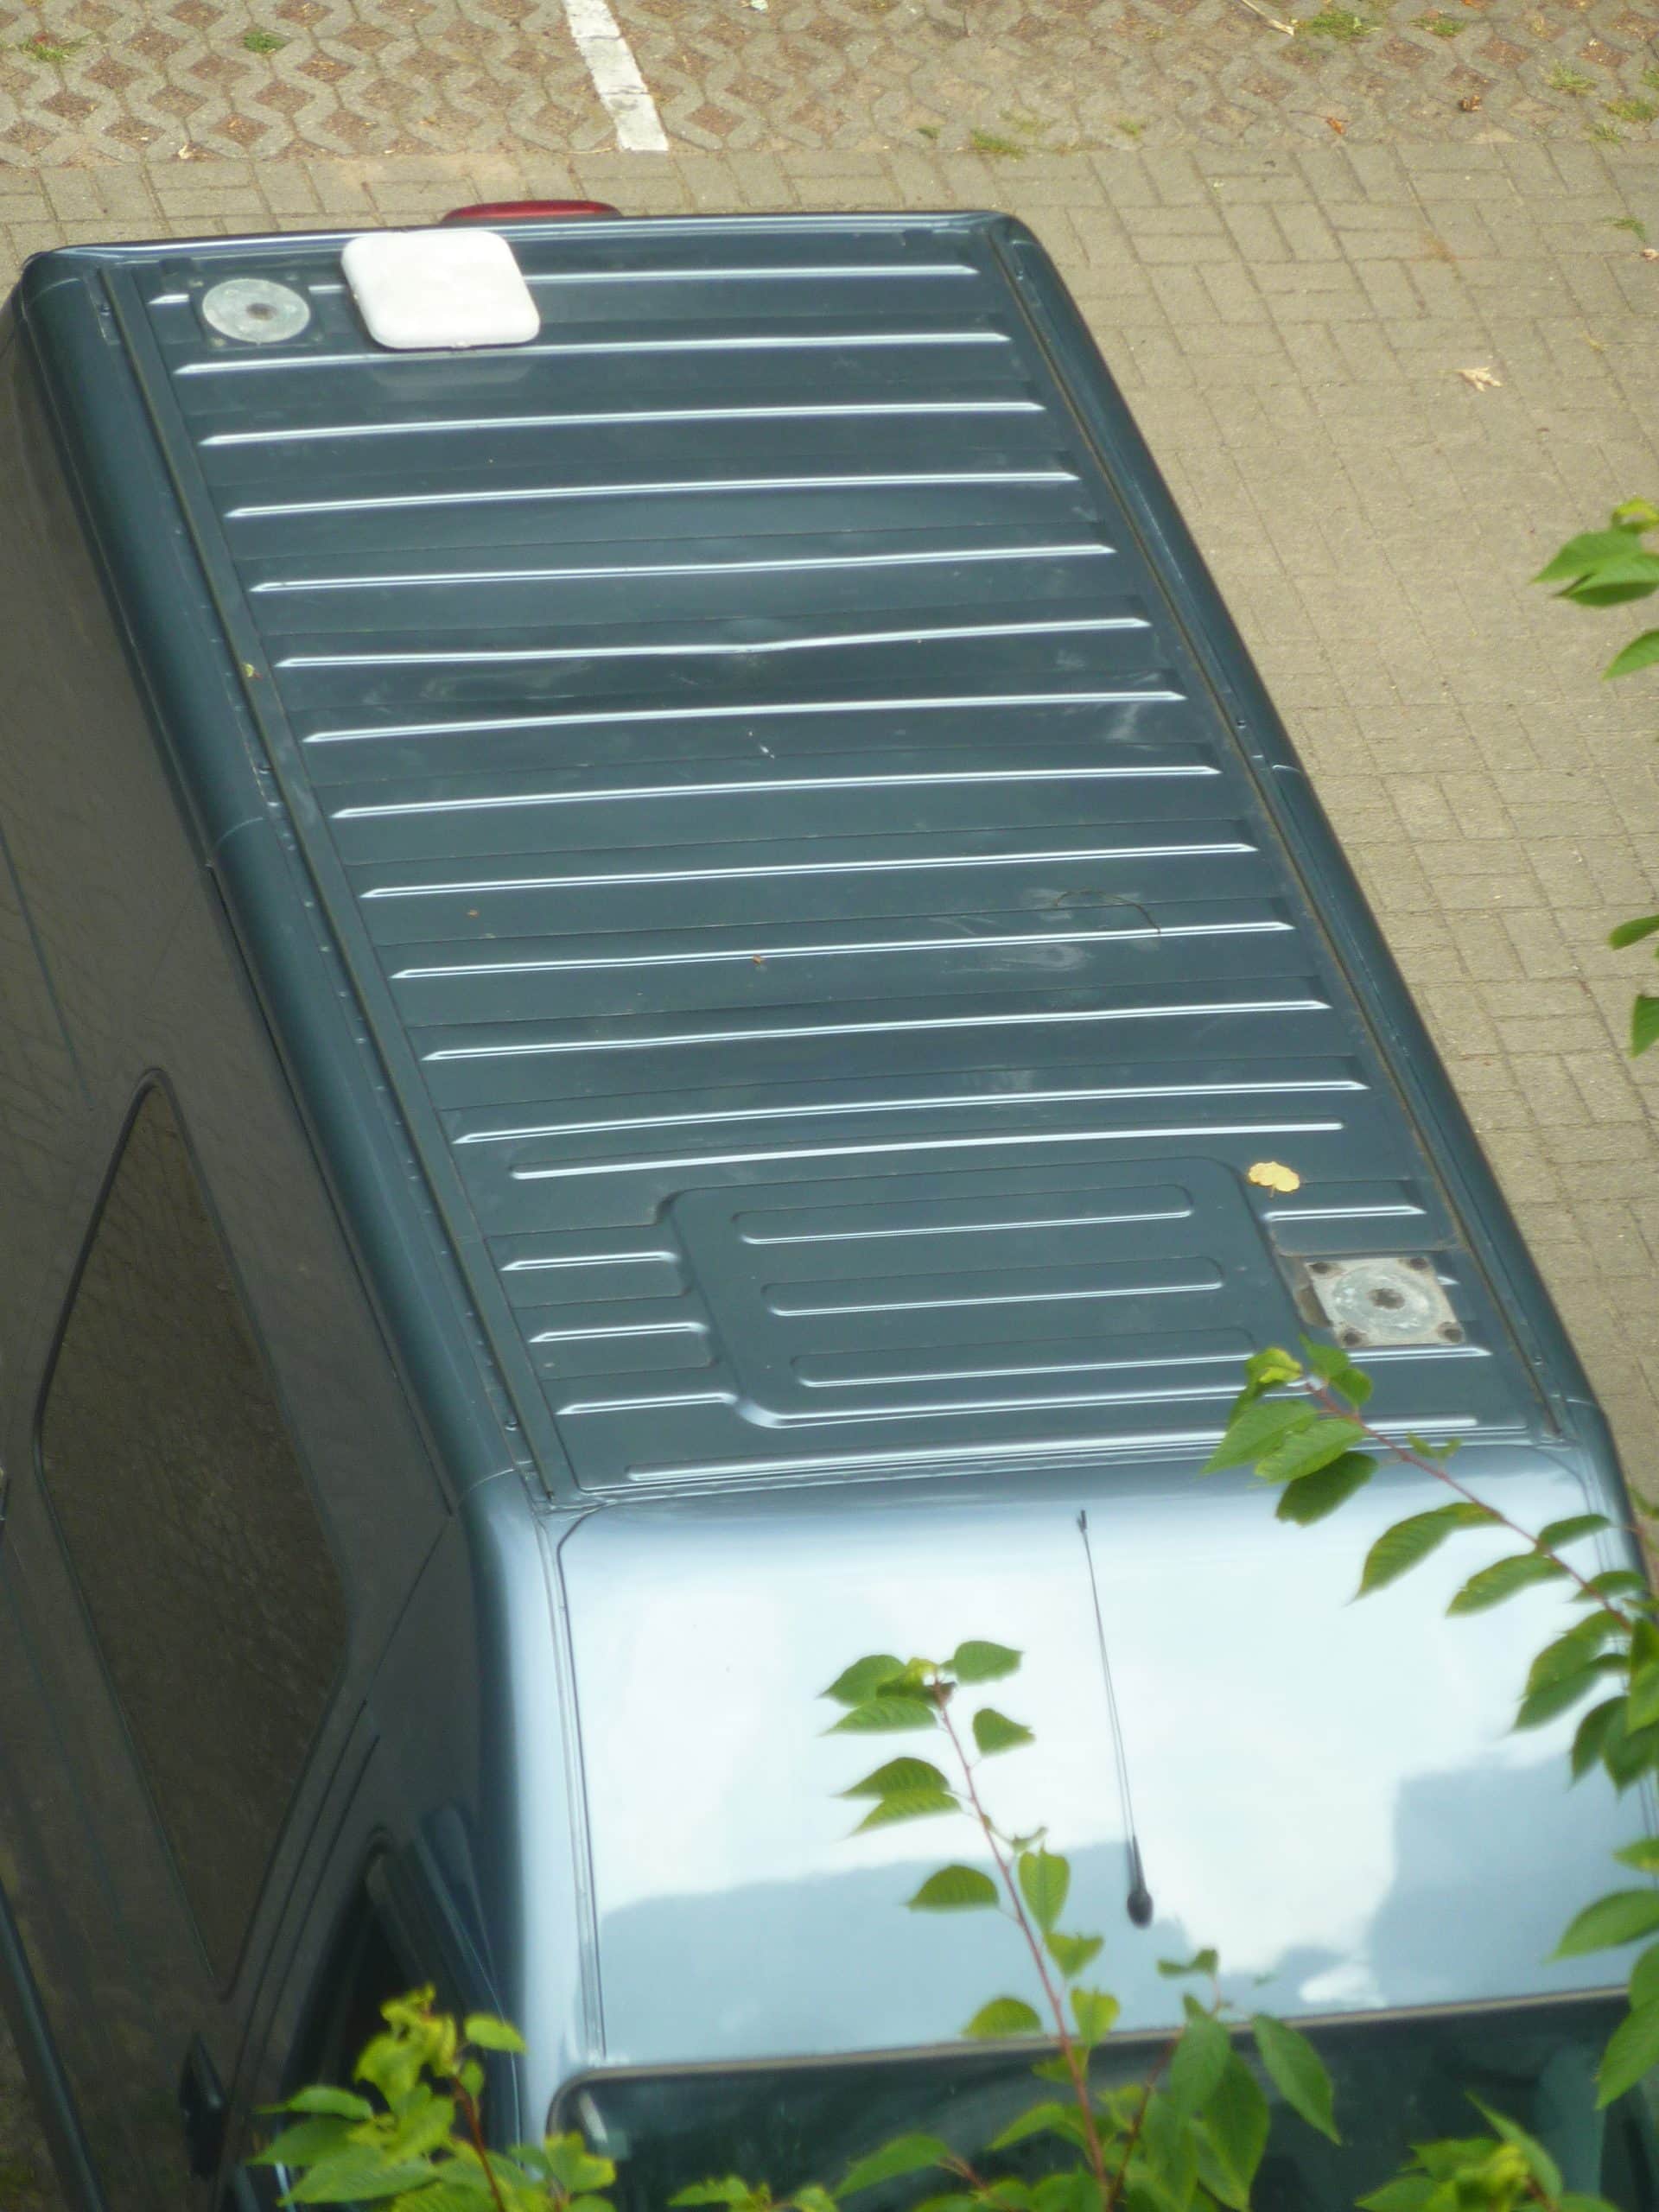
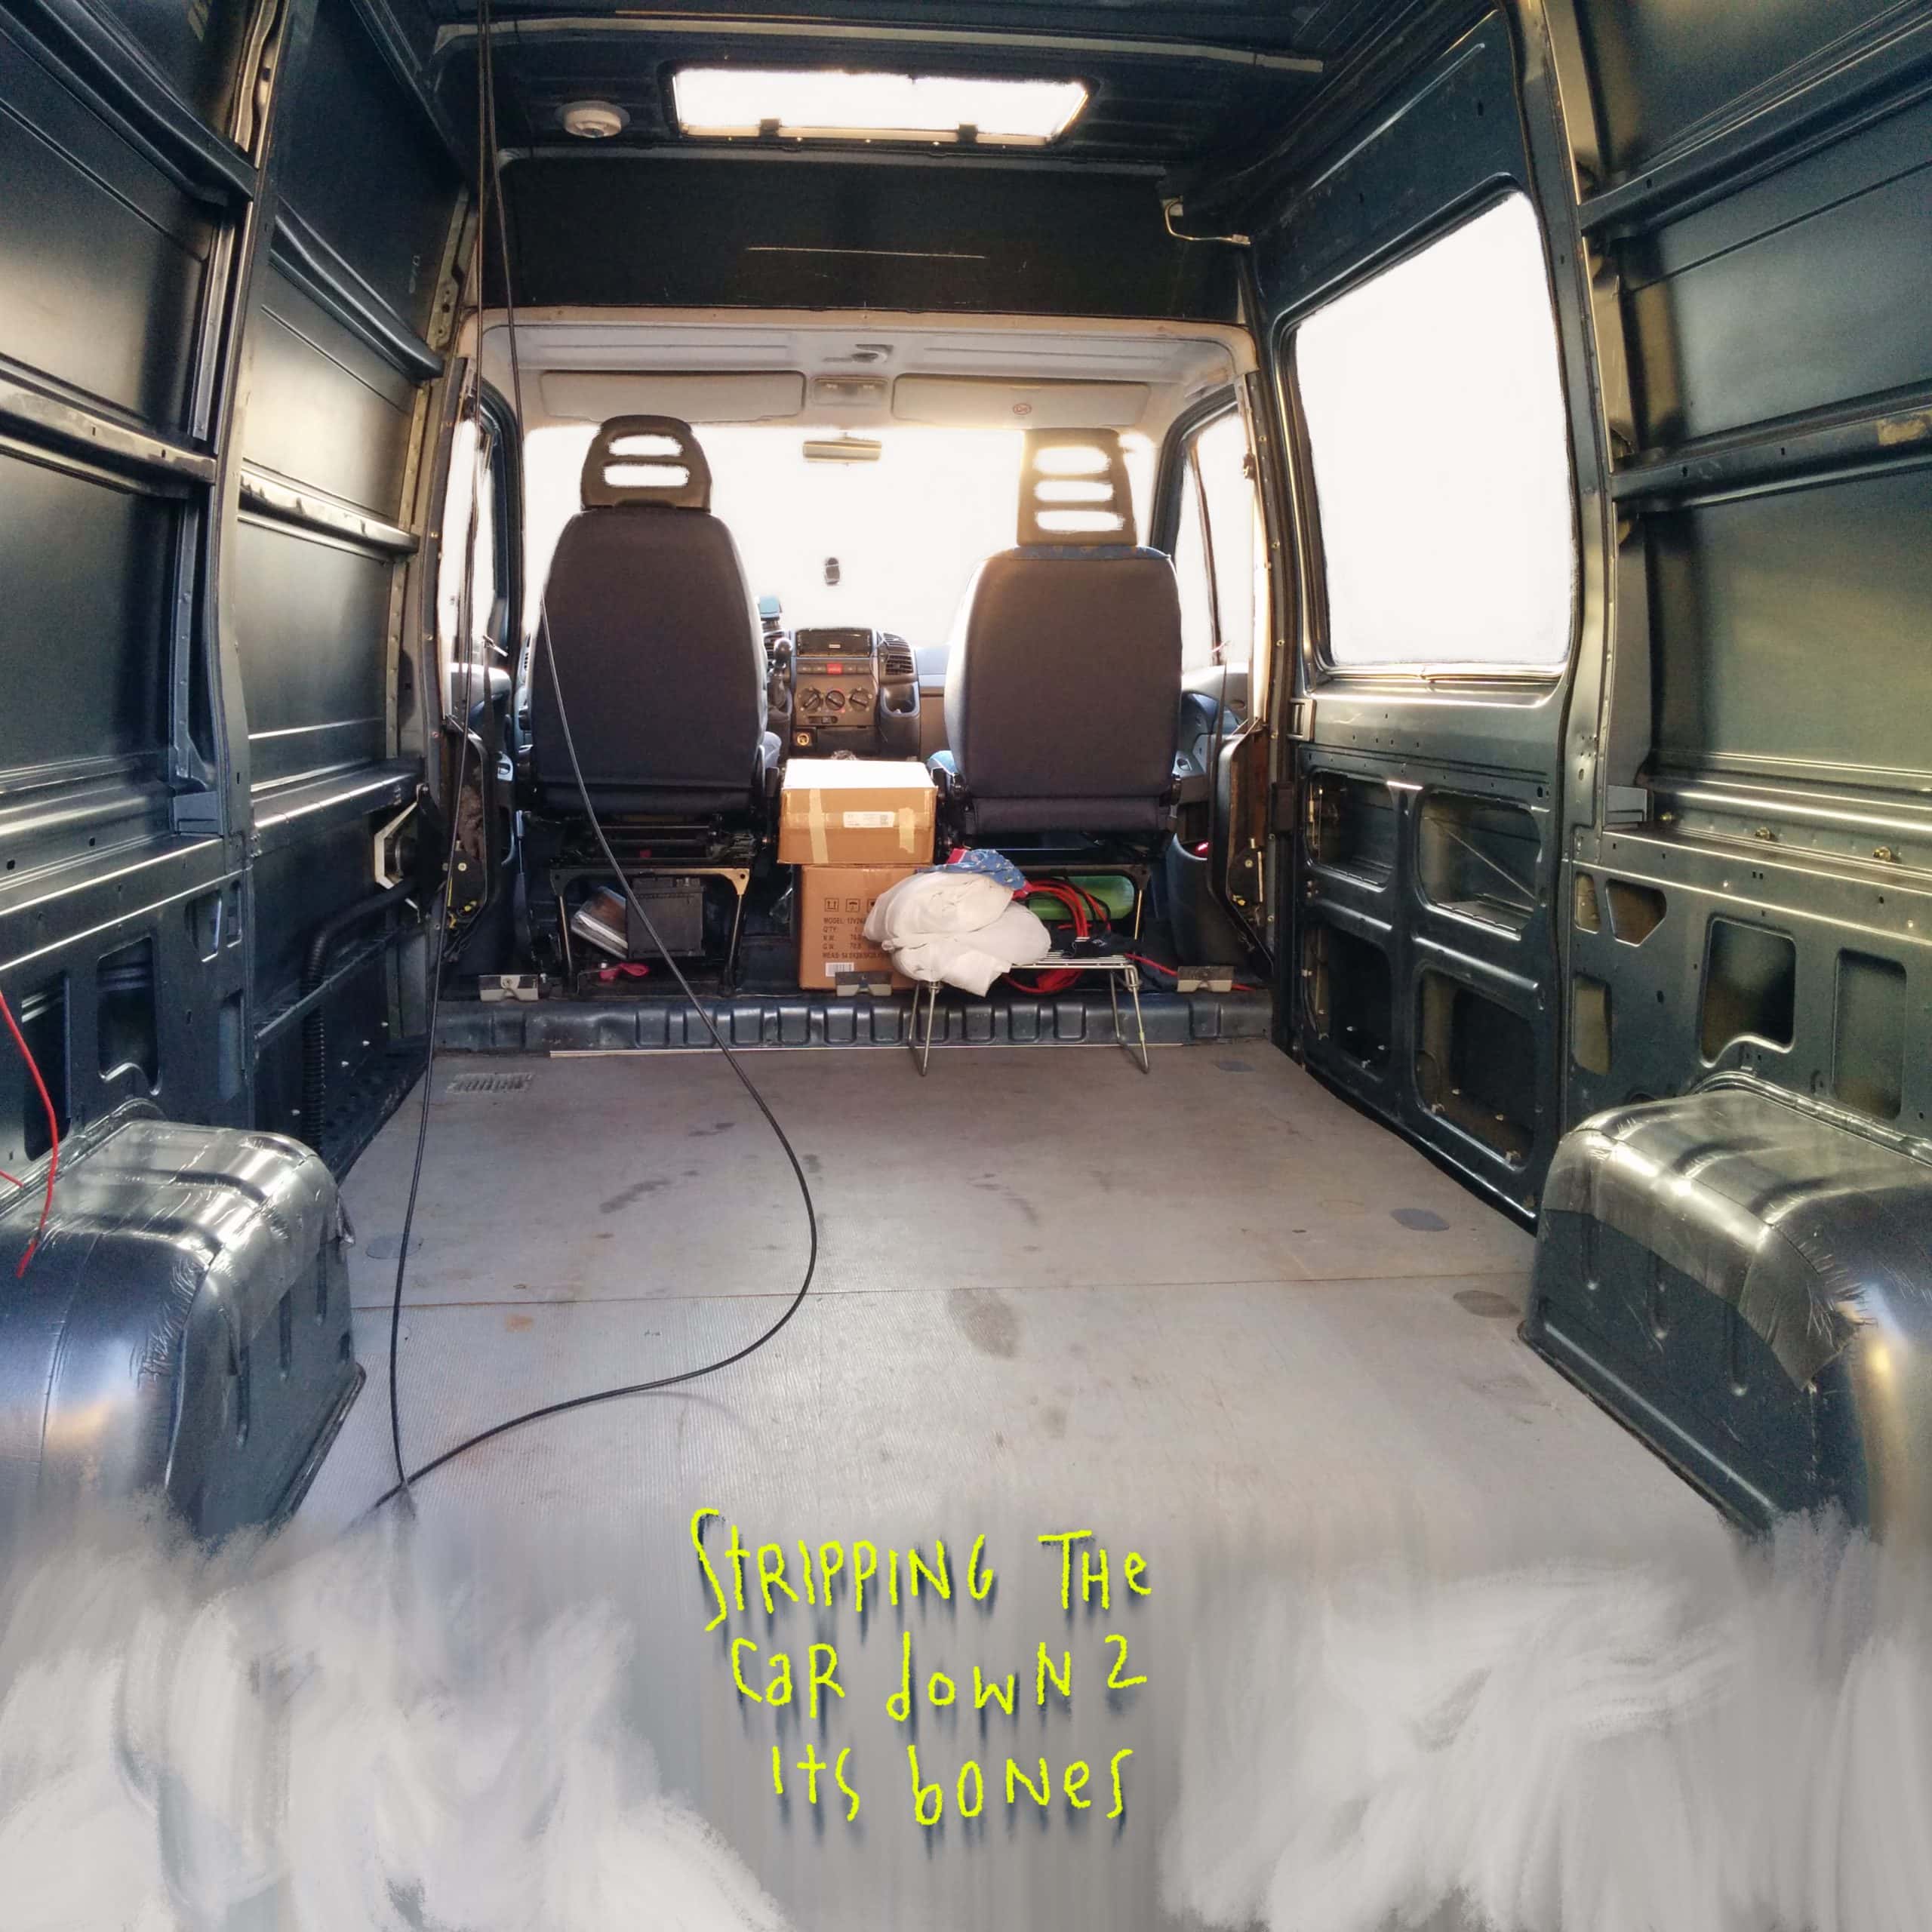
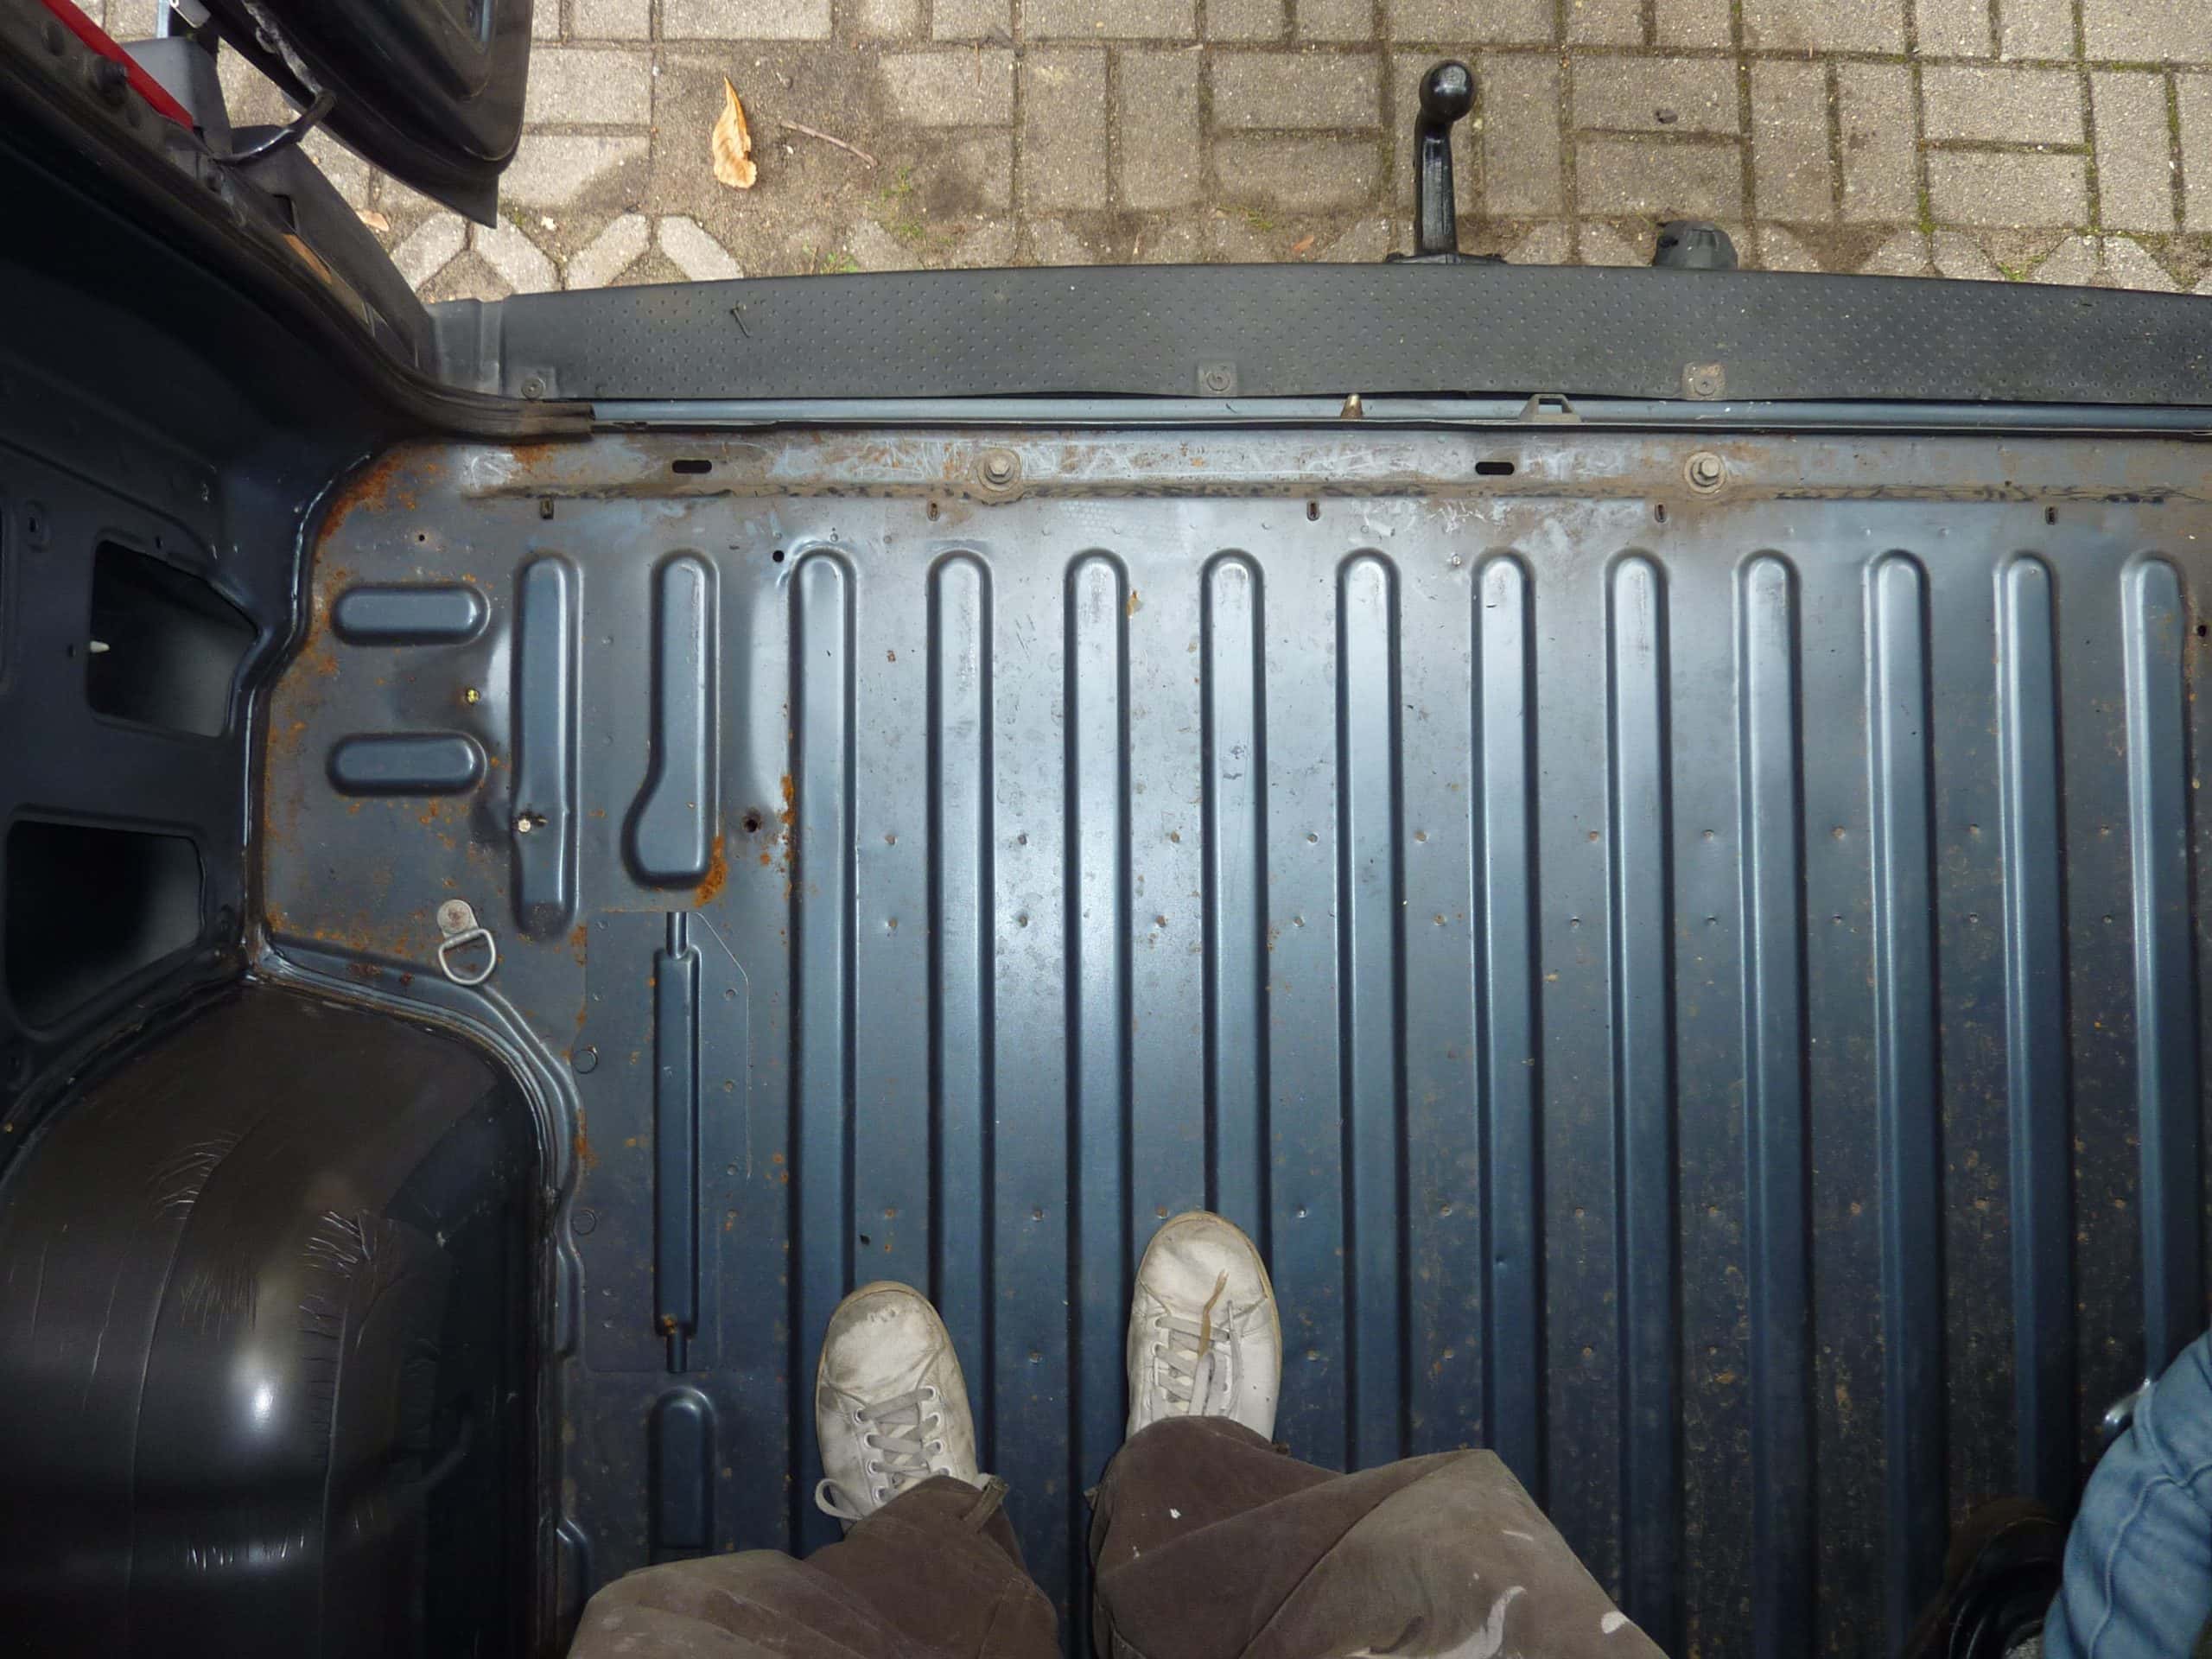
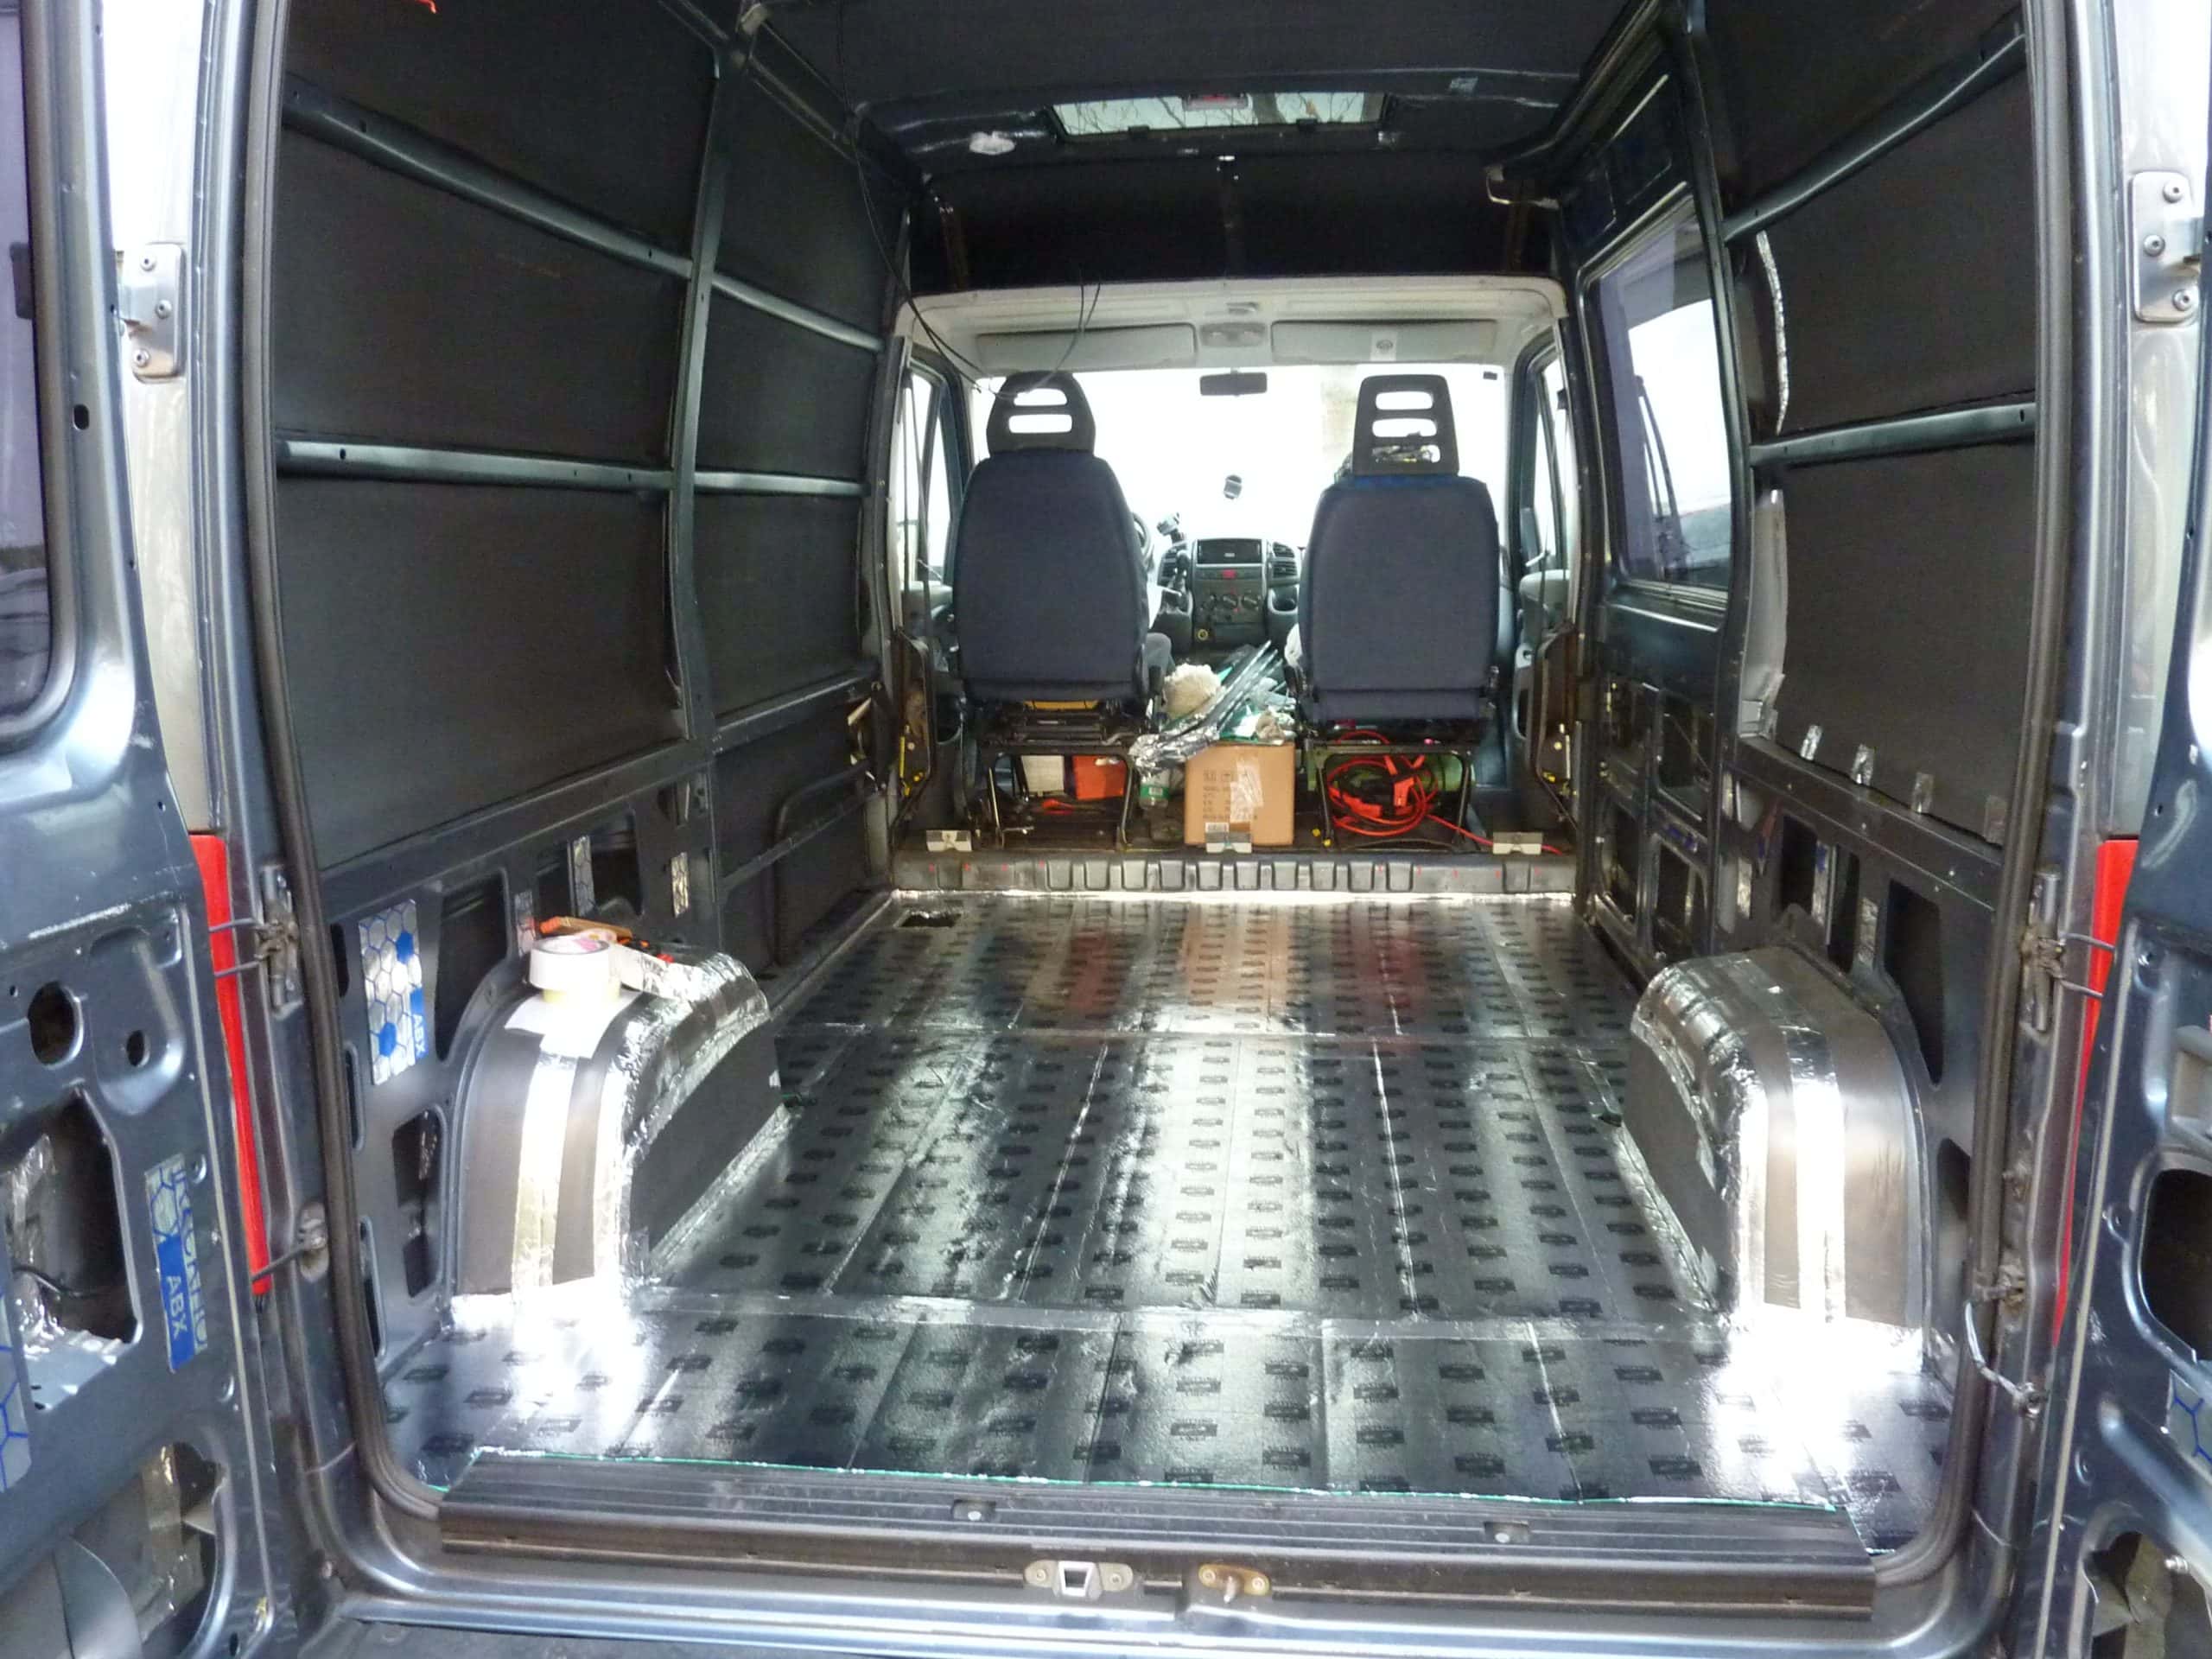
This is a glimpse of how we stripped our Ducato camper, our home on wheels, down to its bones in order to completely rebuild and repair, or you could say "heal" it.
Taking it apart:
As you probably already know, we extend the concept of self-care to how we house our physical bodies, including the physical space we live in, and that includes our camper van. Creating a comfortable home for ourselves is personal self-expression. And learning the practical aspects of housing, such as maintenance, electricity, water, insulation, and heating, not only improves our living environment, but also creates a sense of empowerment, survival, and self-sufficiency. And once we learn all the aspects on the scale of a camper, we can apply what we have learned to a larger project such as remodeling and renovating a house.
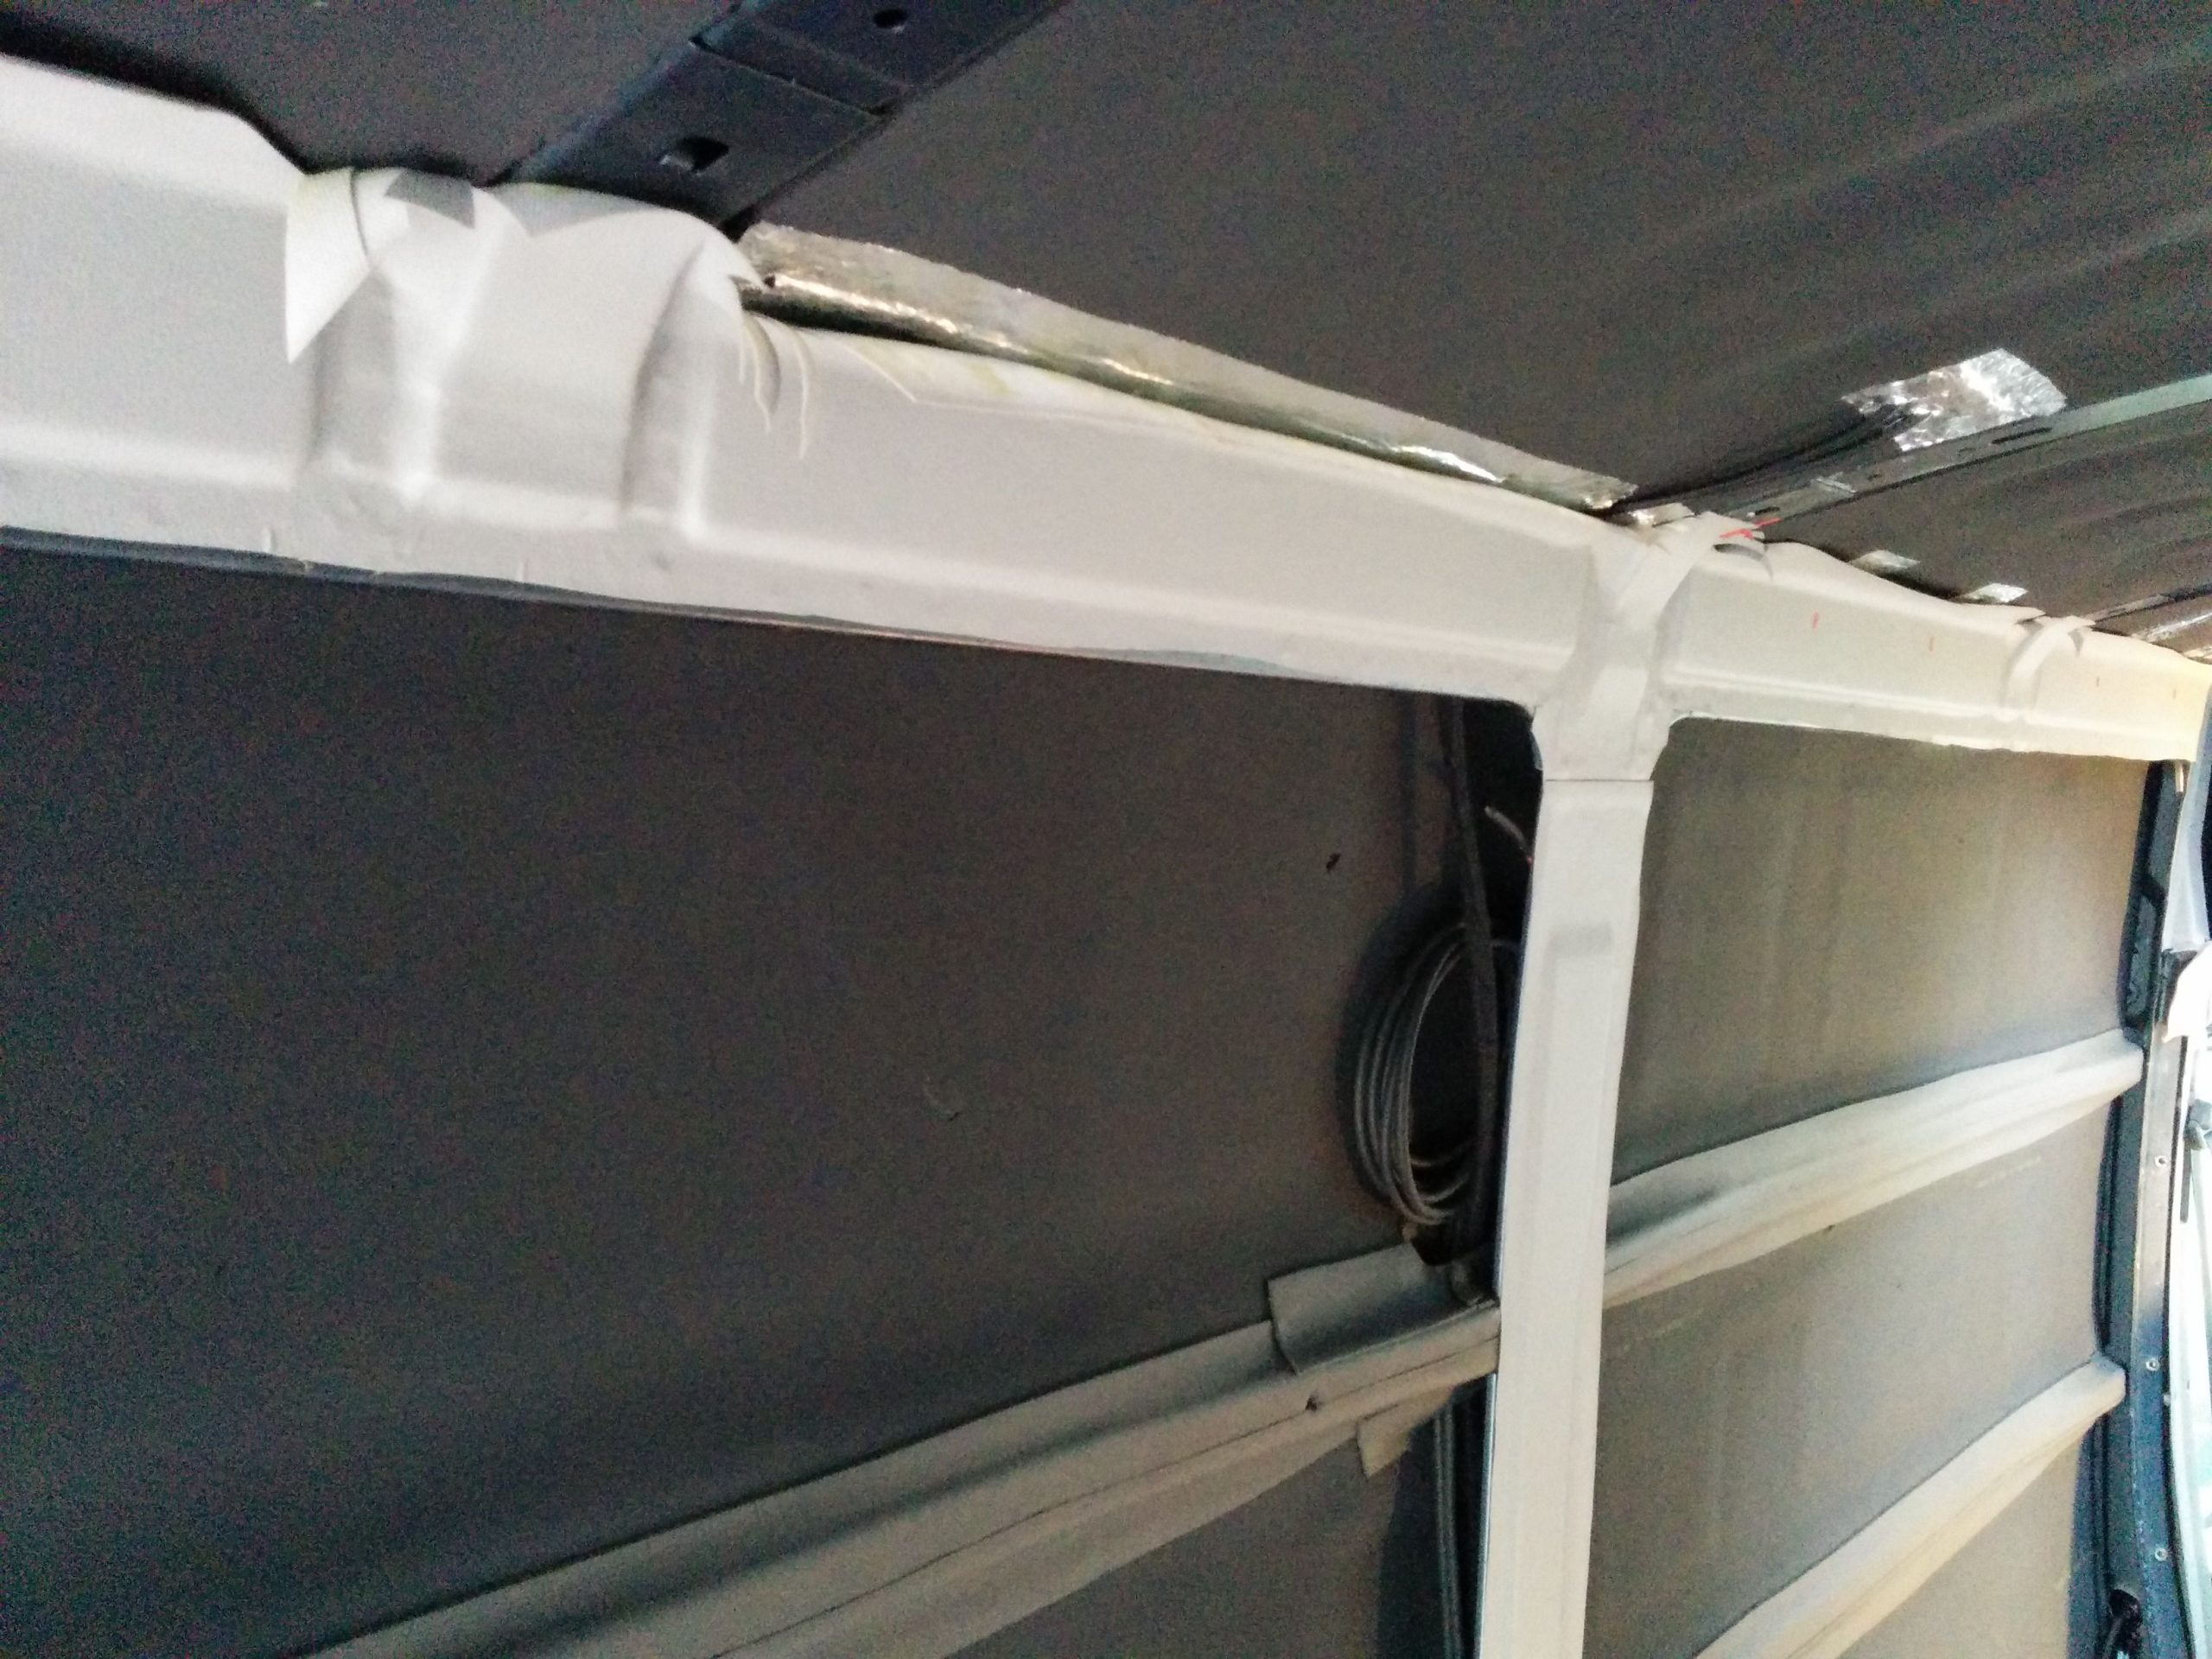
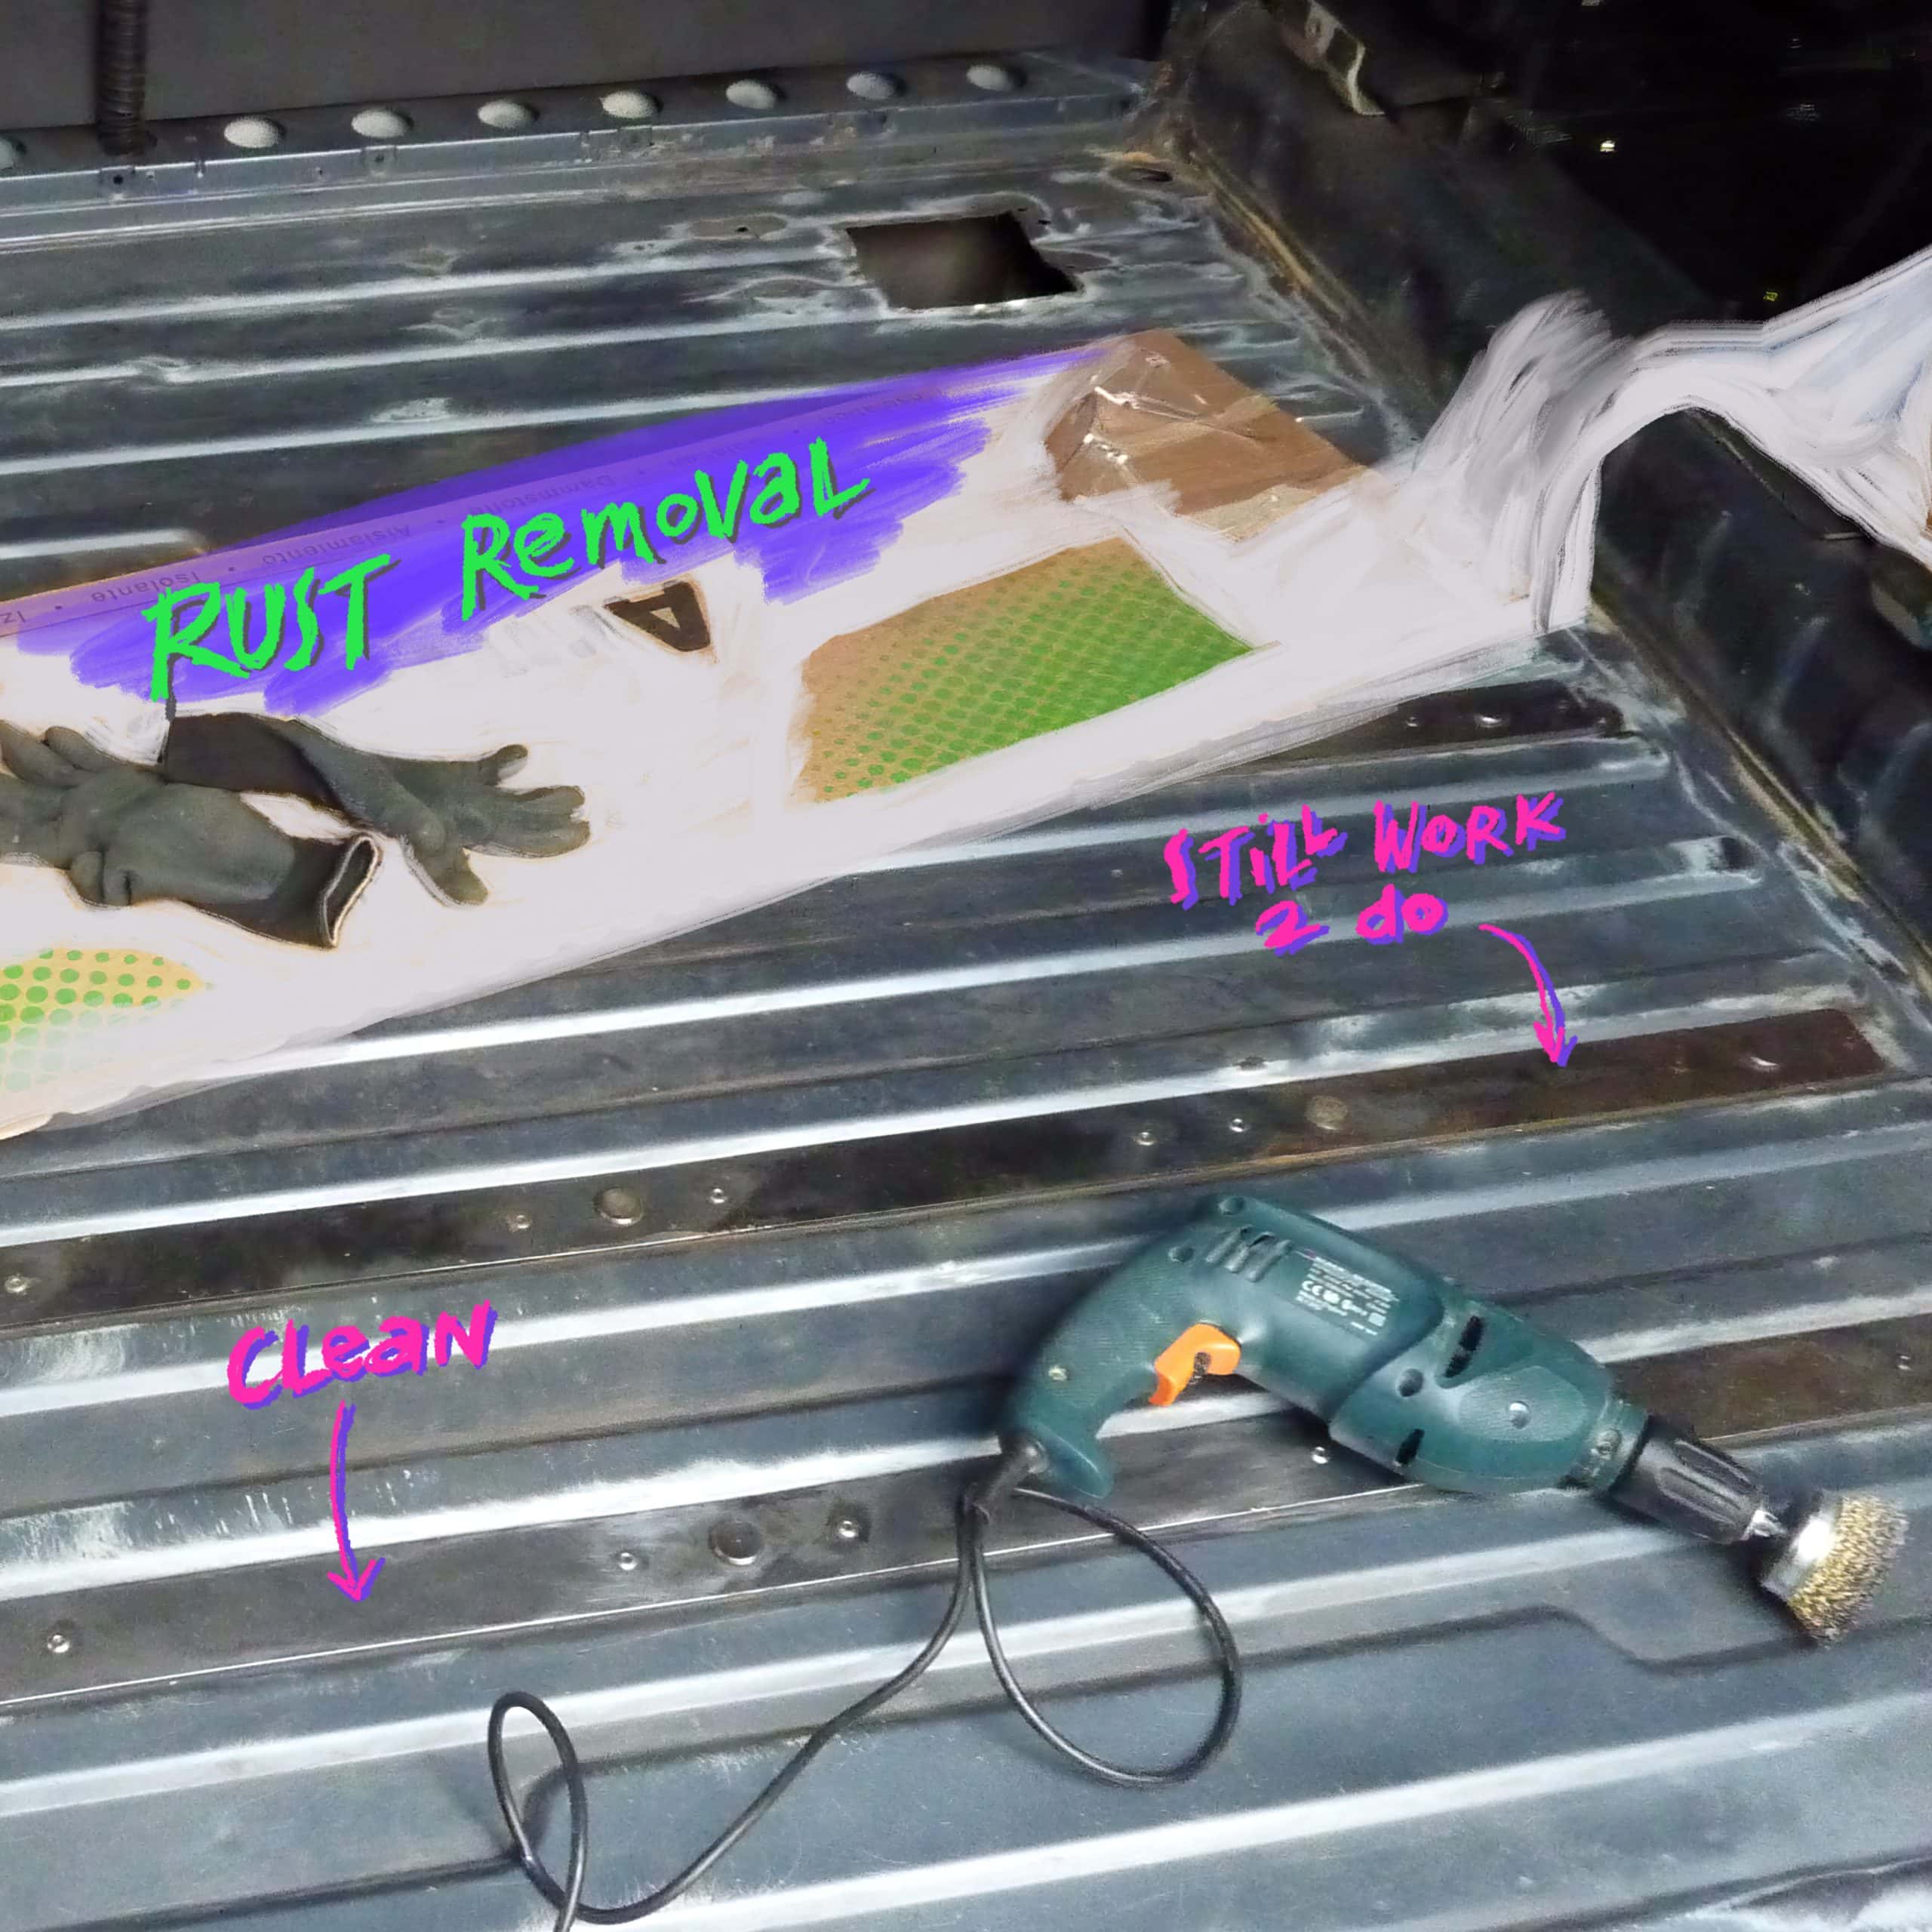
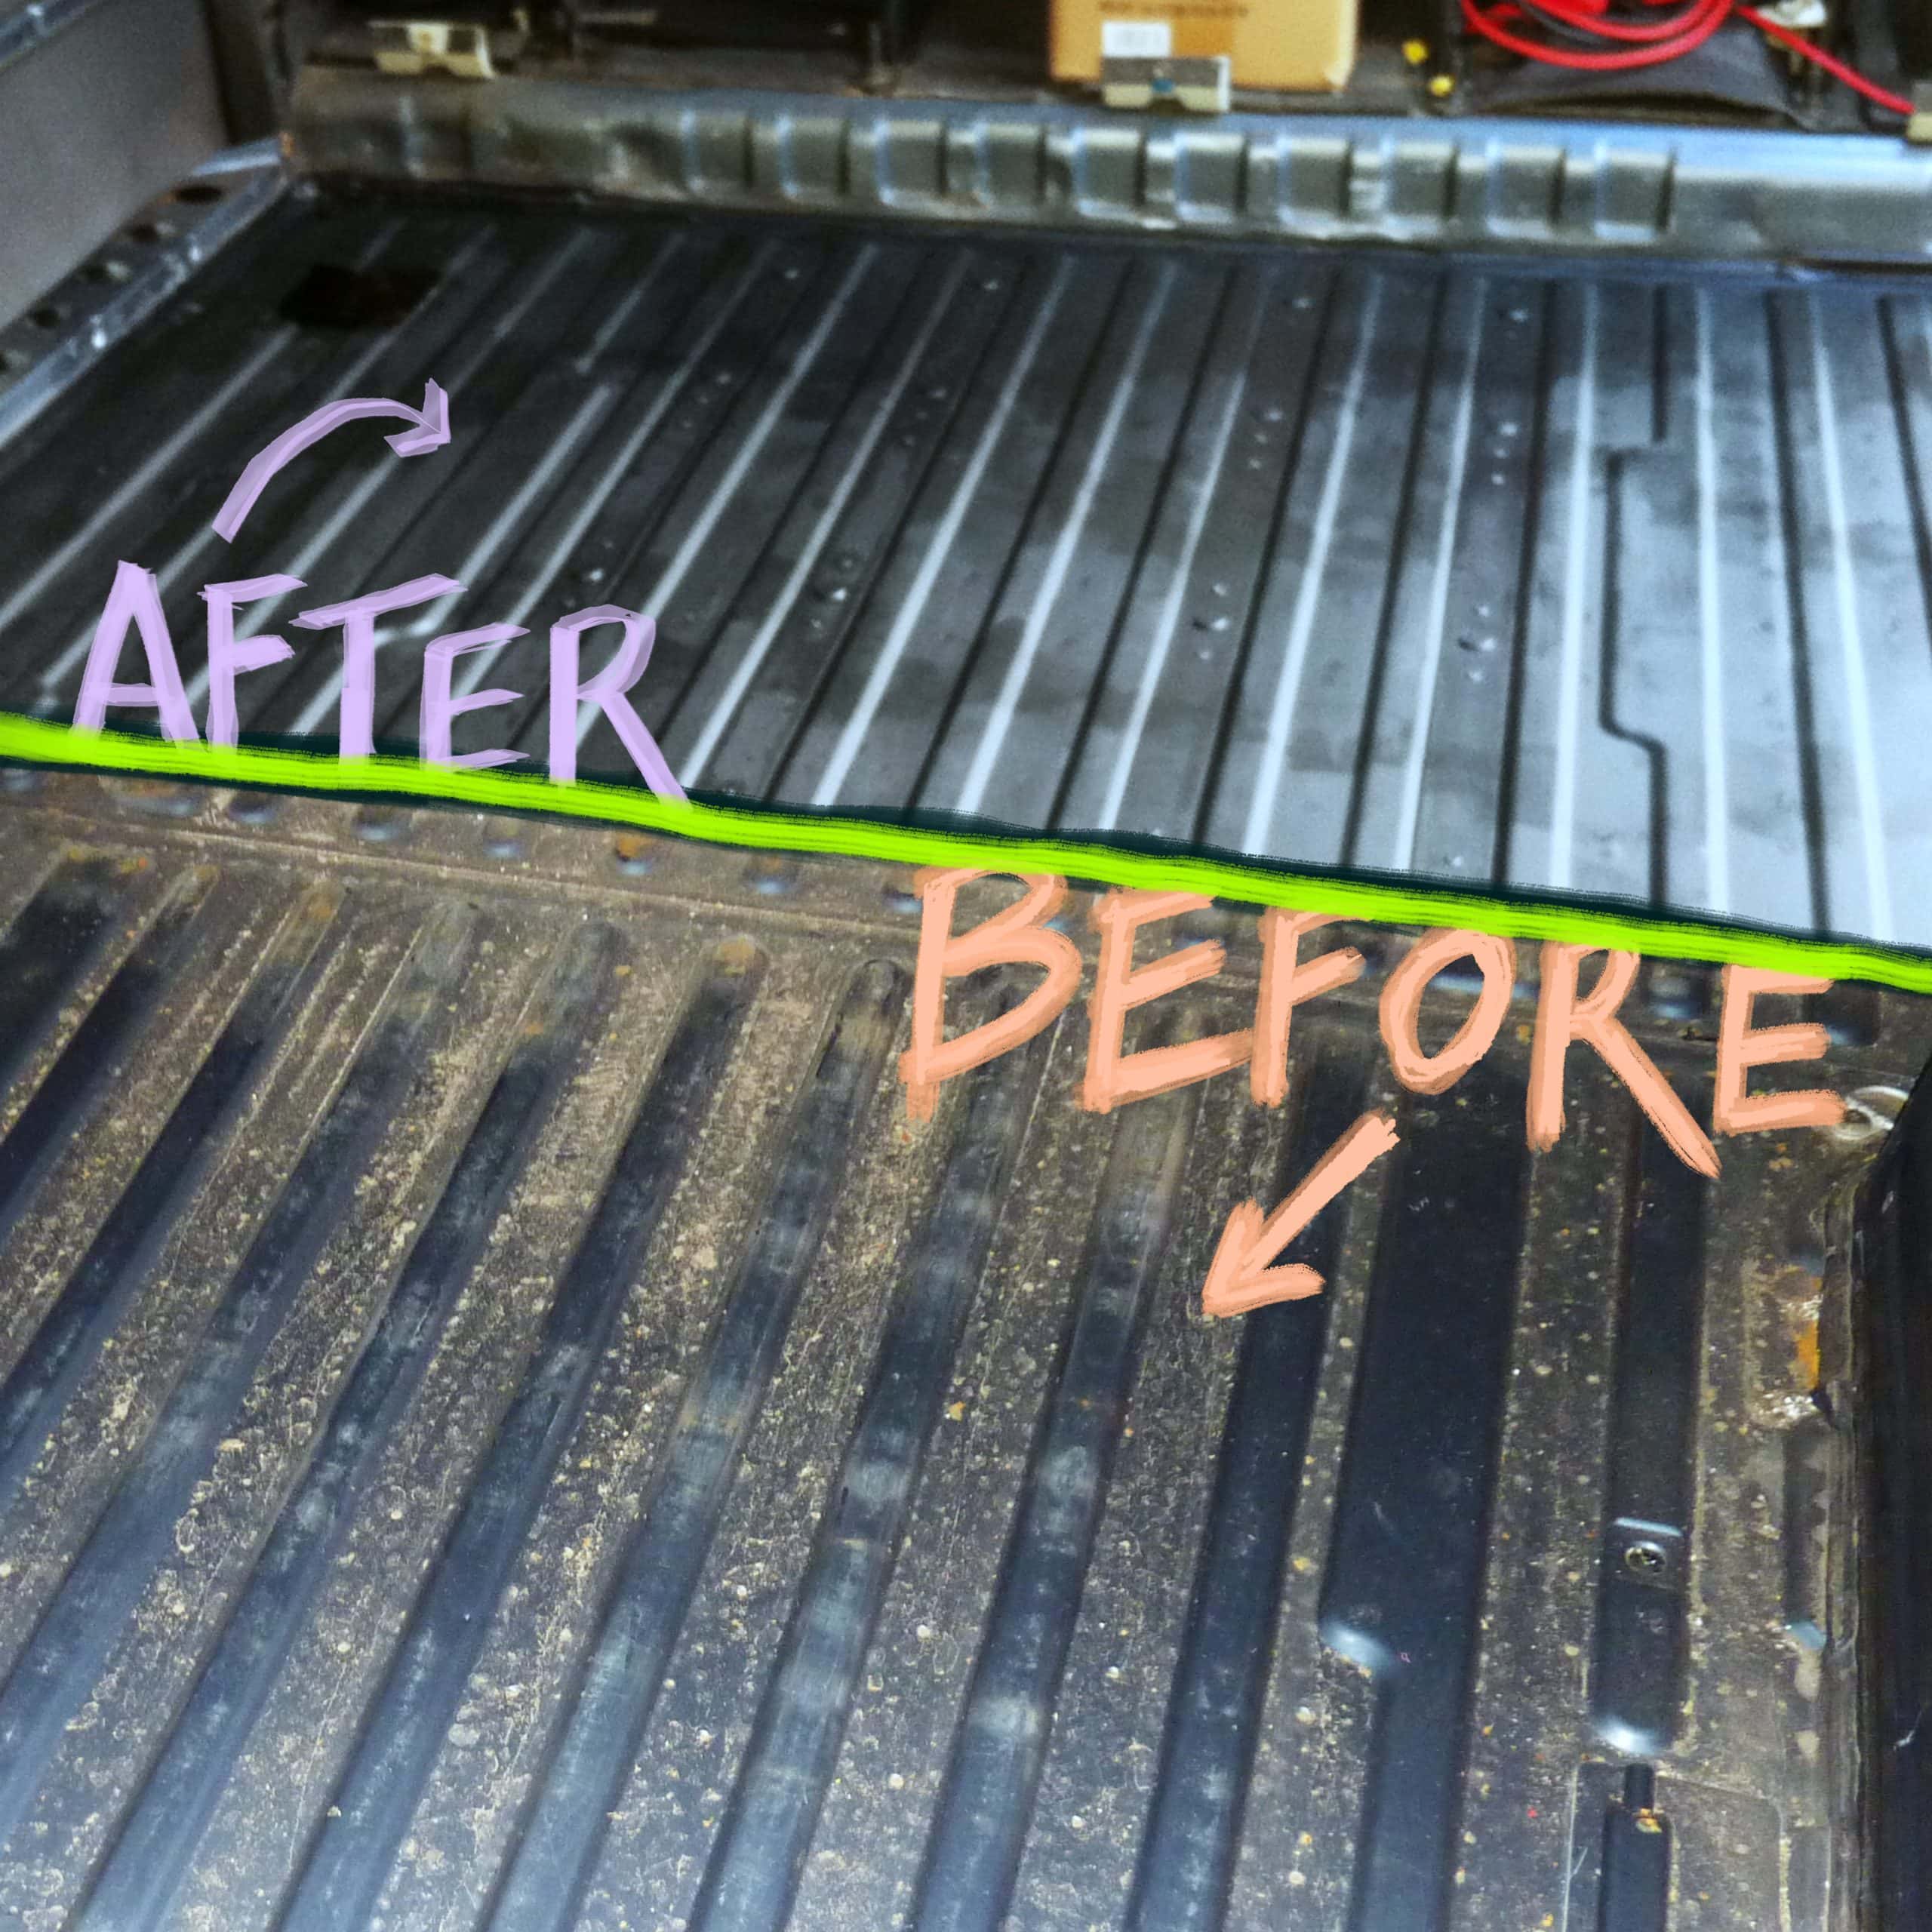
We stripped our motorhome down to its bones to de-rust, repaint and properly insulate it. Stripping away the ” facade ” and revealing all the damage can feel overwhelming or frustrating at first. But after that initial phase, it is actually quite rewarding to experience that you can “heal” and restore it. Getting it back in good shape and giving it some TLC is not only good for the camper, it is good for us. It feels great to empower and nourish something, even if it is just a technical object or a “thing”. It is the love we put into something that comes back to us, and it is what makes up for the frustration of the phase where we expose all the problems and go through the hardships of sometimes getting stuck or overwhelmed. It is a good training not to let your frustration drive you to give up. A gentle way of resilience that gets you to the other side without the need for aggression or pushing through. The caring attitude is your protection that allows you to deal with the hardship in a more accepting way, and you can take the issues one step at a time until it is done.
It’s a nurturing attitude and a great emotional training not to be repelled or attached. Because at some point you have to do it again anyway, because in this ever-changing world nothing stays the way it is. It is the attitude of maintaining through caring and it is “the” basic training to deal with the continuity of life.
And if you can learn to give this care to your camper, you can certainly give it also to yourself.
It feels good to heal things and make them beautiful again. To pamper something to new glory. And at the same time, we become more emotionally independent and use our daily chores as a path to healing and self-realization.
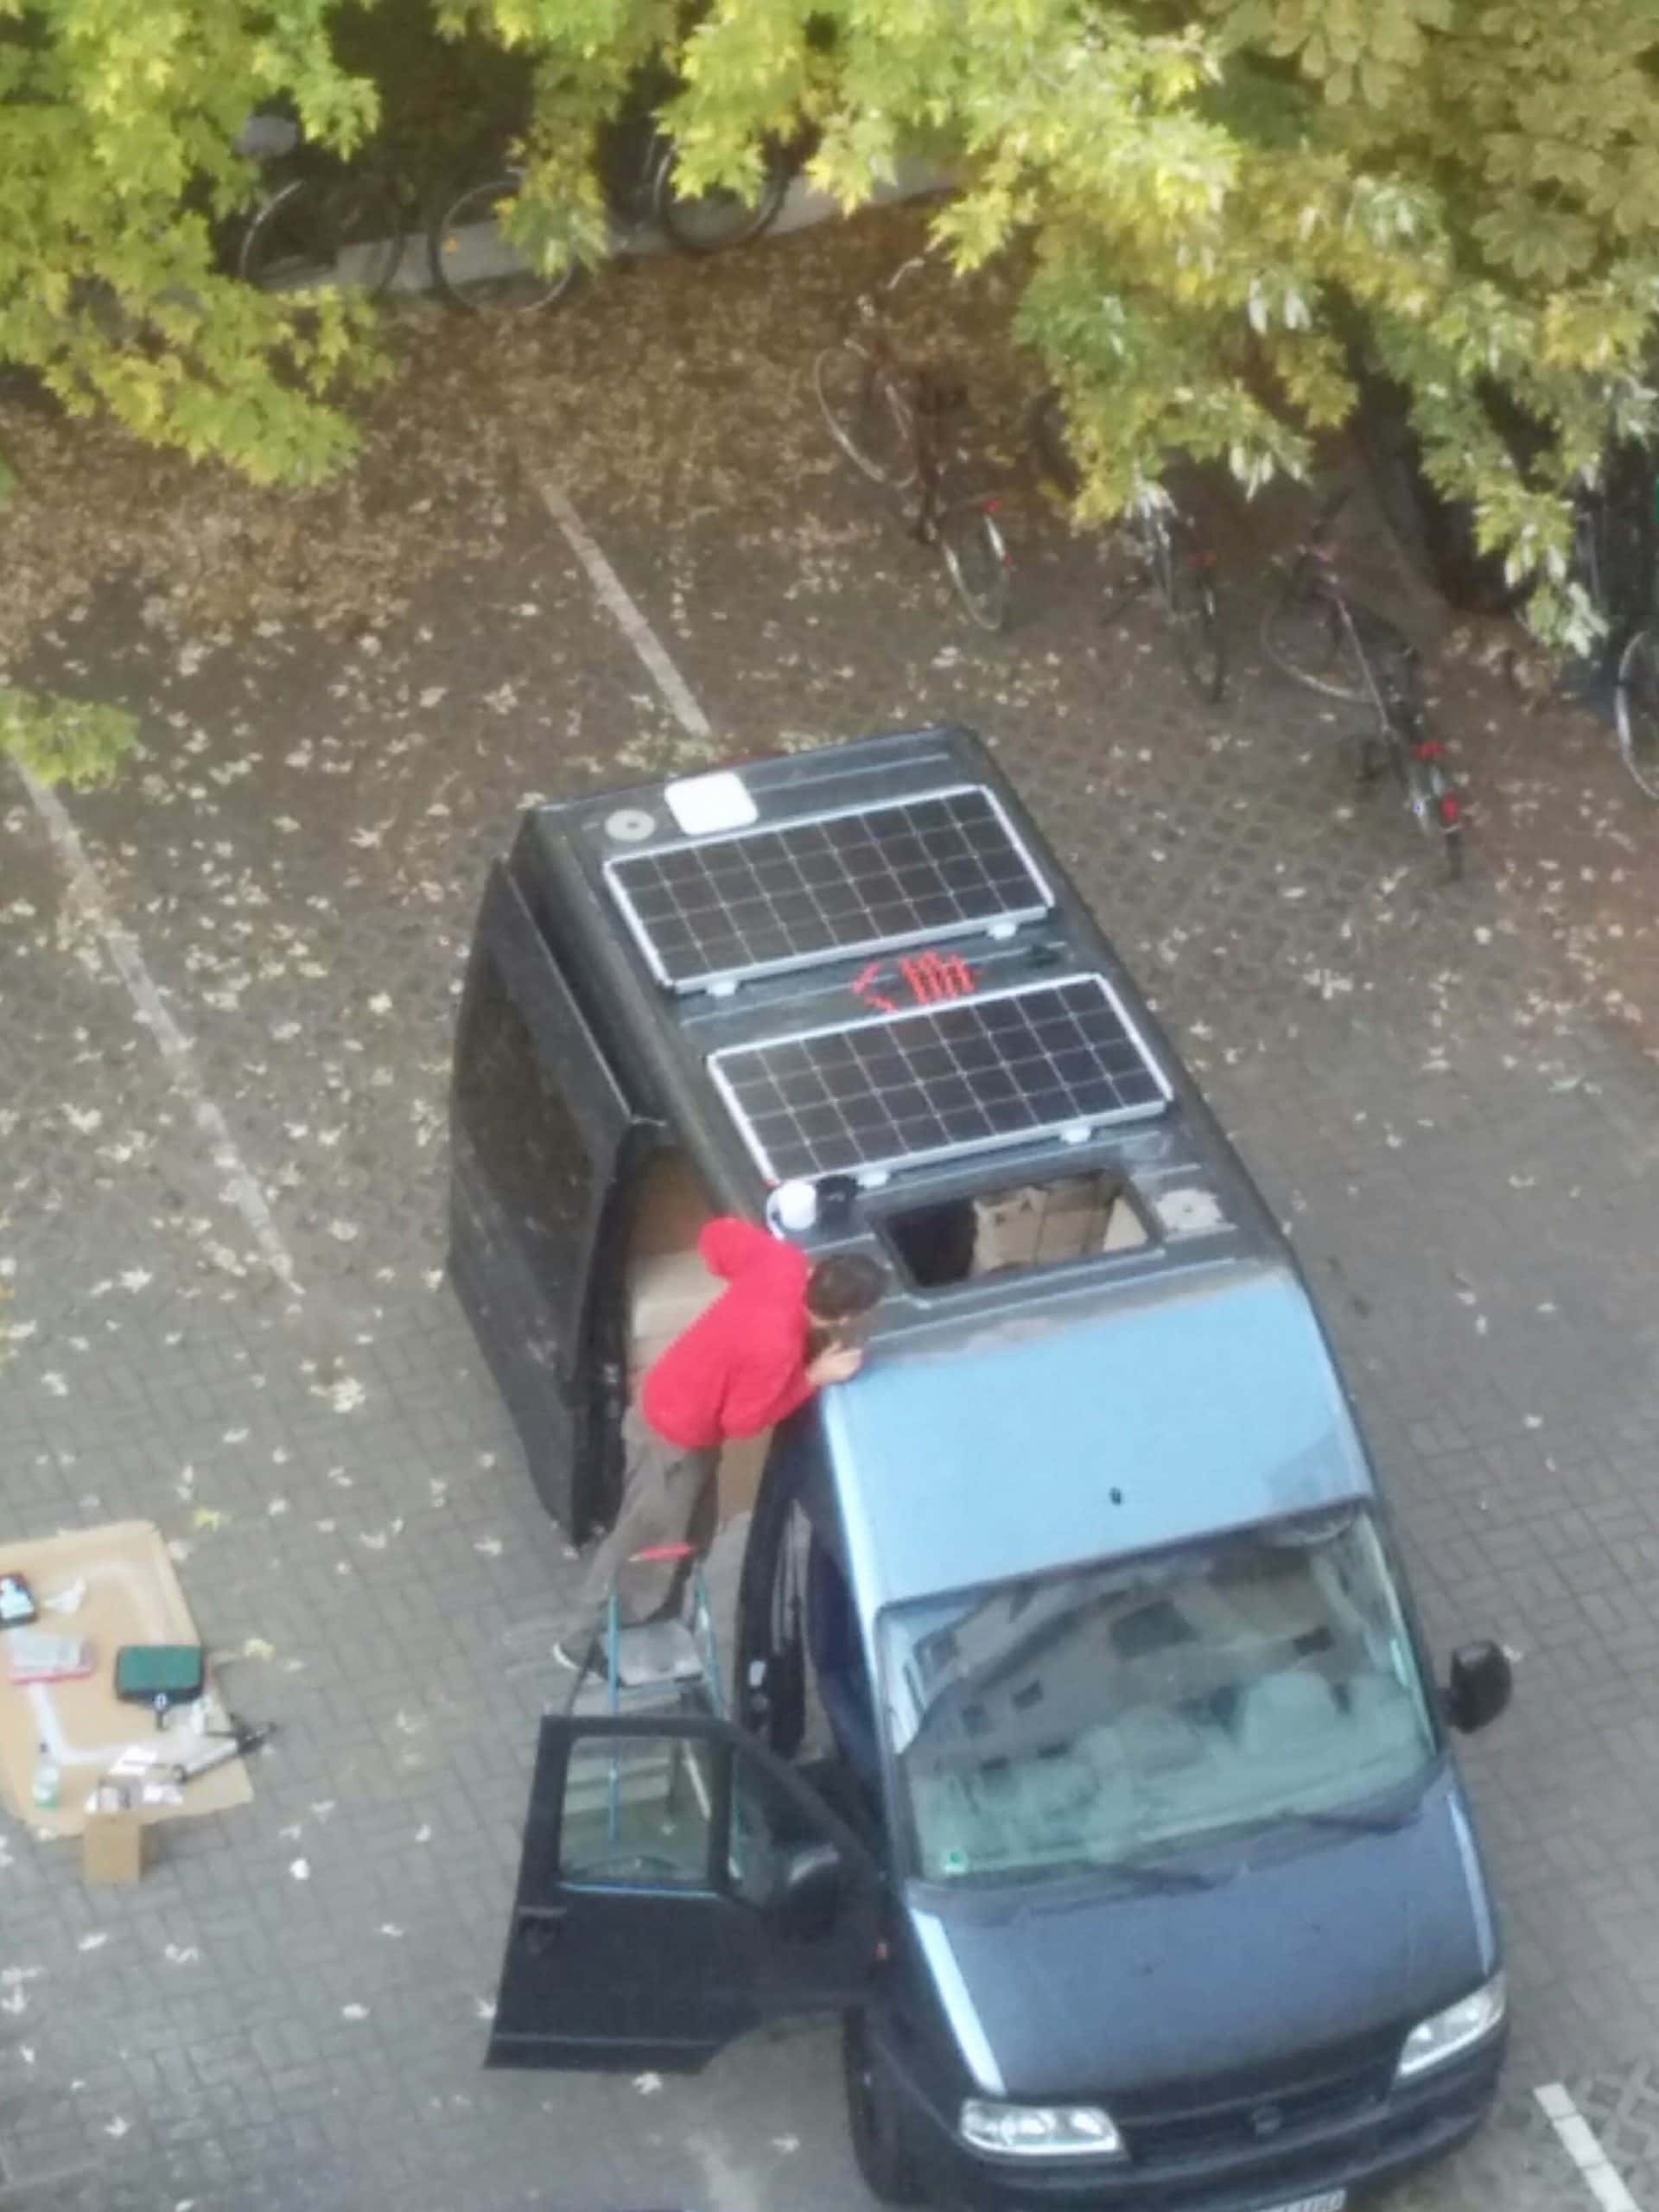
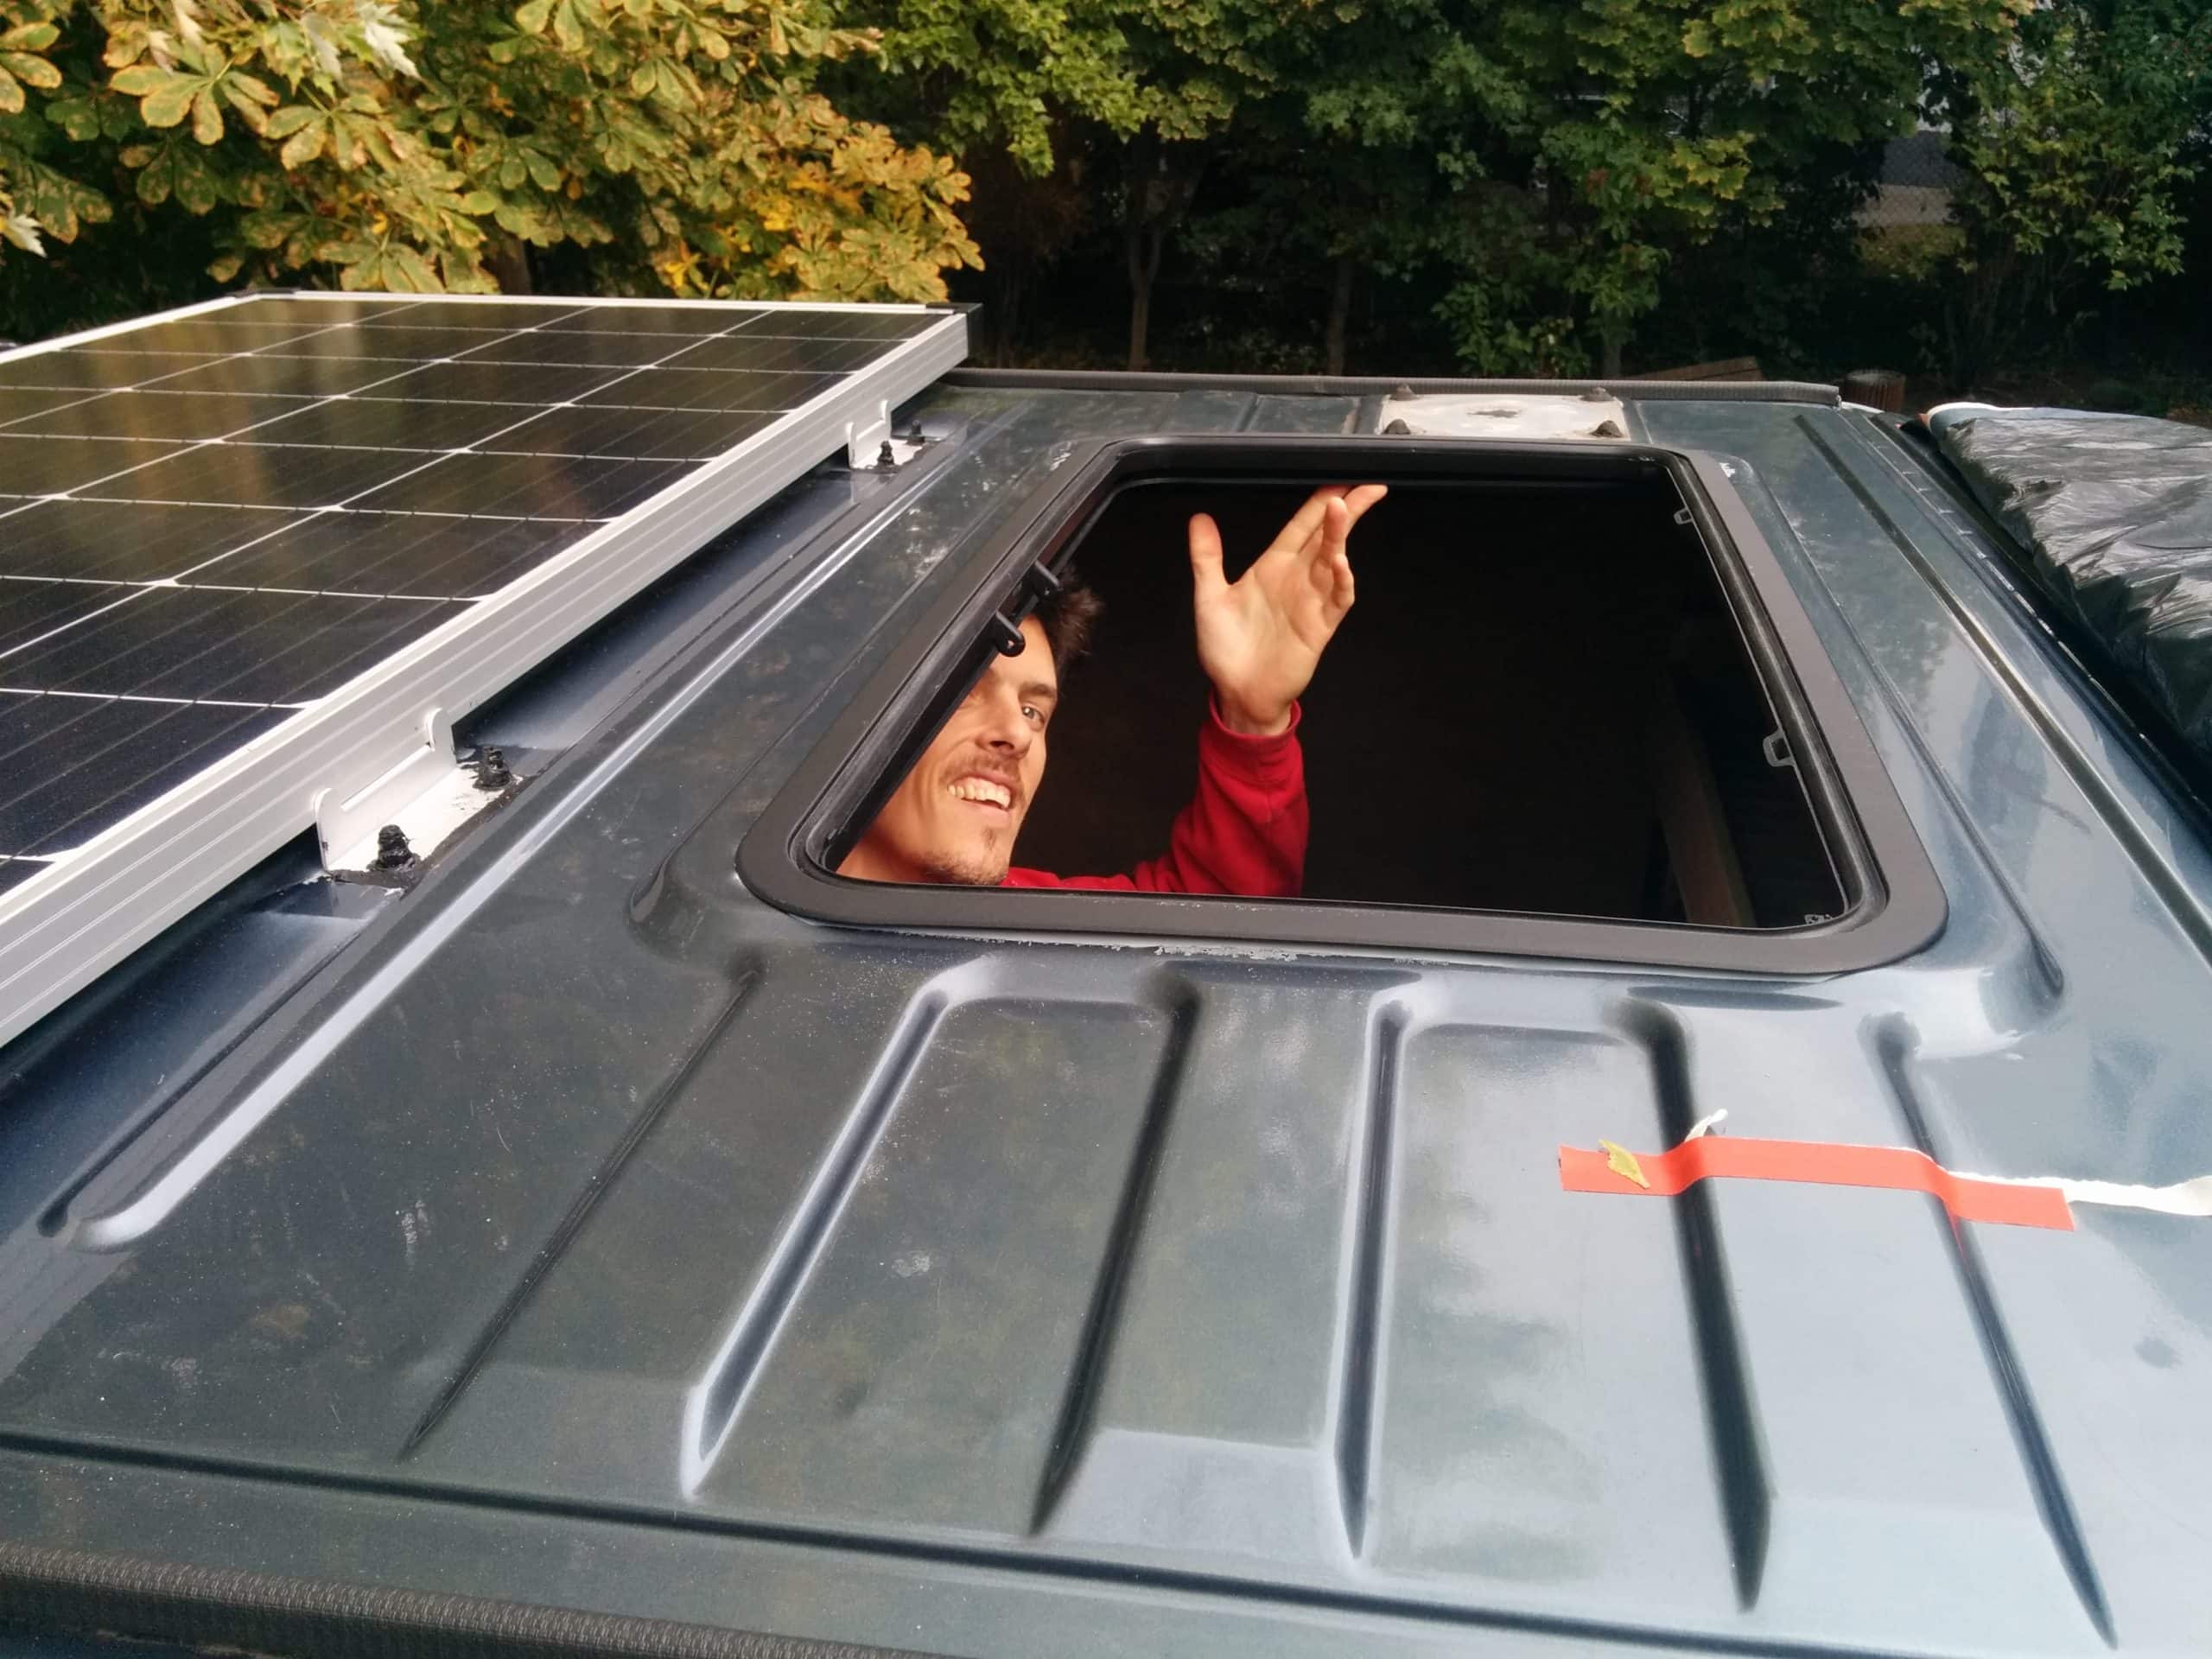
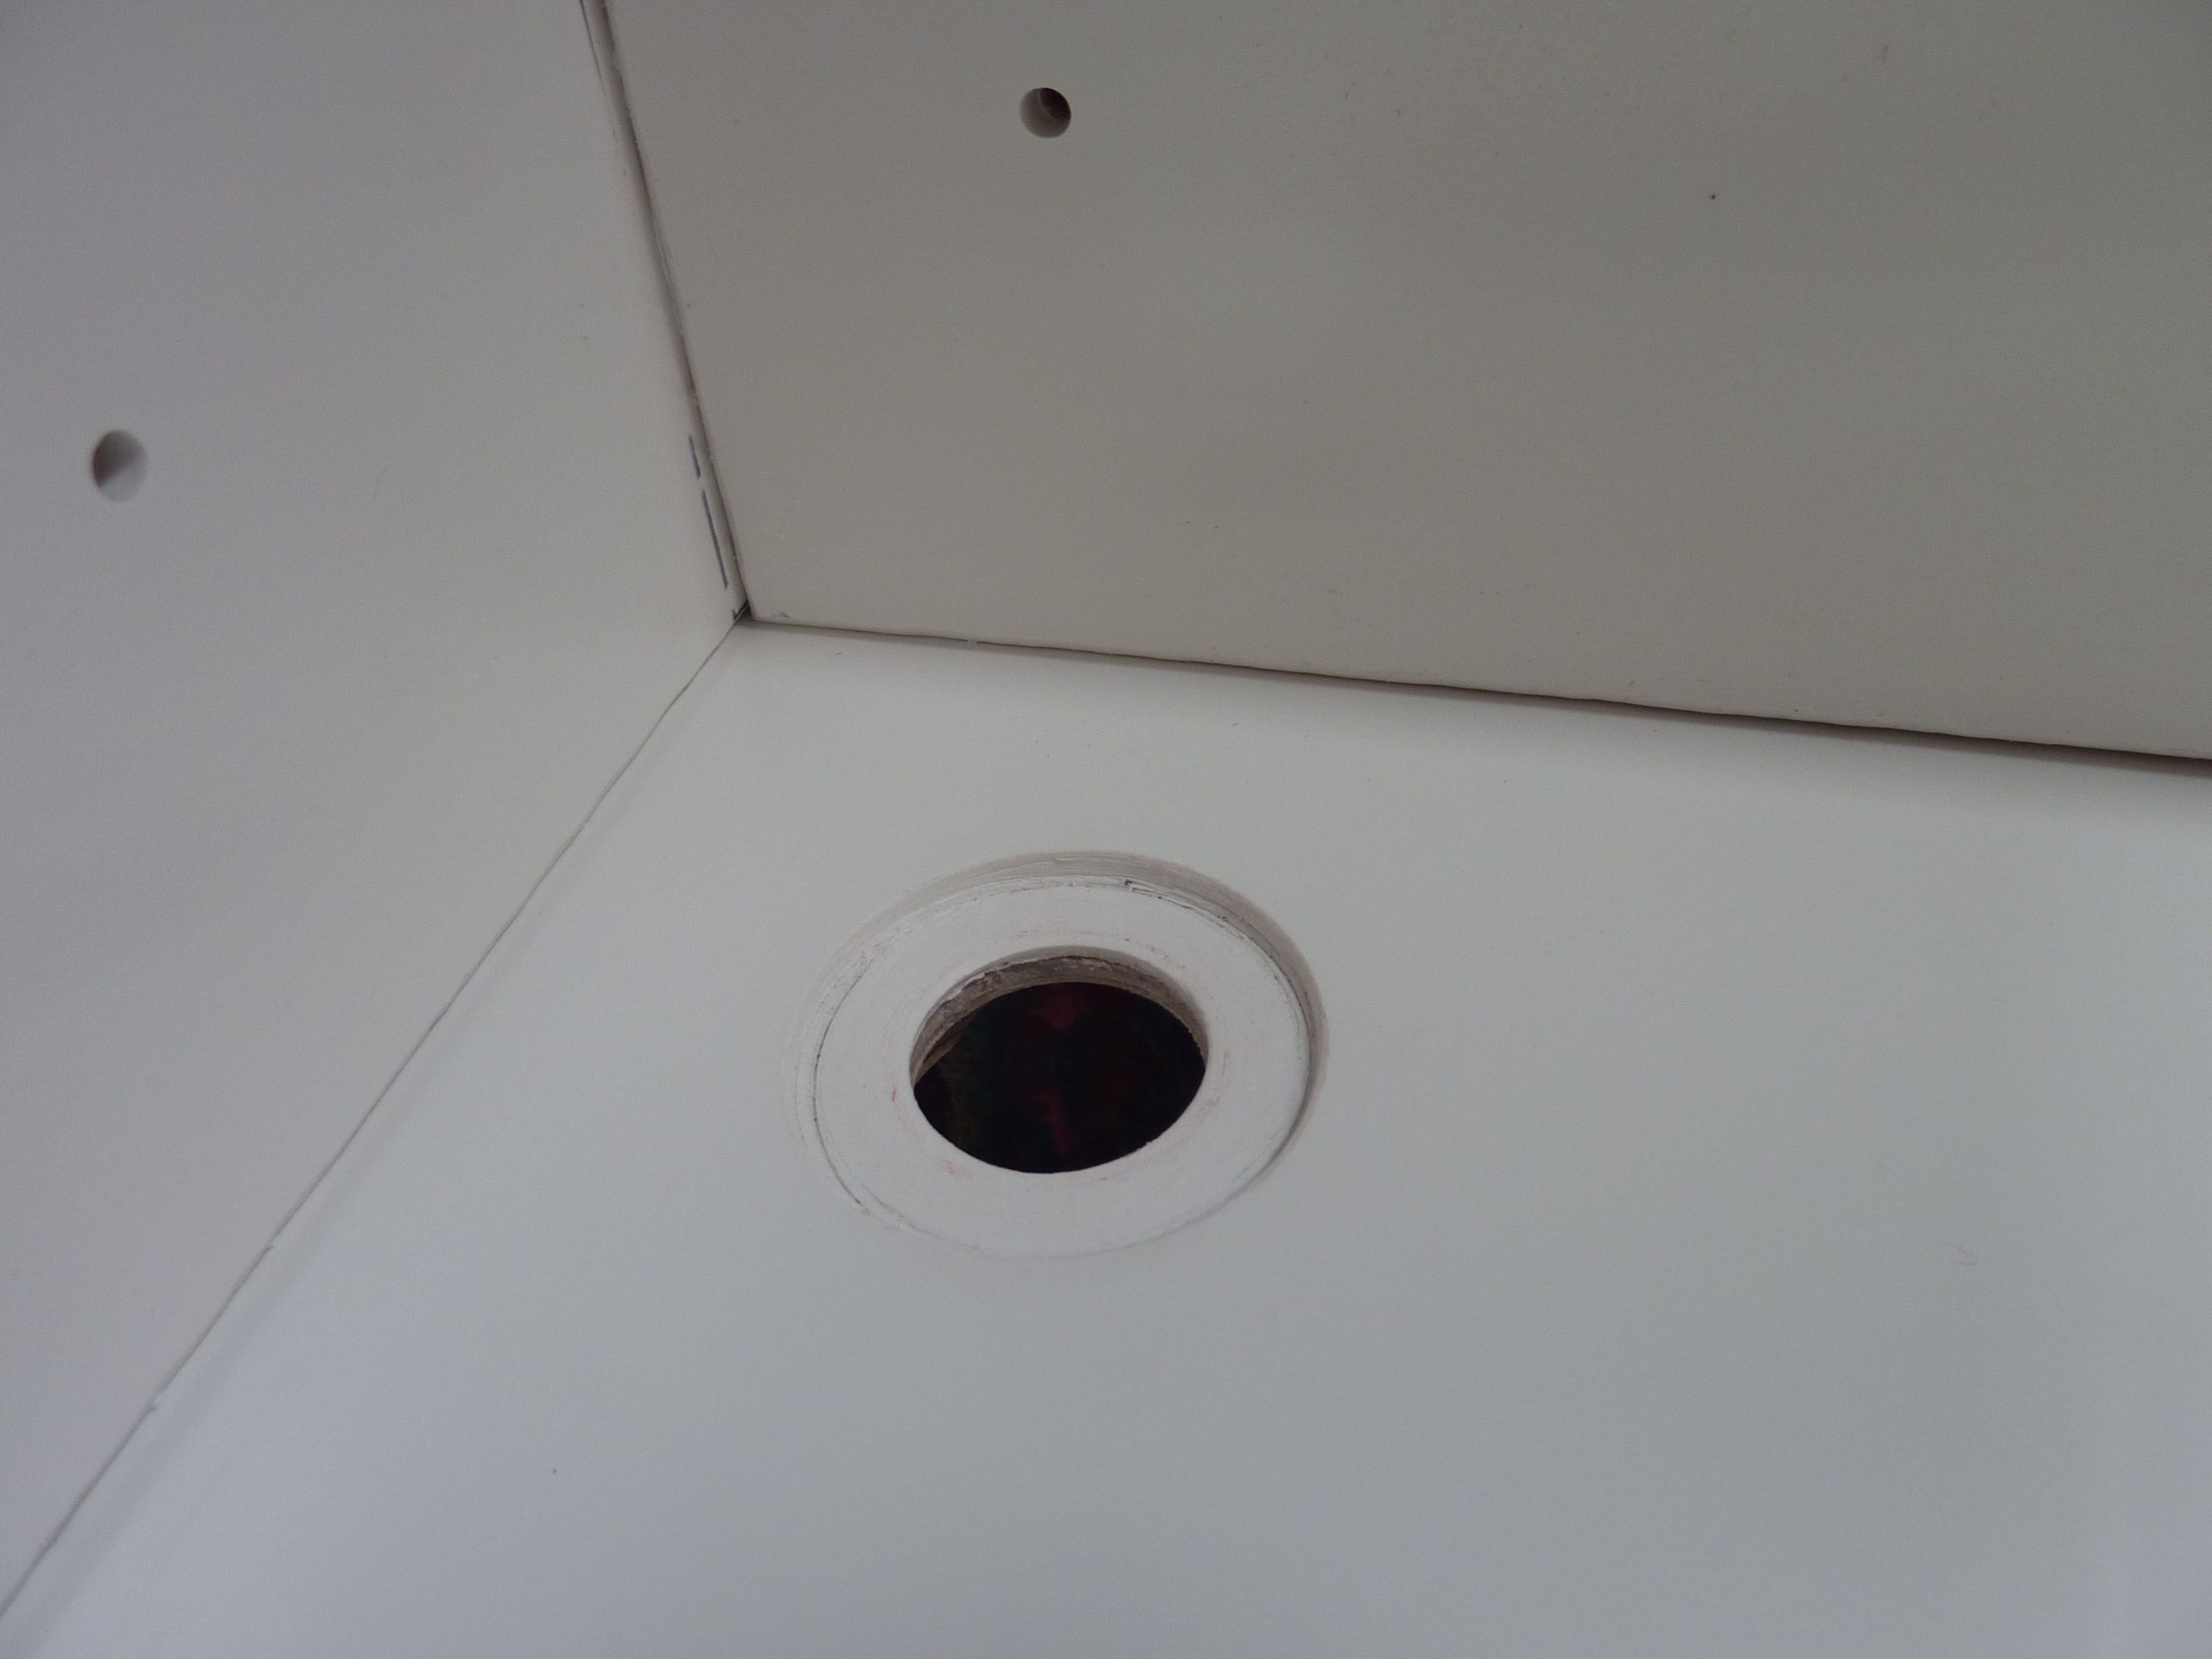
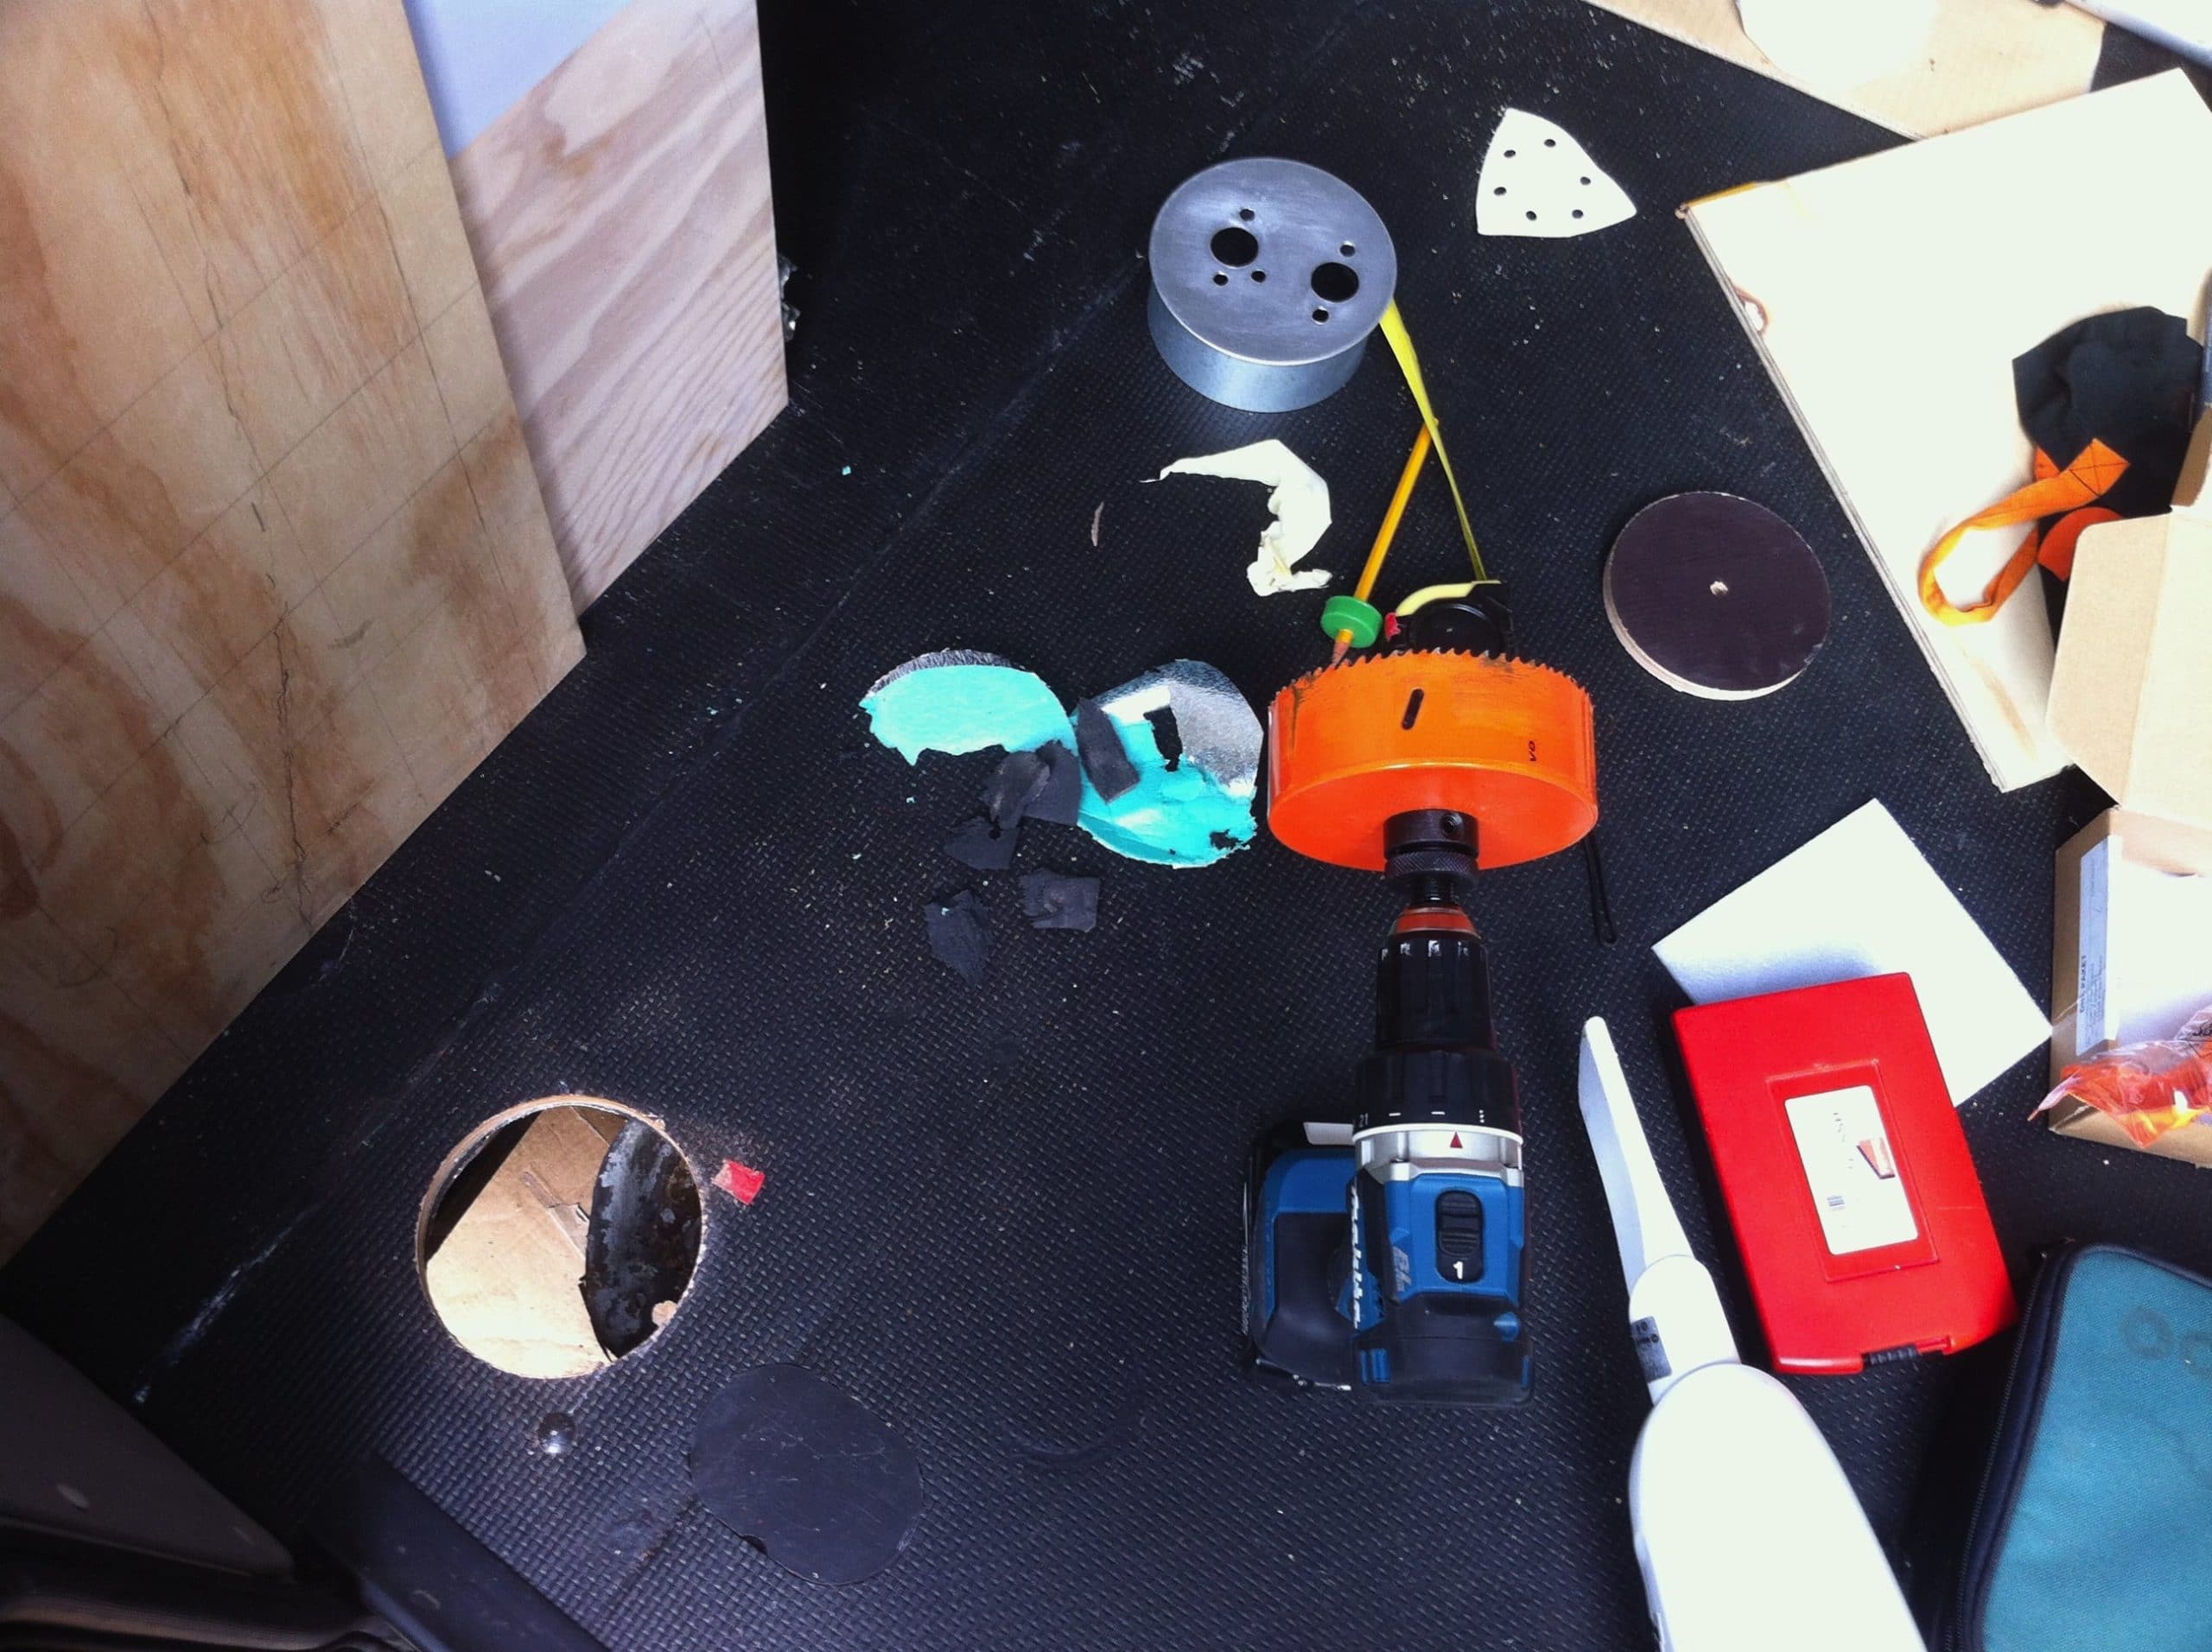
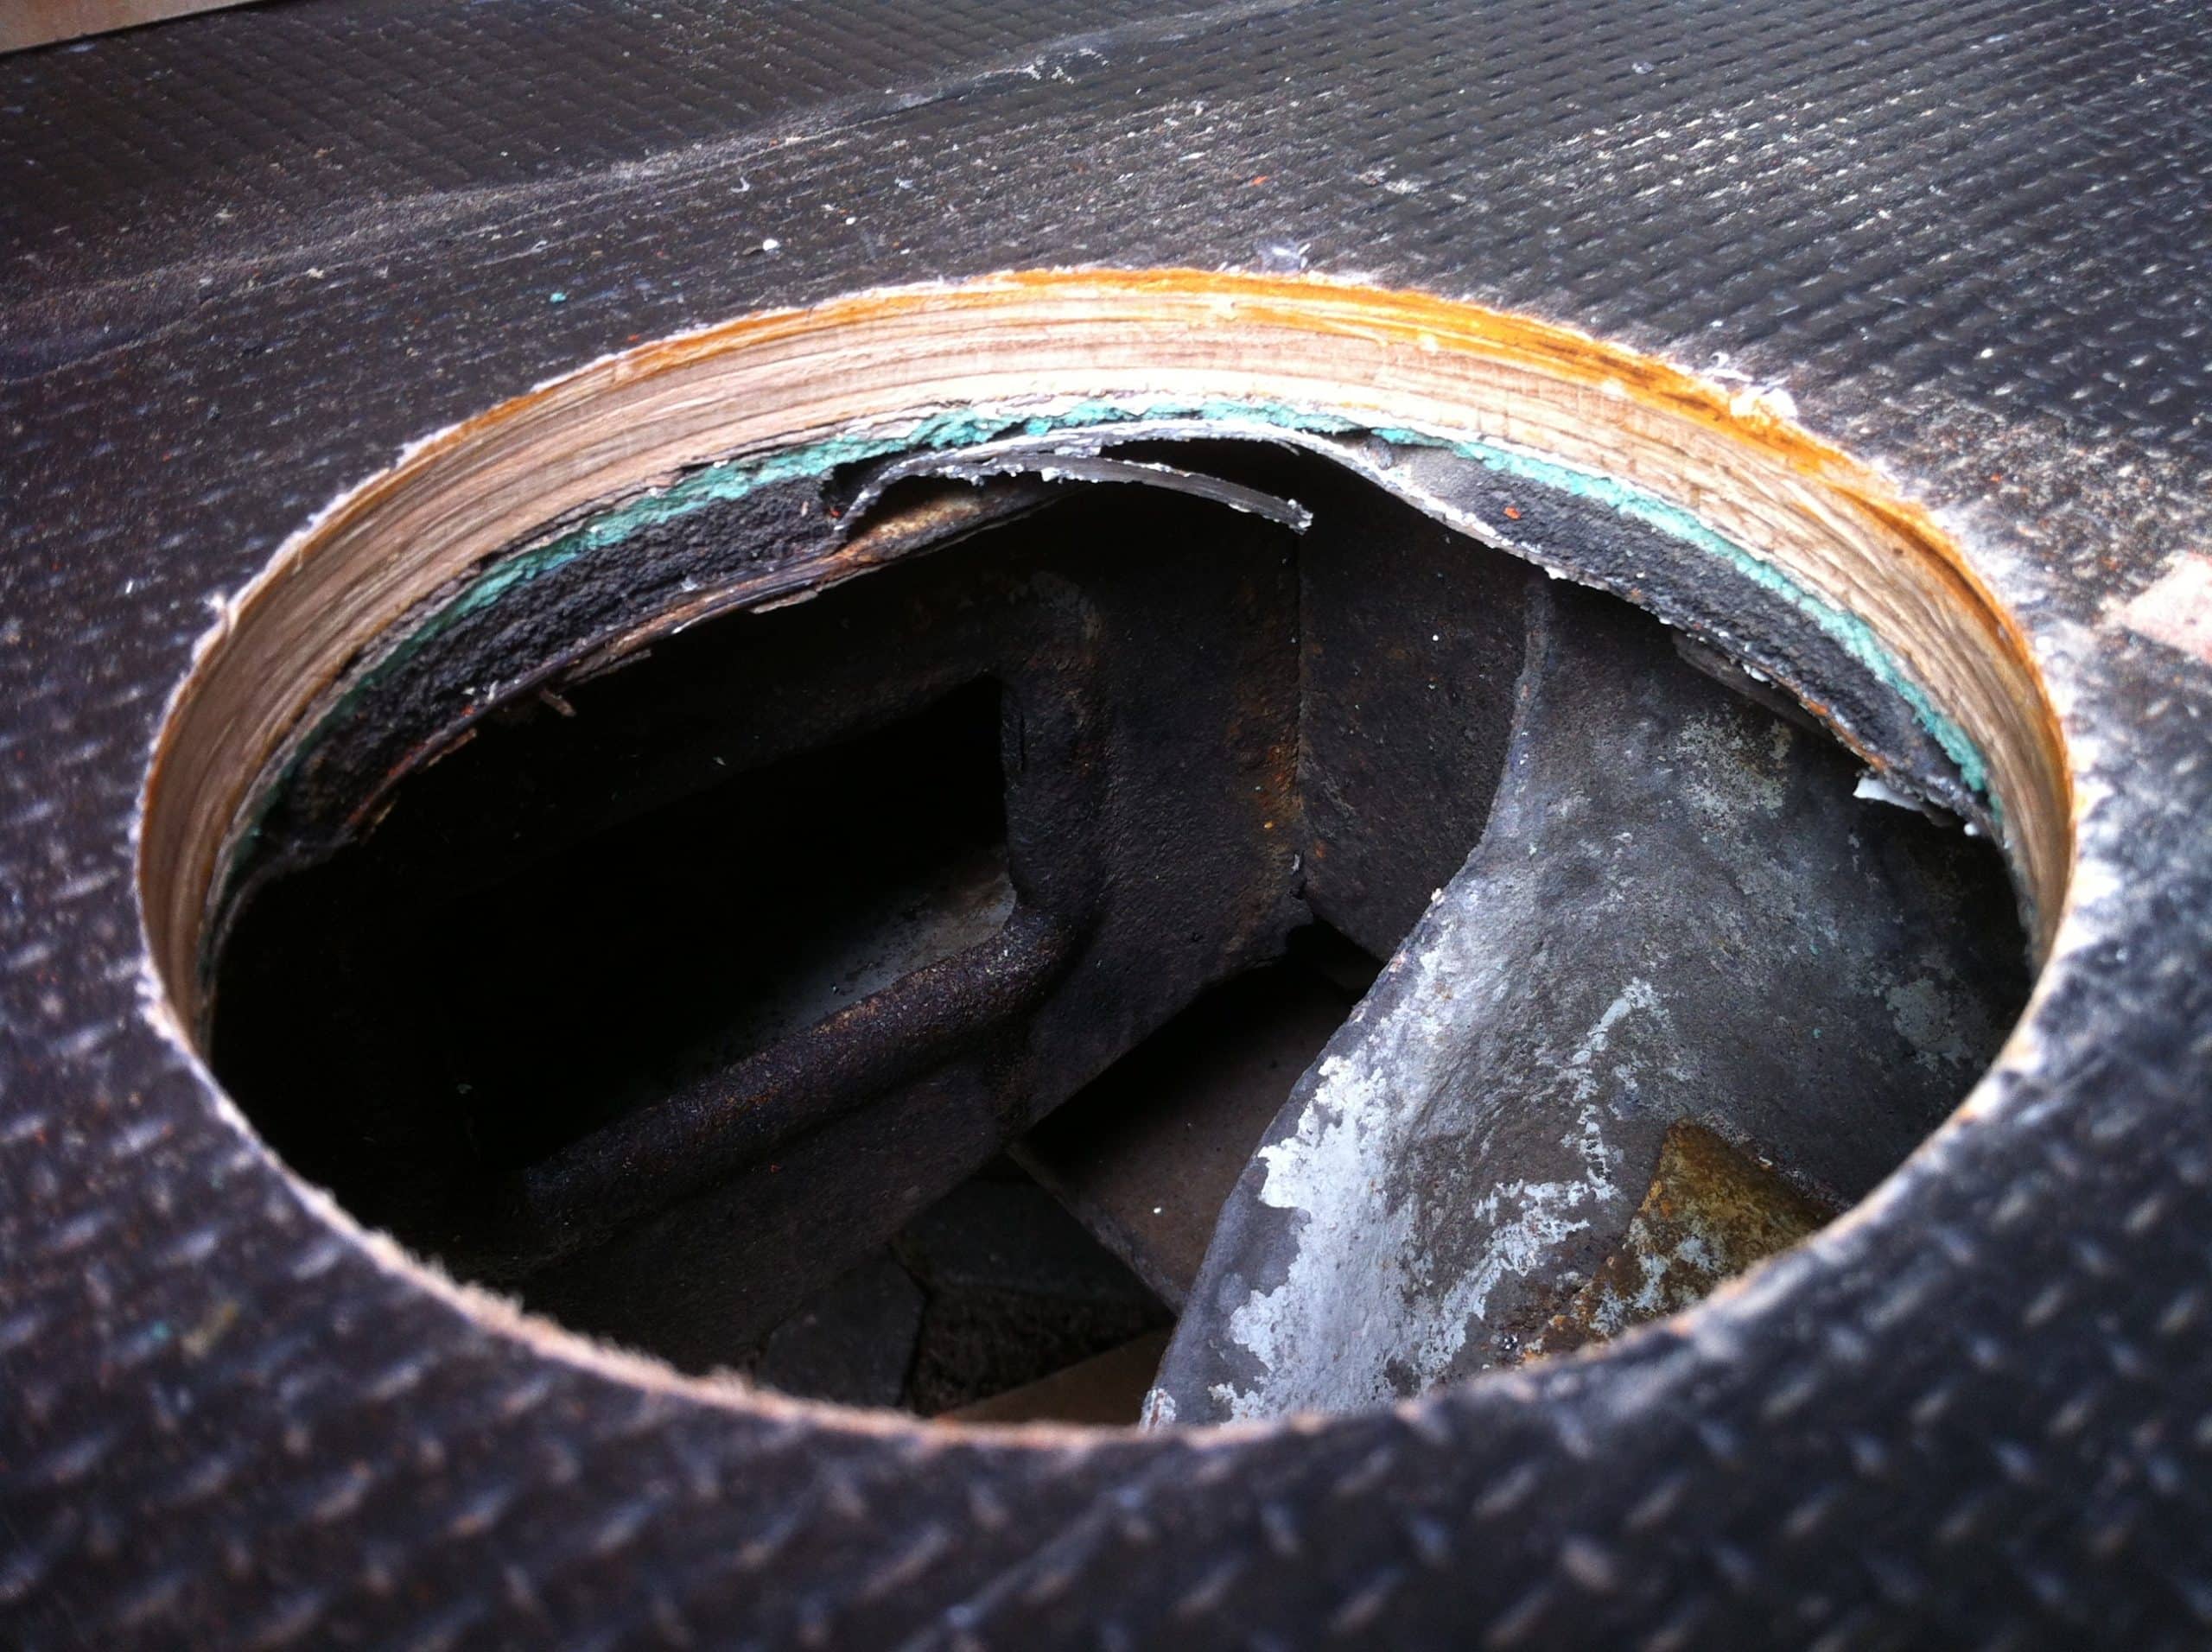
And there is also something empowering in taking it all apart, as you have to trust yourself that you will be able and resilient enough to also put it back together again, and not leave yourself alone with the mess. In a way, you also have to become a bit ruthless and trusting as you saw holes and drill through the metal, like f.ex. the big hole for the roof window or the hole in the floor for the heater where you have to be careful not to land on a support beam.
Insulation:
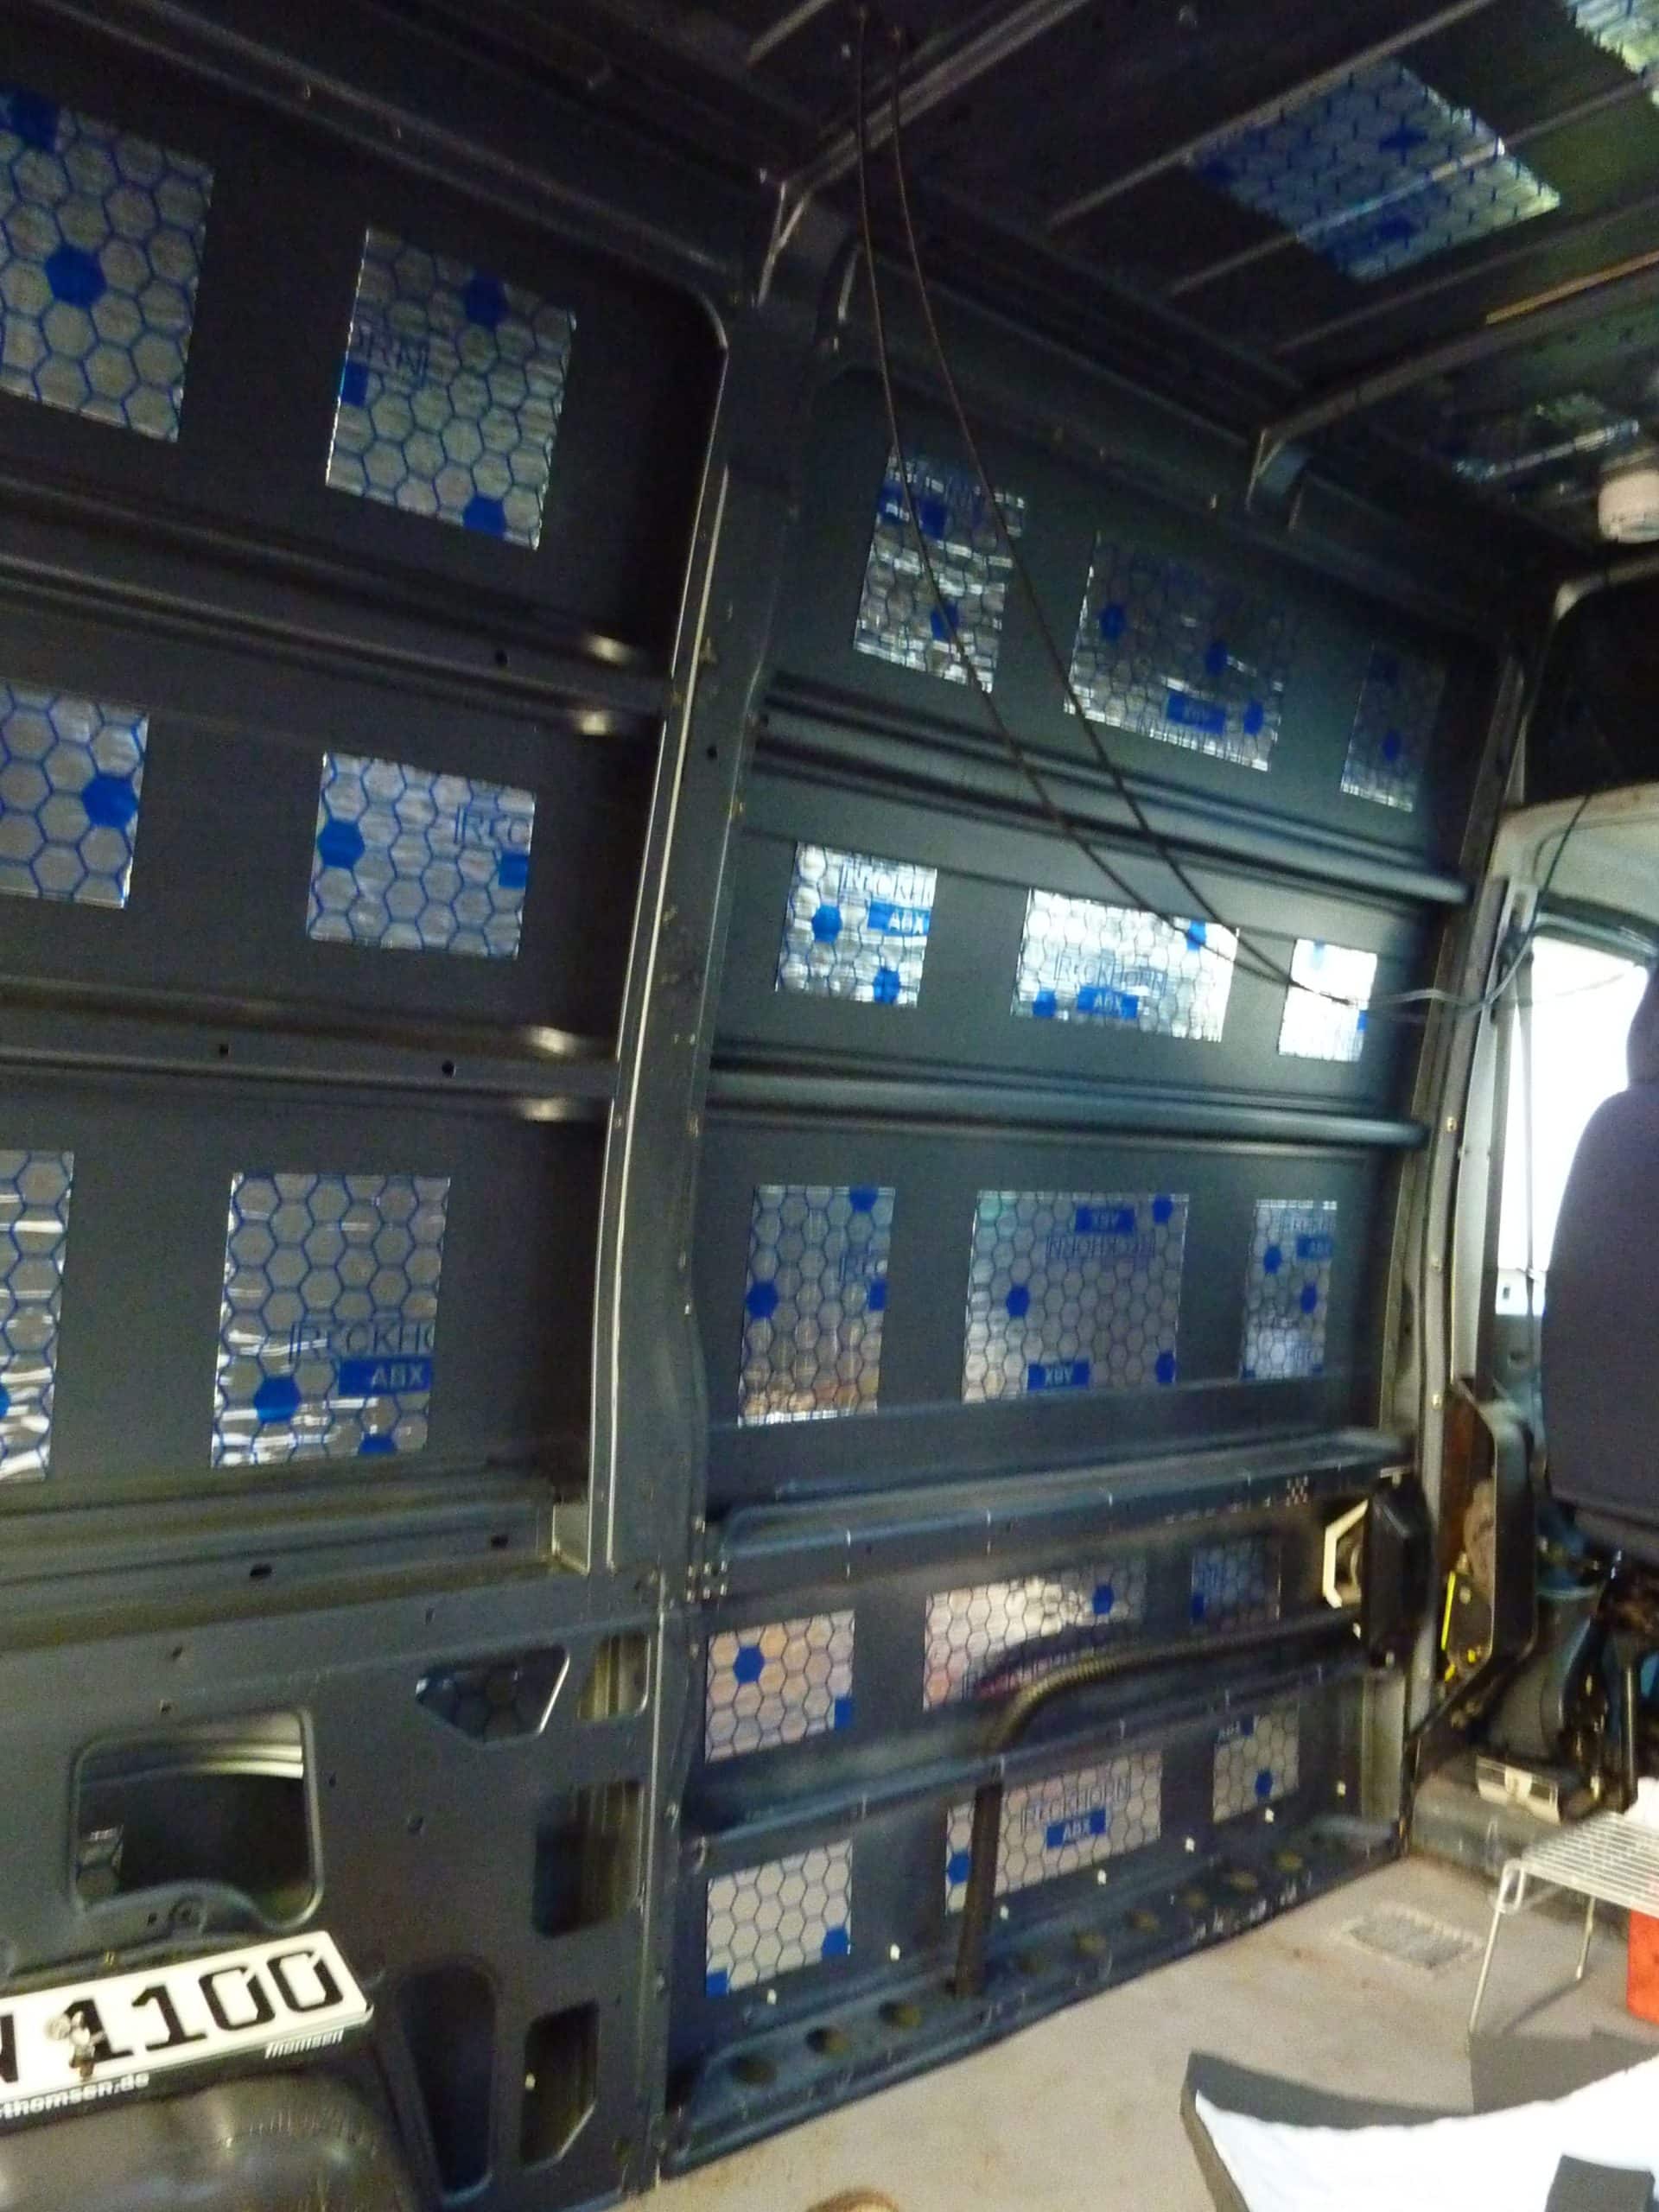
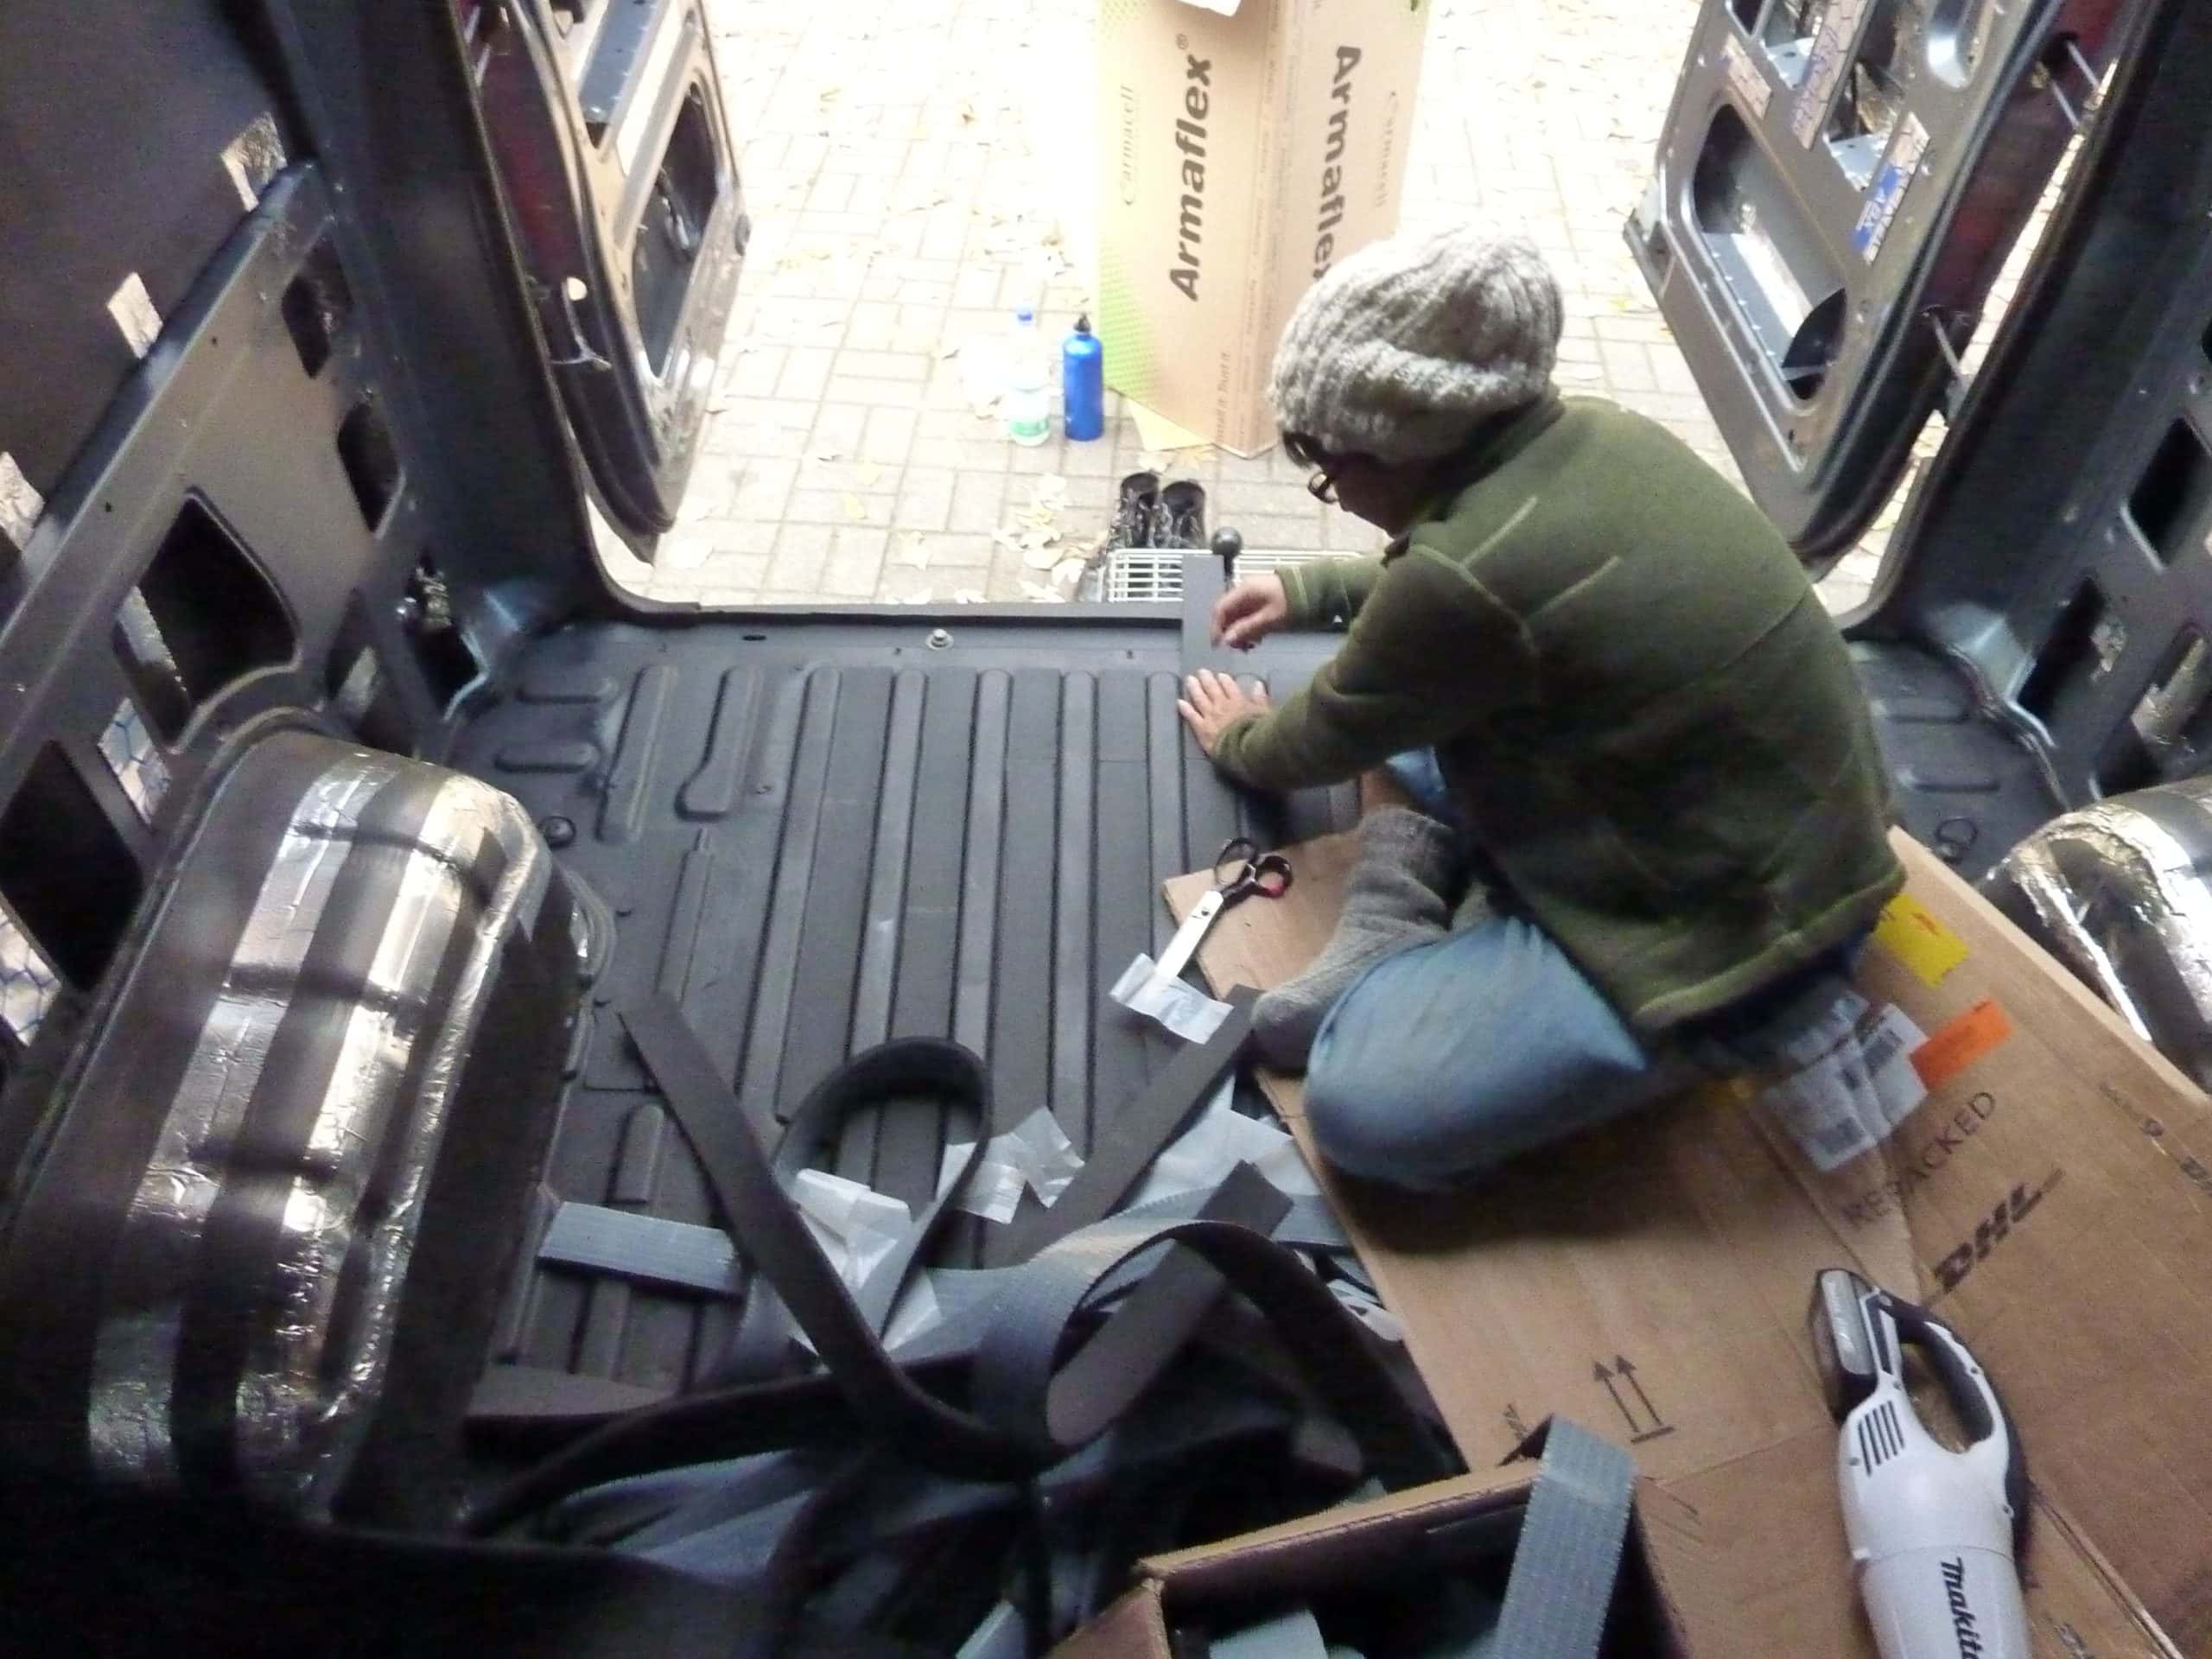
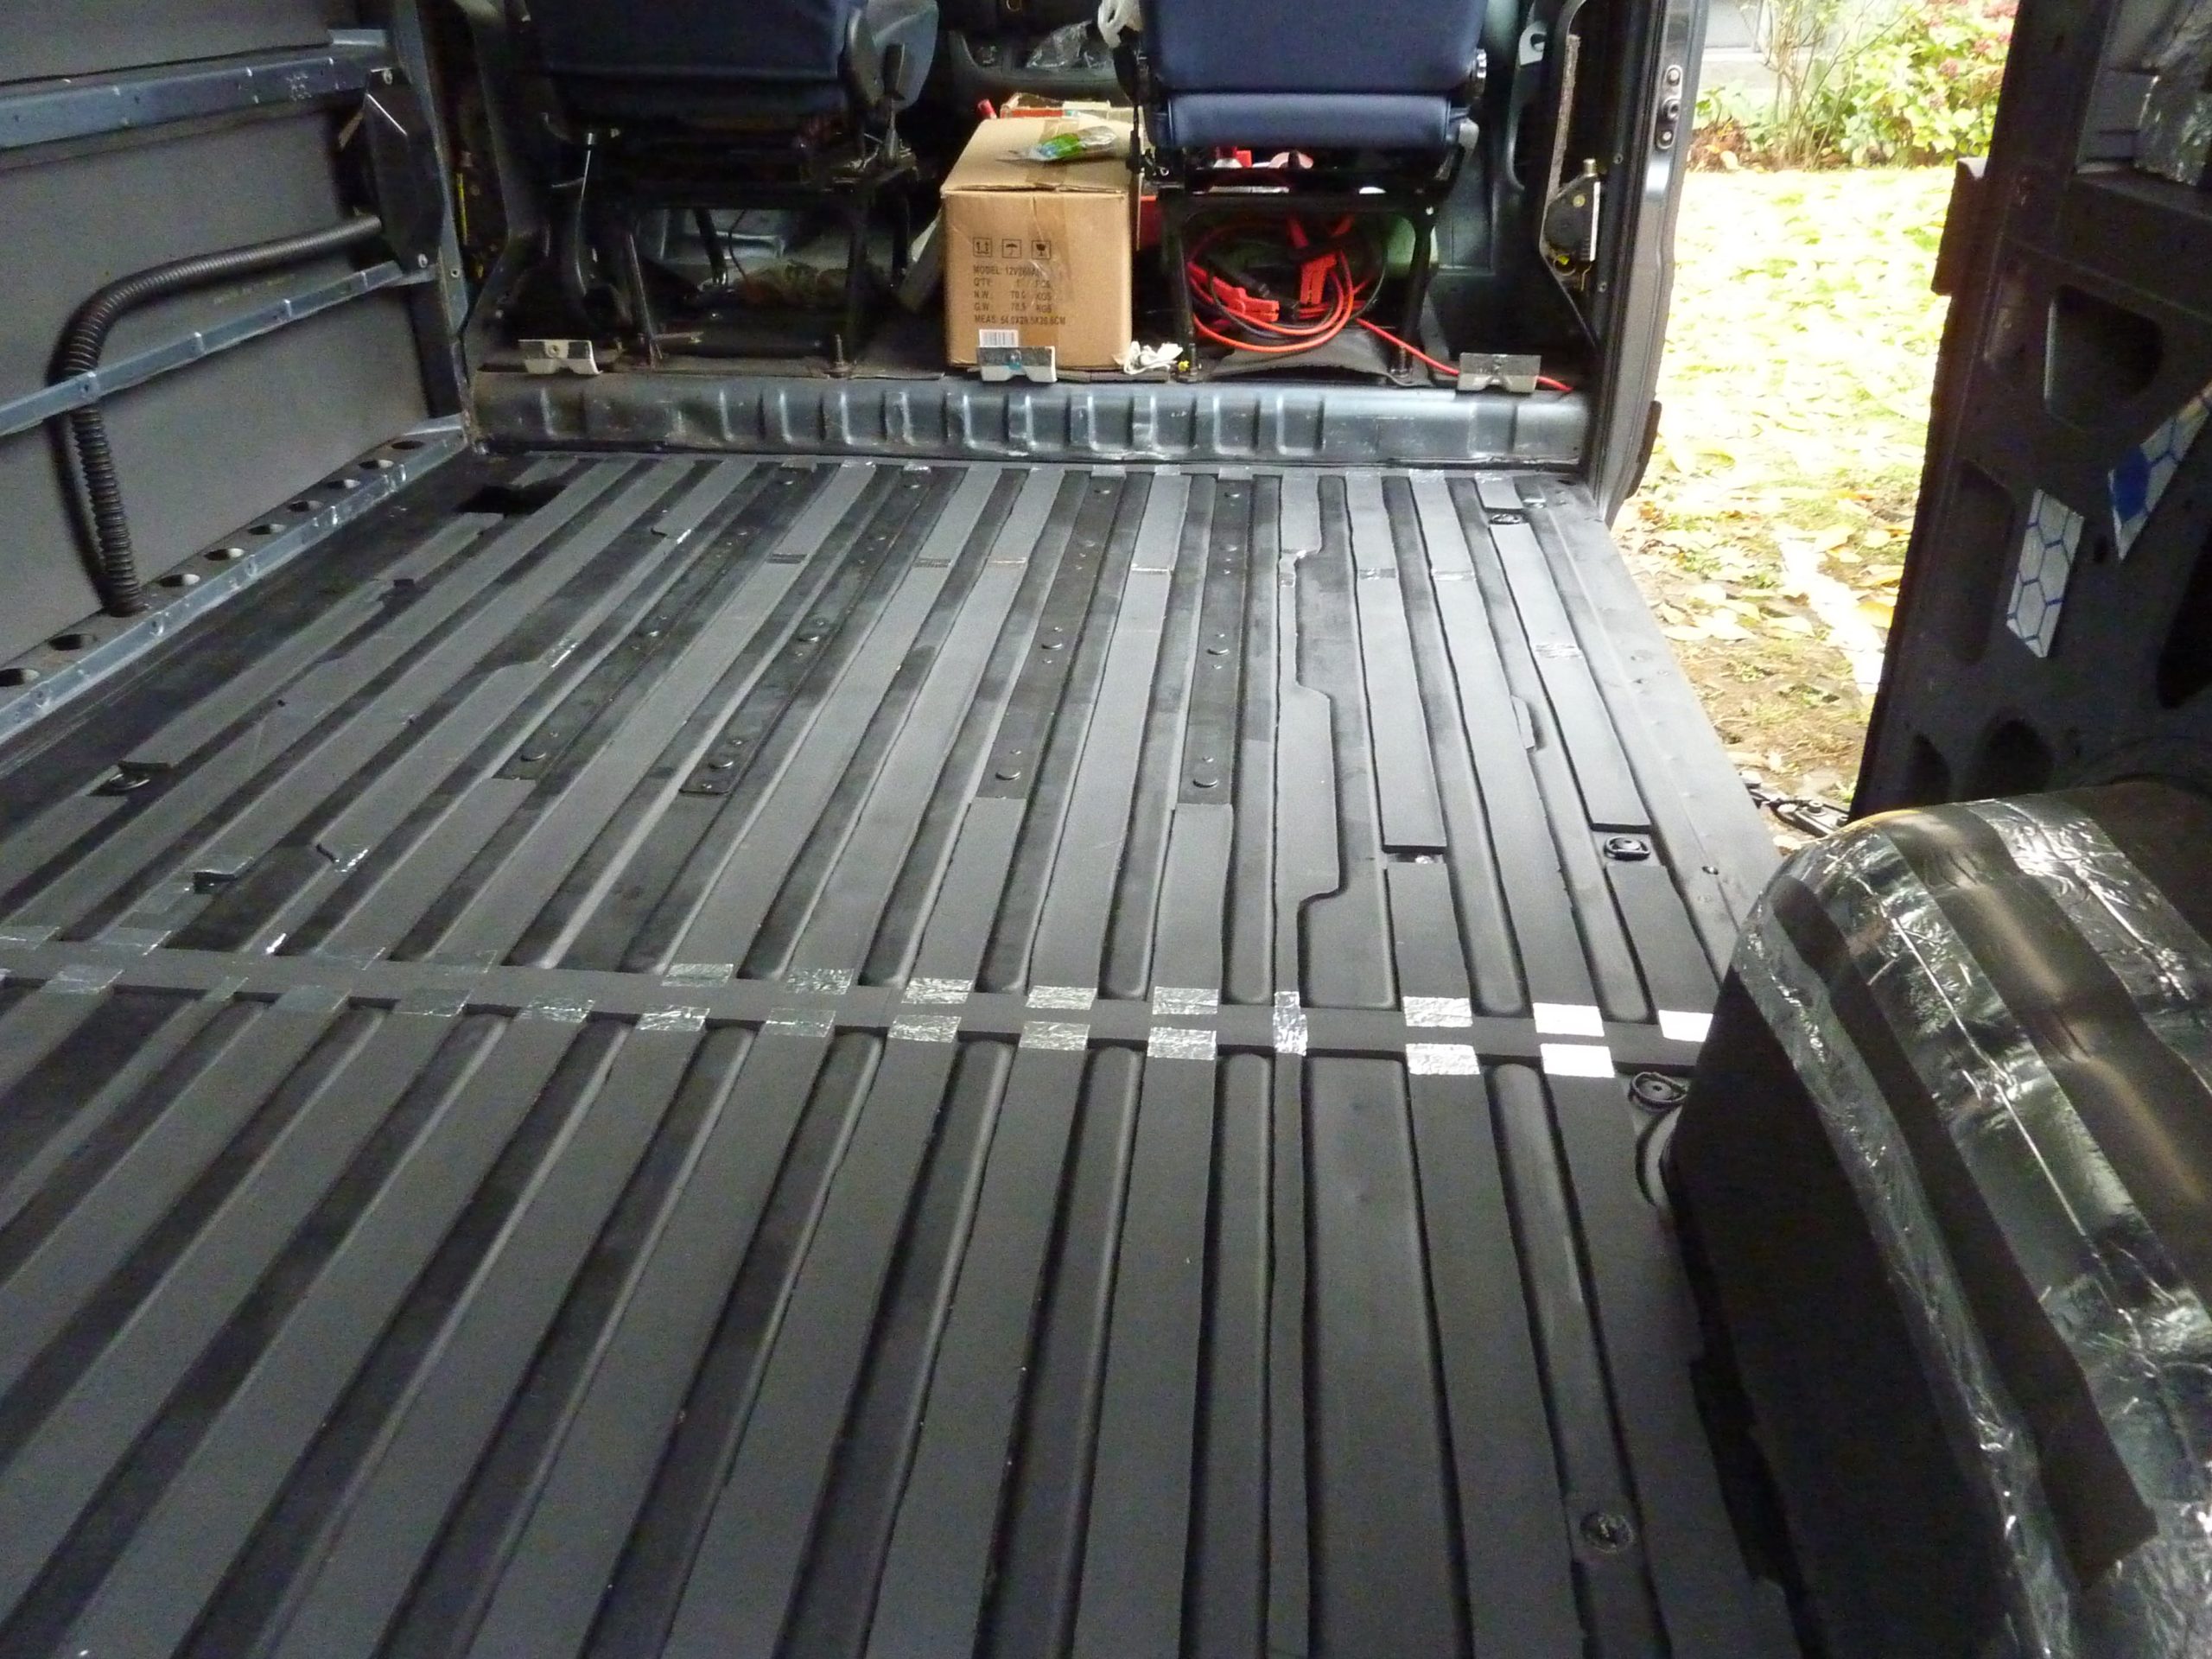
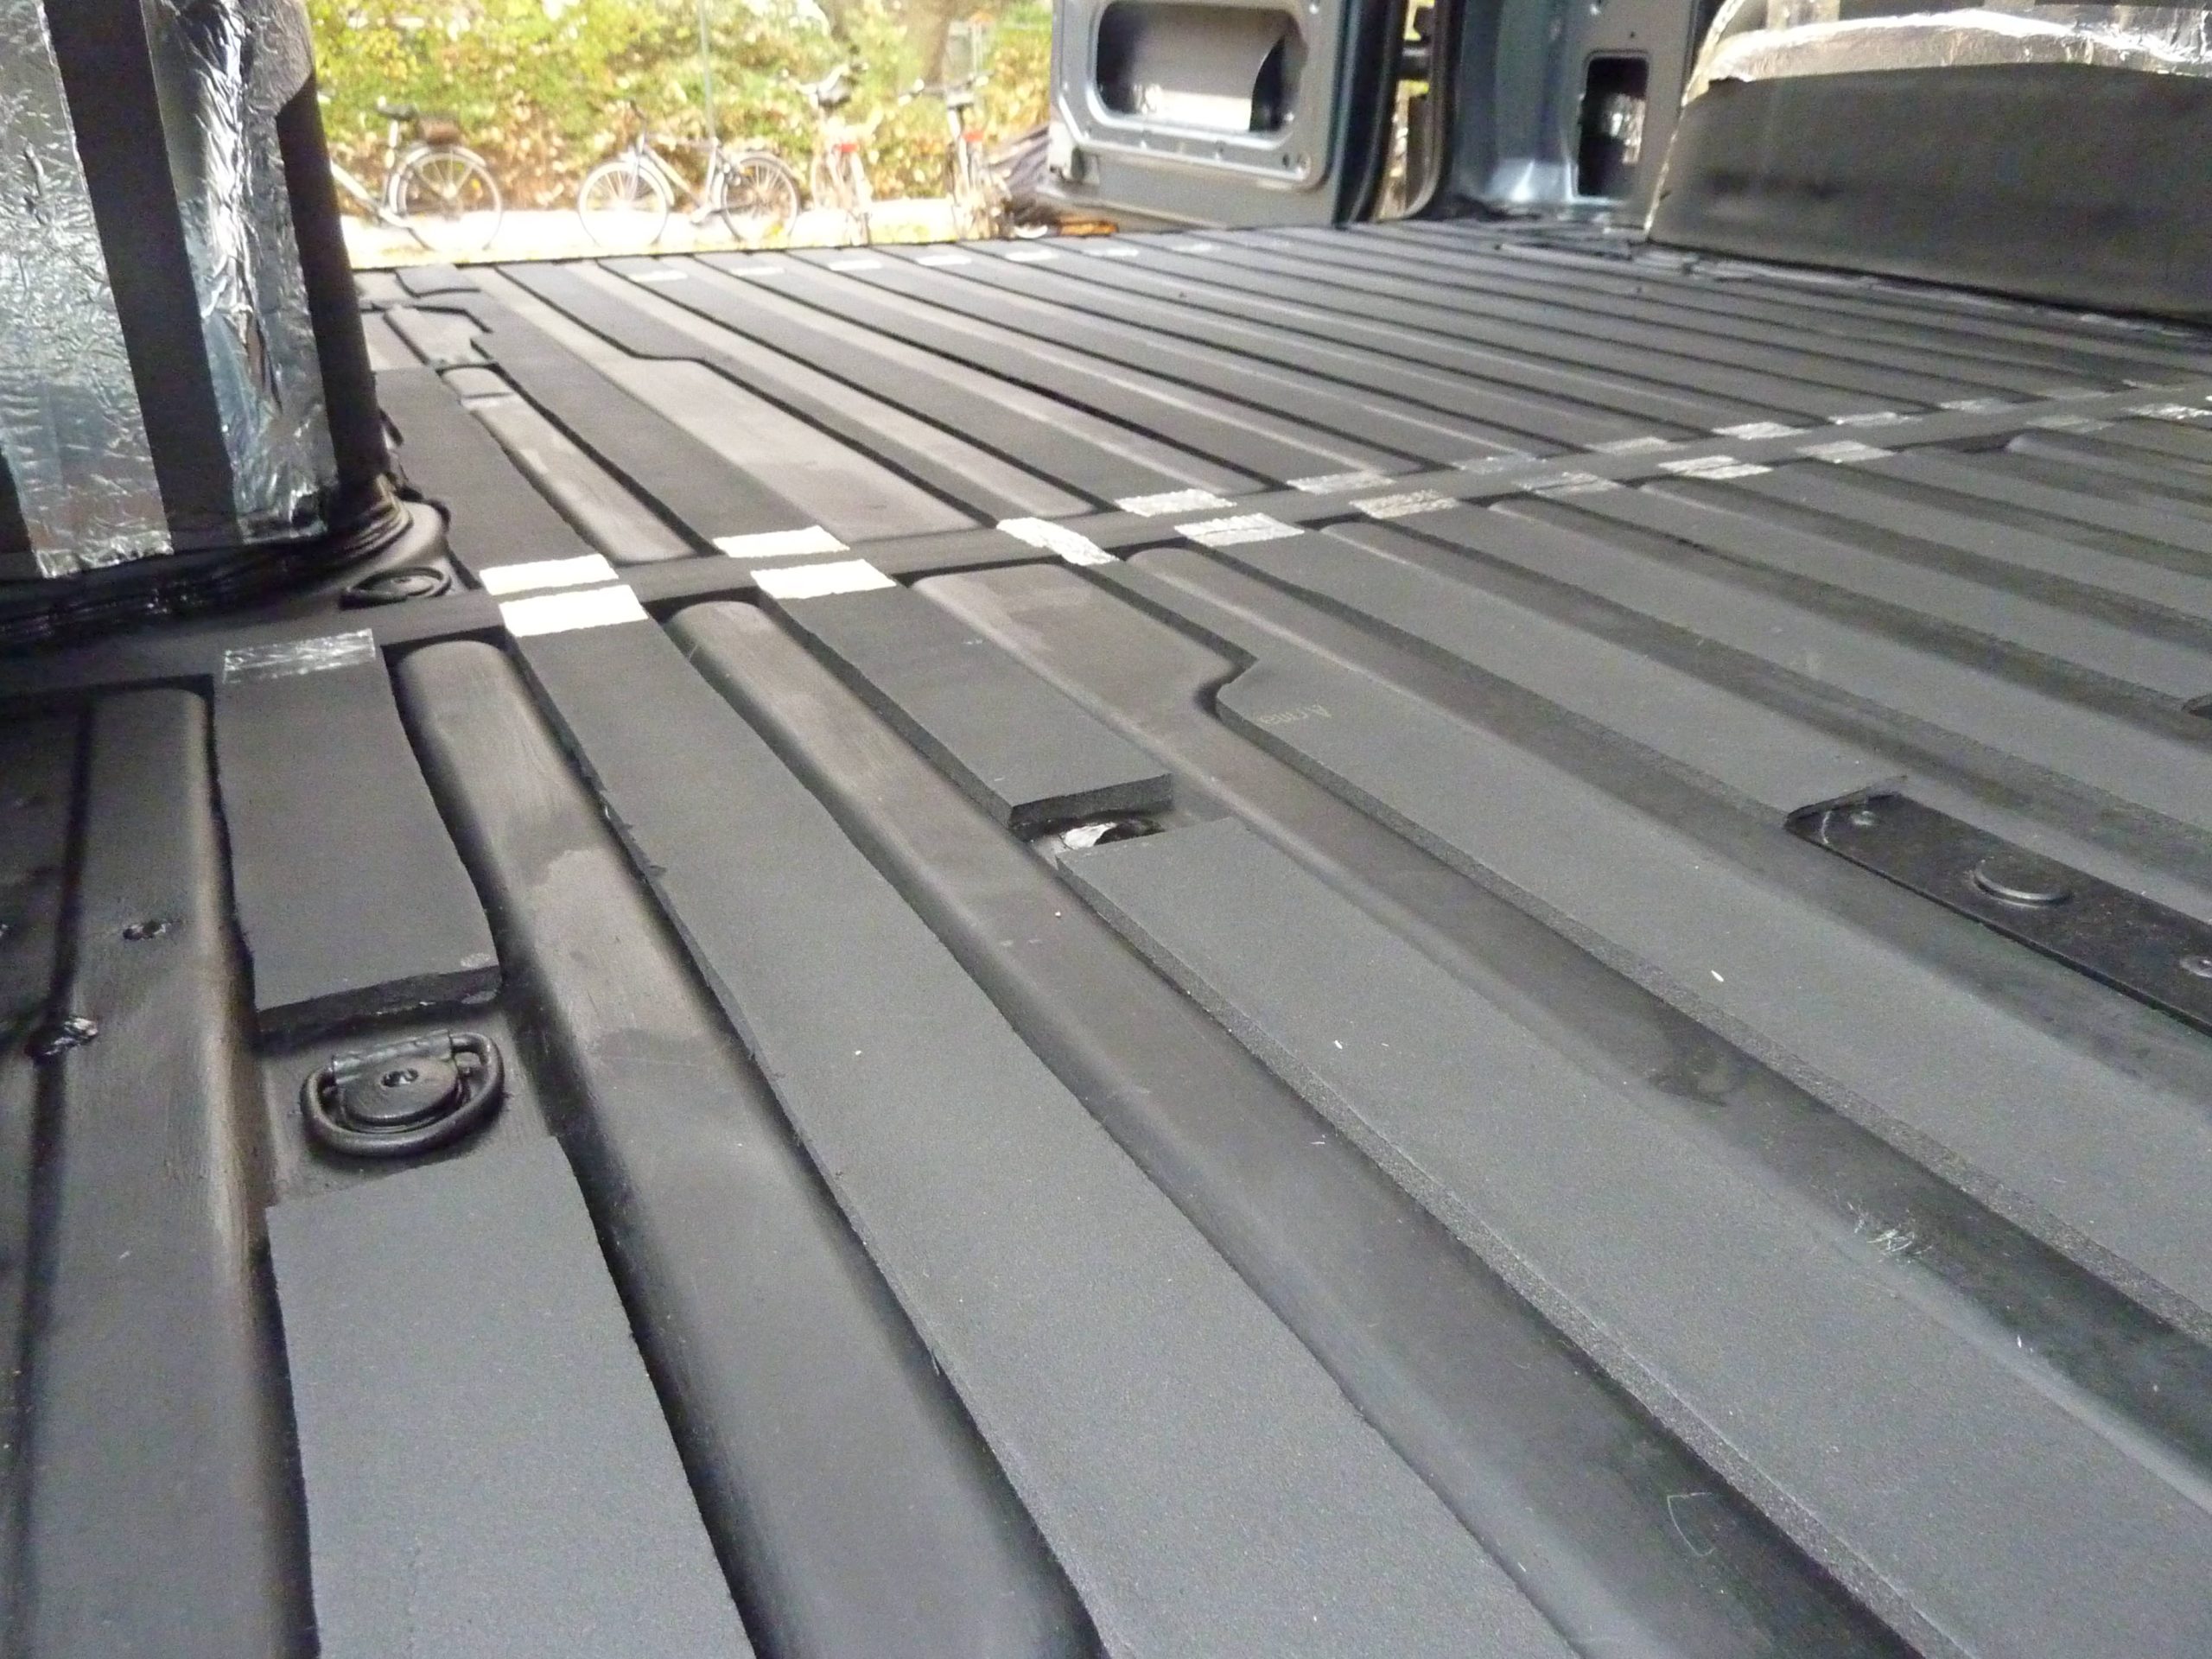
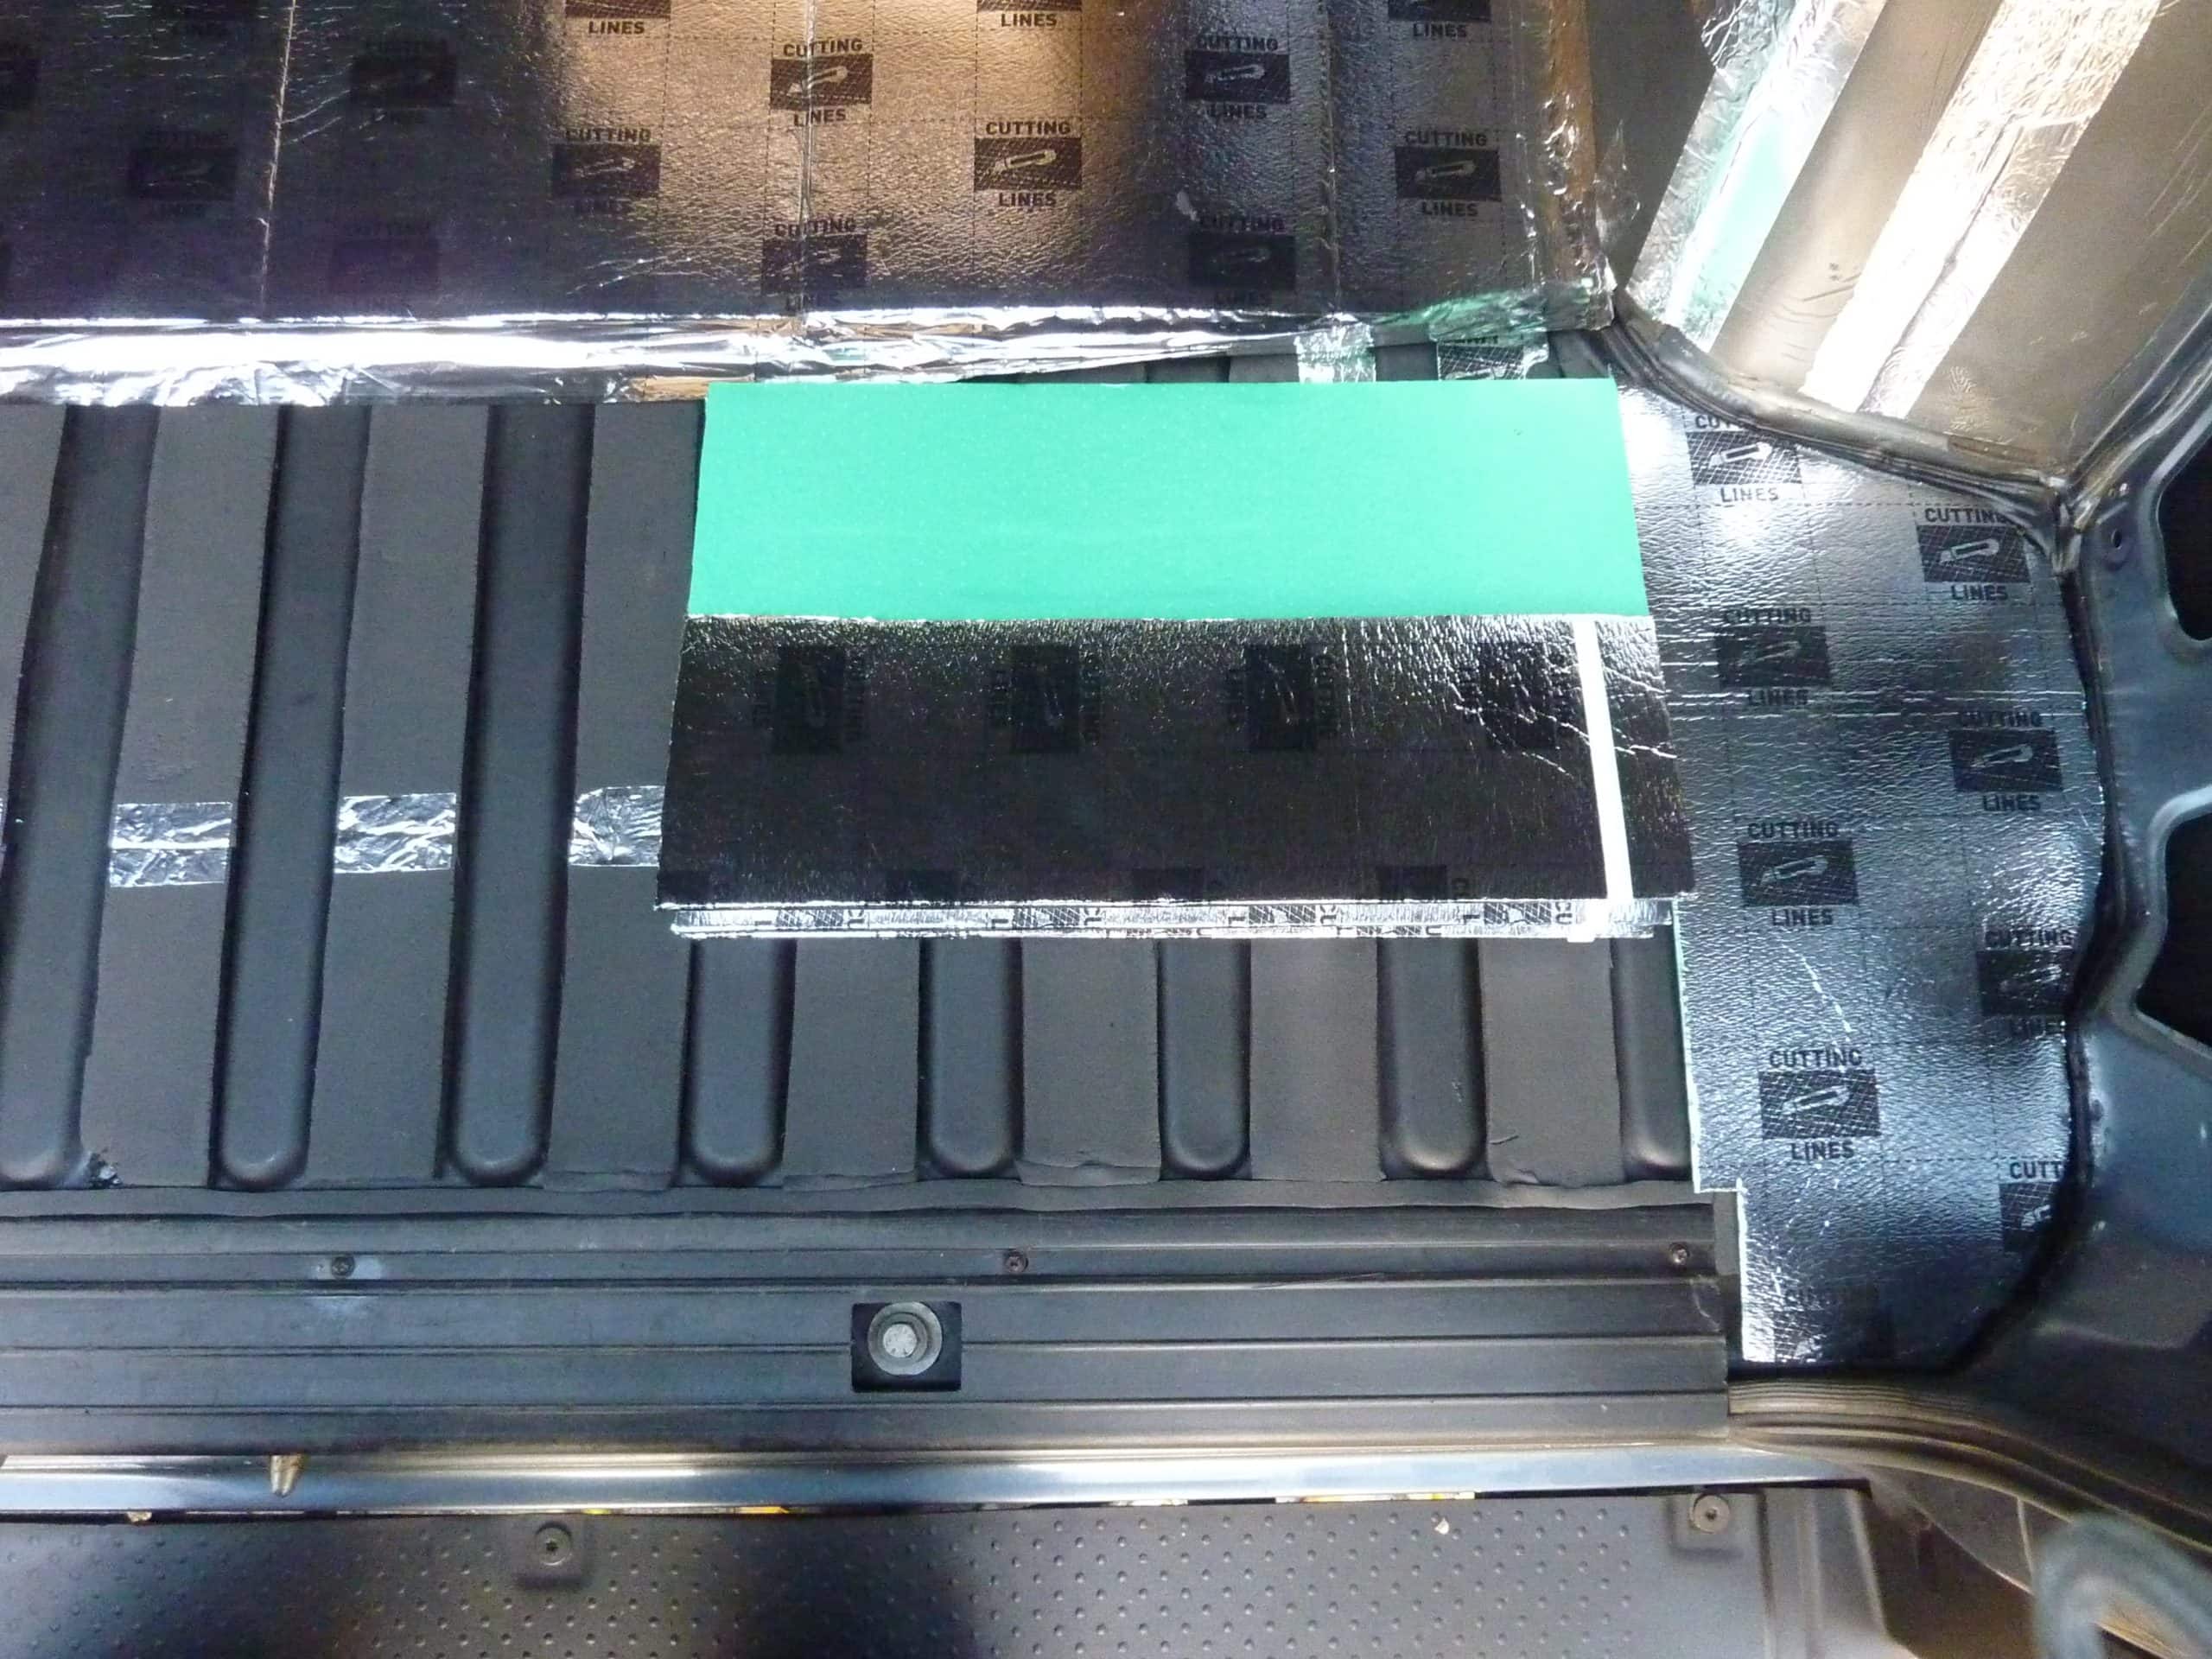
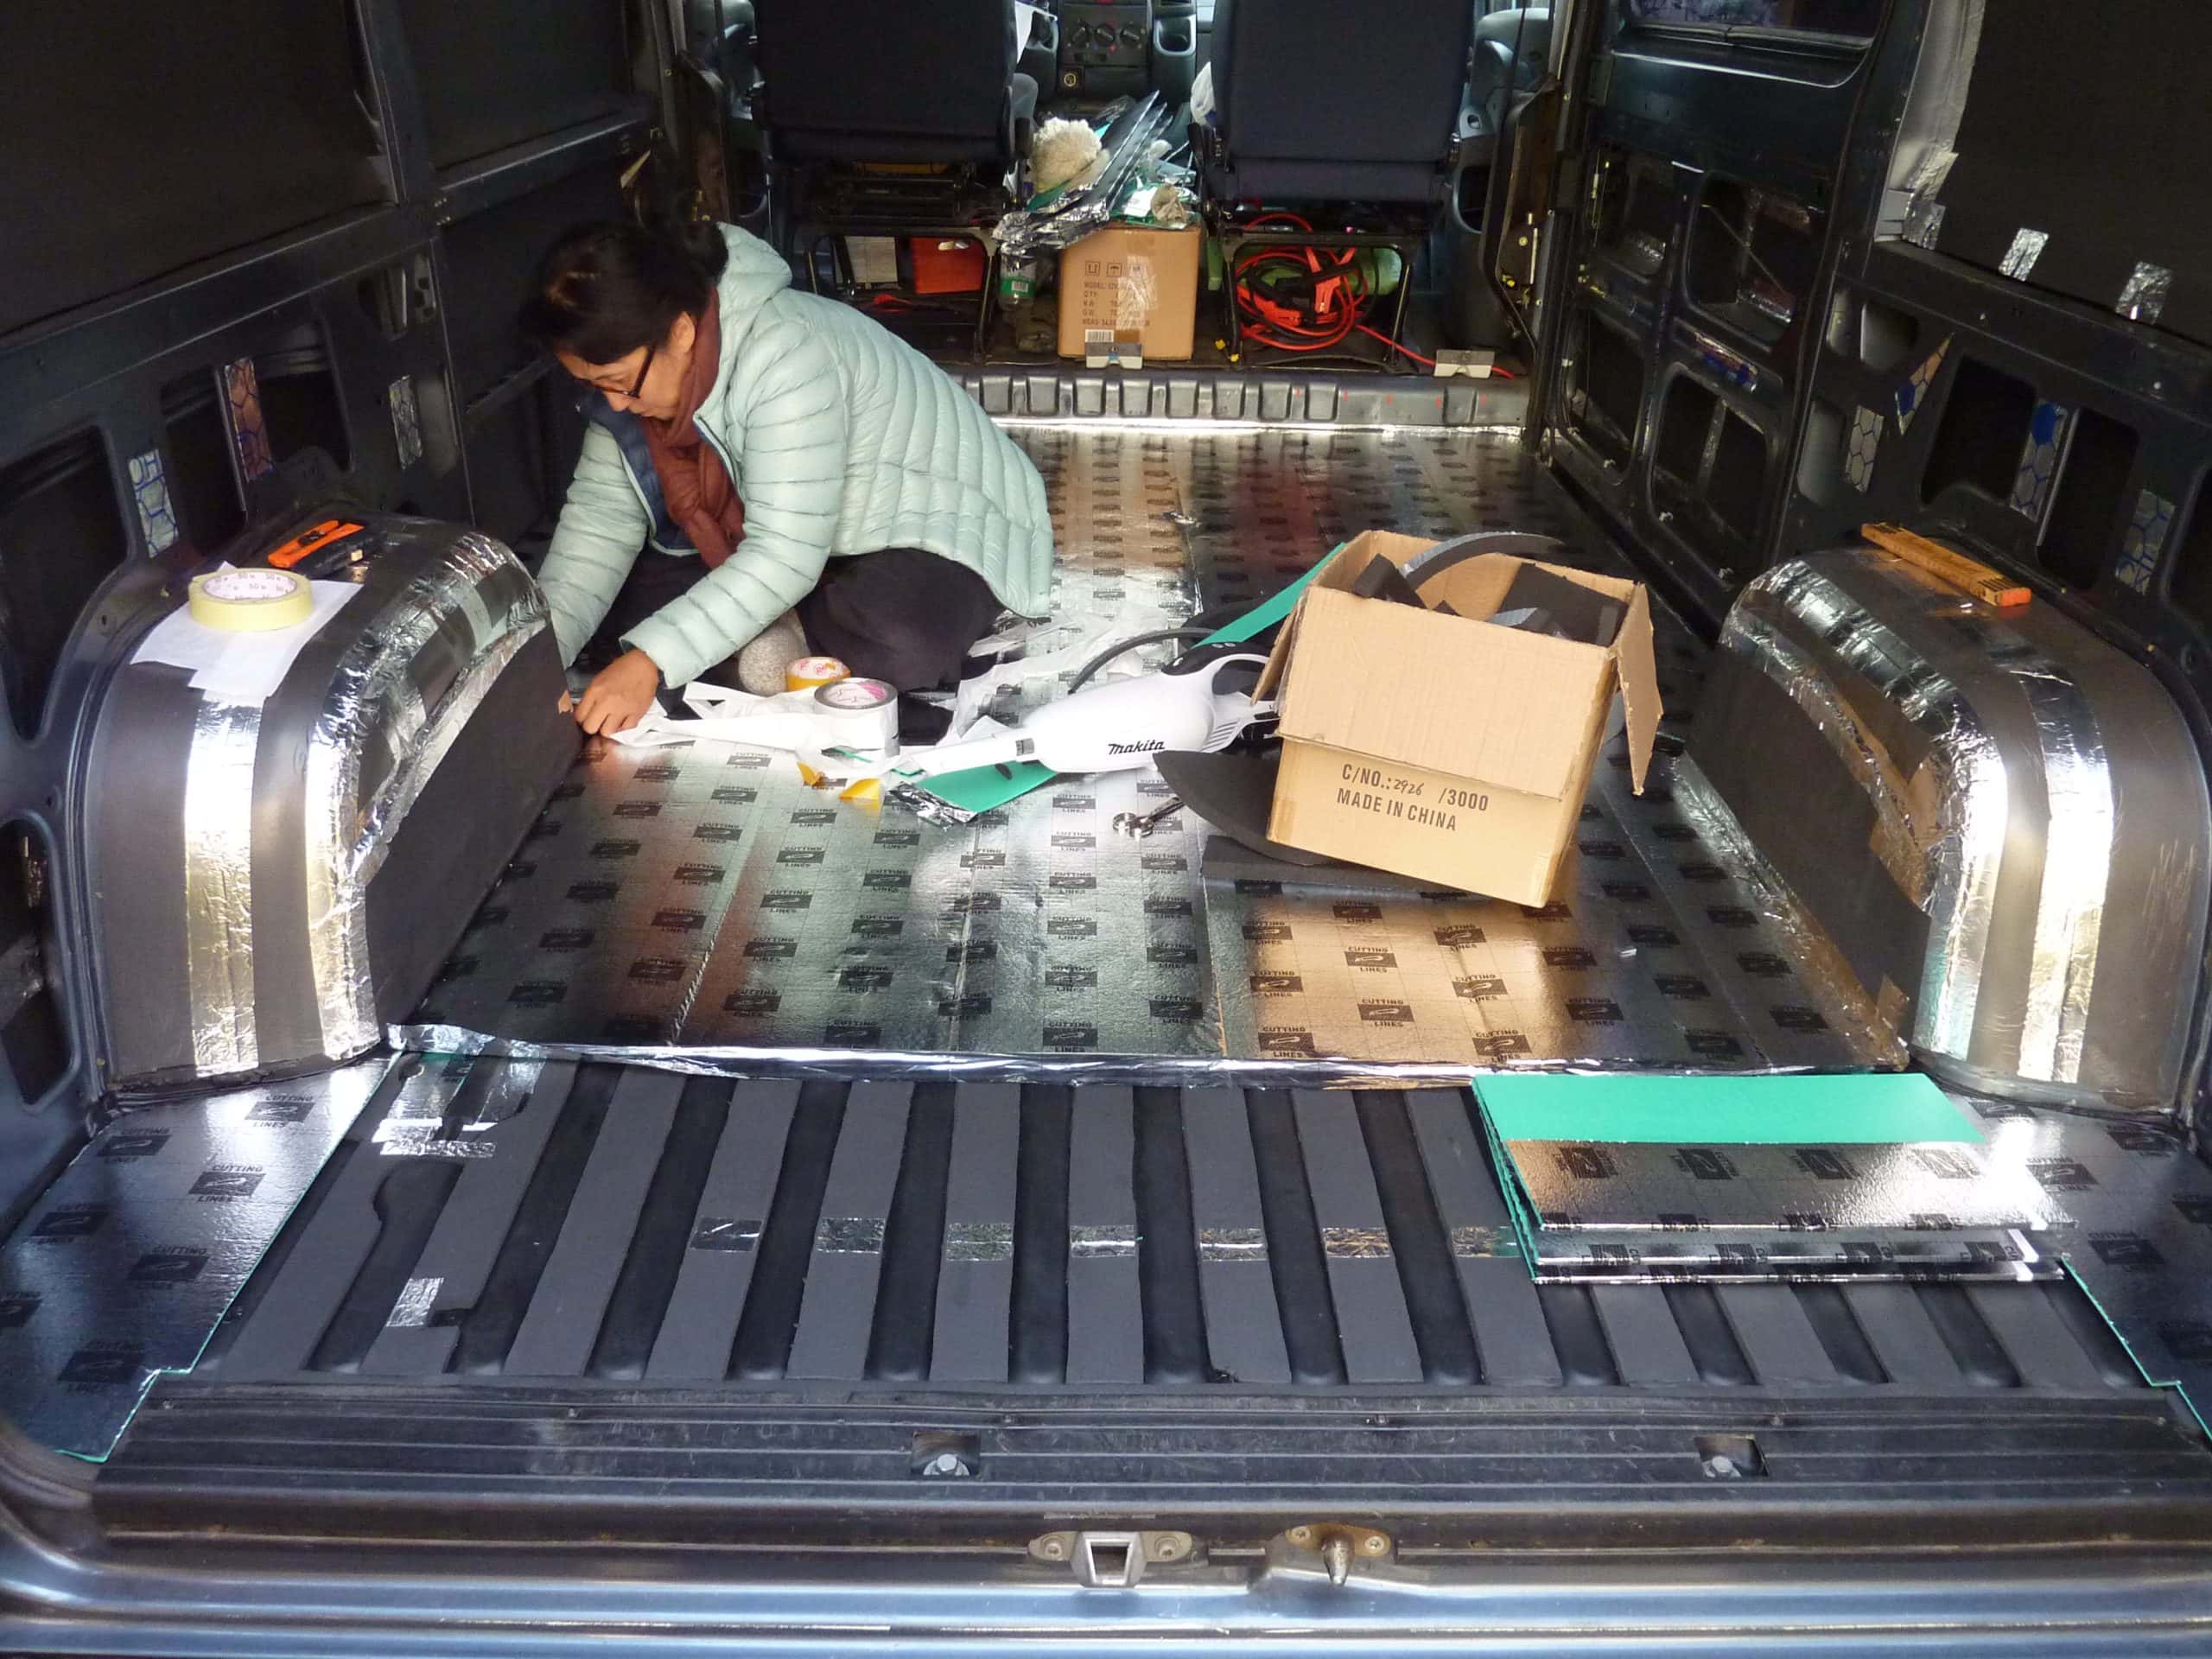
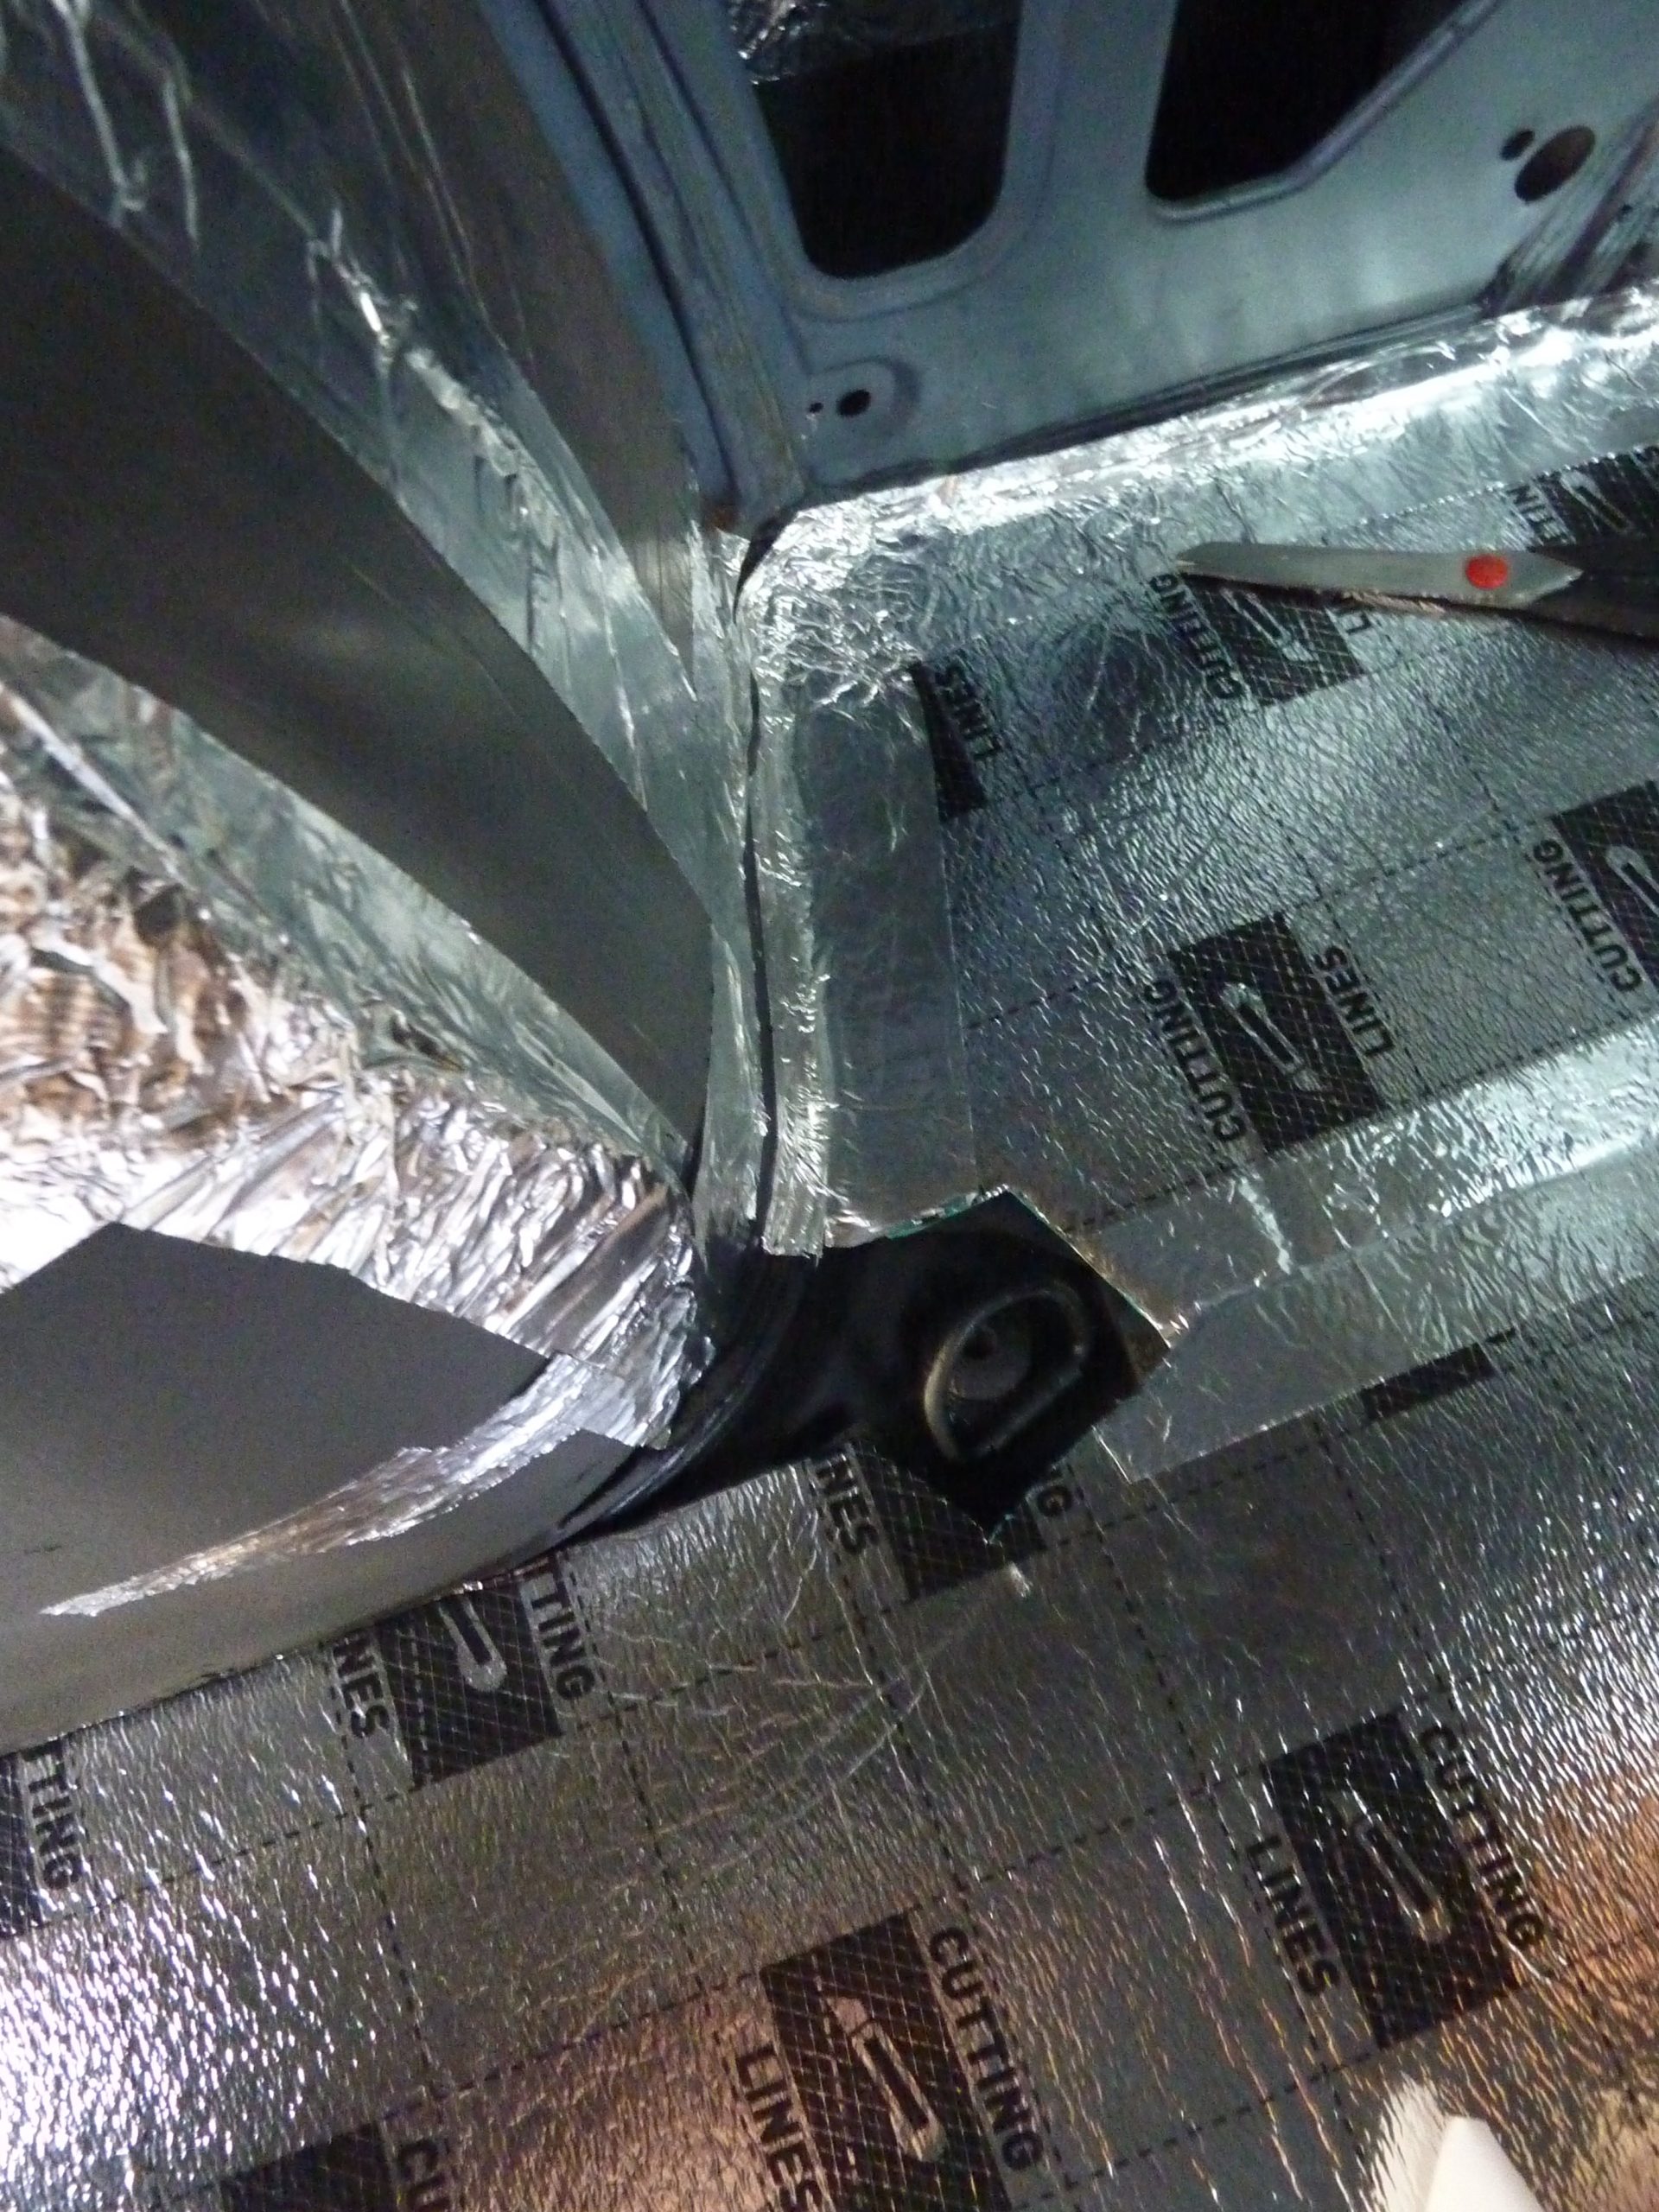
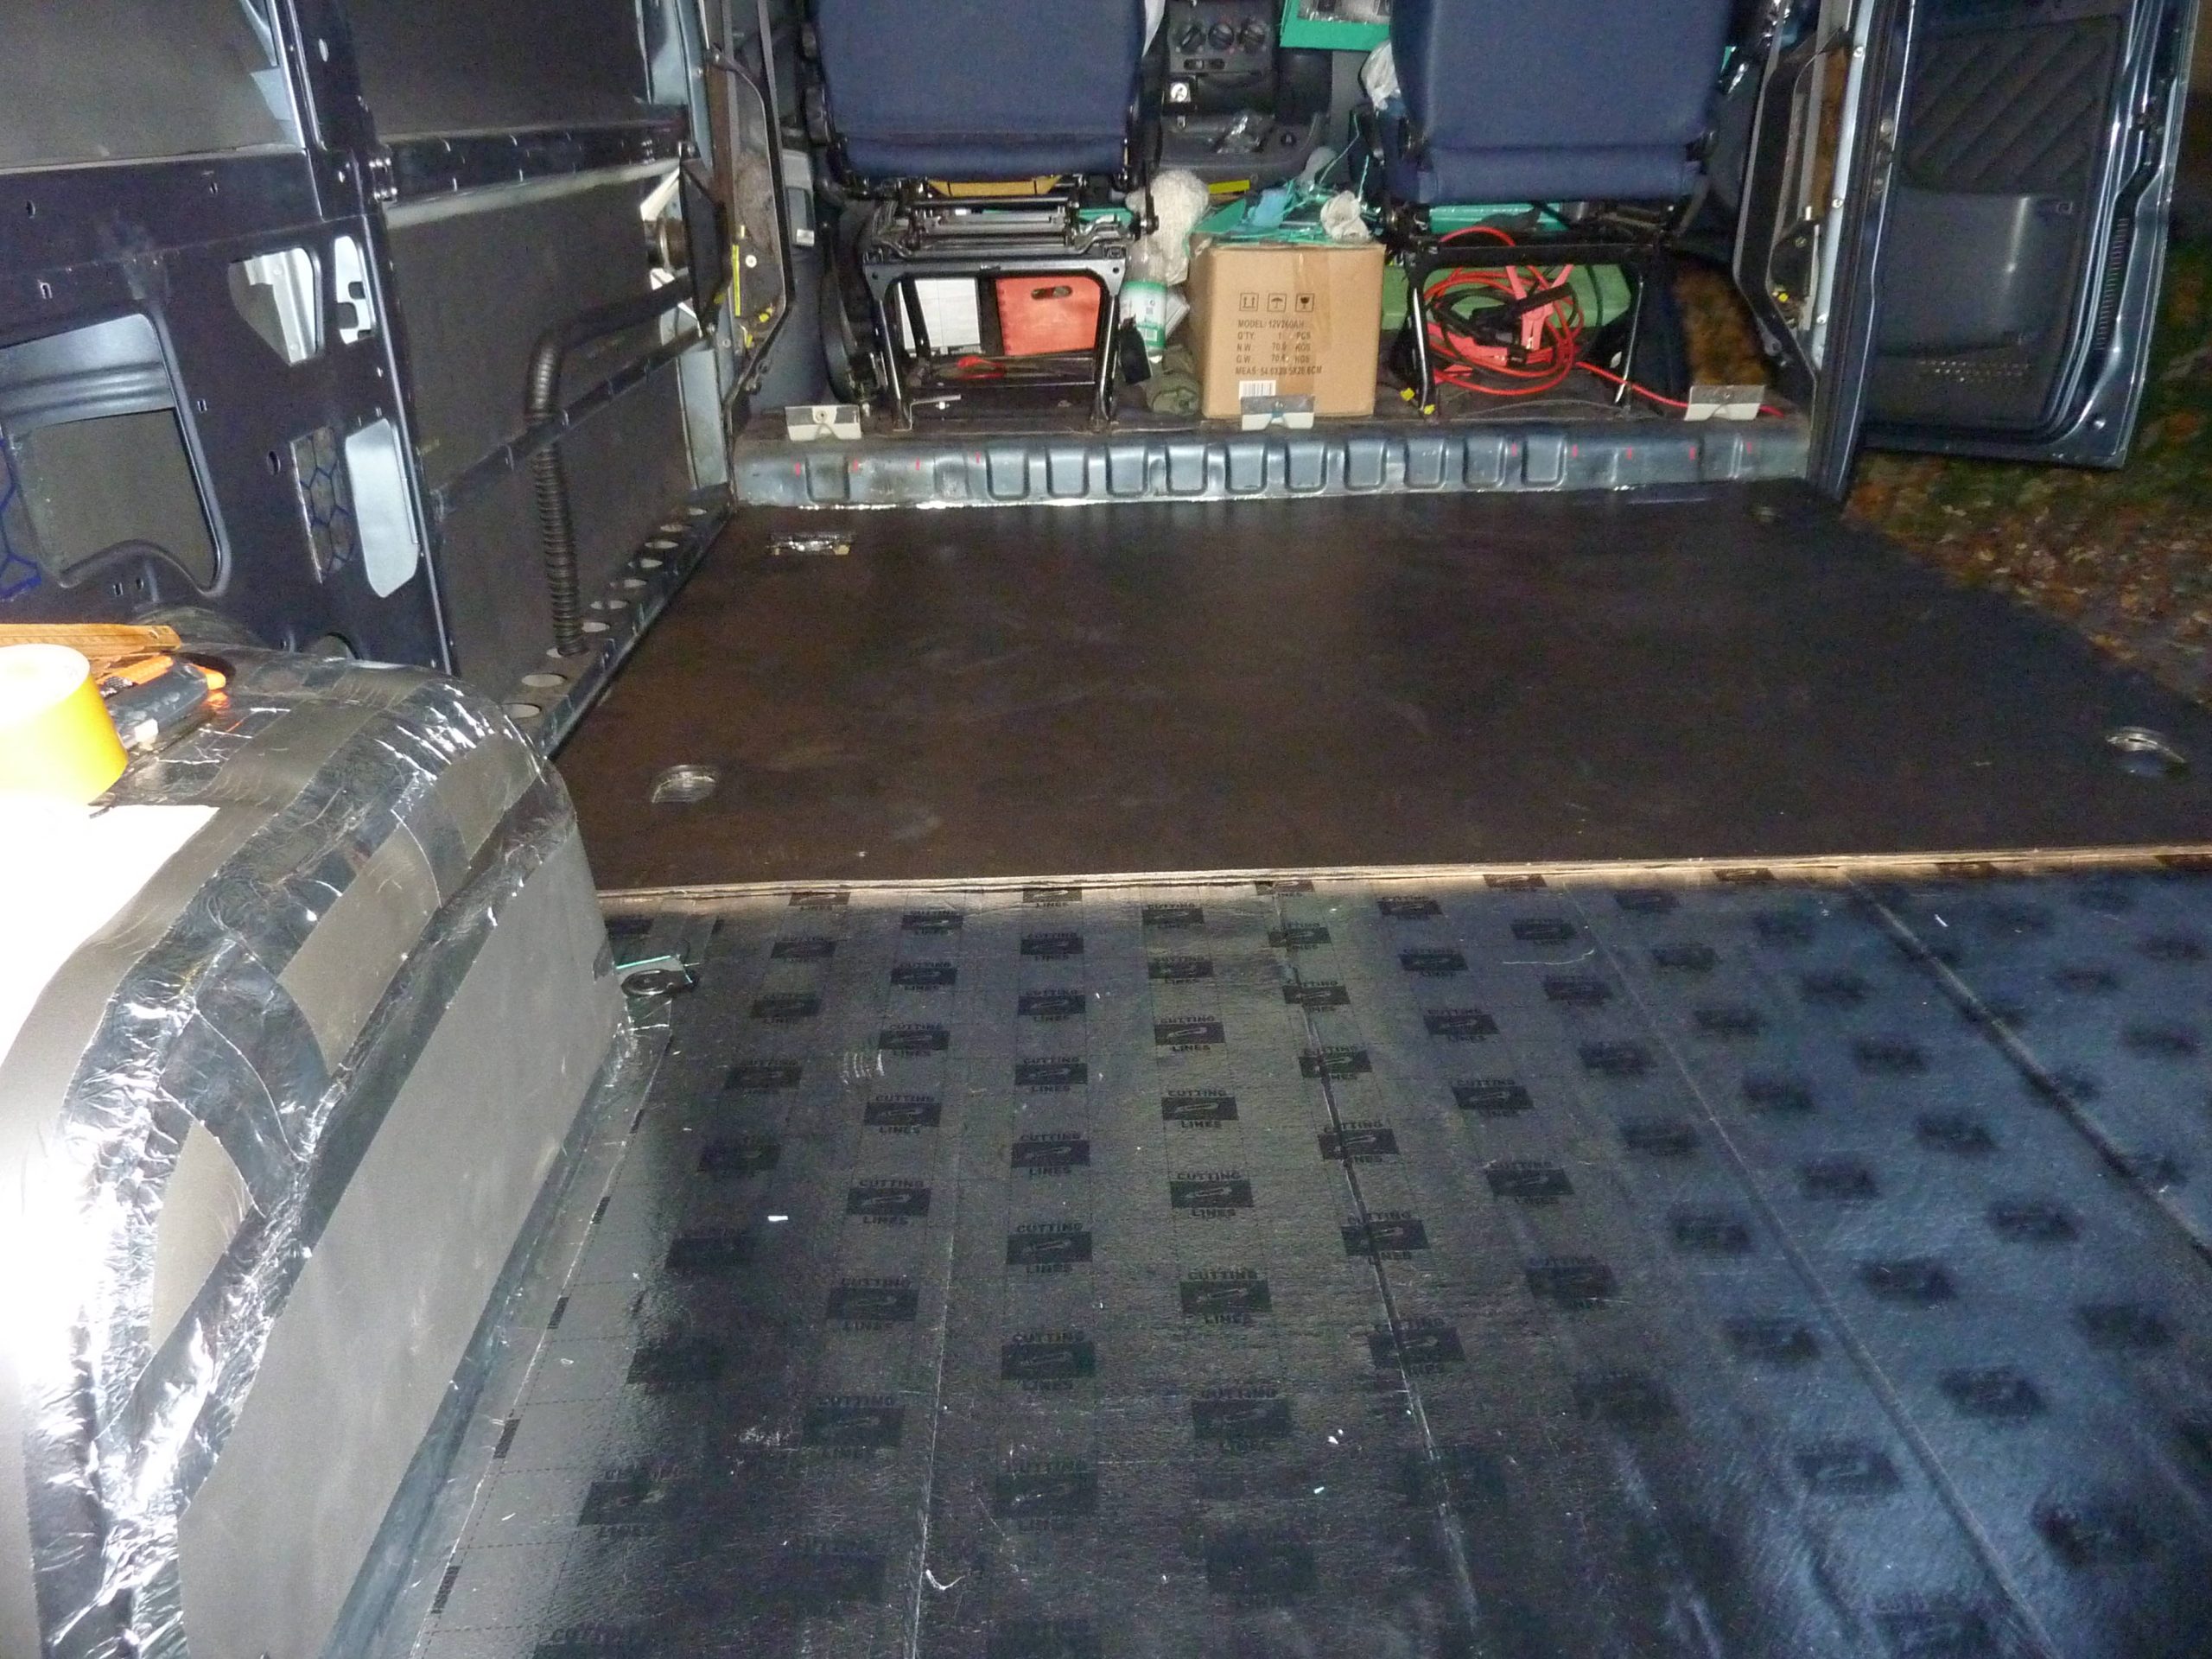
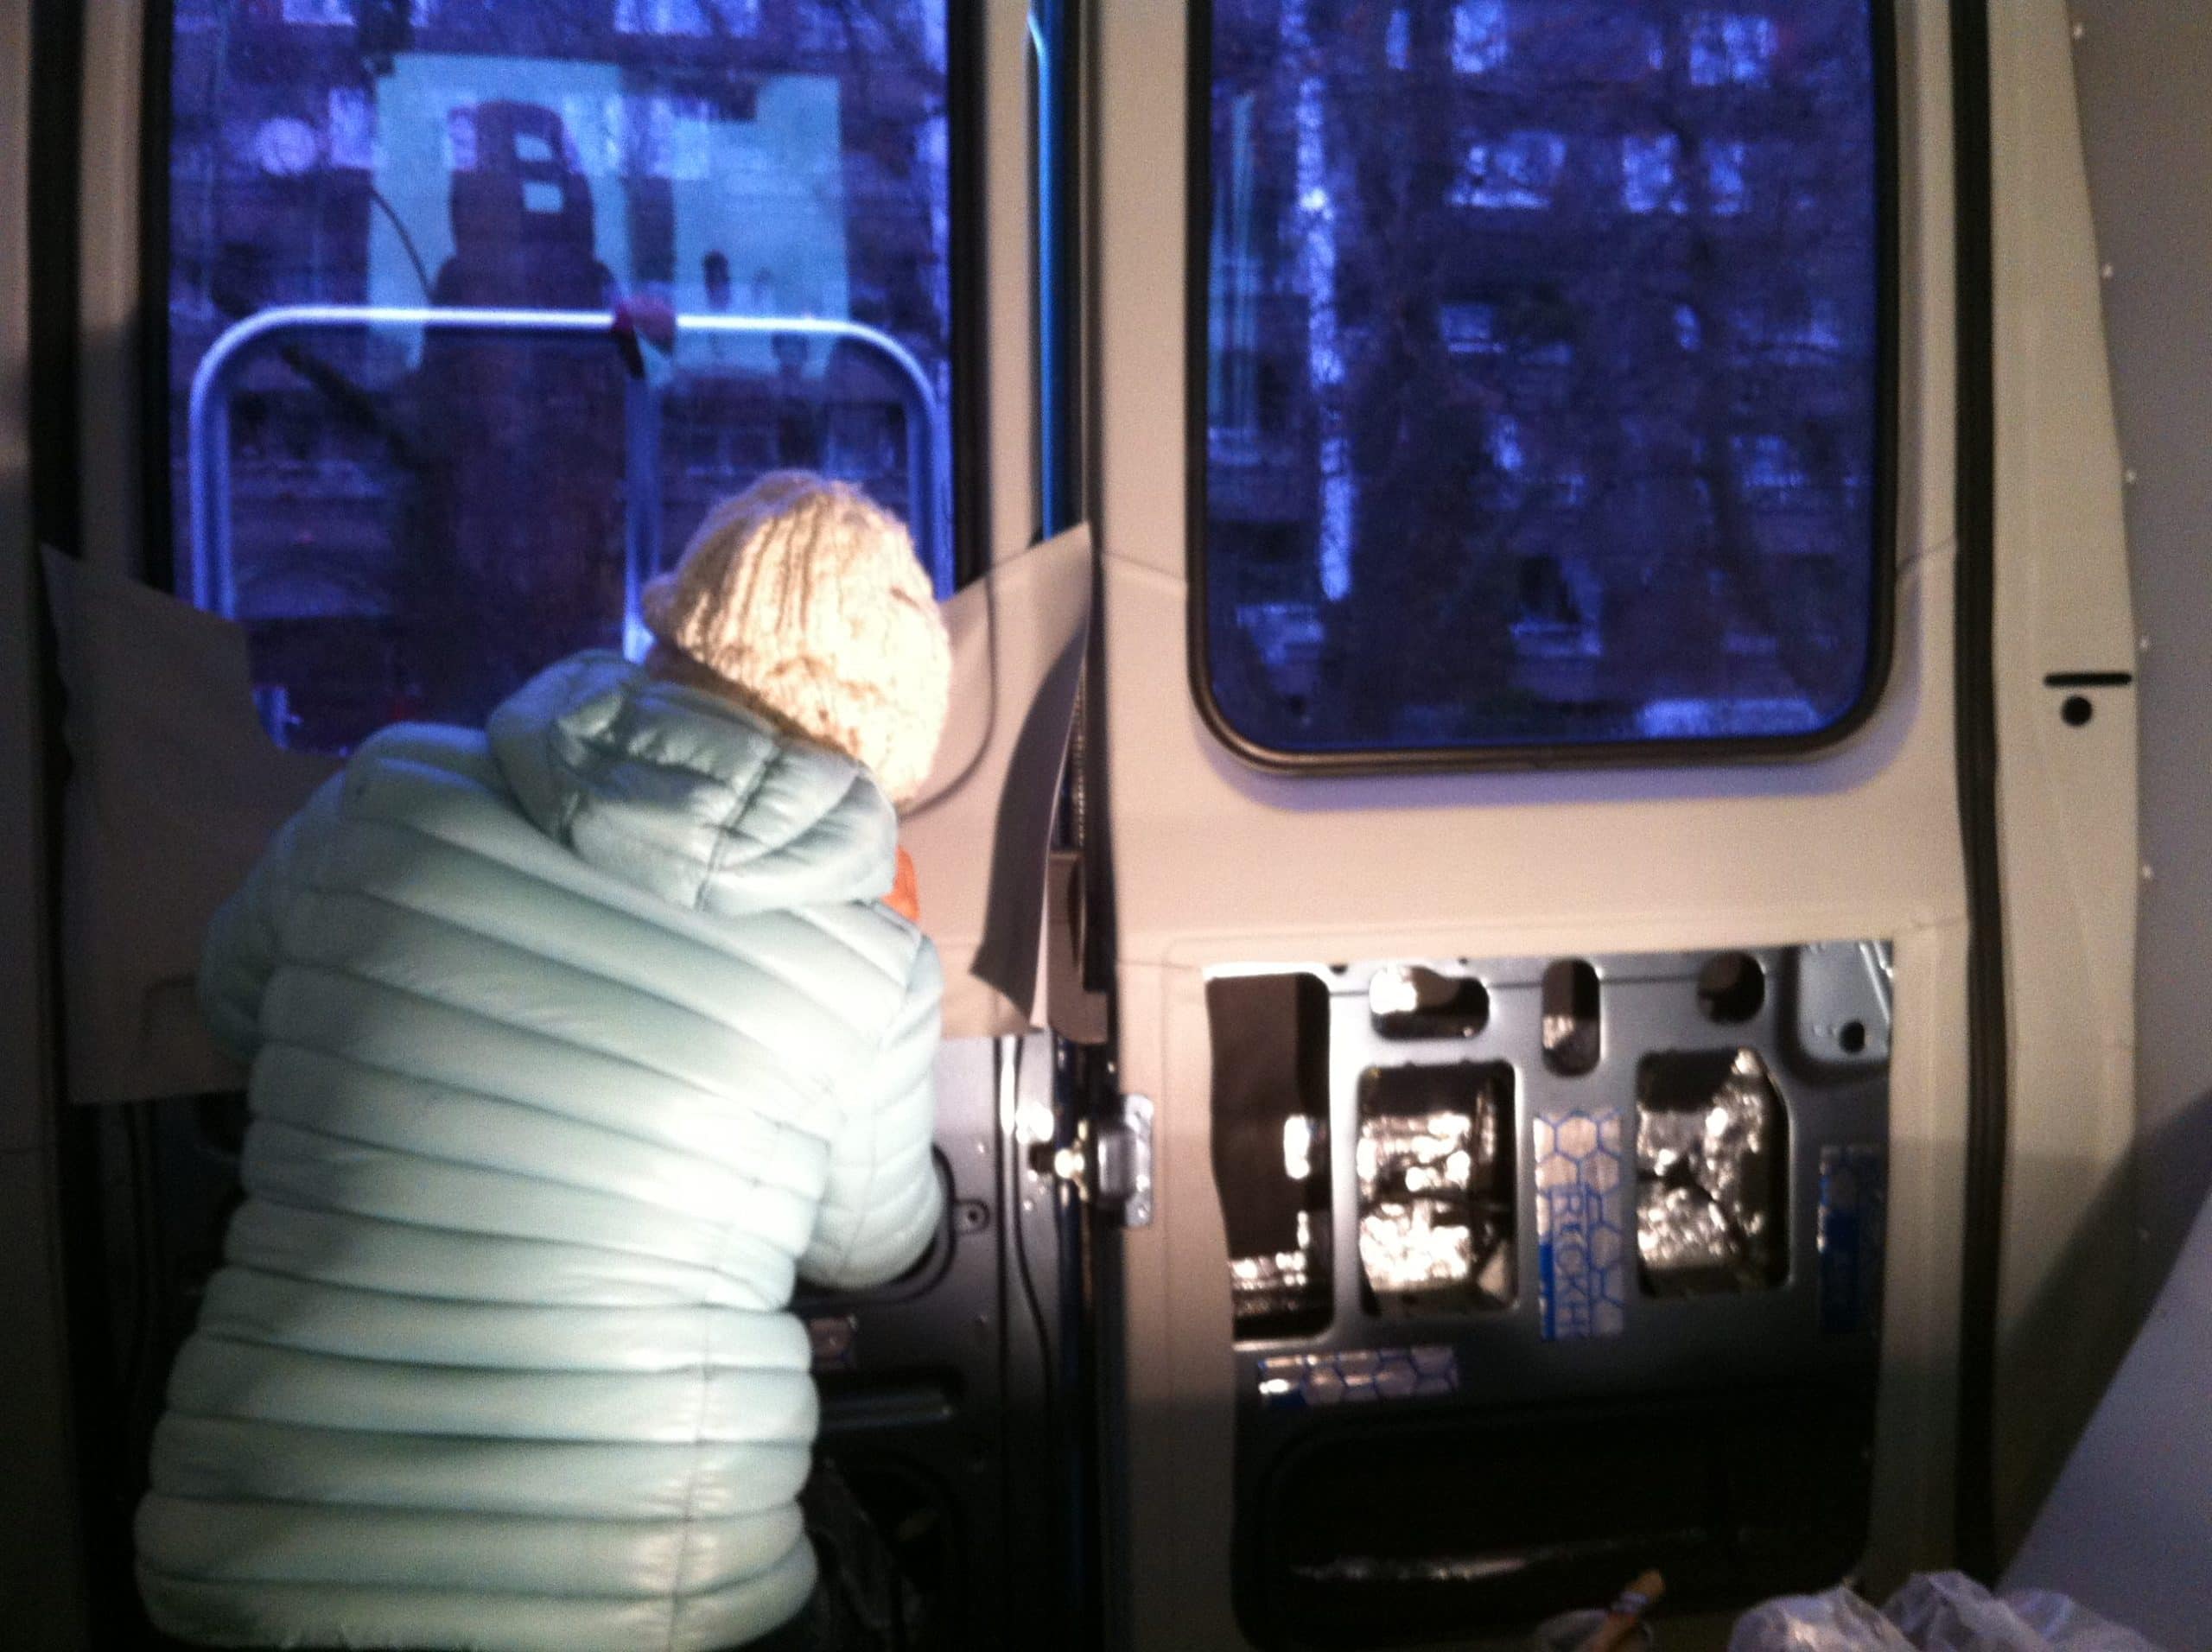
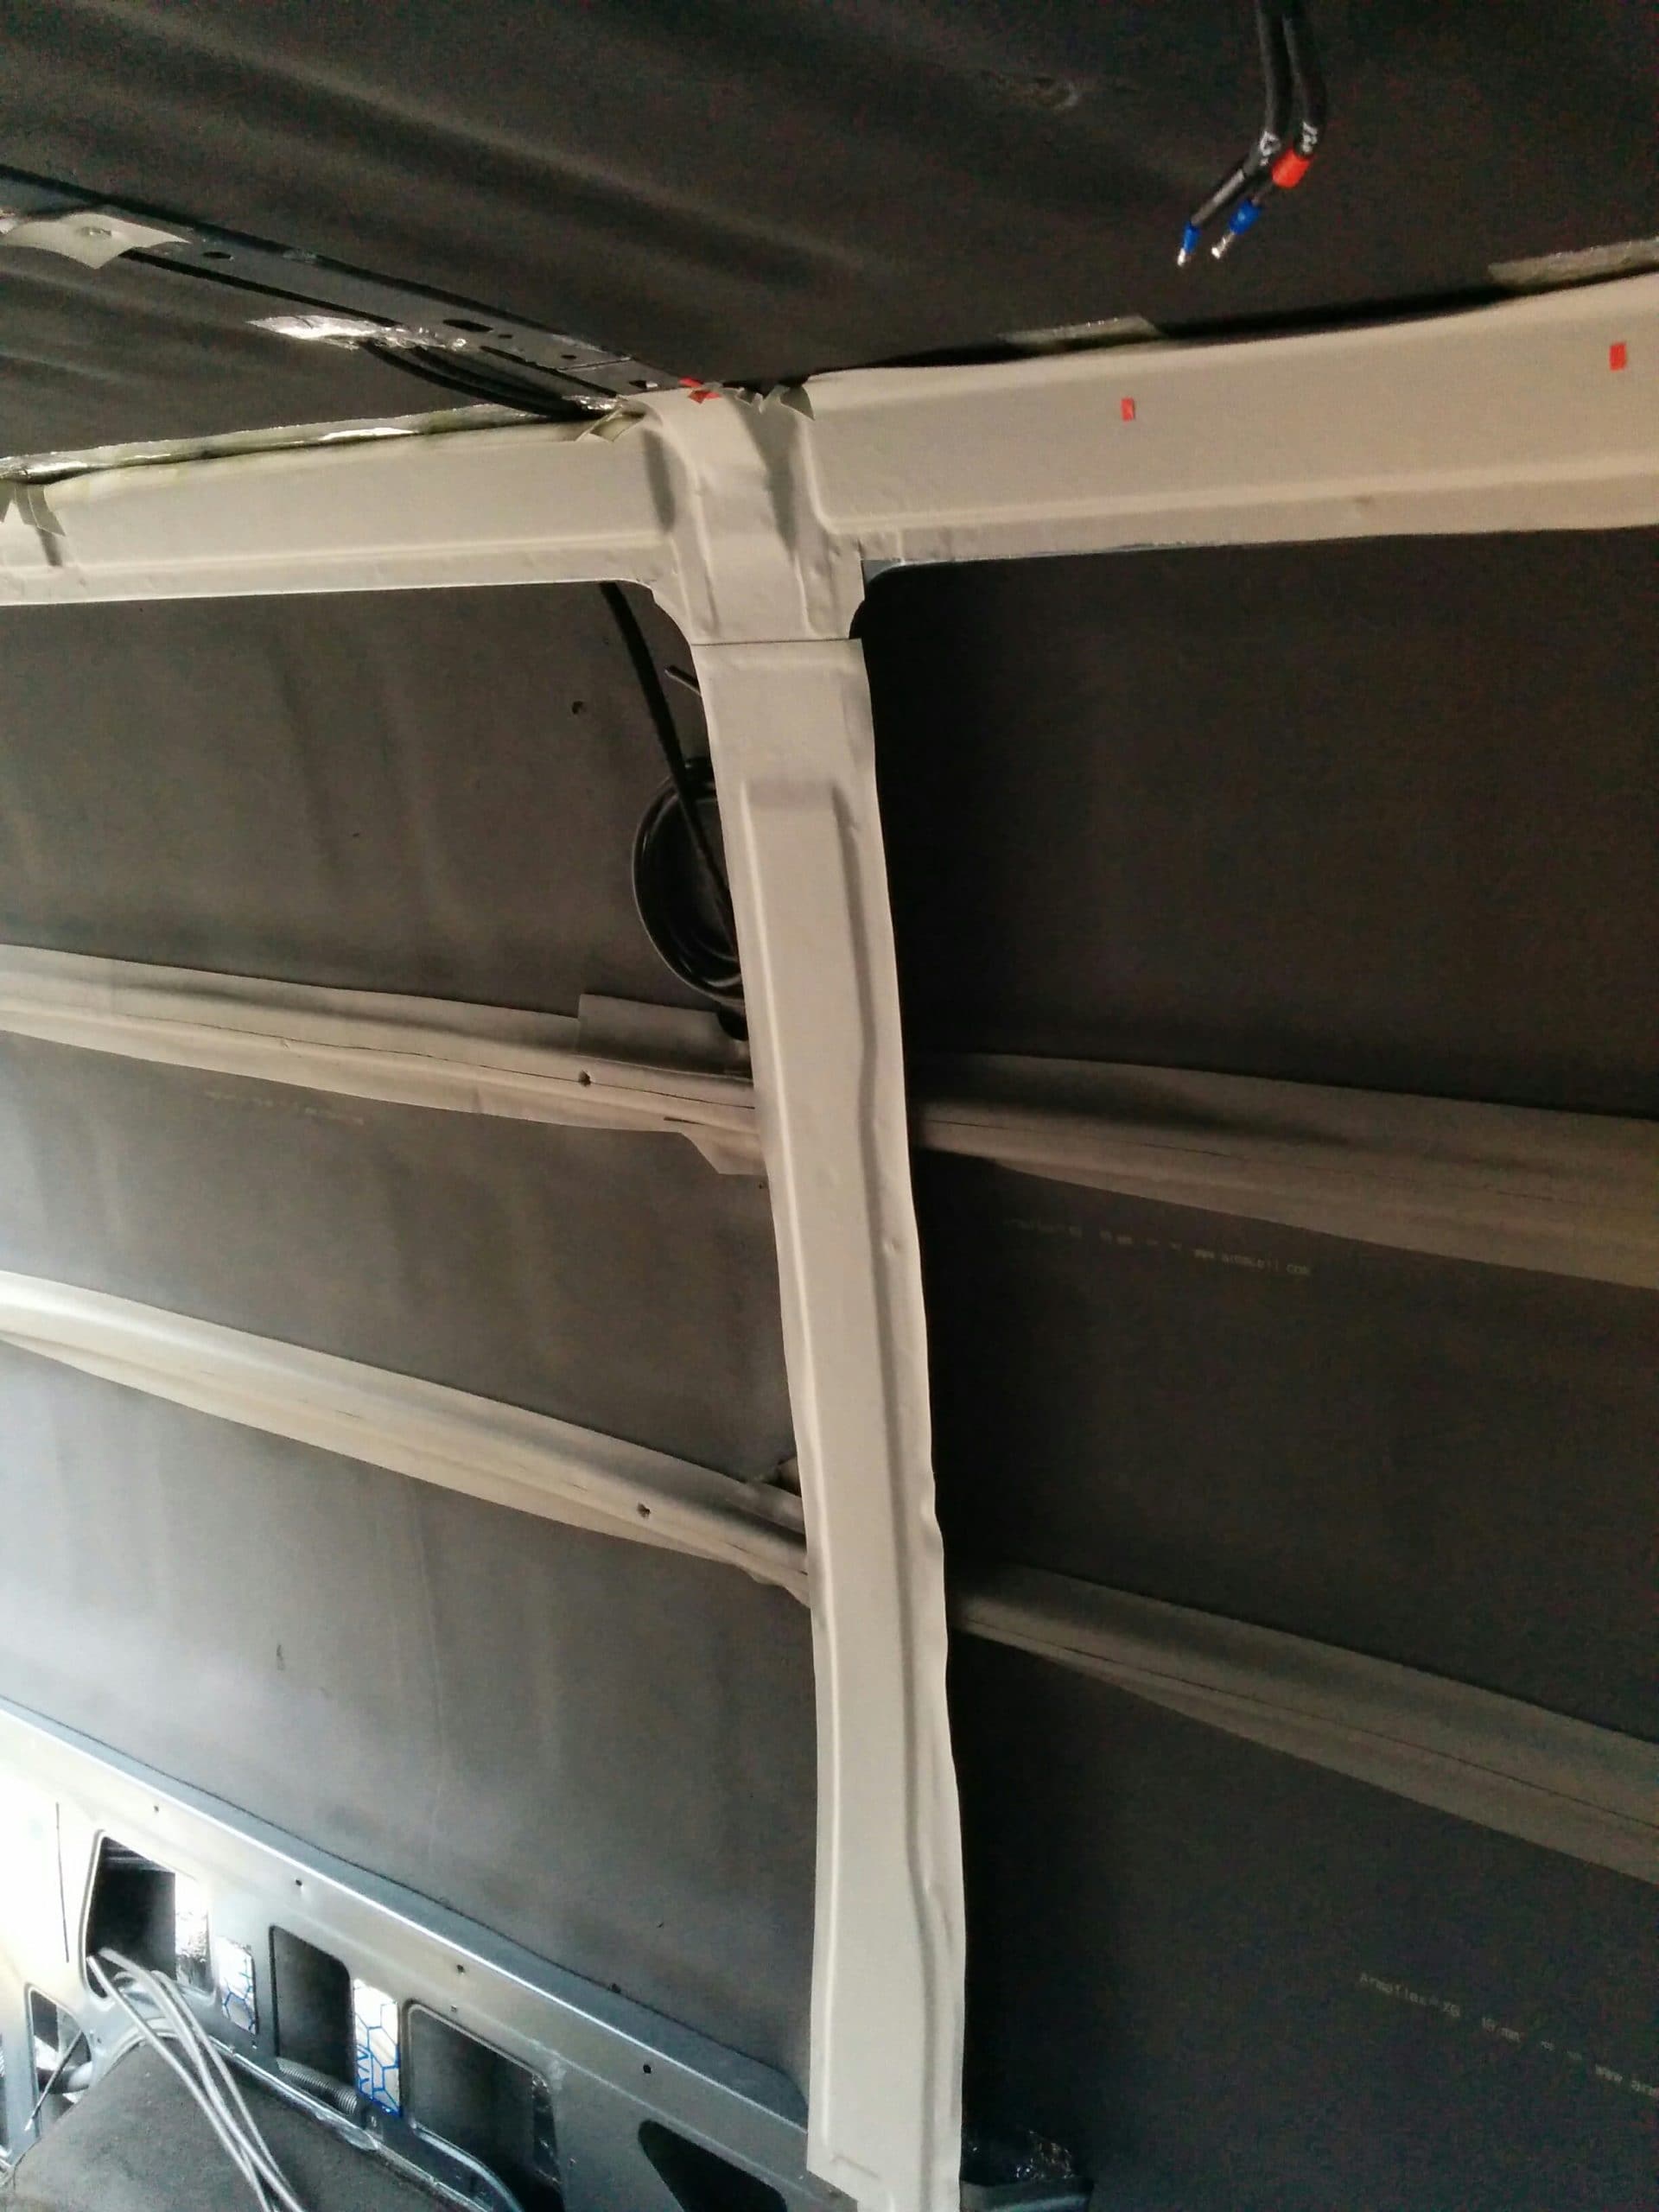
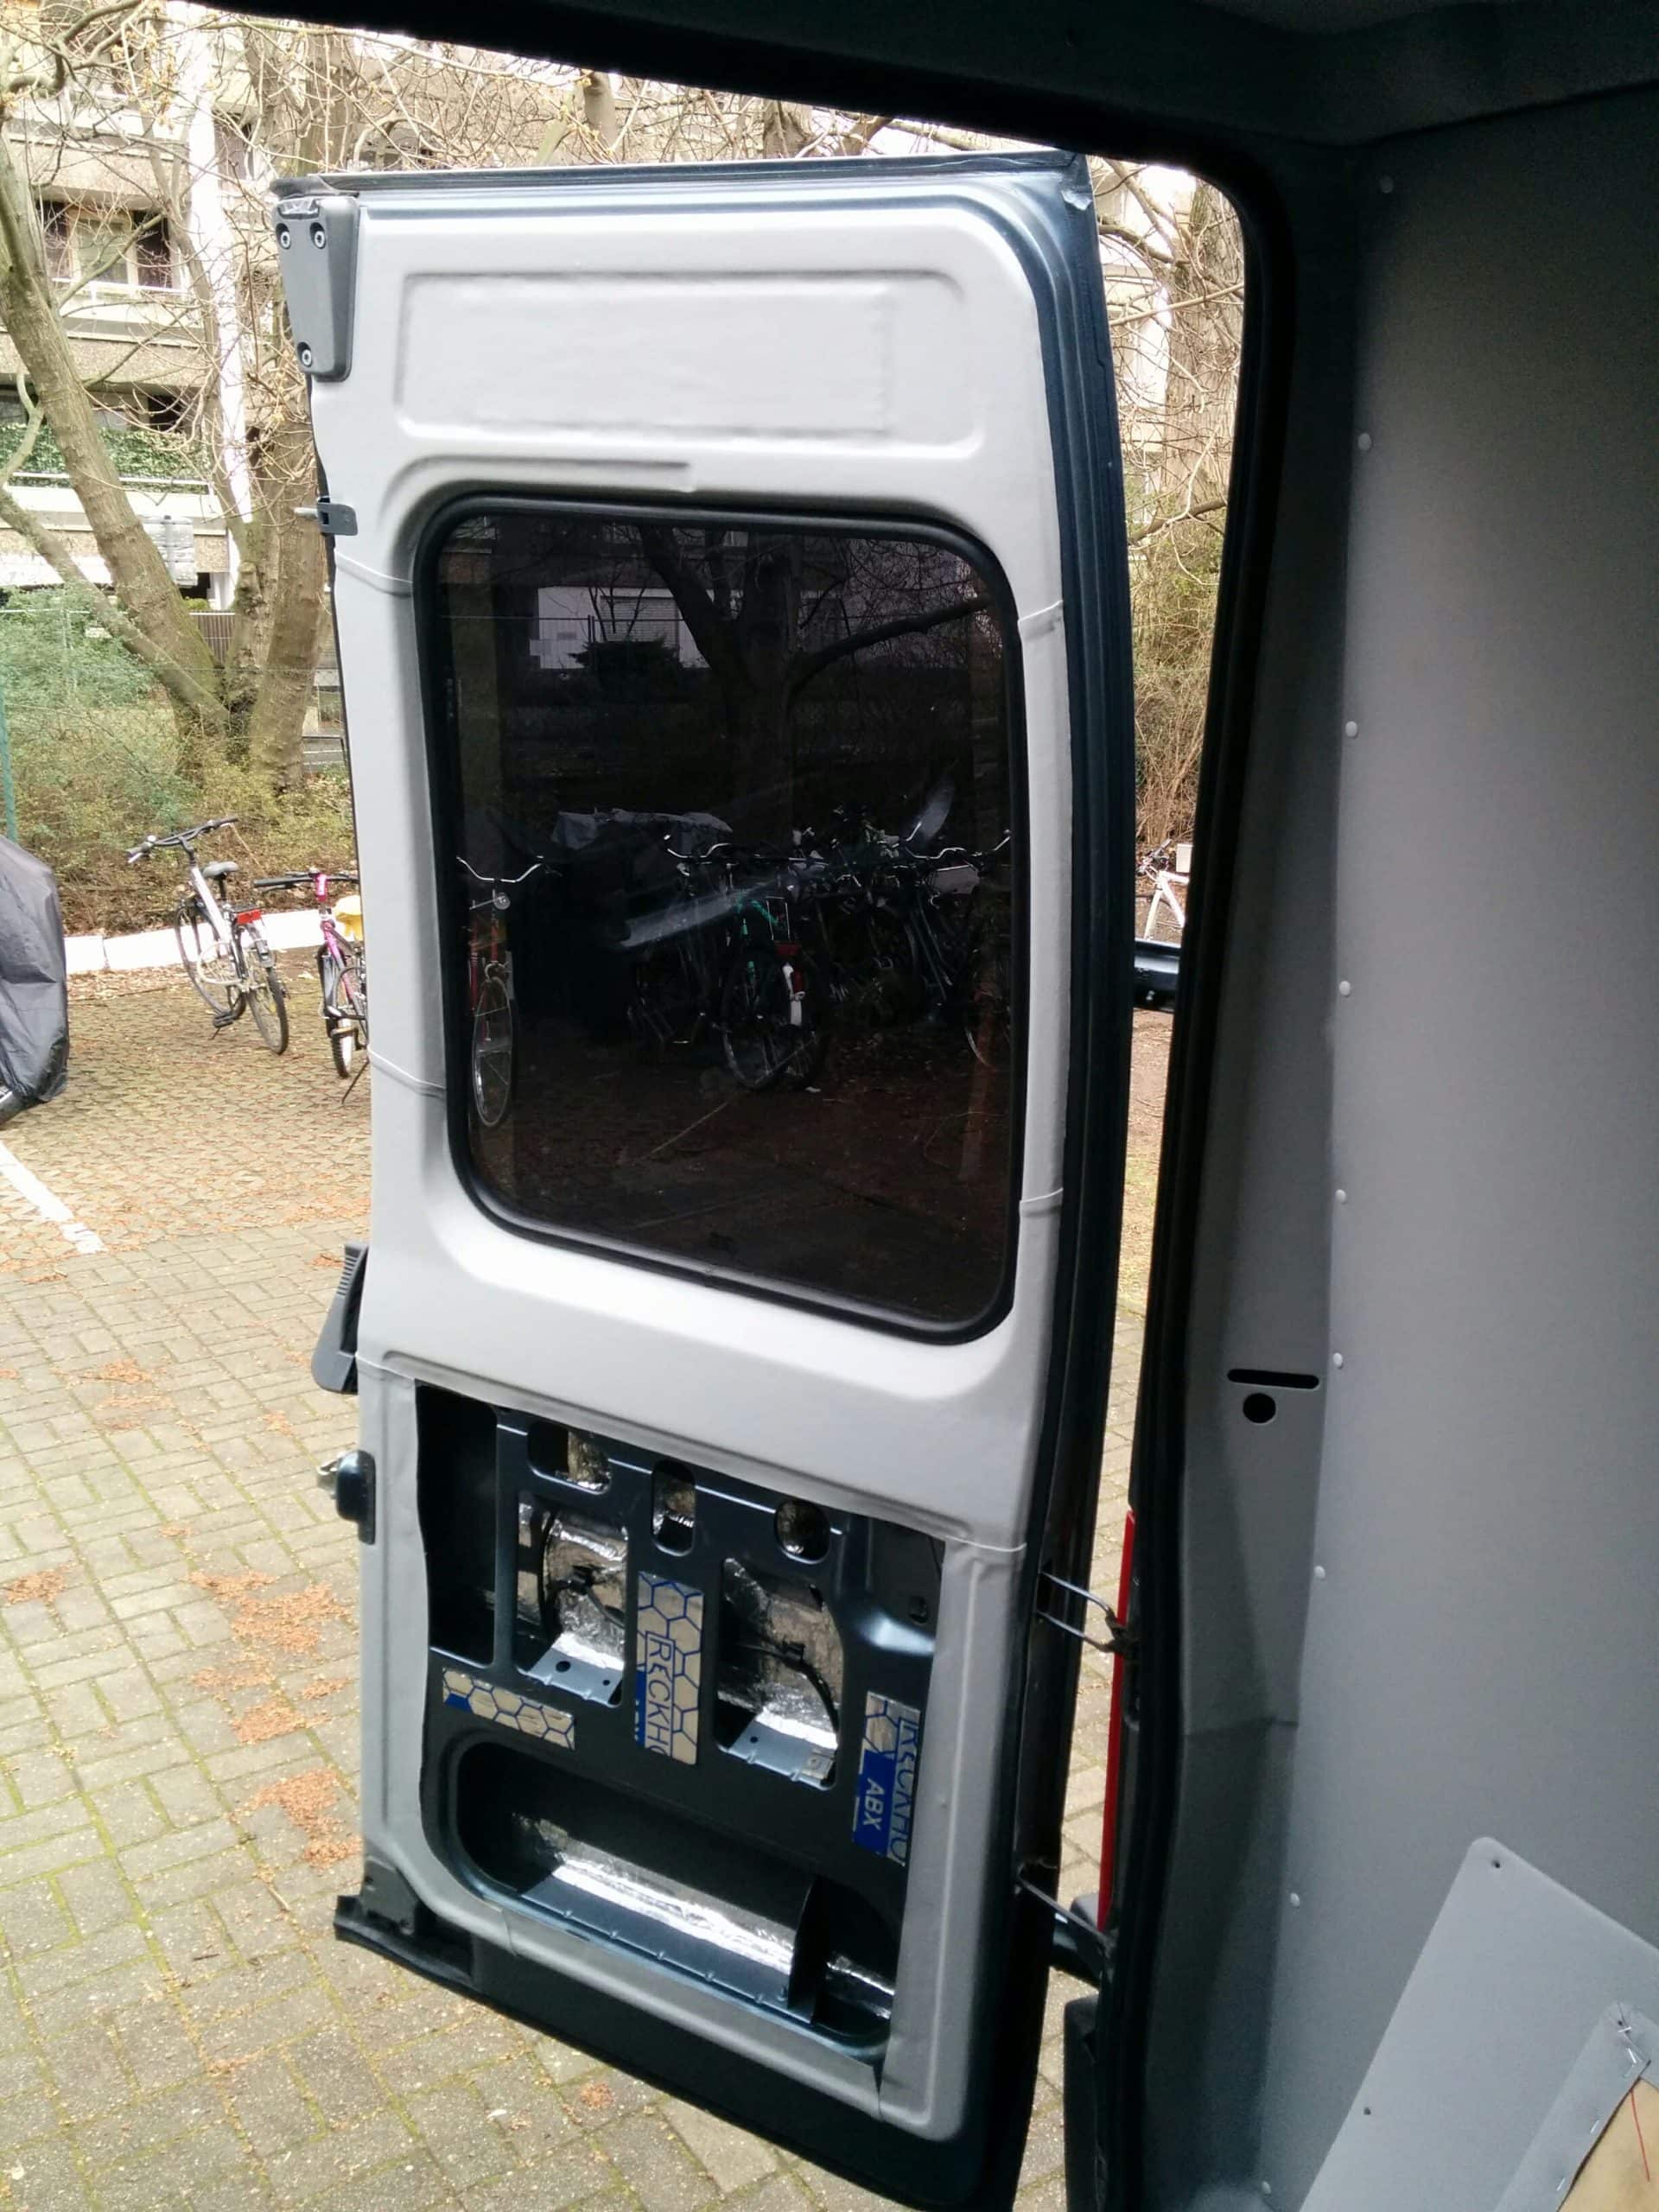
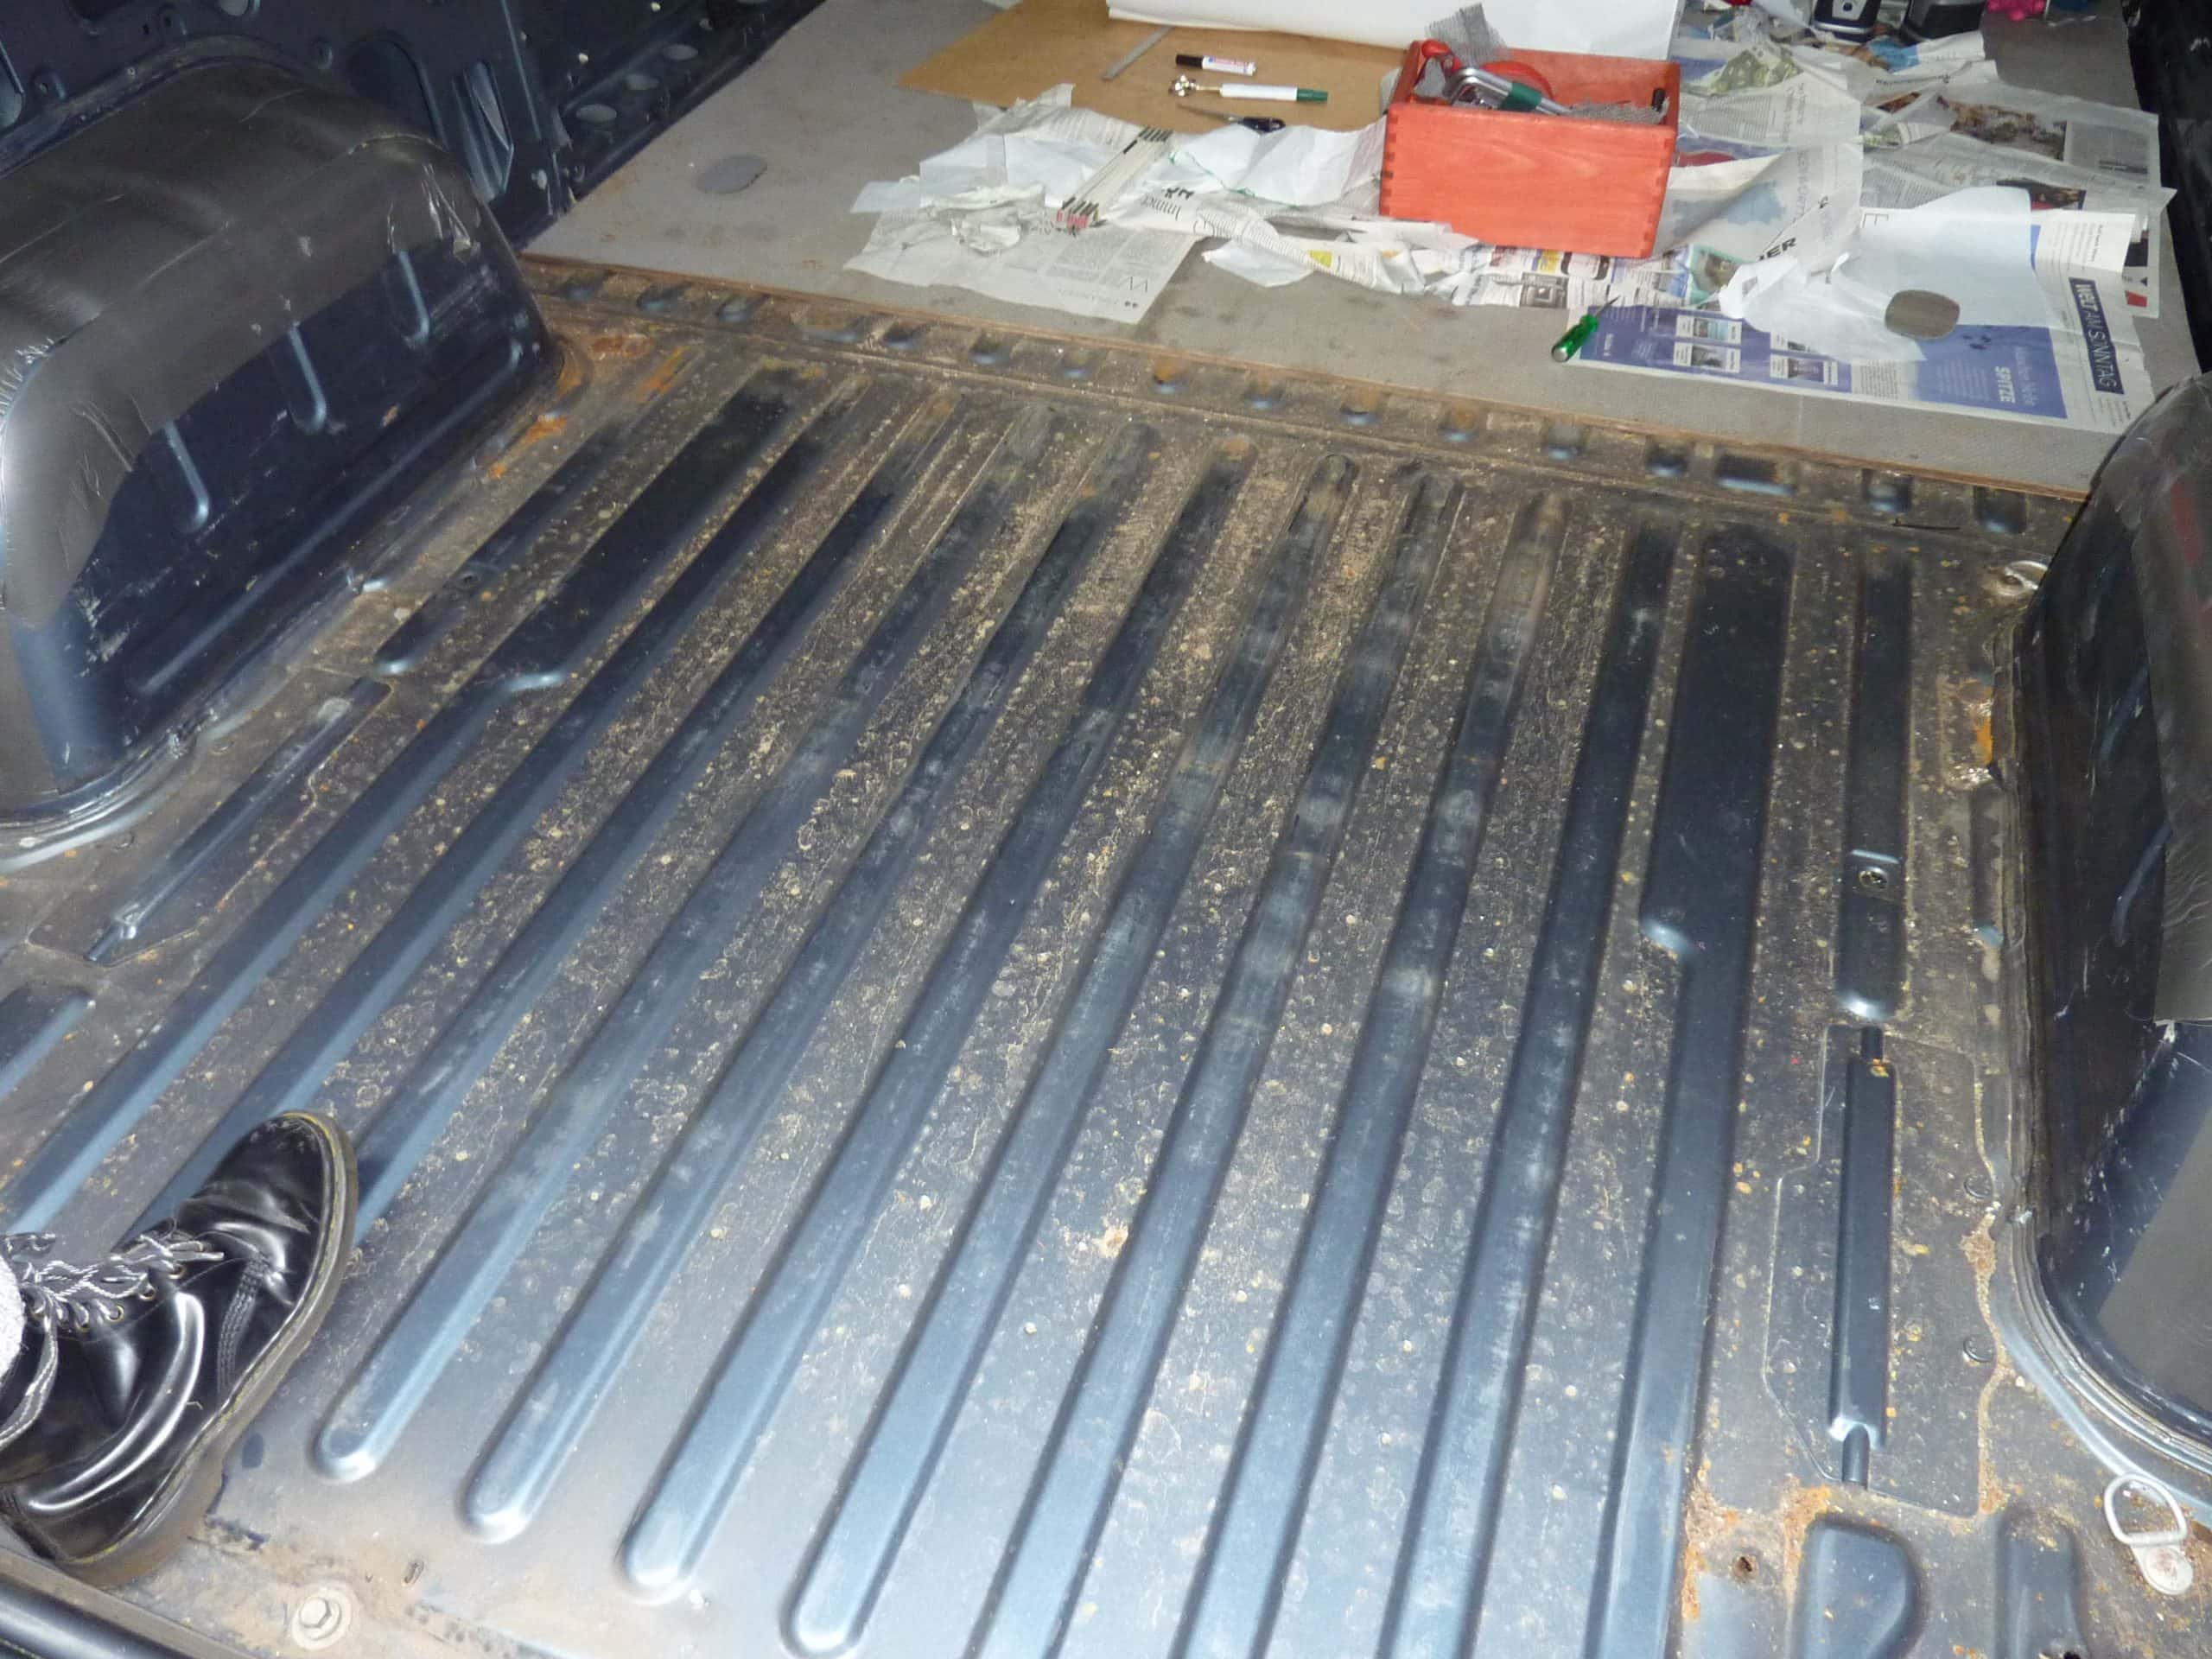
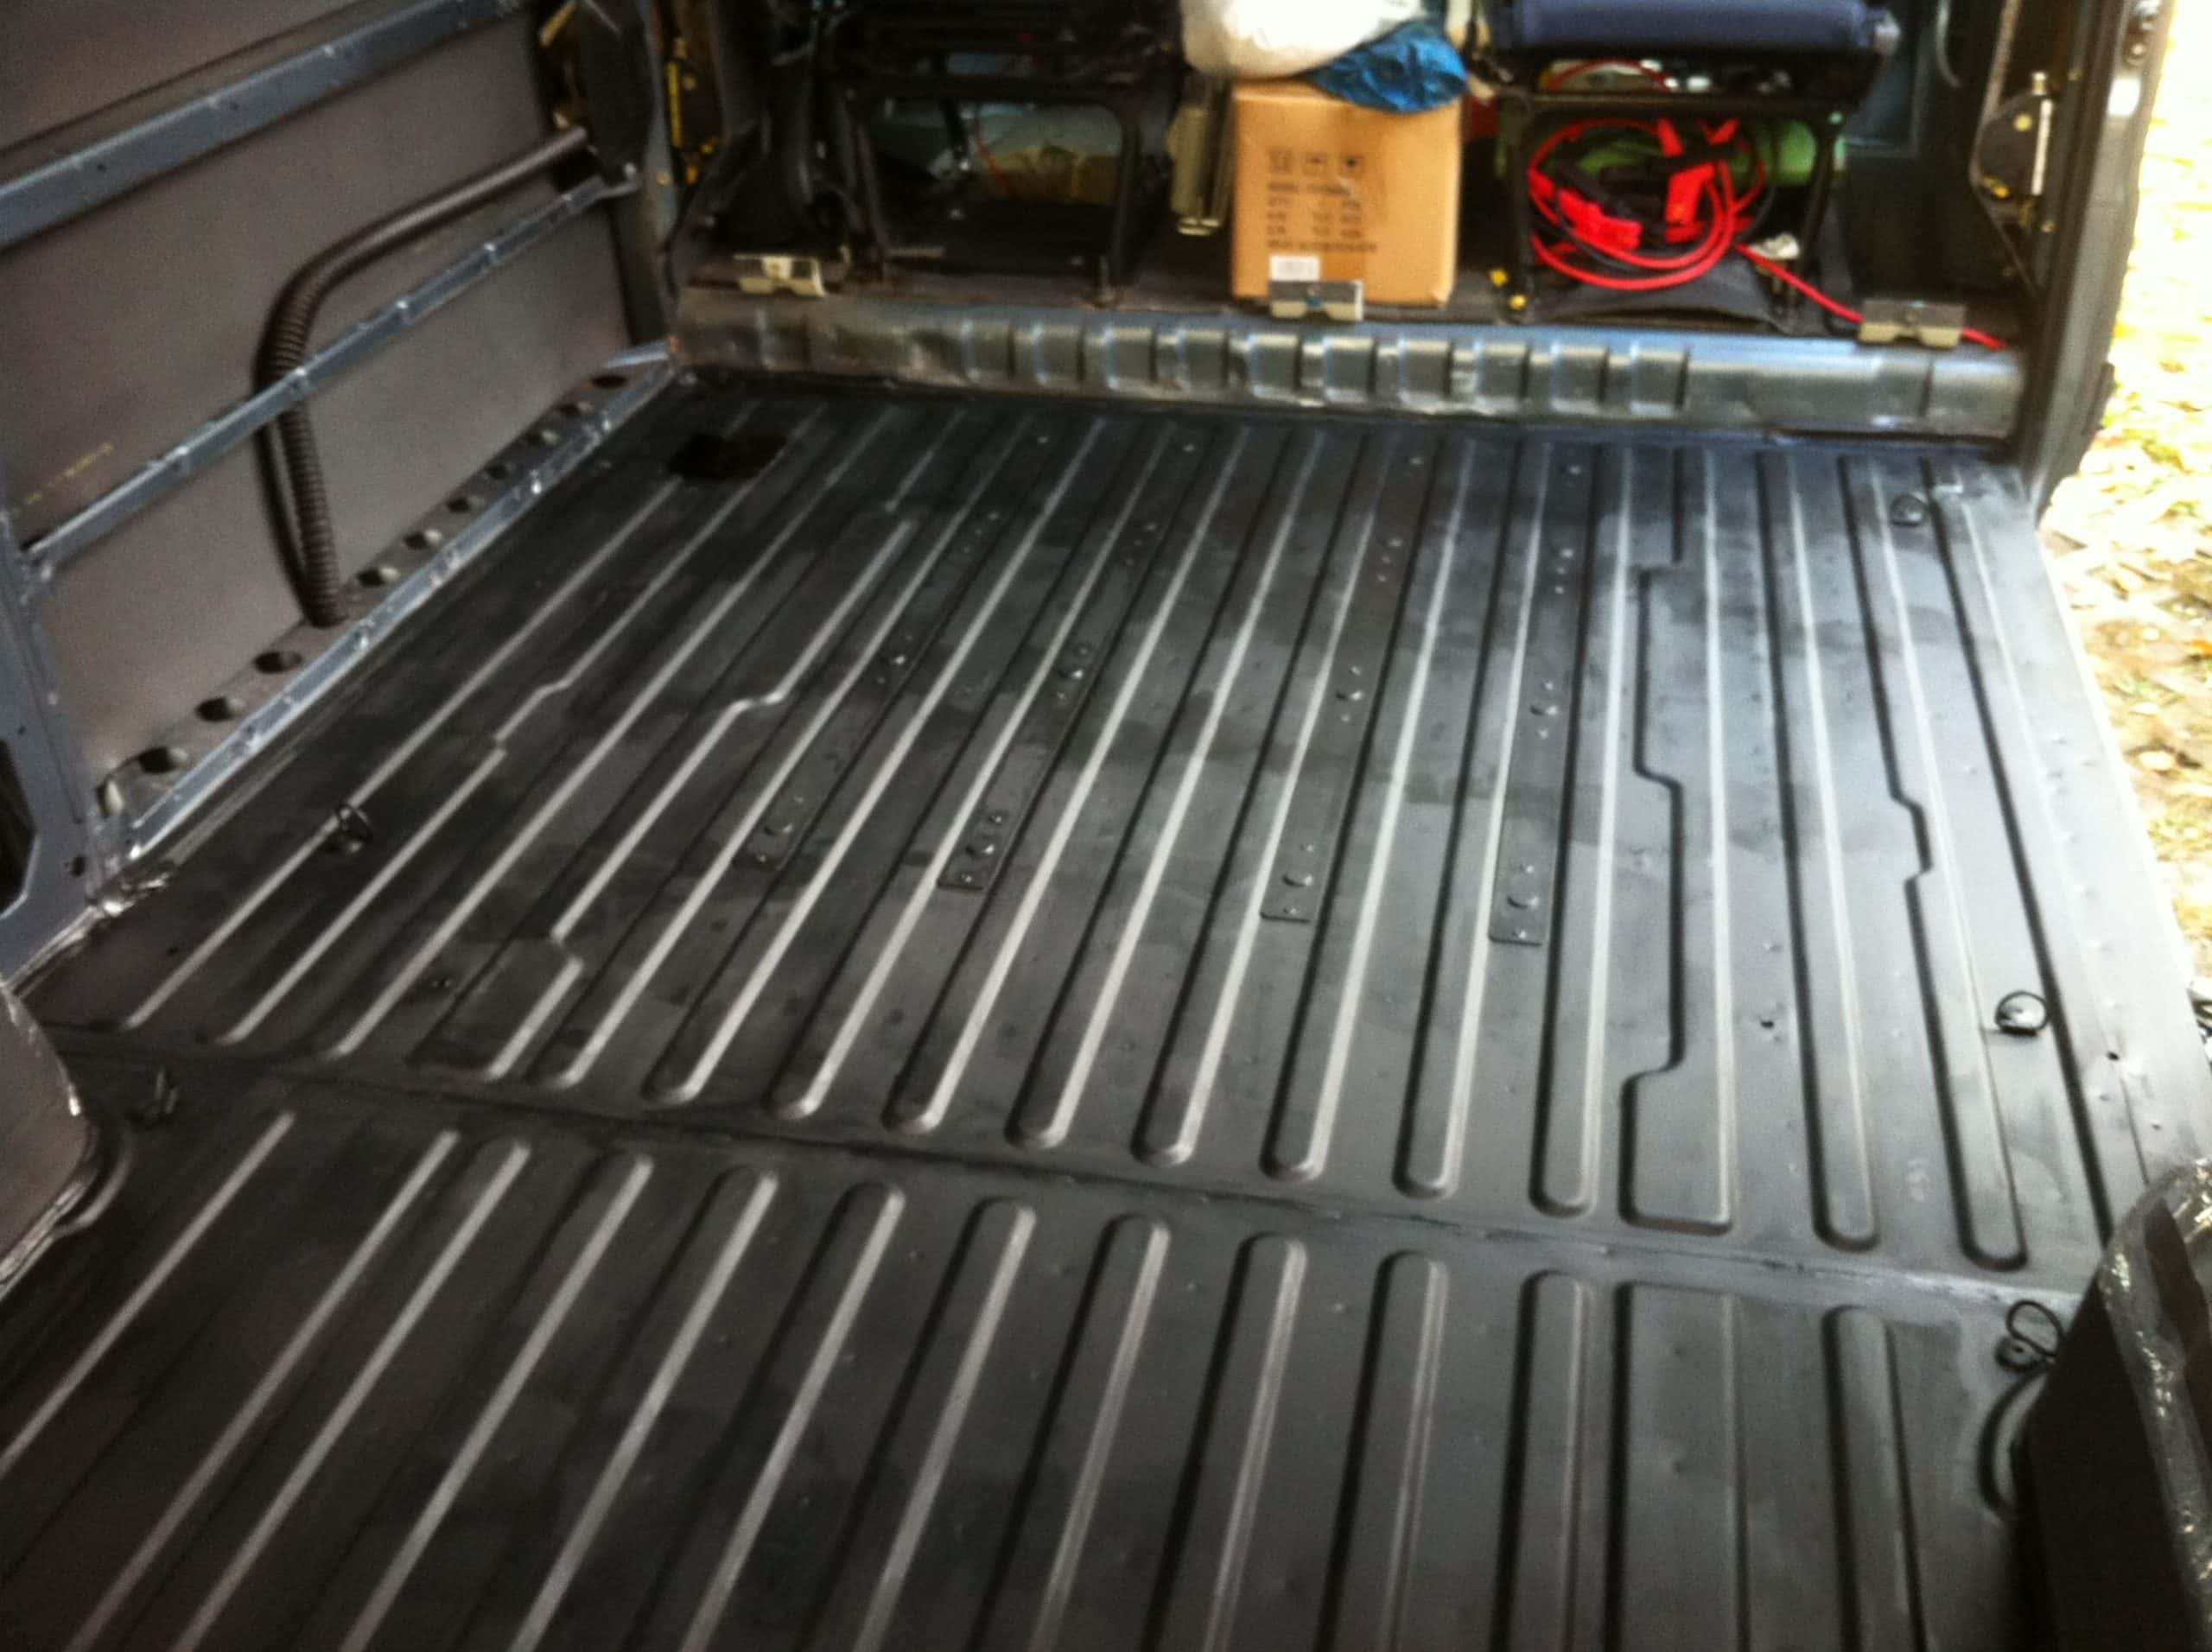
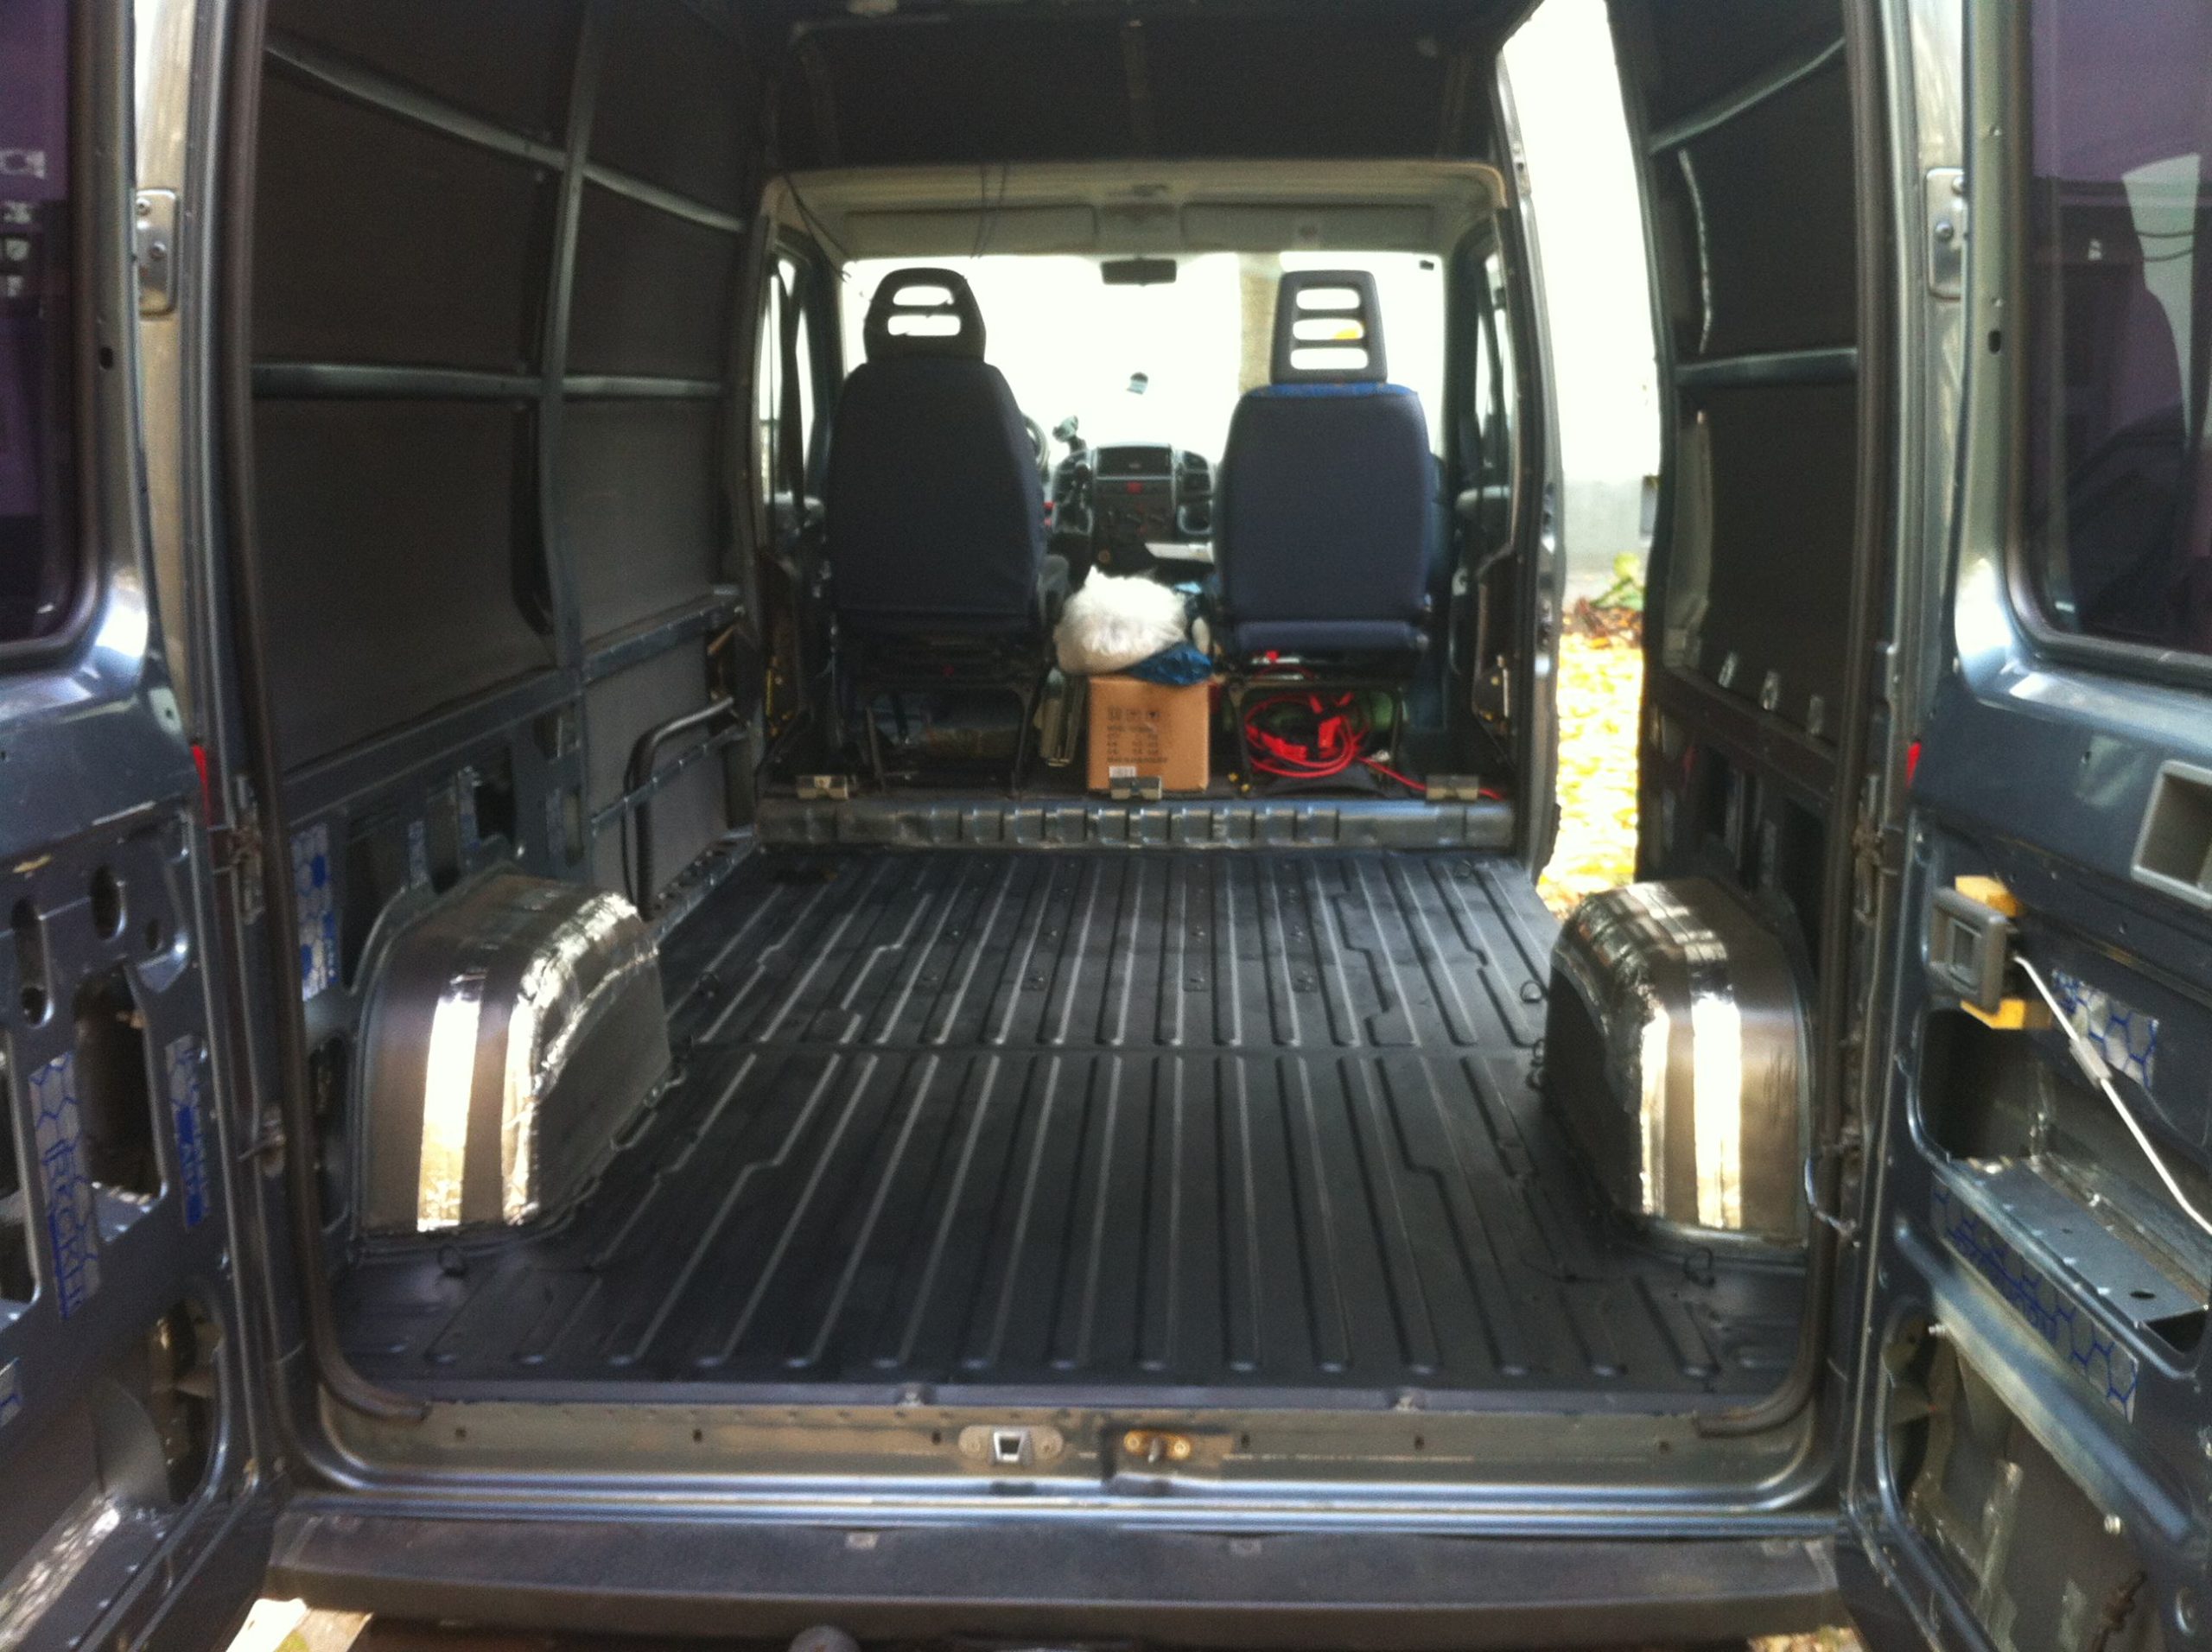
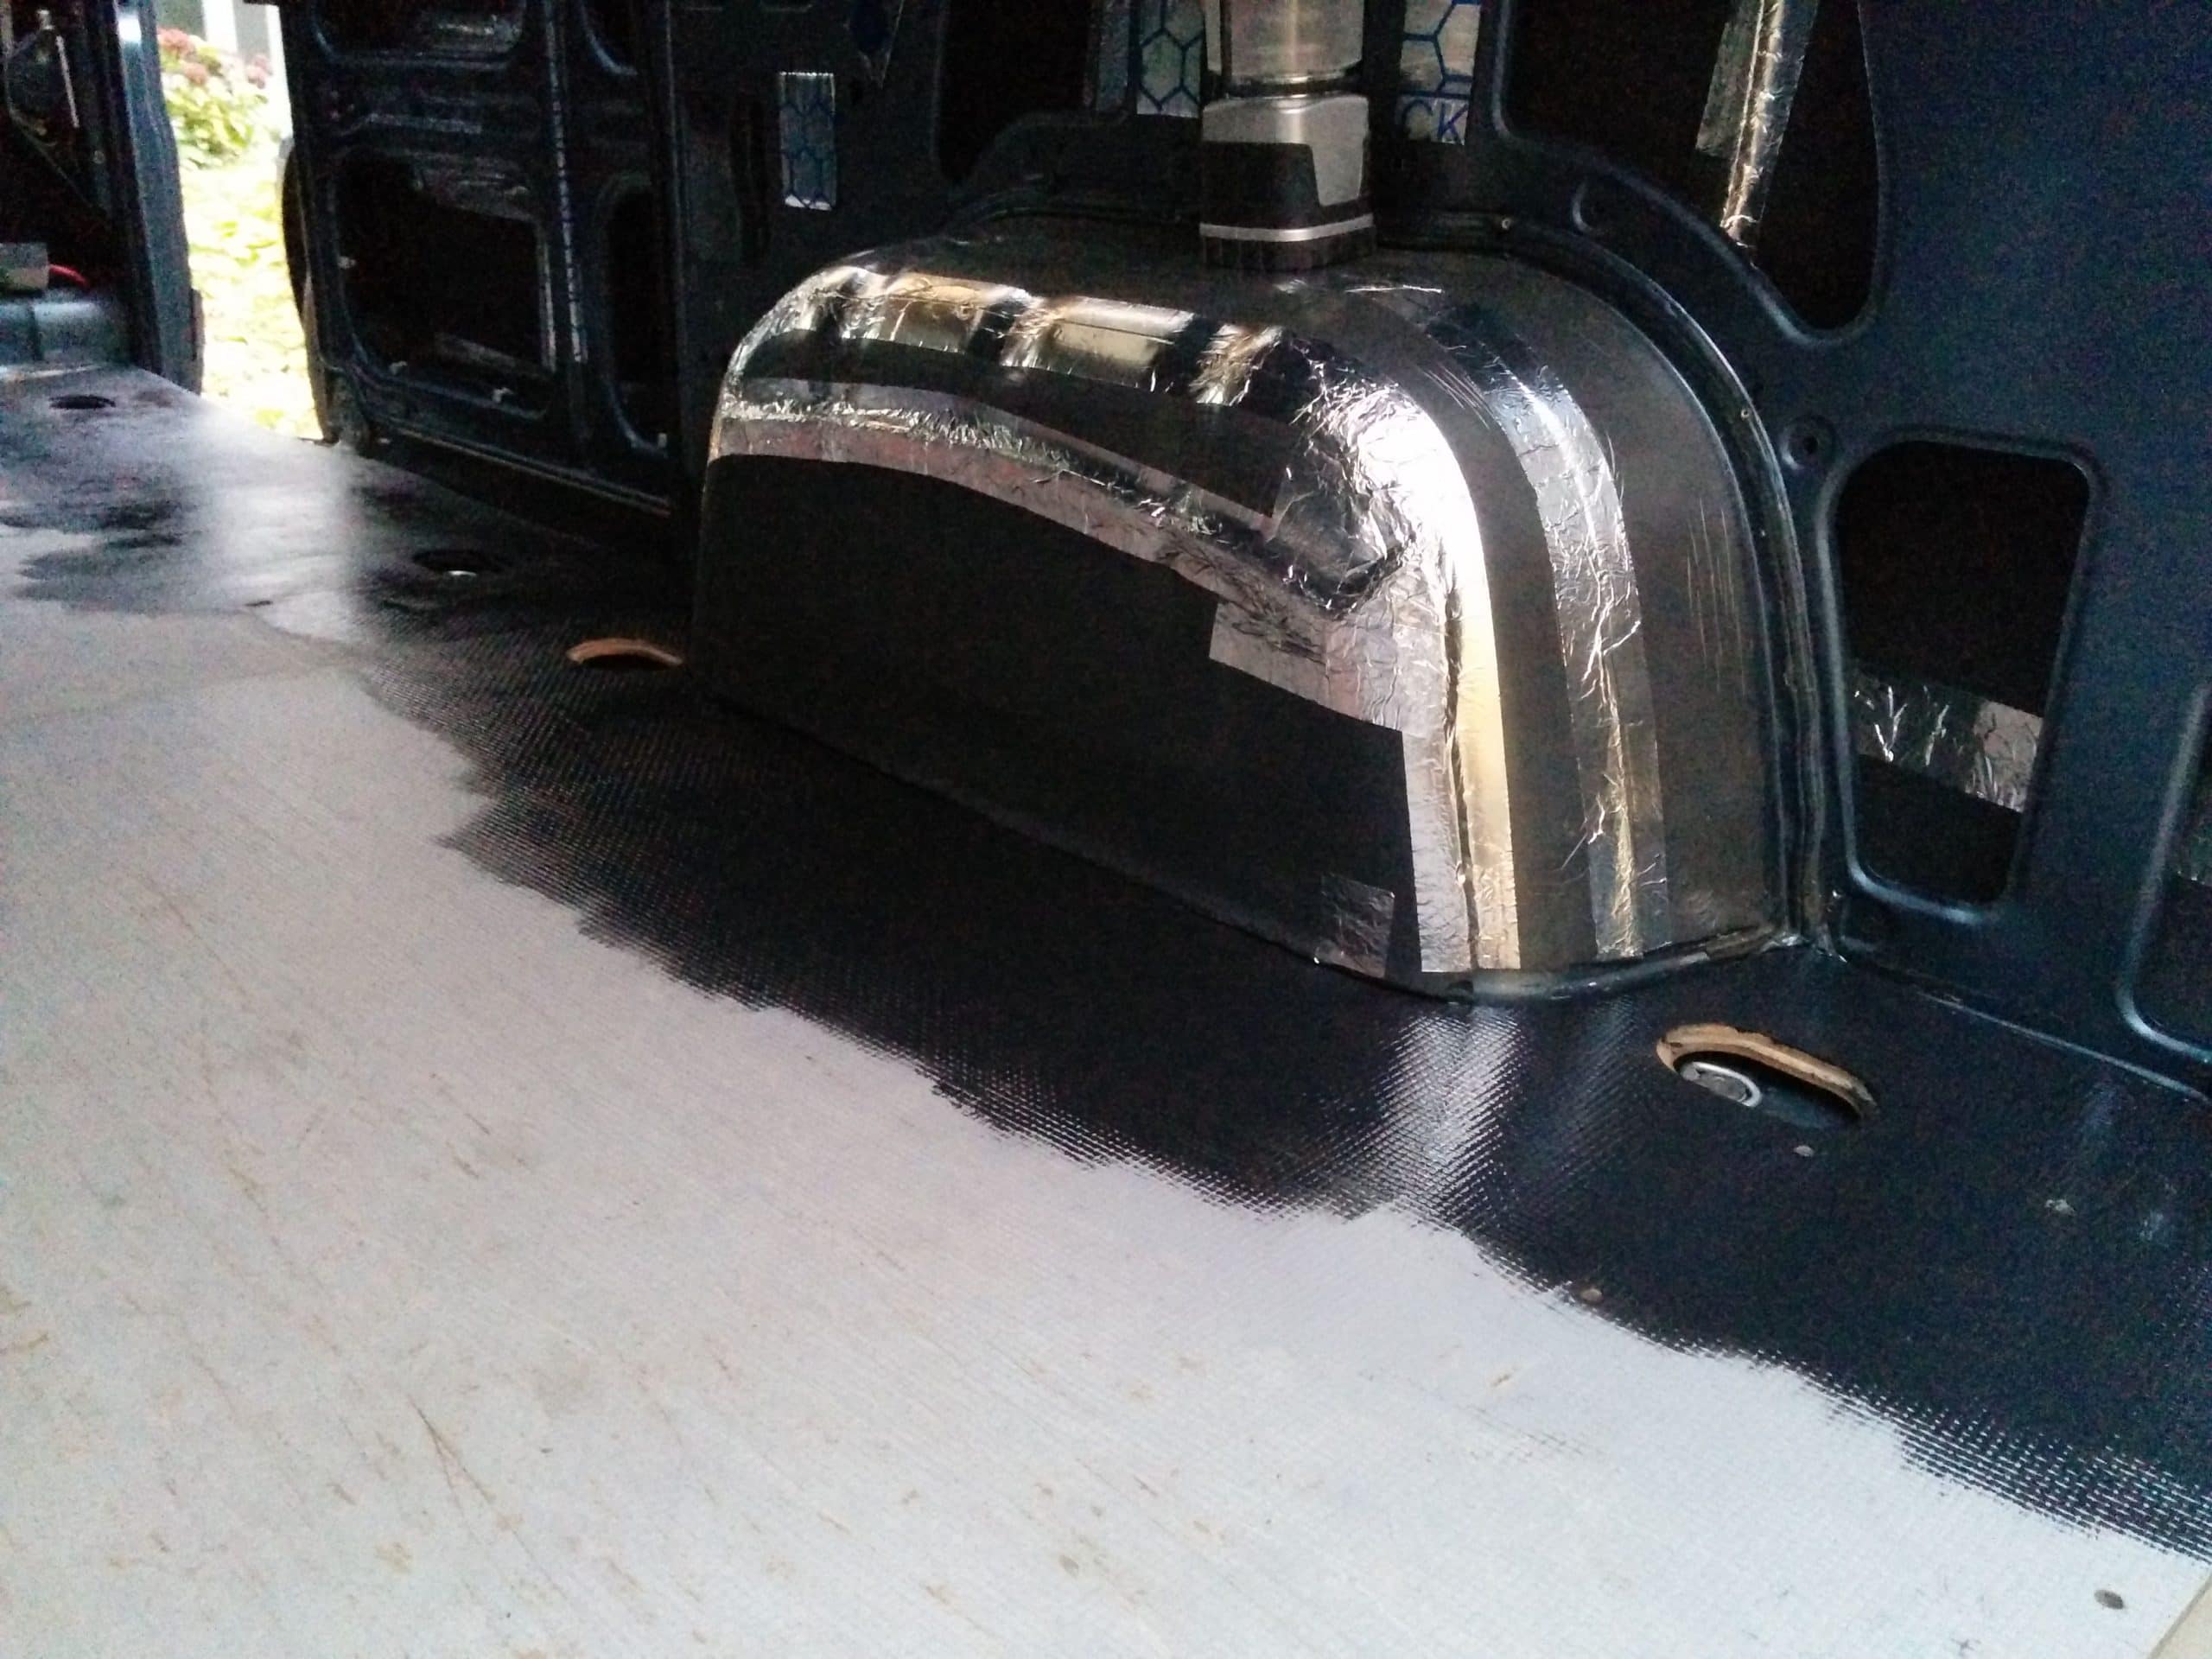
In addition to the floor insulation, we also used Alubutyl (the stickers with blue print that look like aluminum foil) to reduce vibration and soundproof the van, and Armaflex 19mm (the black foam pads) for thermal insulation. Both are stick-on and easy to apply. The biggest part of the job is cutting them to size.
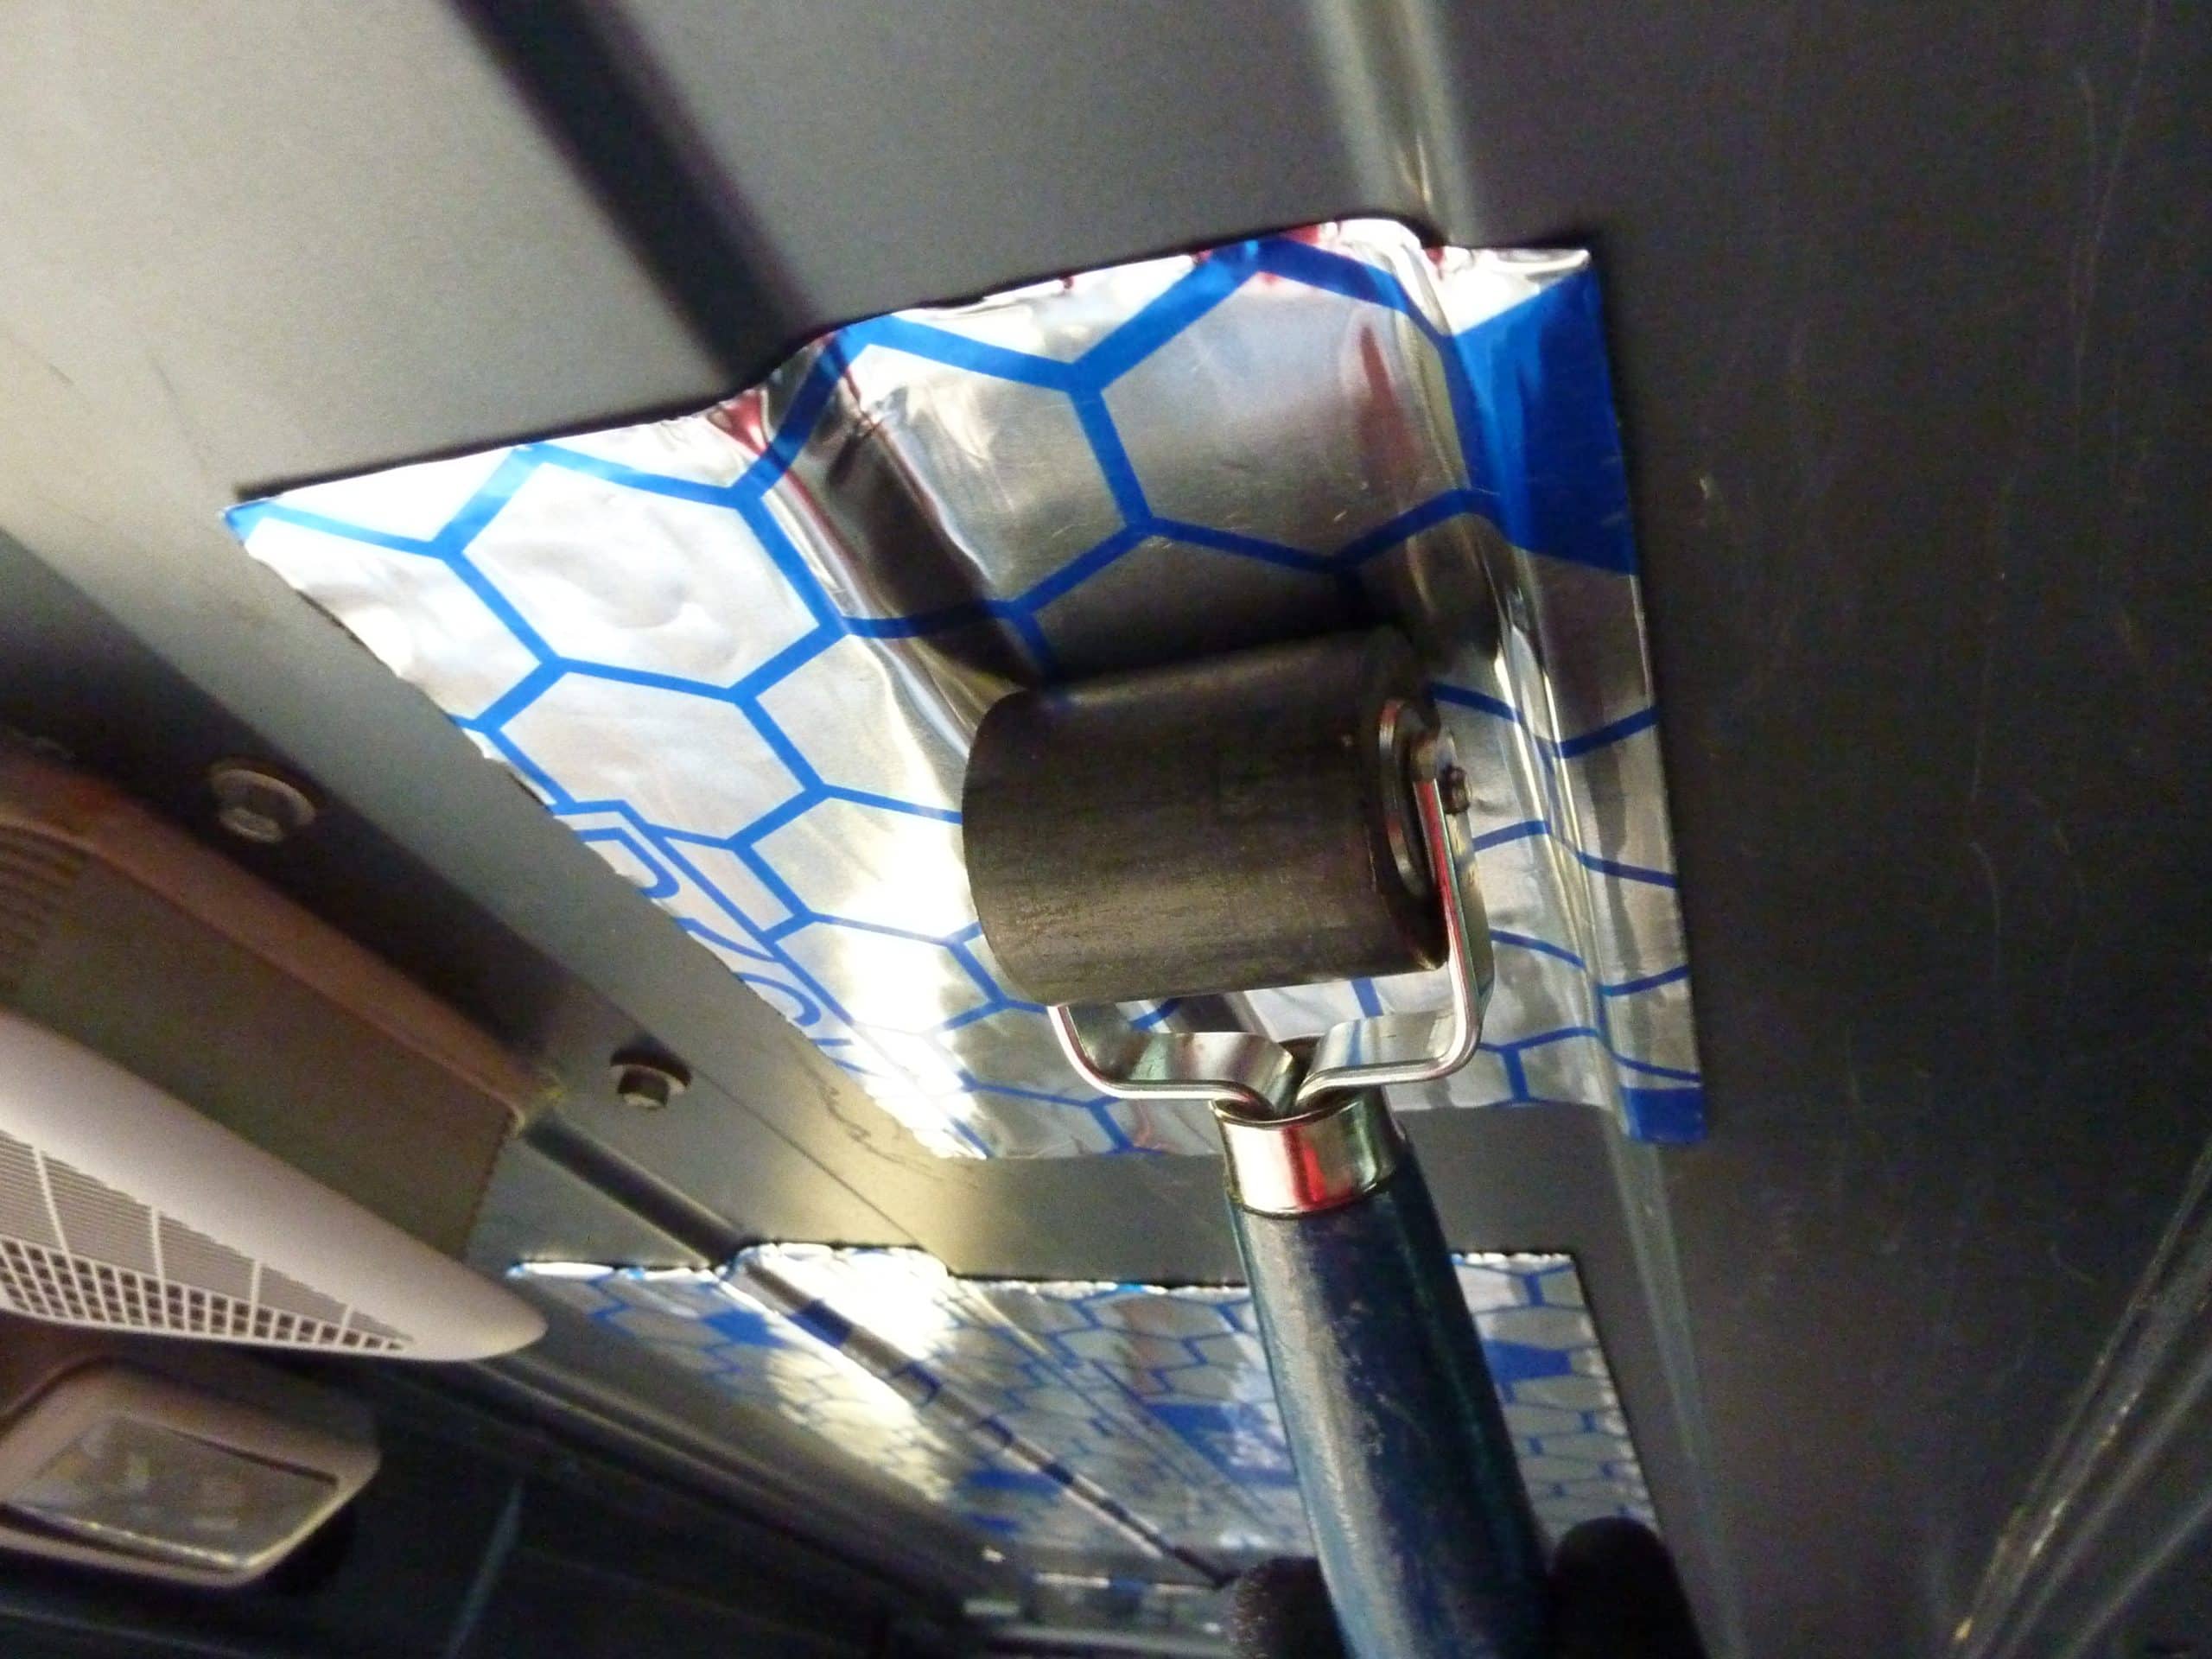
TIP: You can use a roller which makes it much easier to apply the Alubutyl.
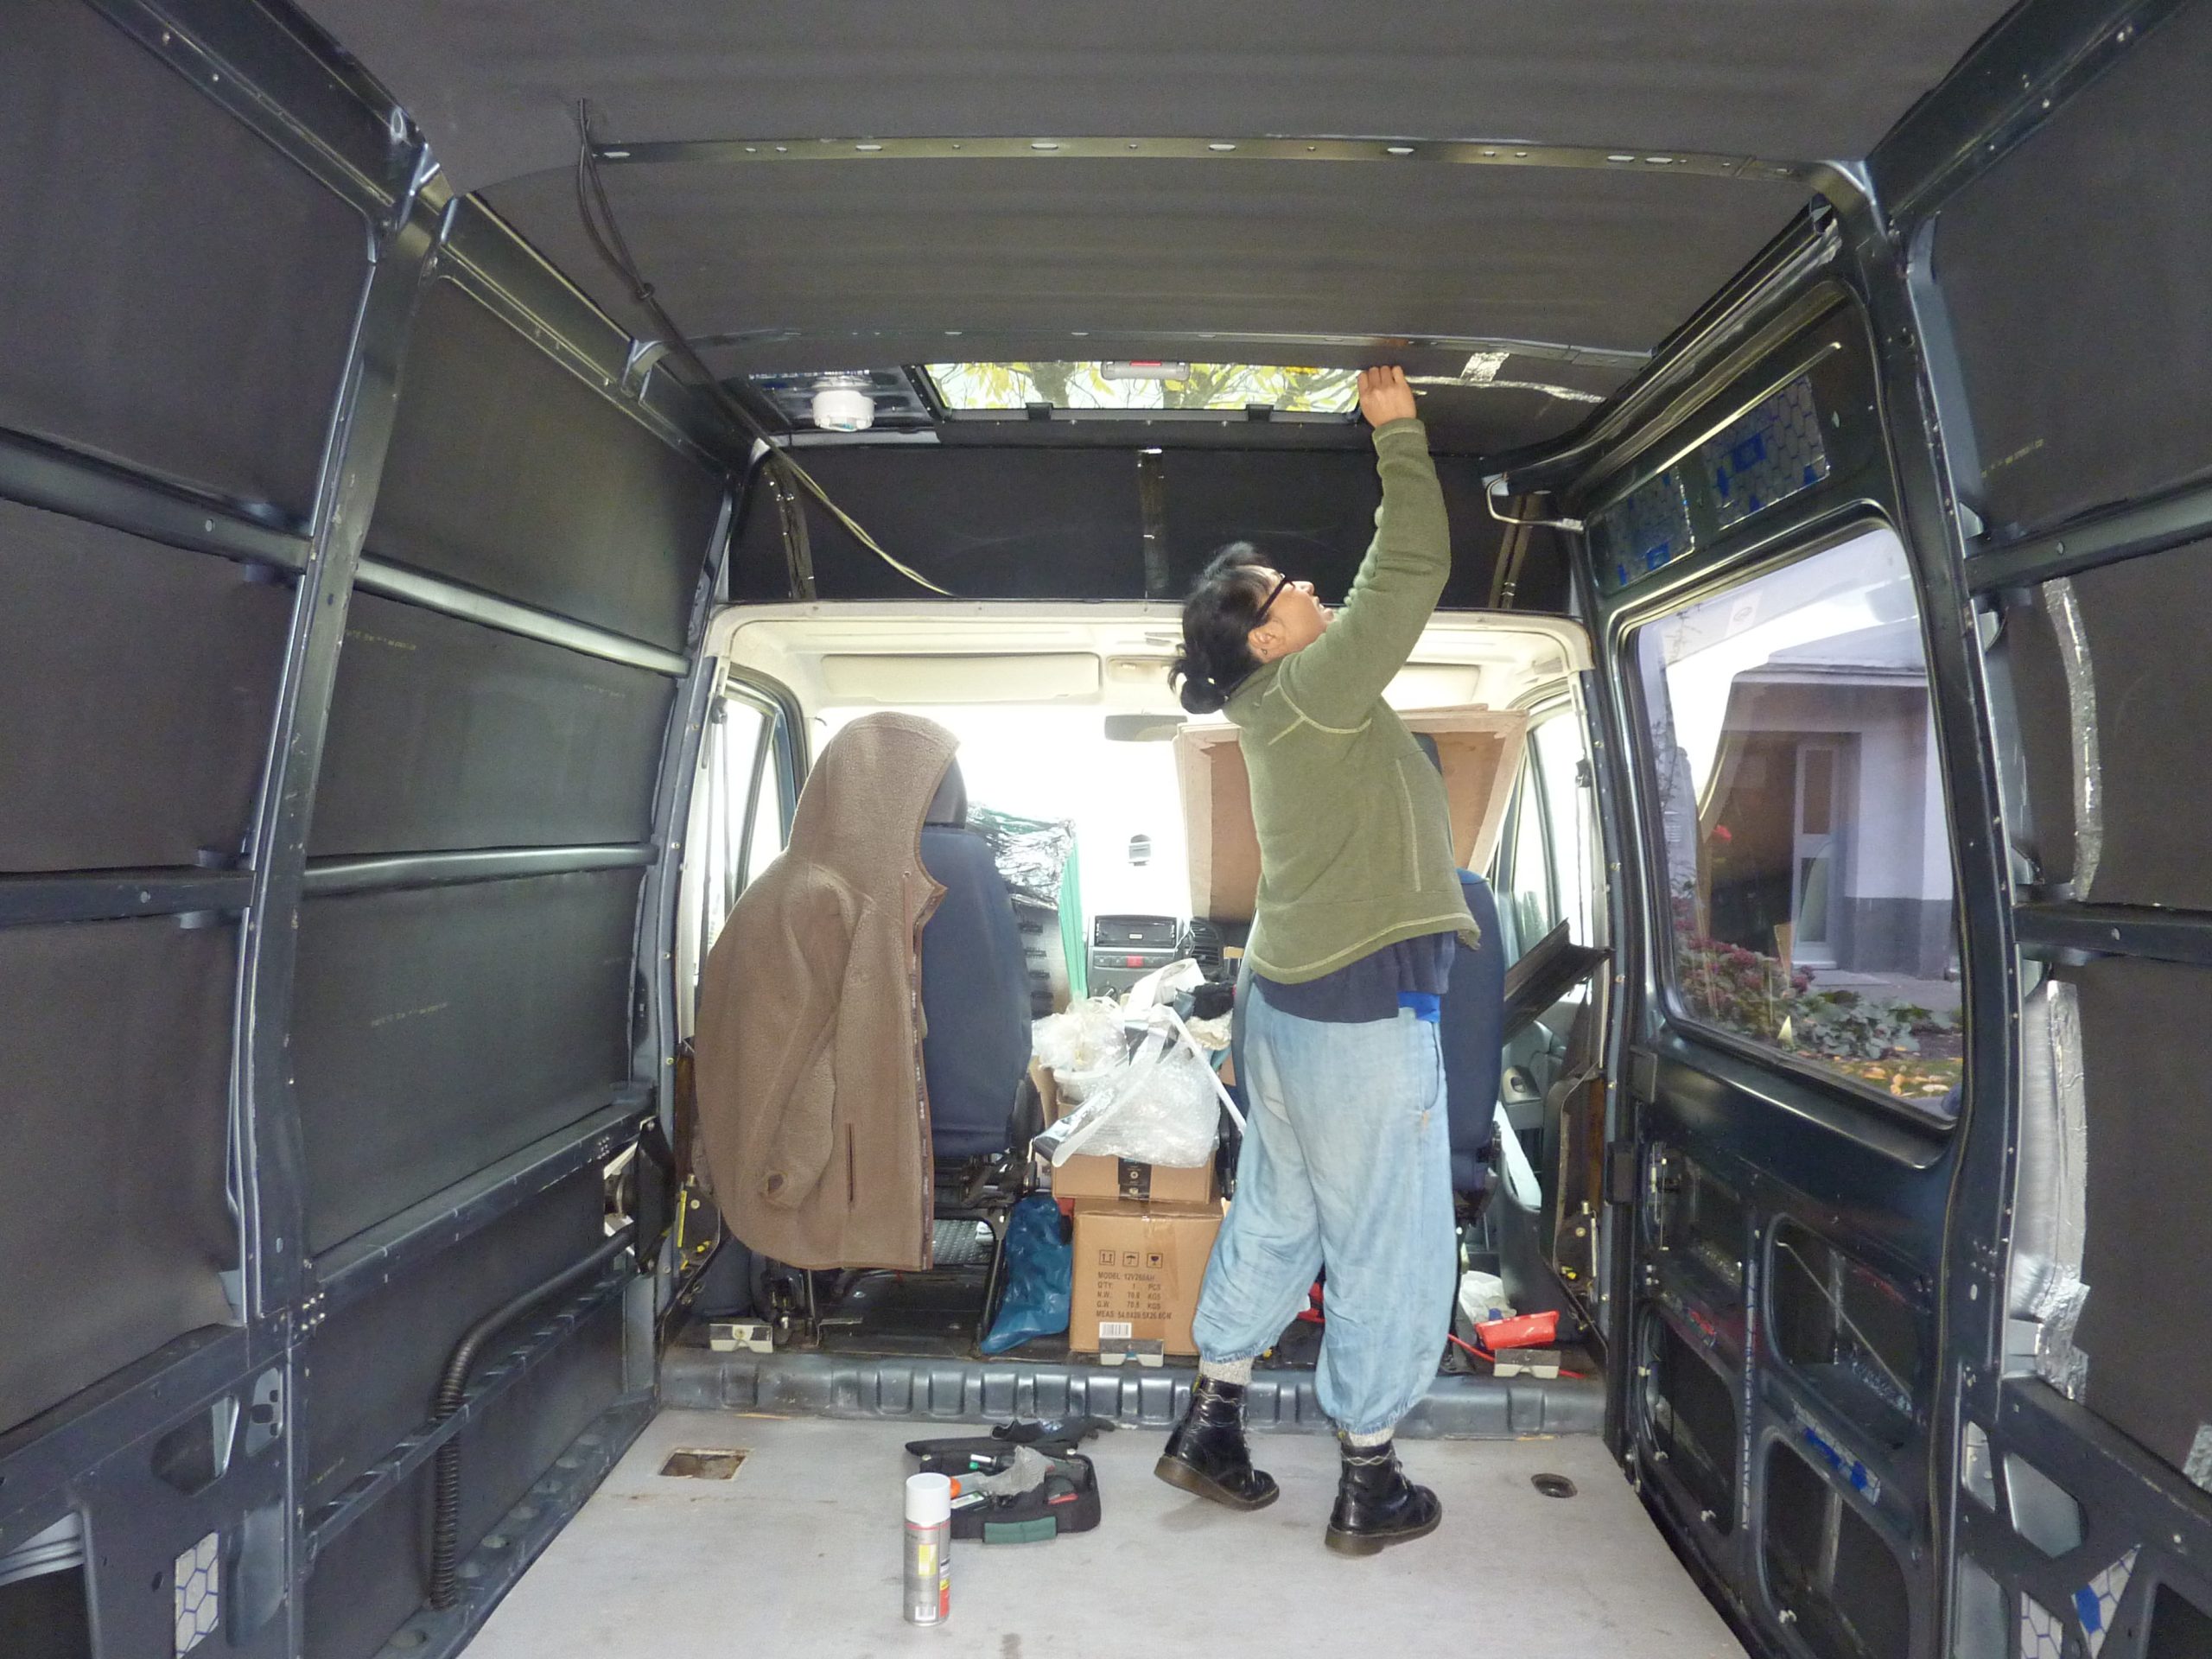
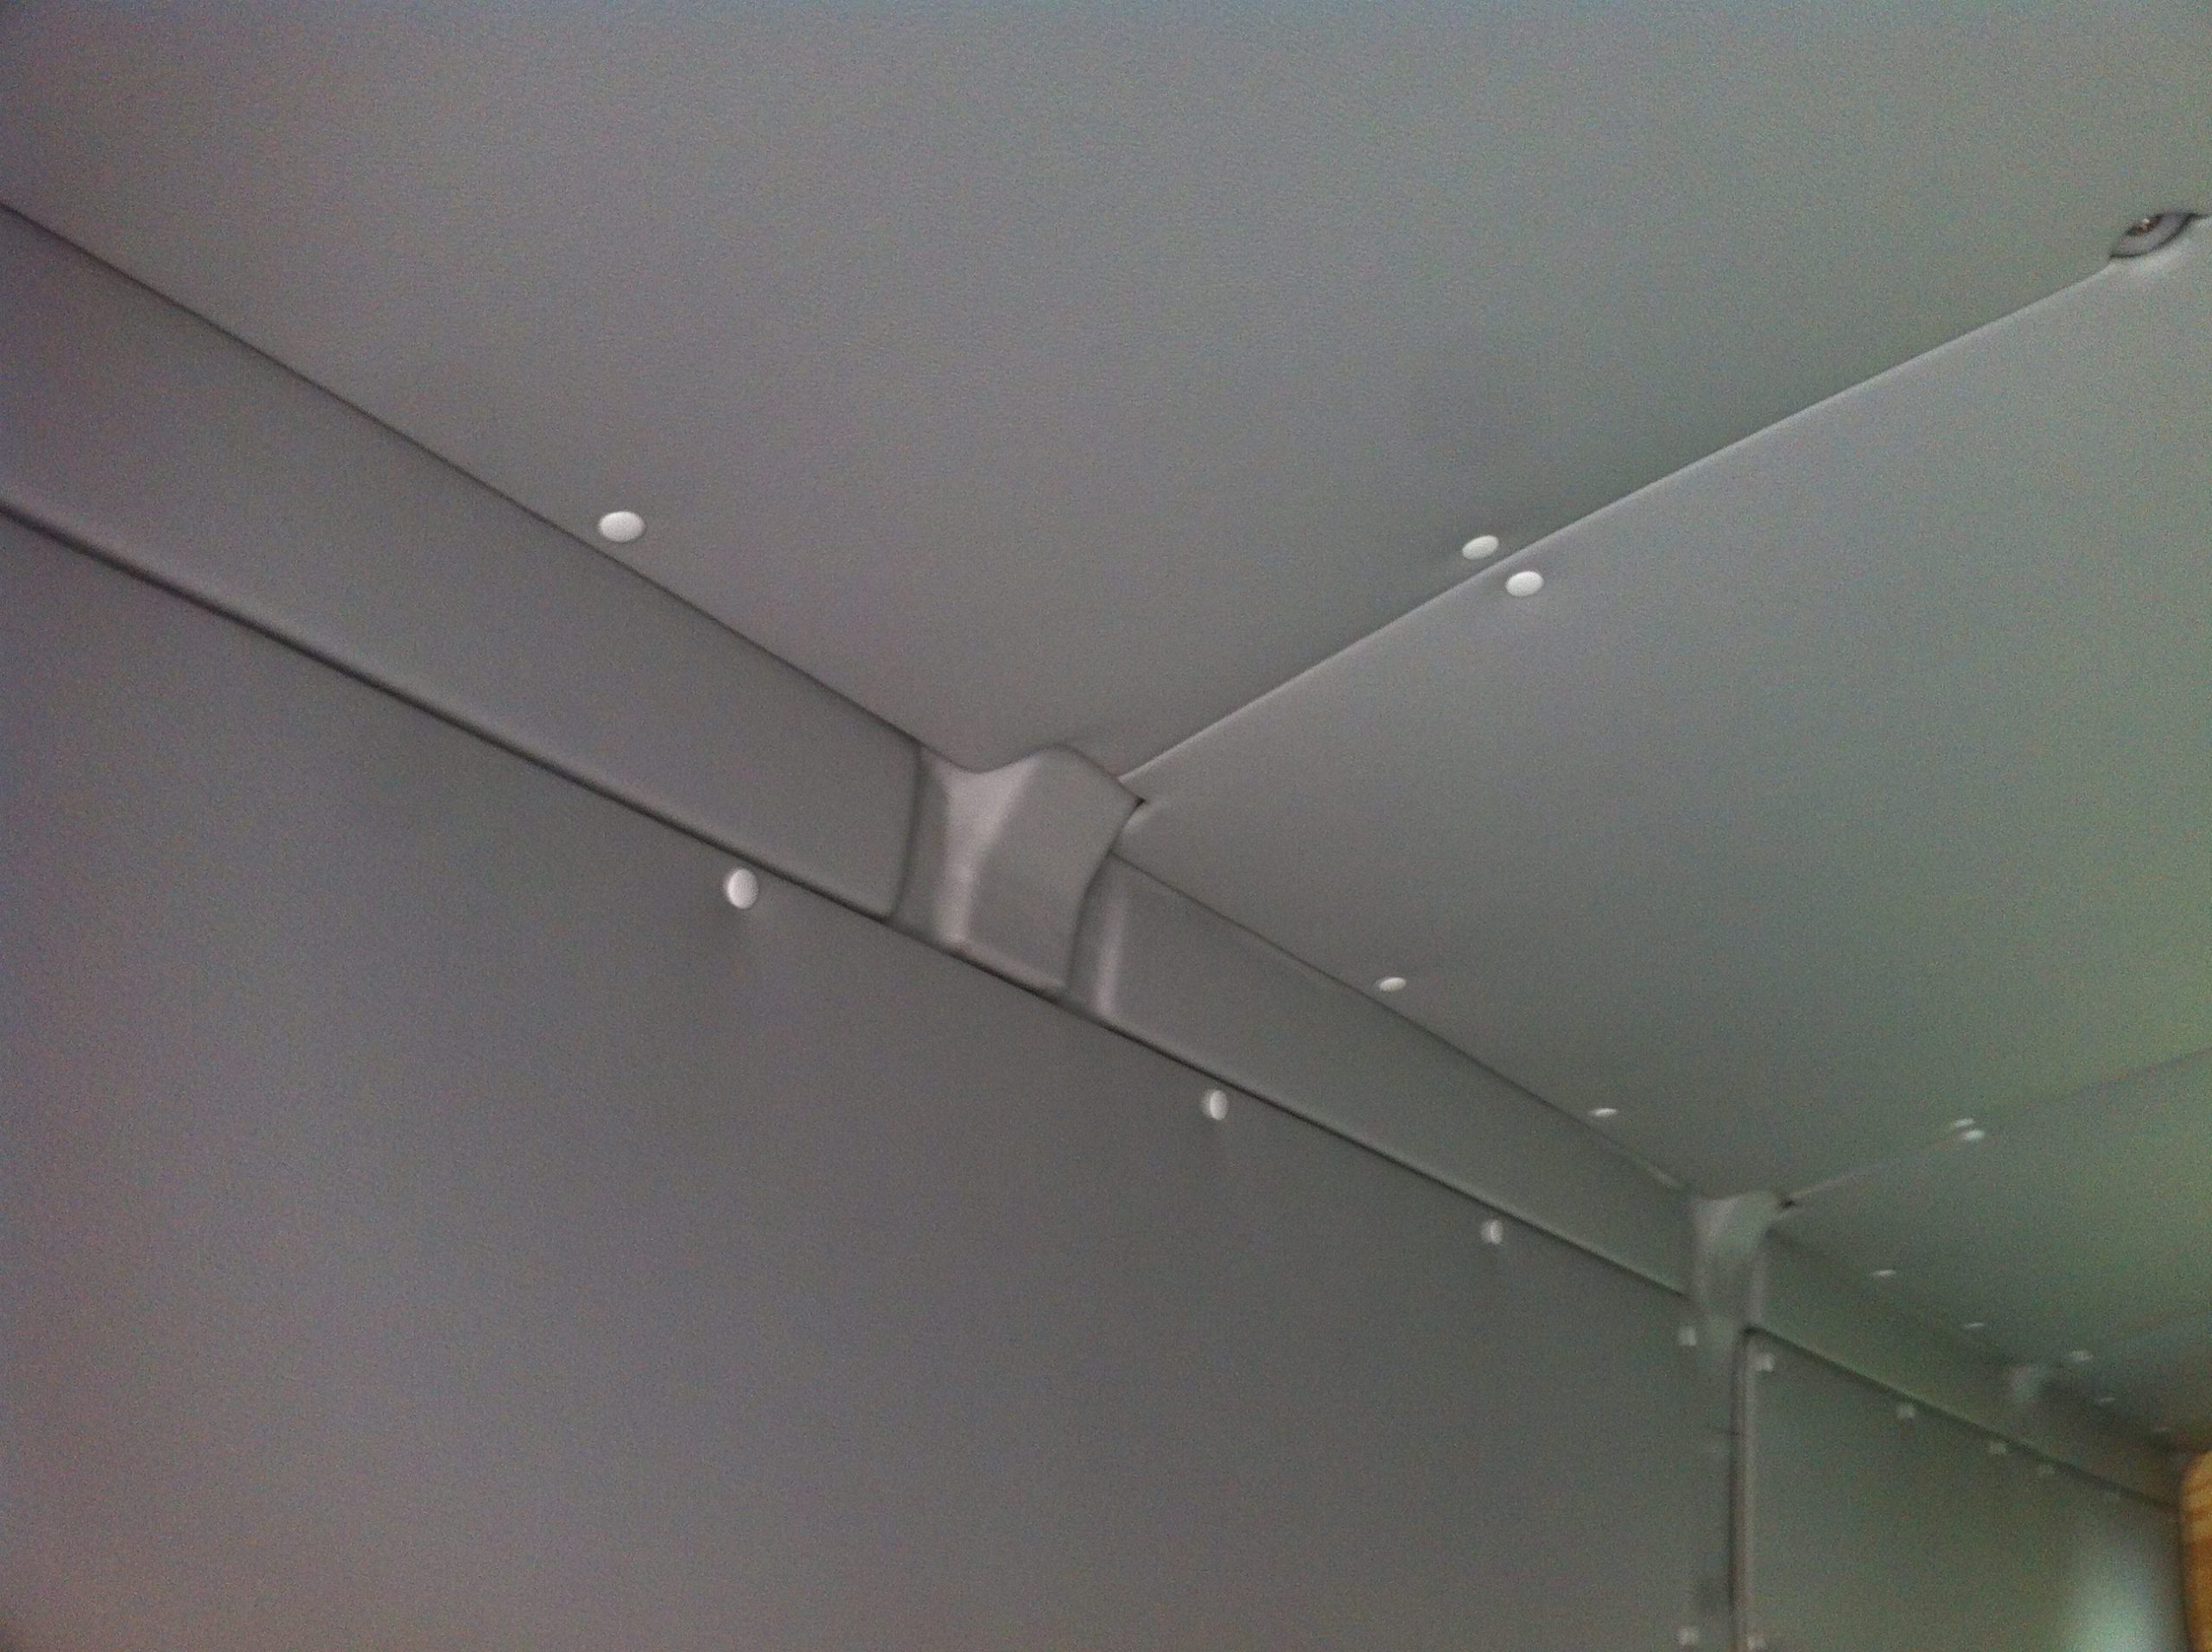
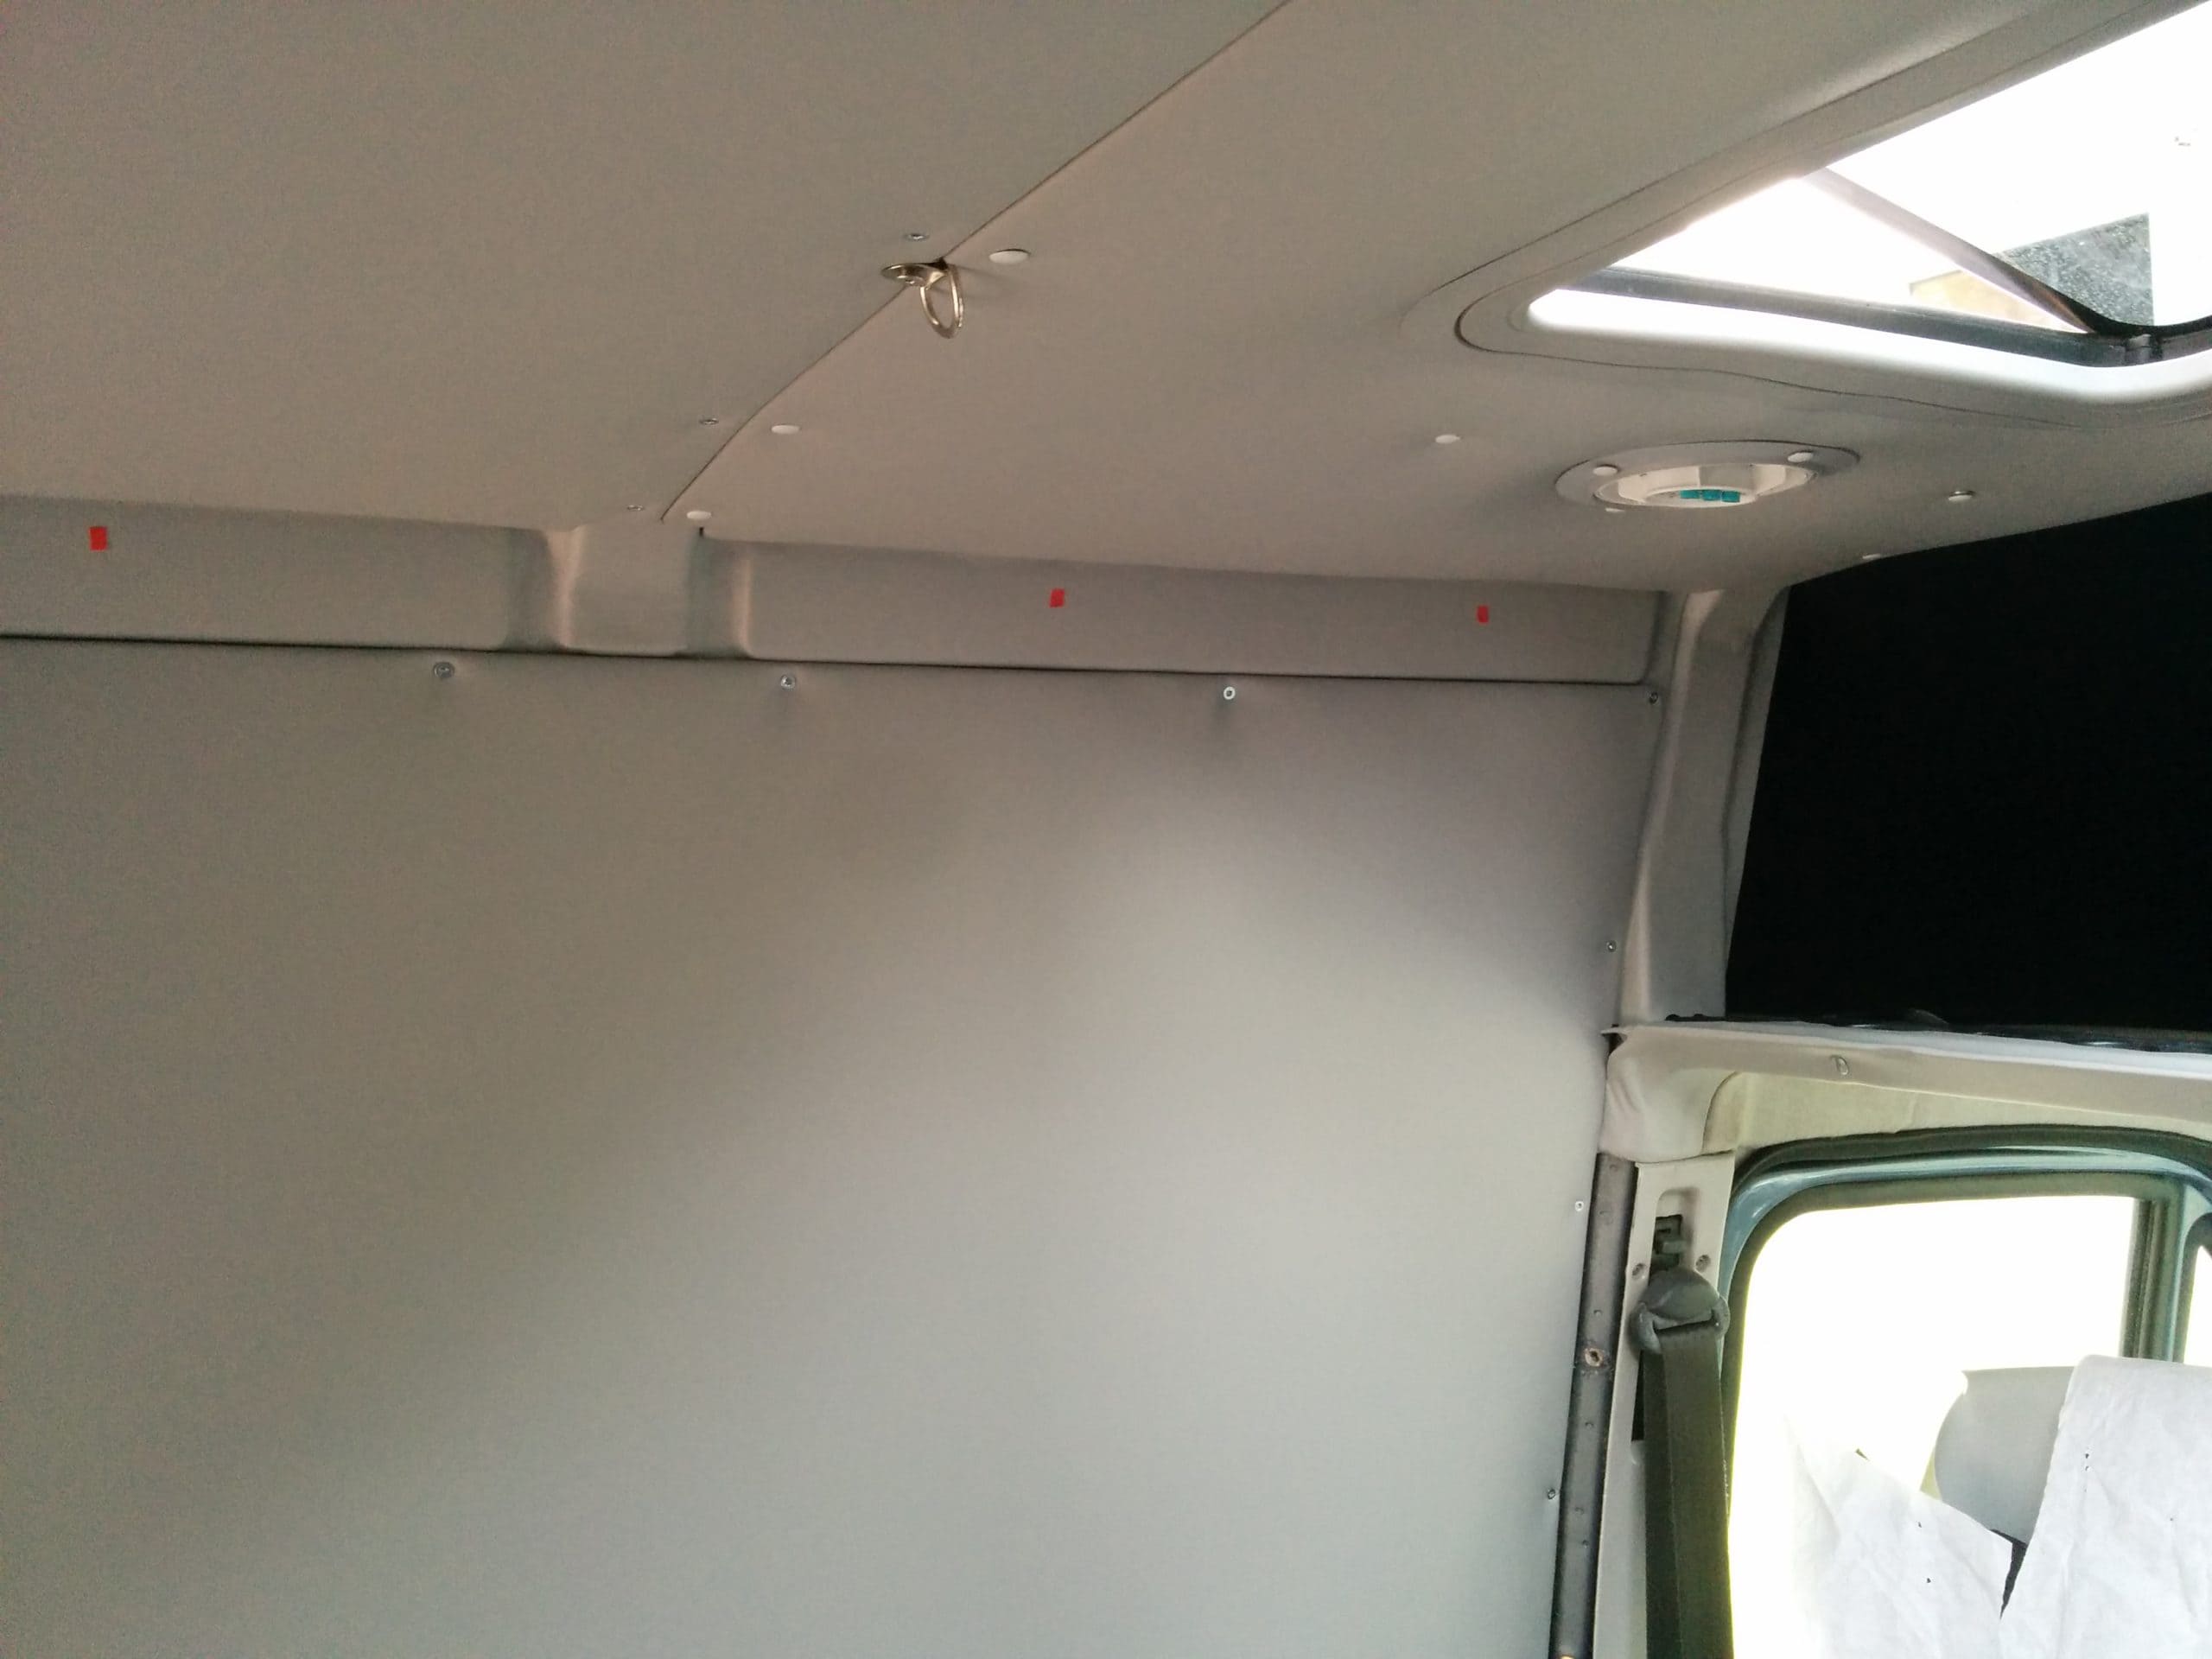
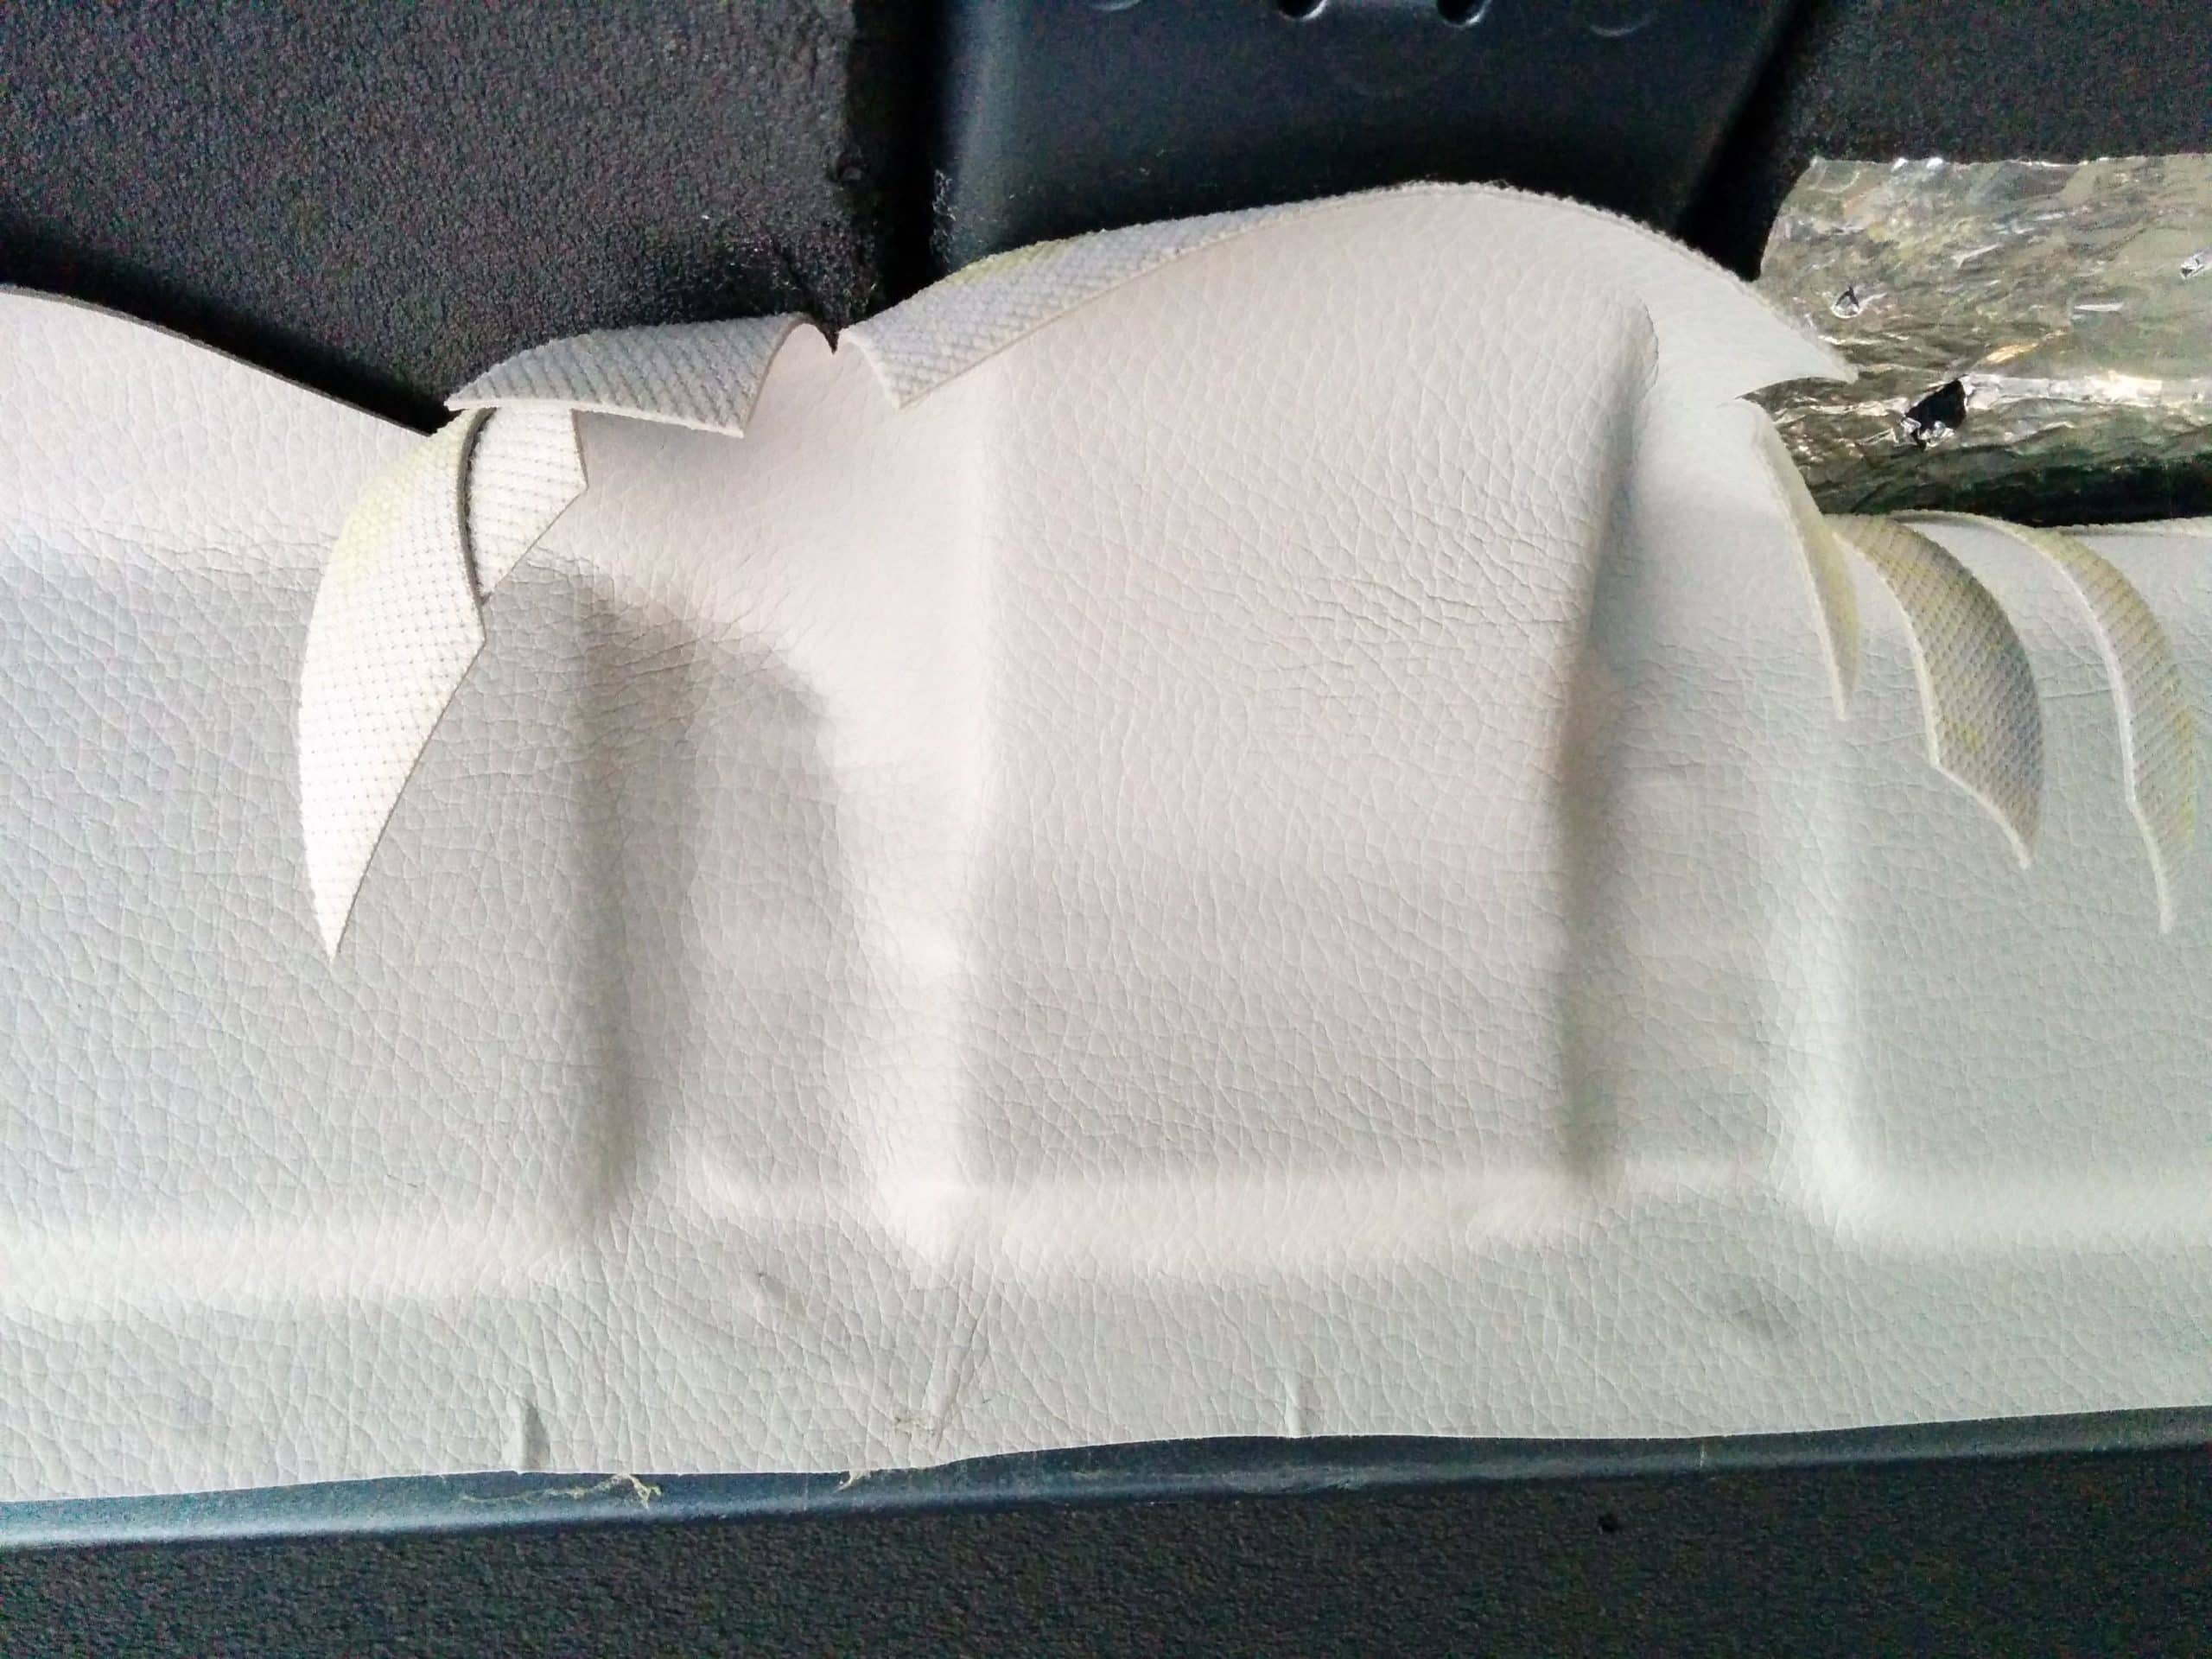
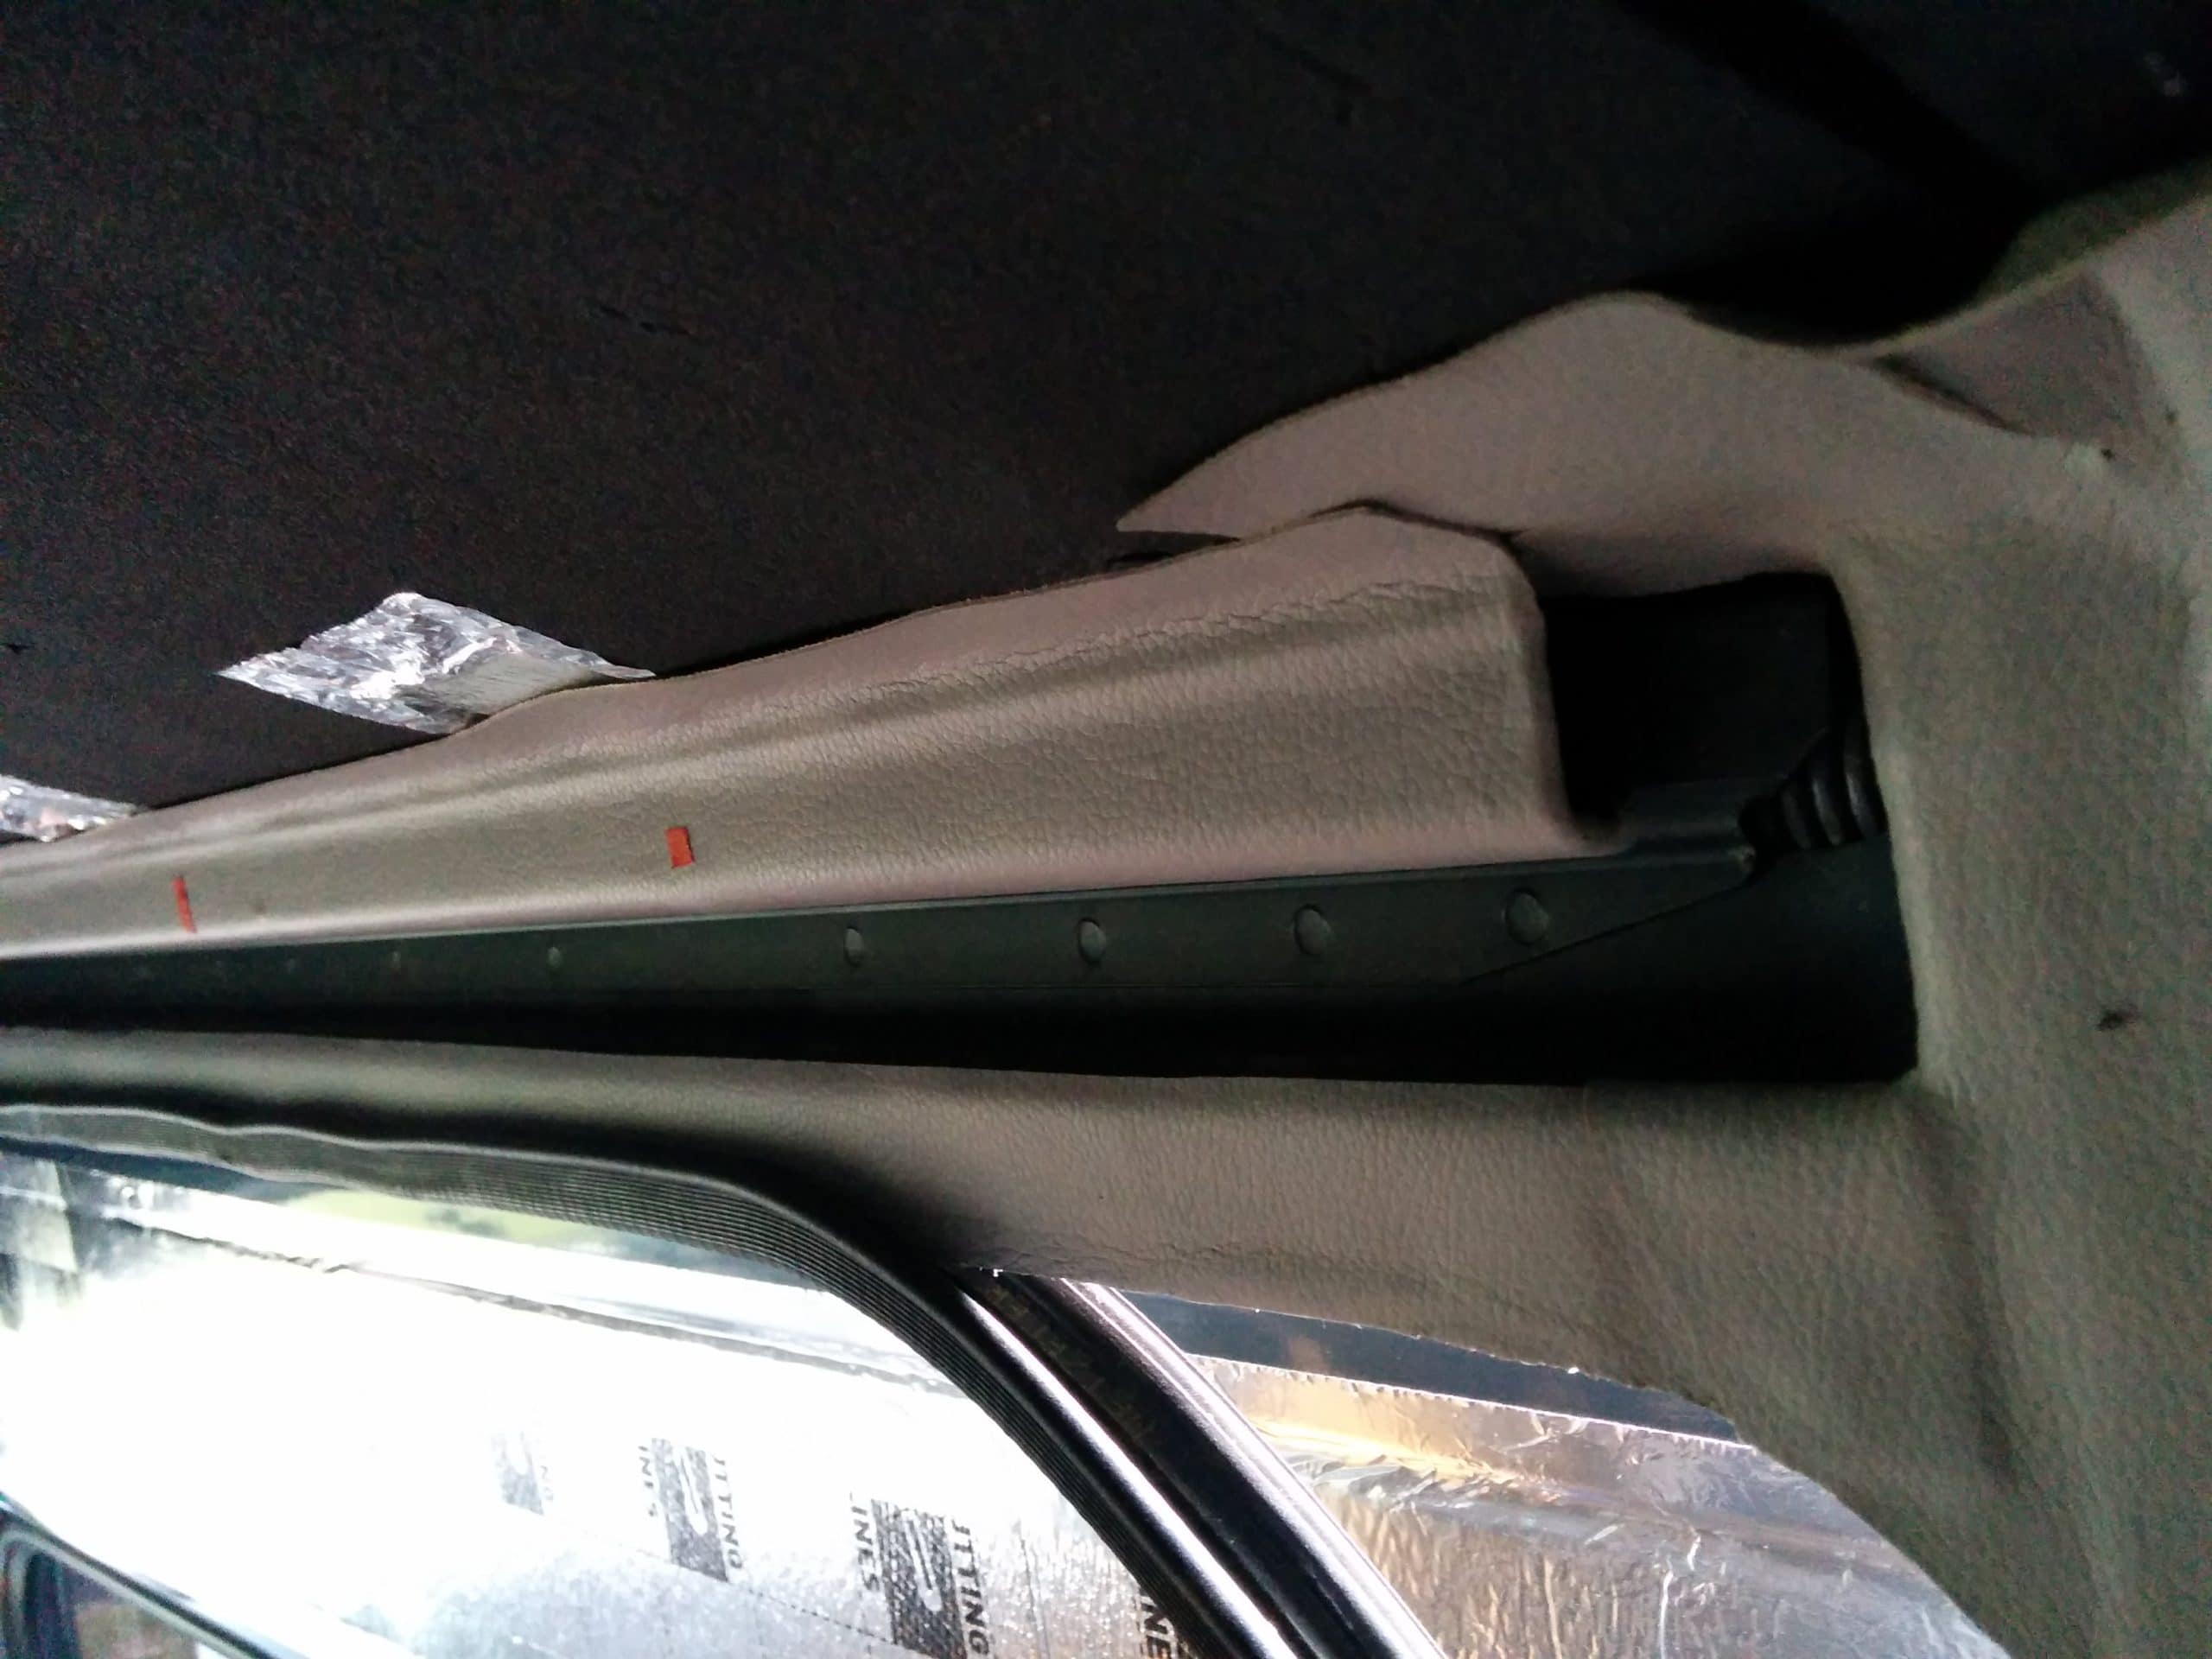
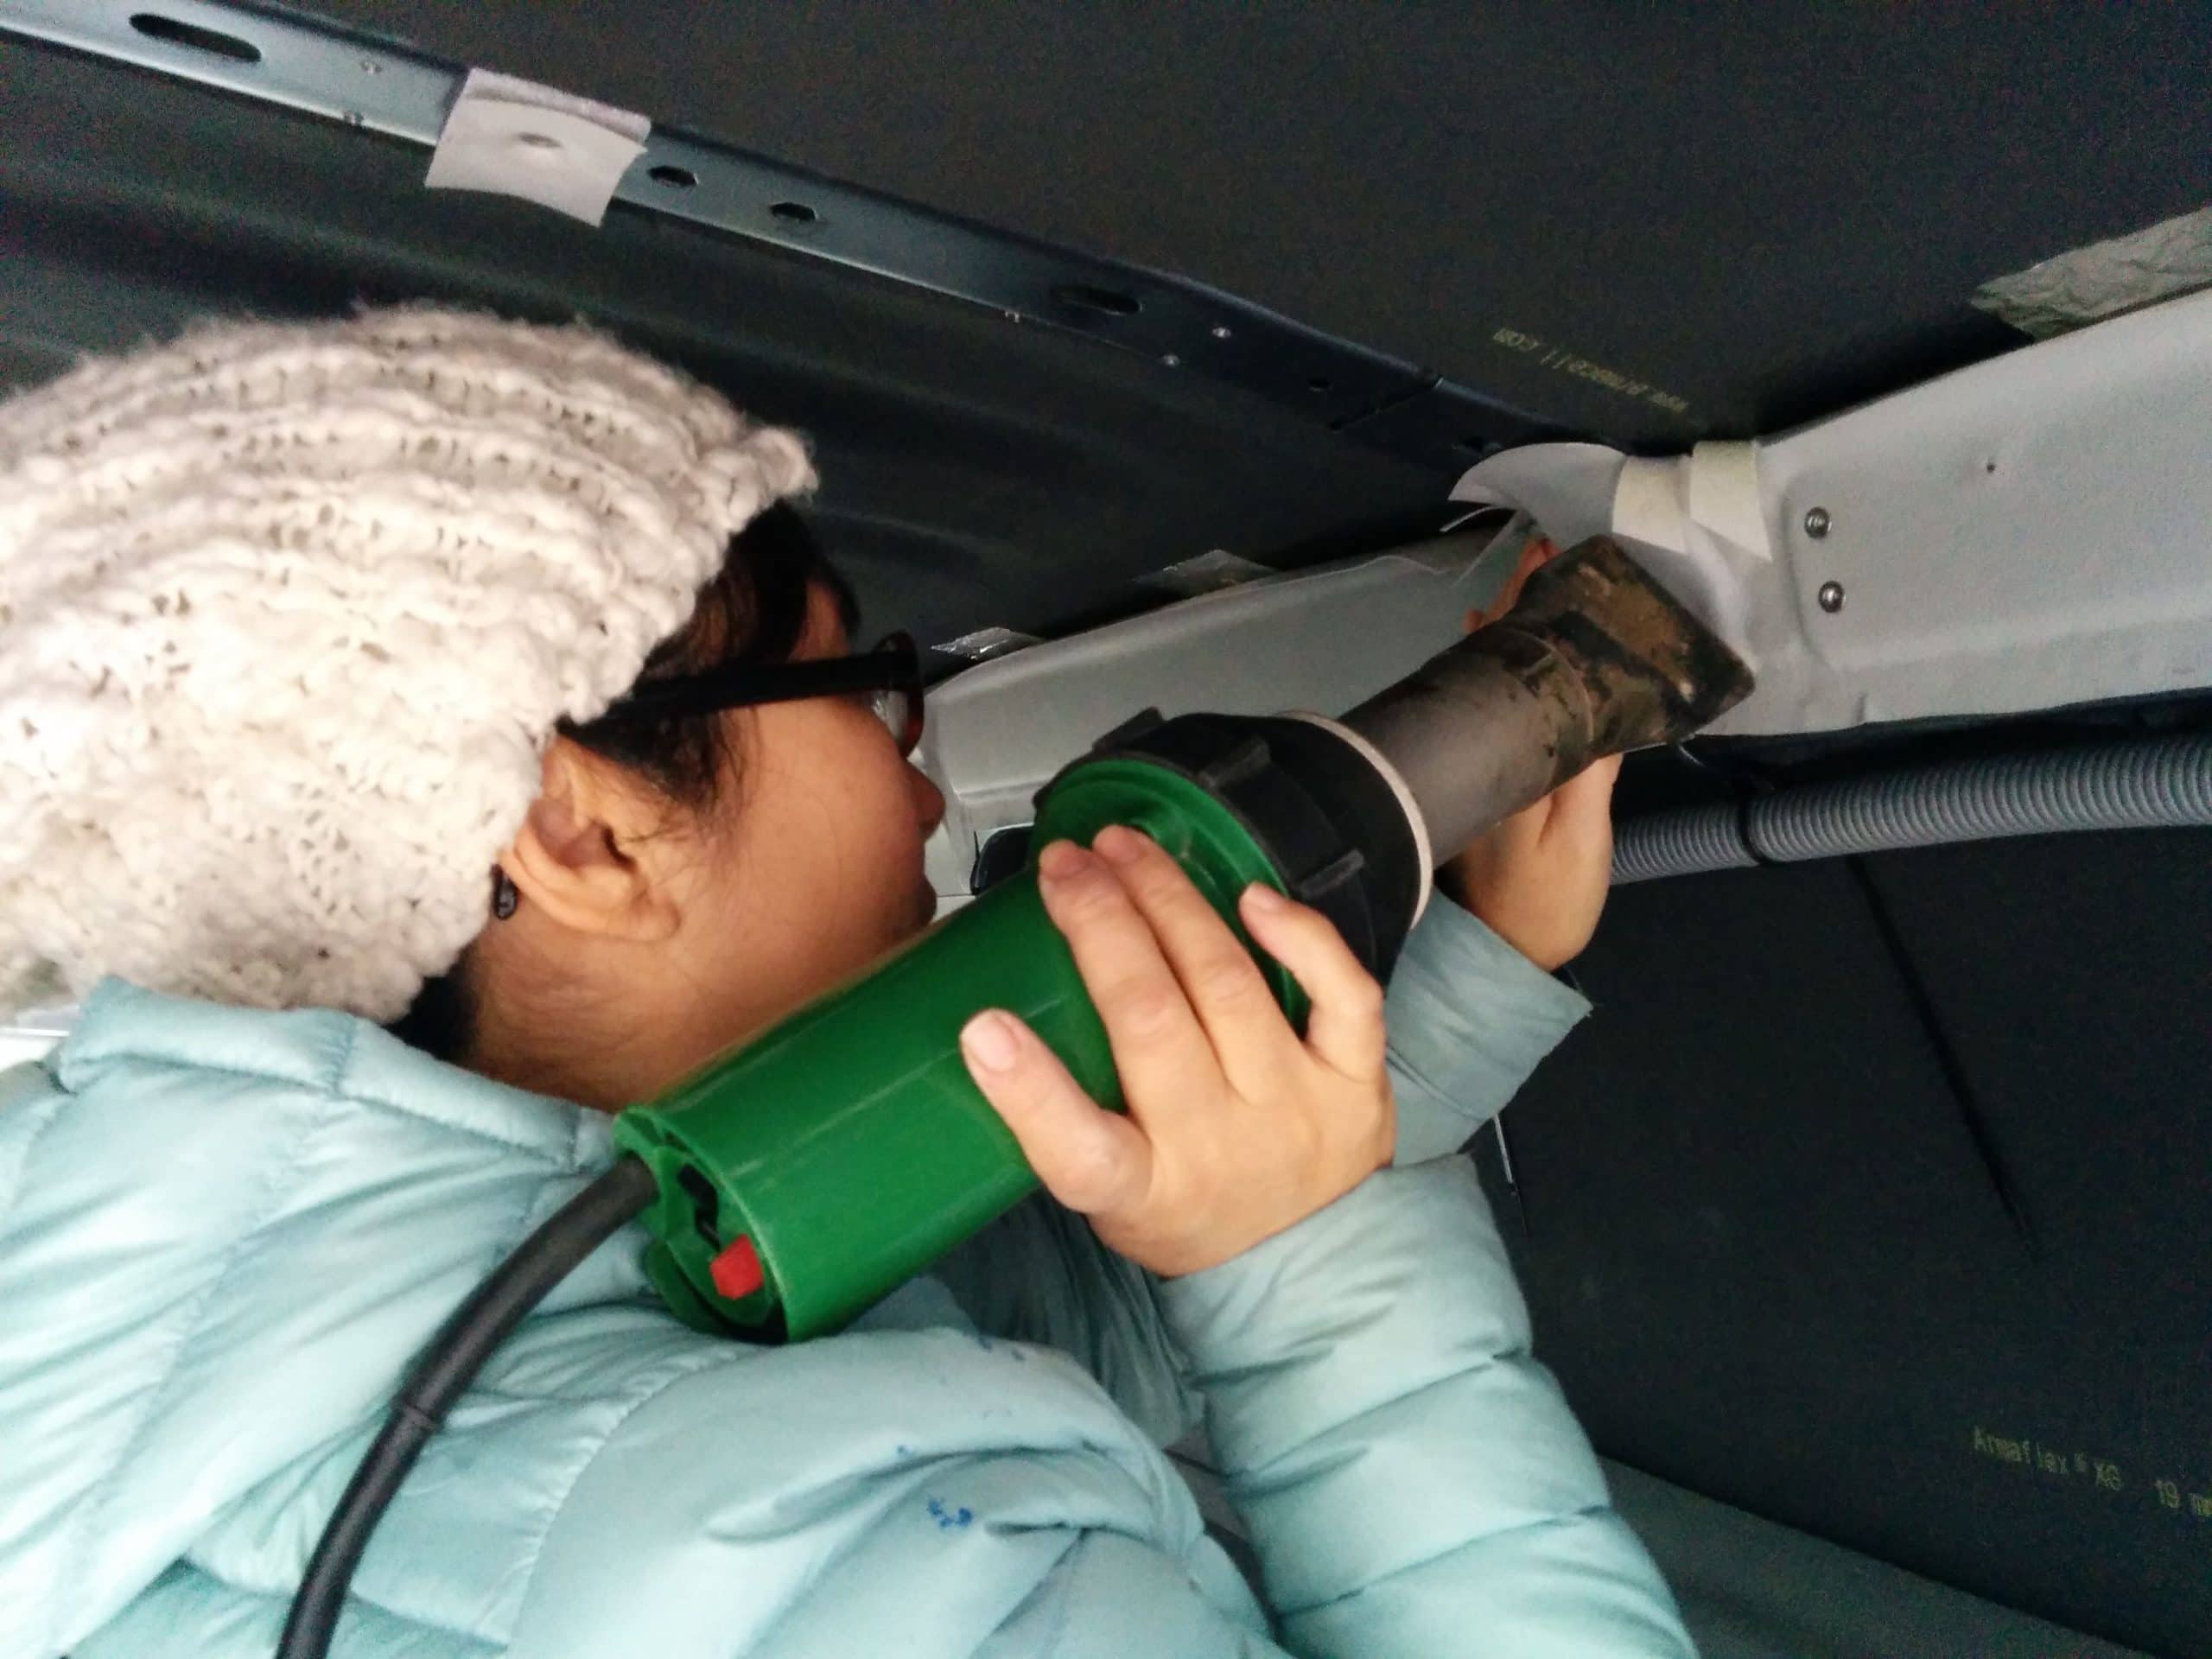
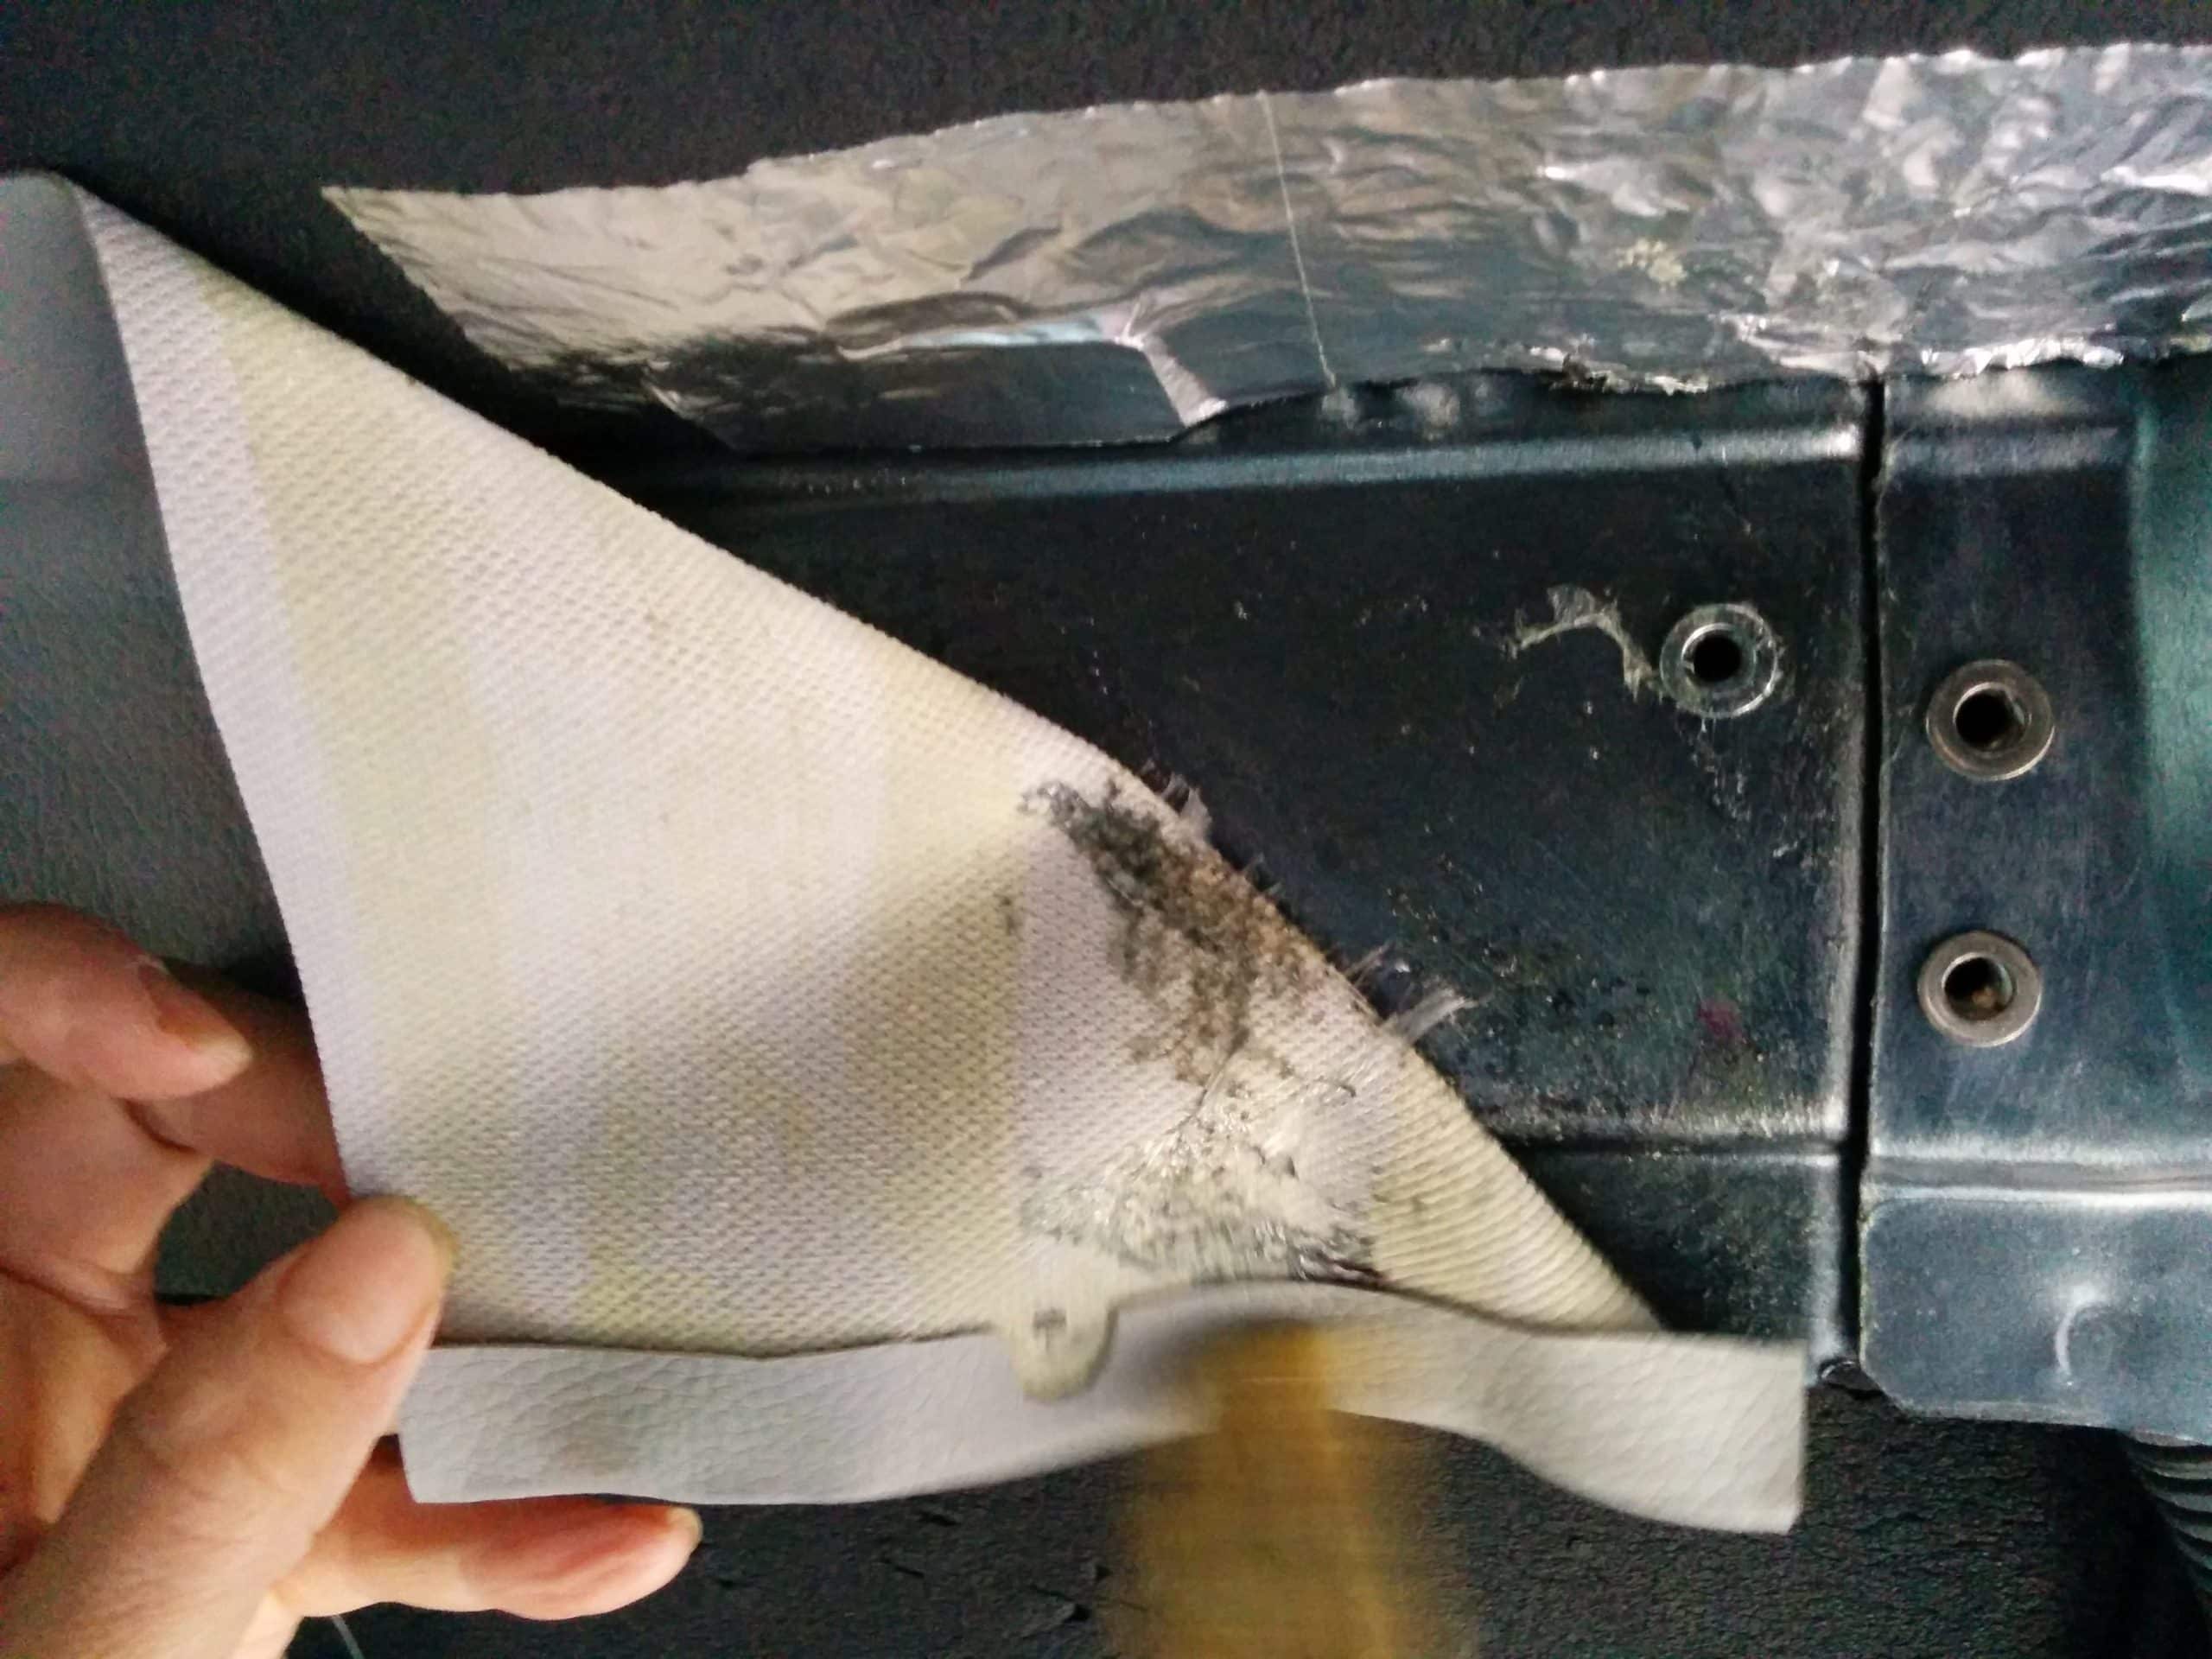
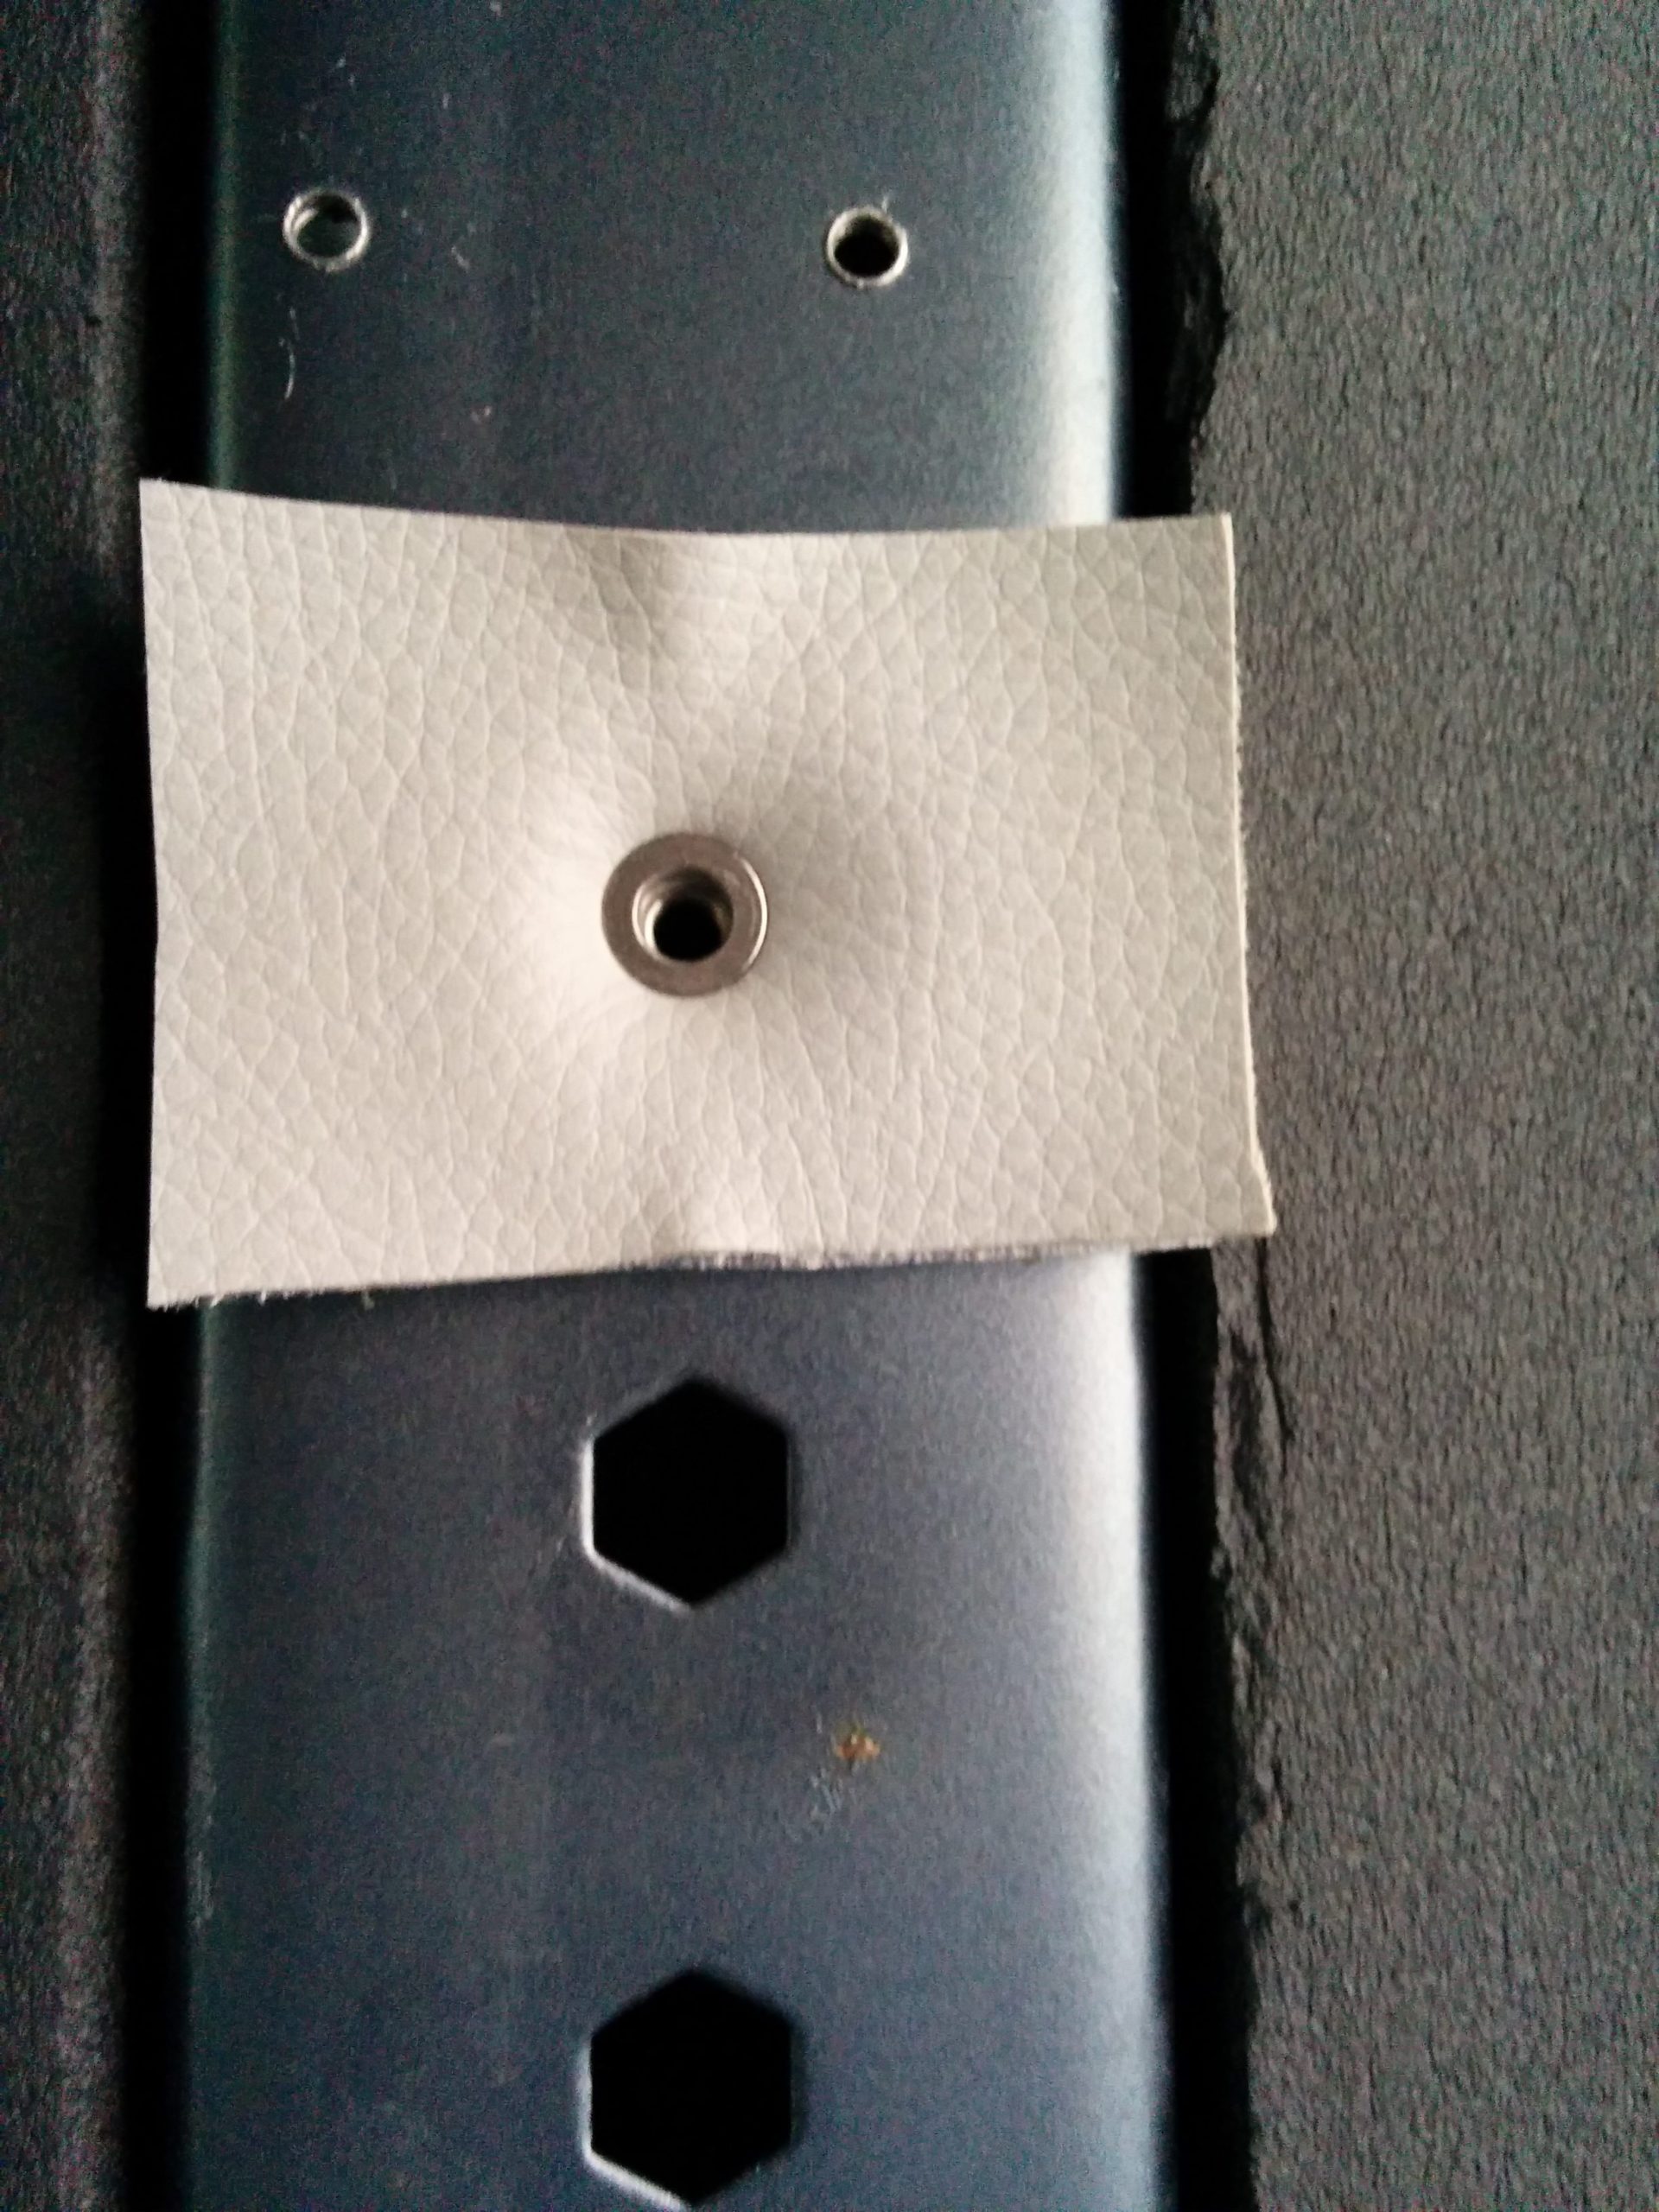
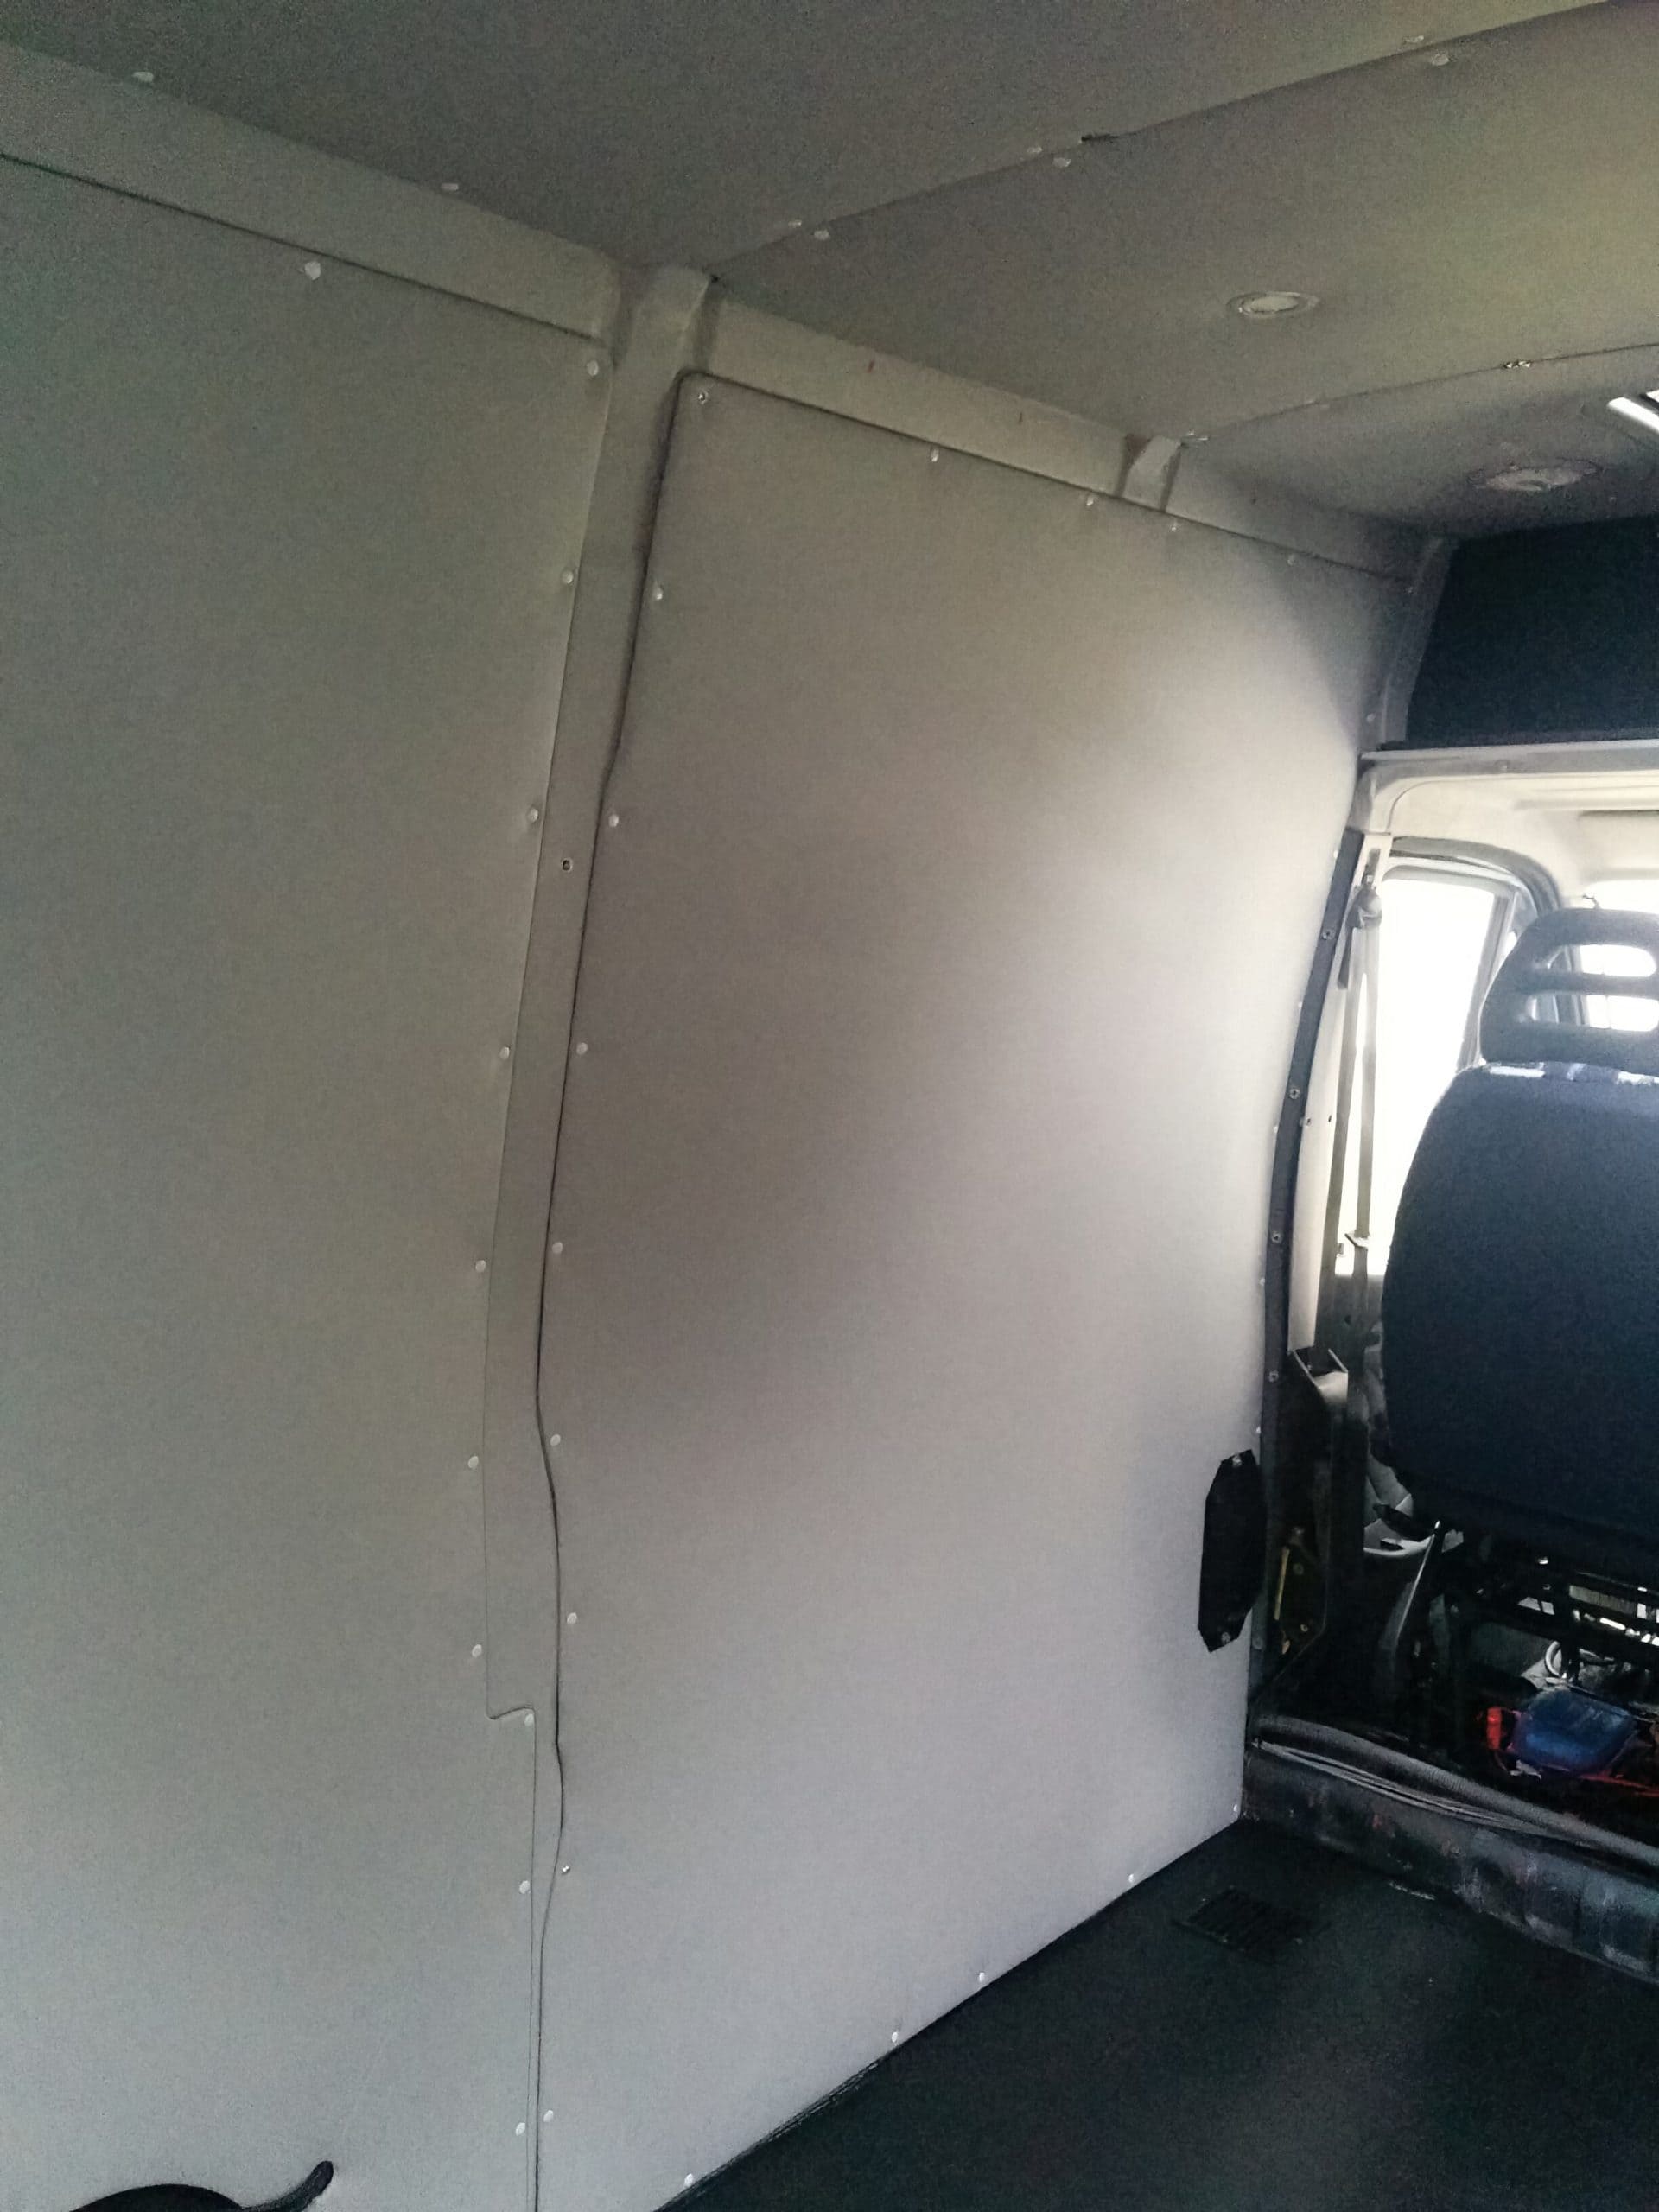
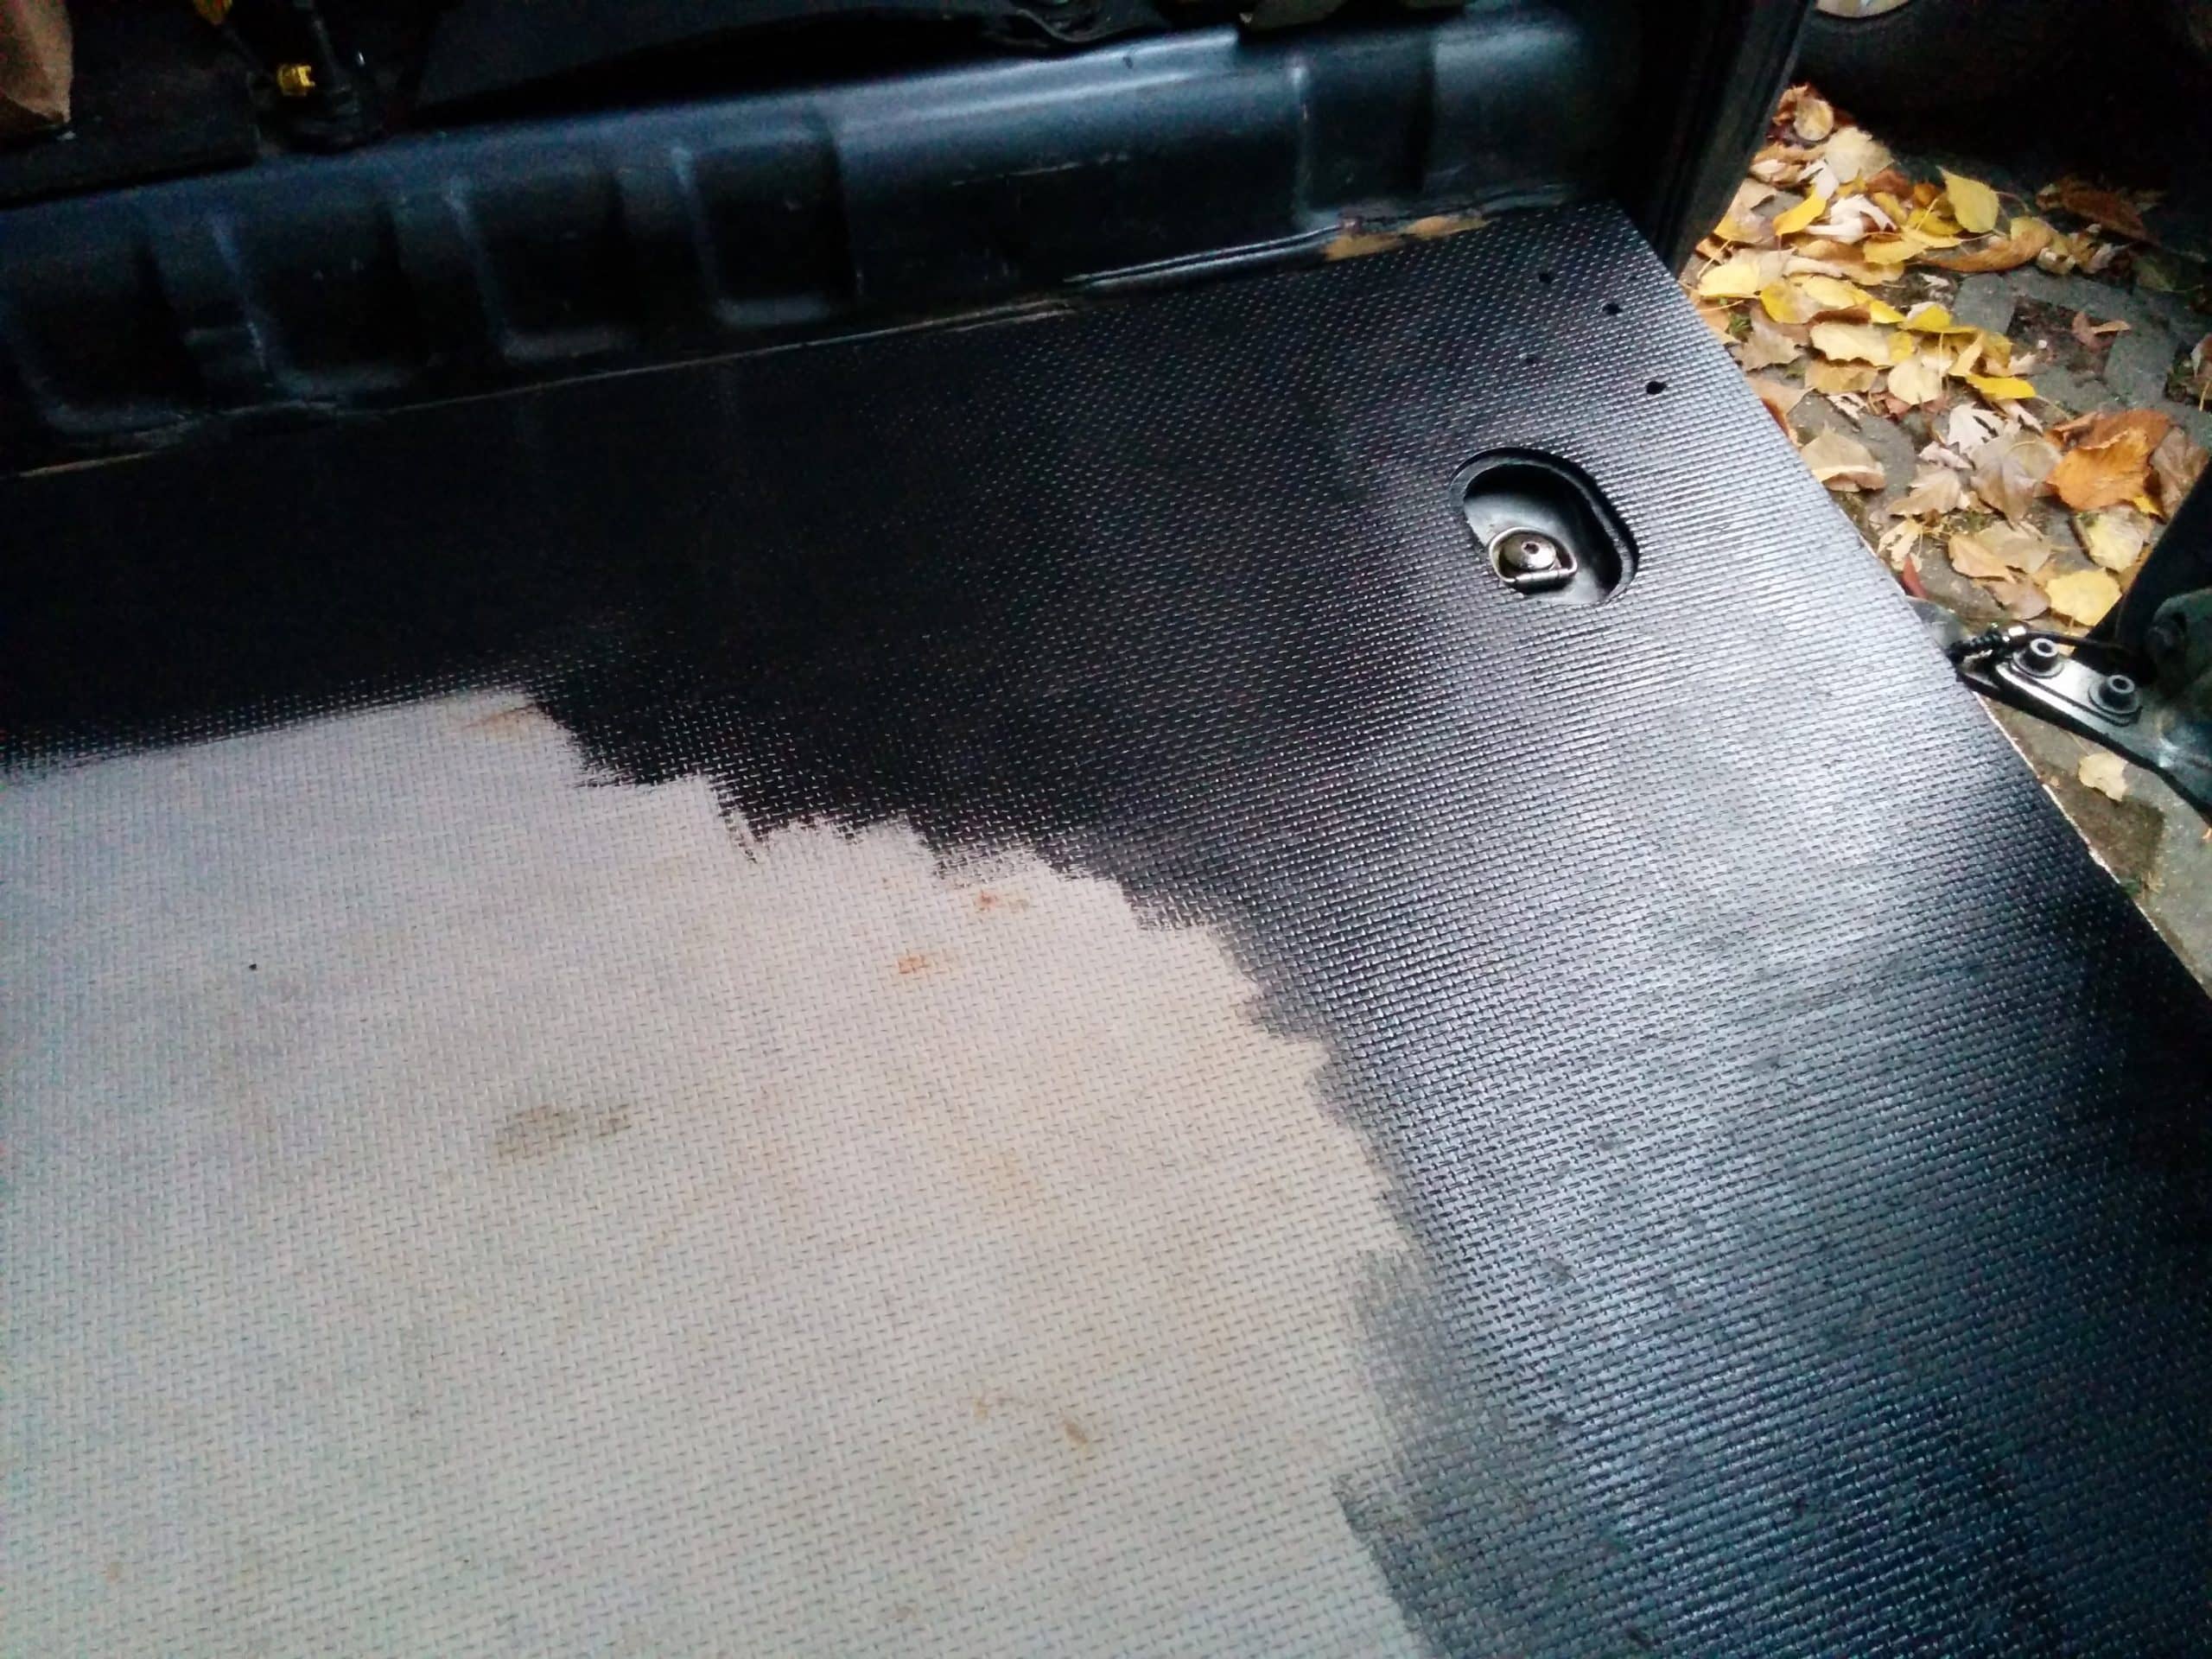
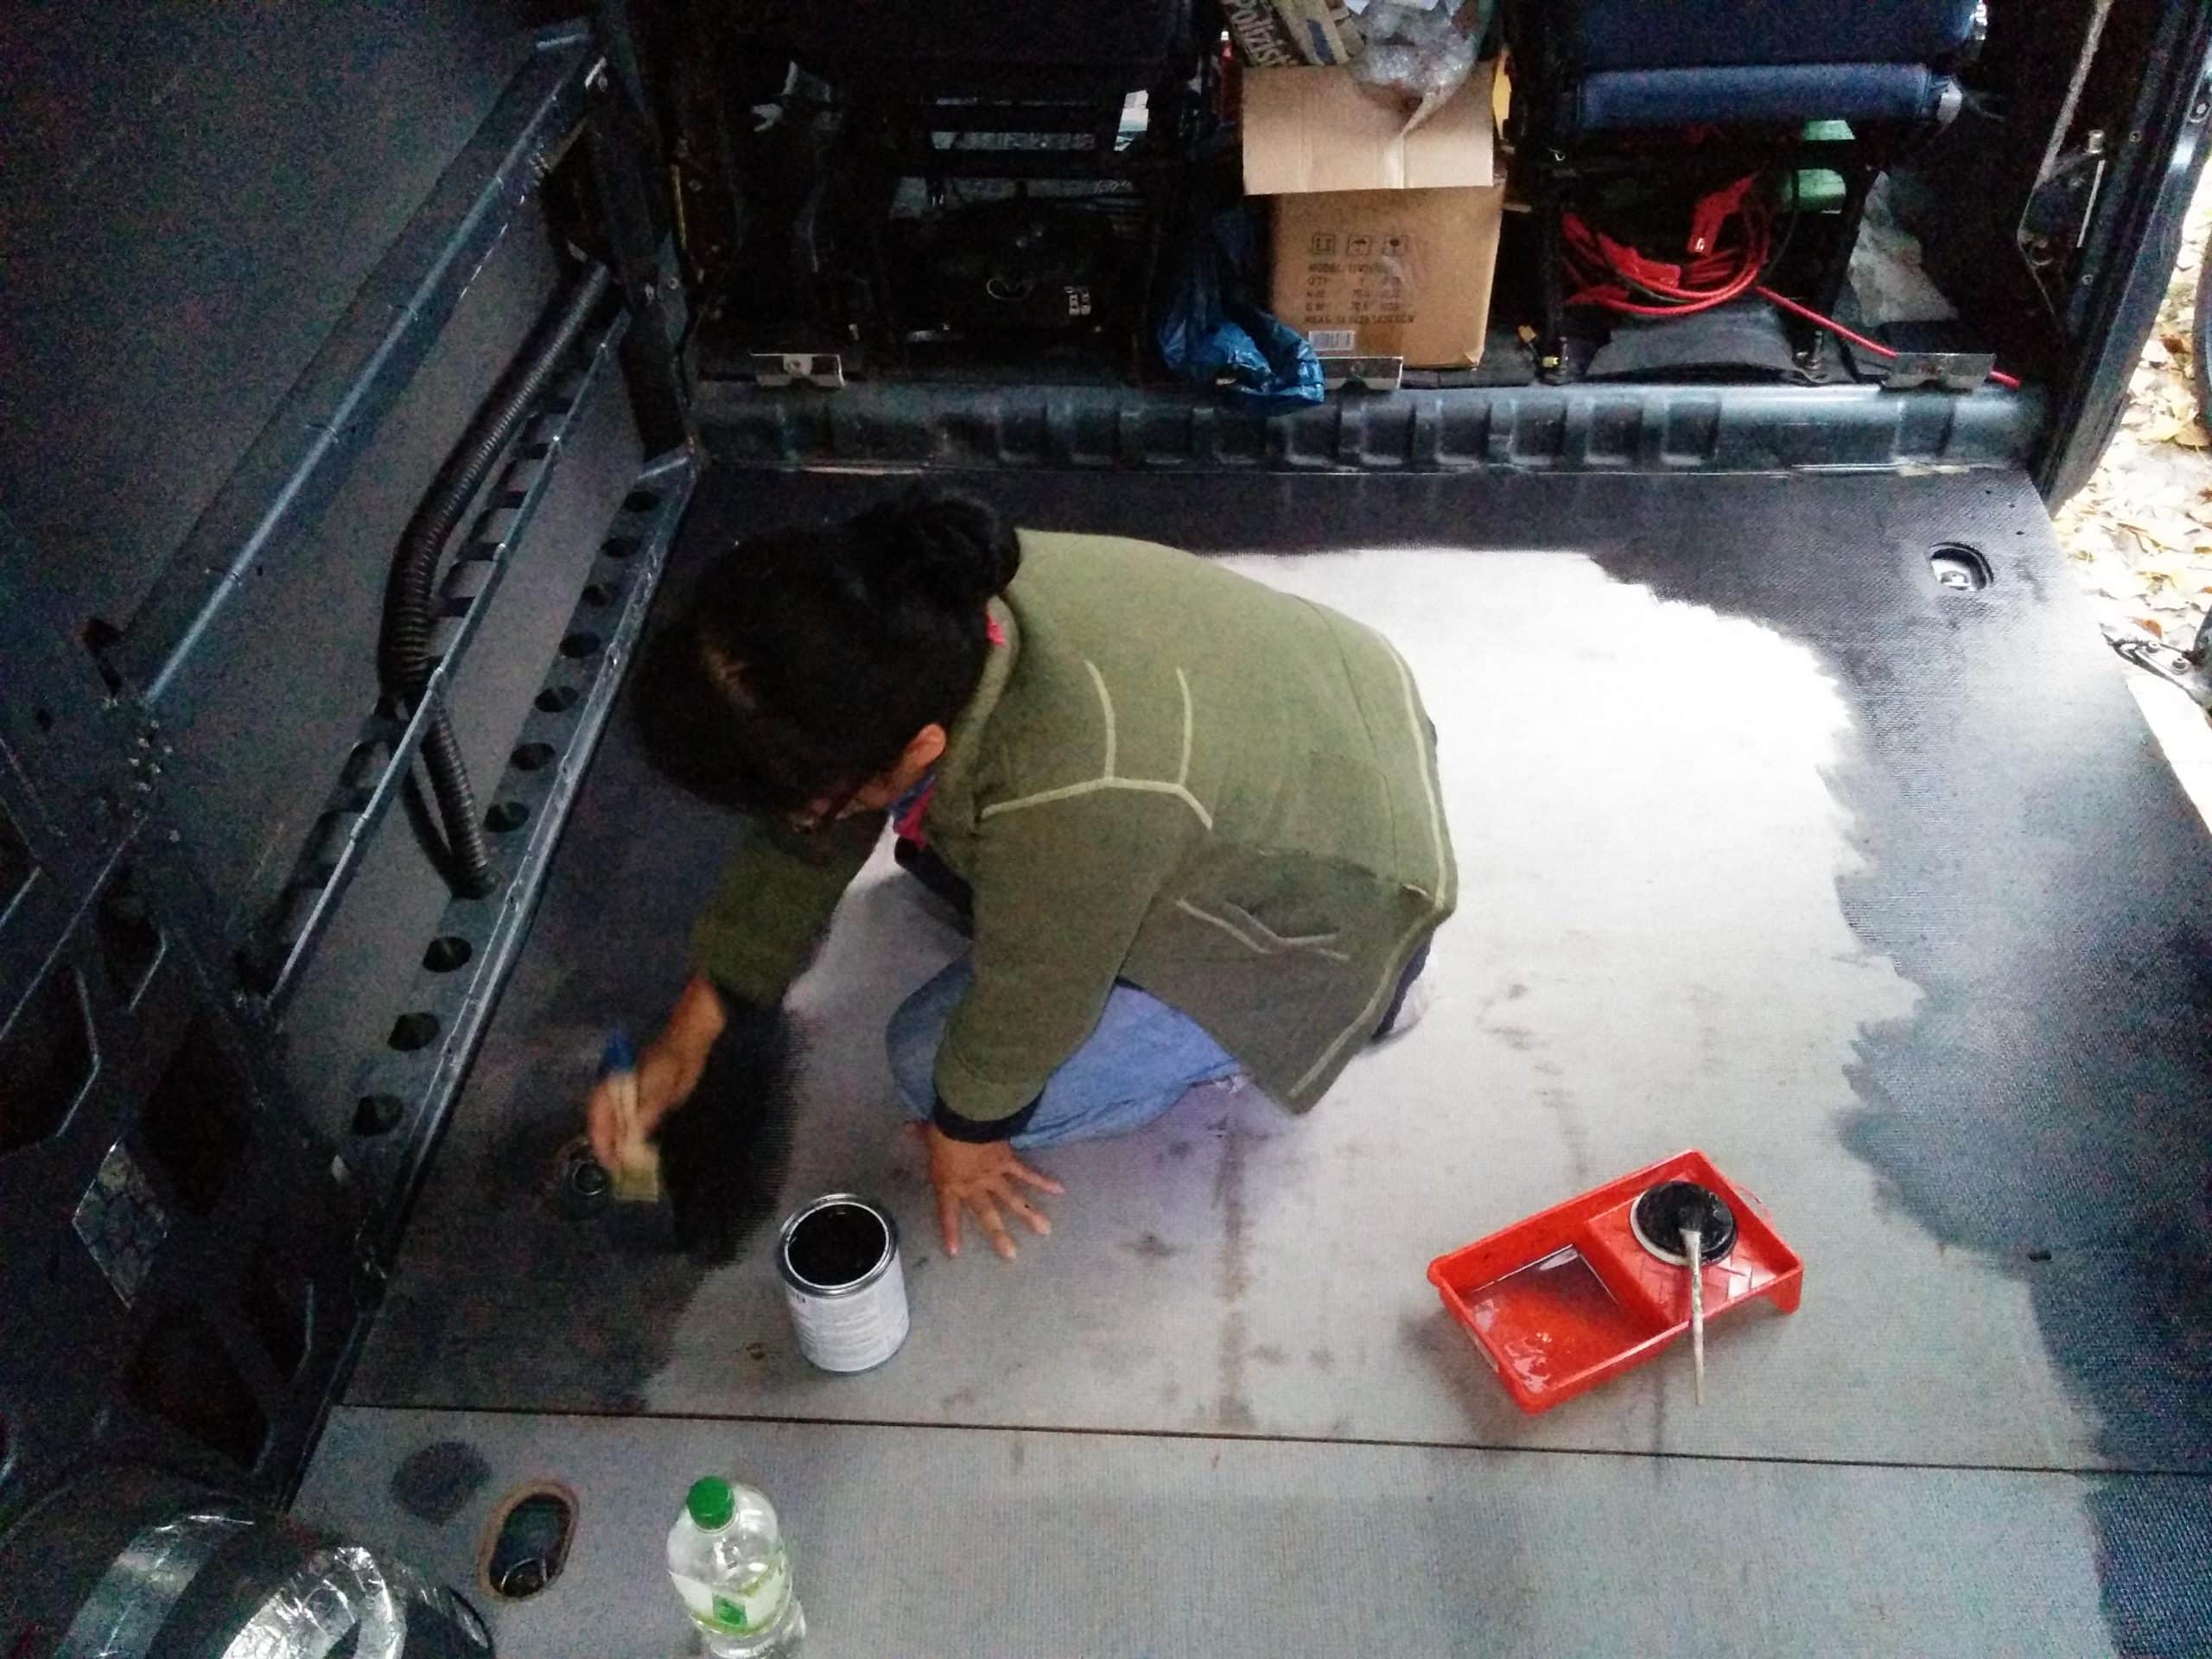
Most of the metal surfaces were covered with artificial leather, which was glued to the surface with a special glue and a hot air dryer. Always work from top to bottom, otherwise the seams would collect dust. We learned that after the fact, but it is not a big deal, just an improvement for next time.
This faux leather also helps prevent condensation, insulates, and is much more comfortable than touching a bare metal surface. It is a lot of work, but we feel it was worth it to go the extra mile. The only thing to keep in mind is choosing the right fabric, as it needs to be strong and not easily scratched or torn.
Upholstery:
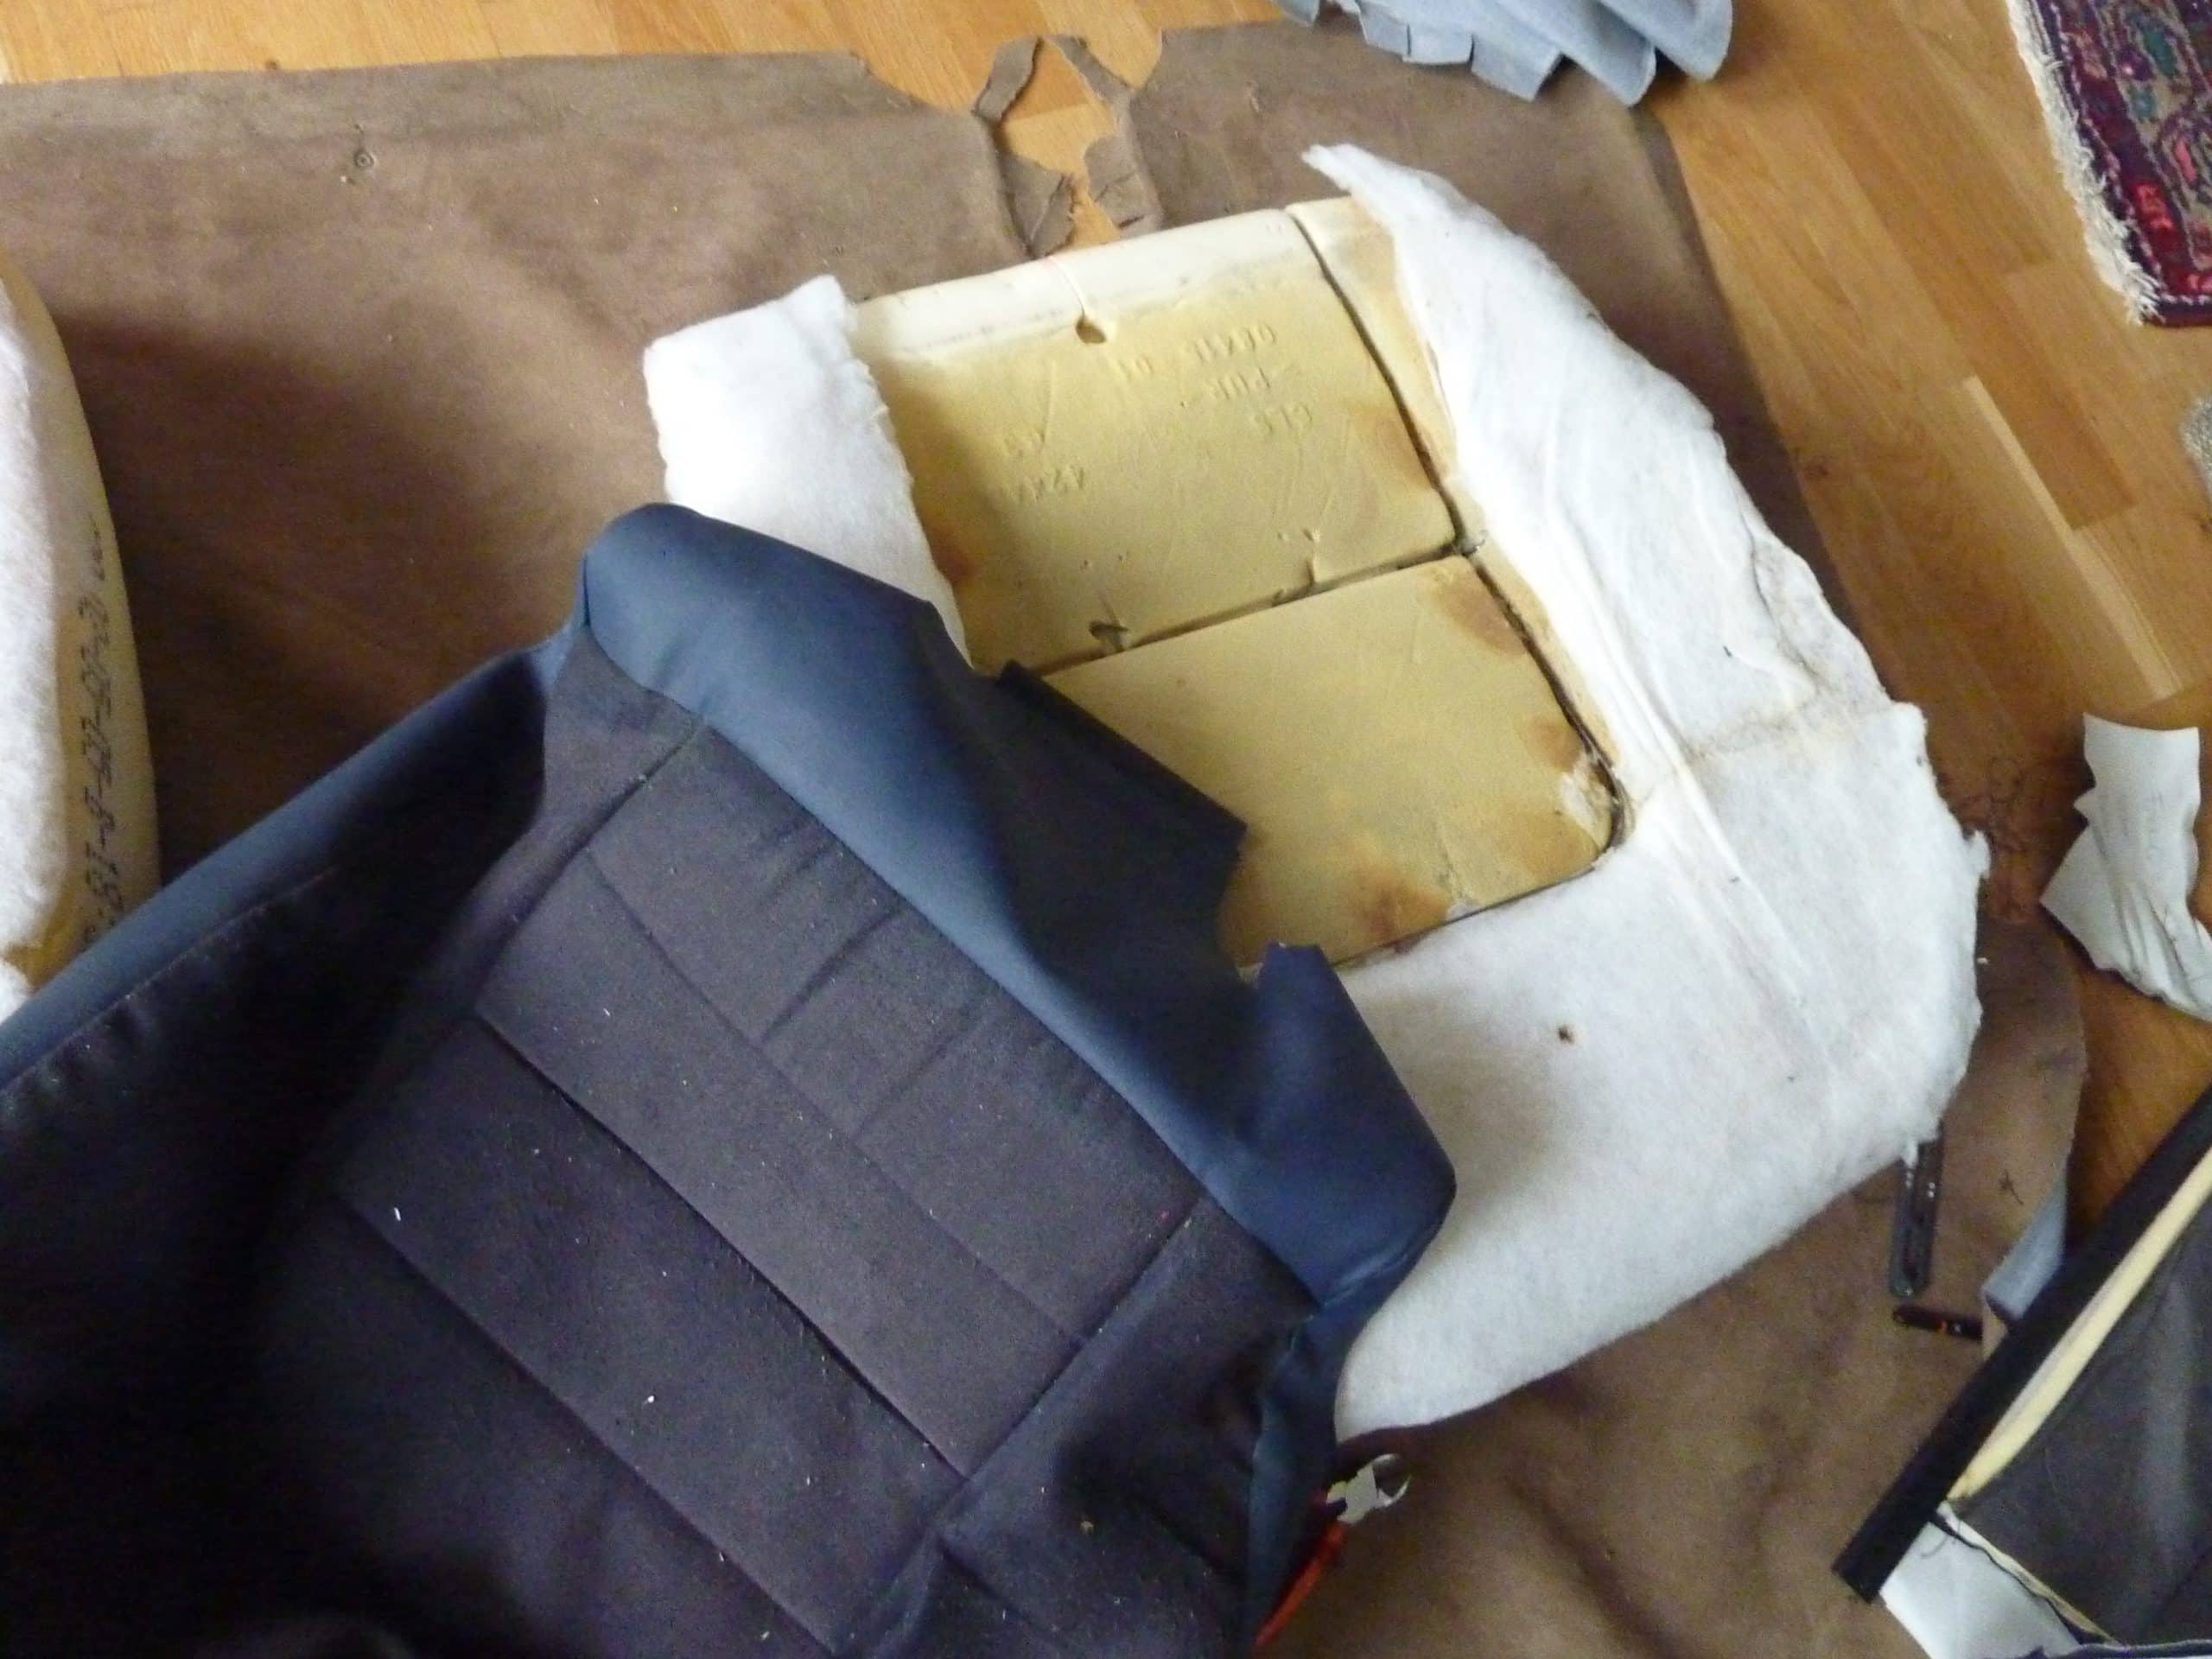
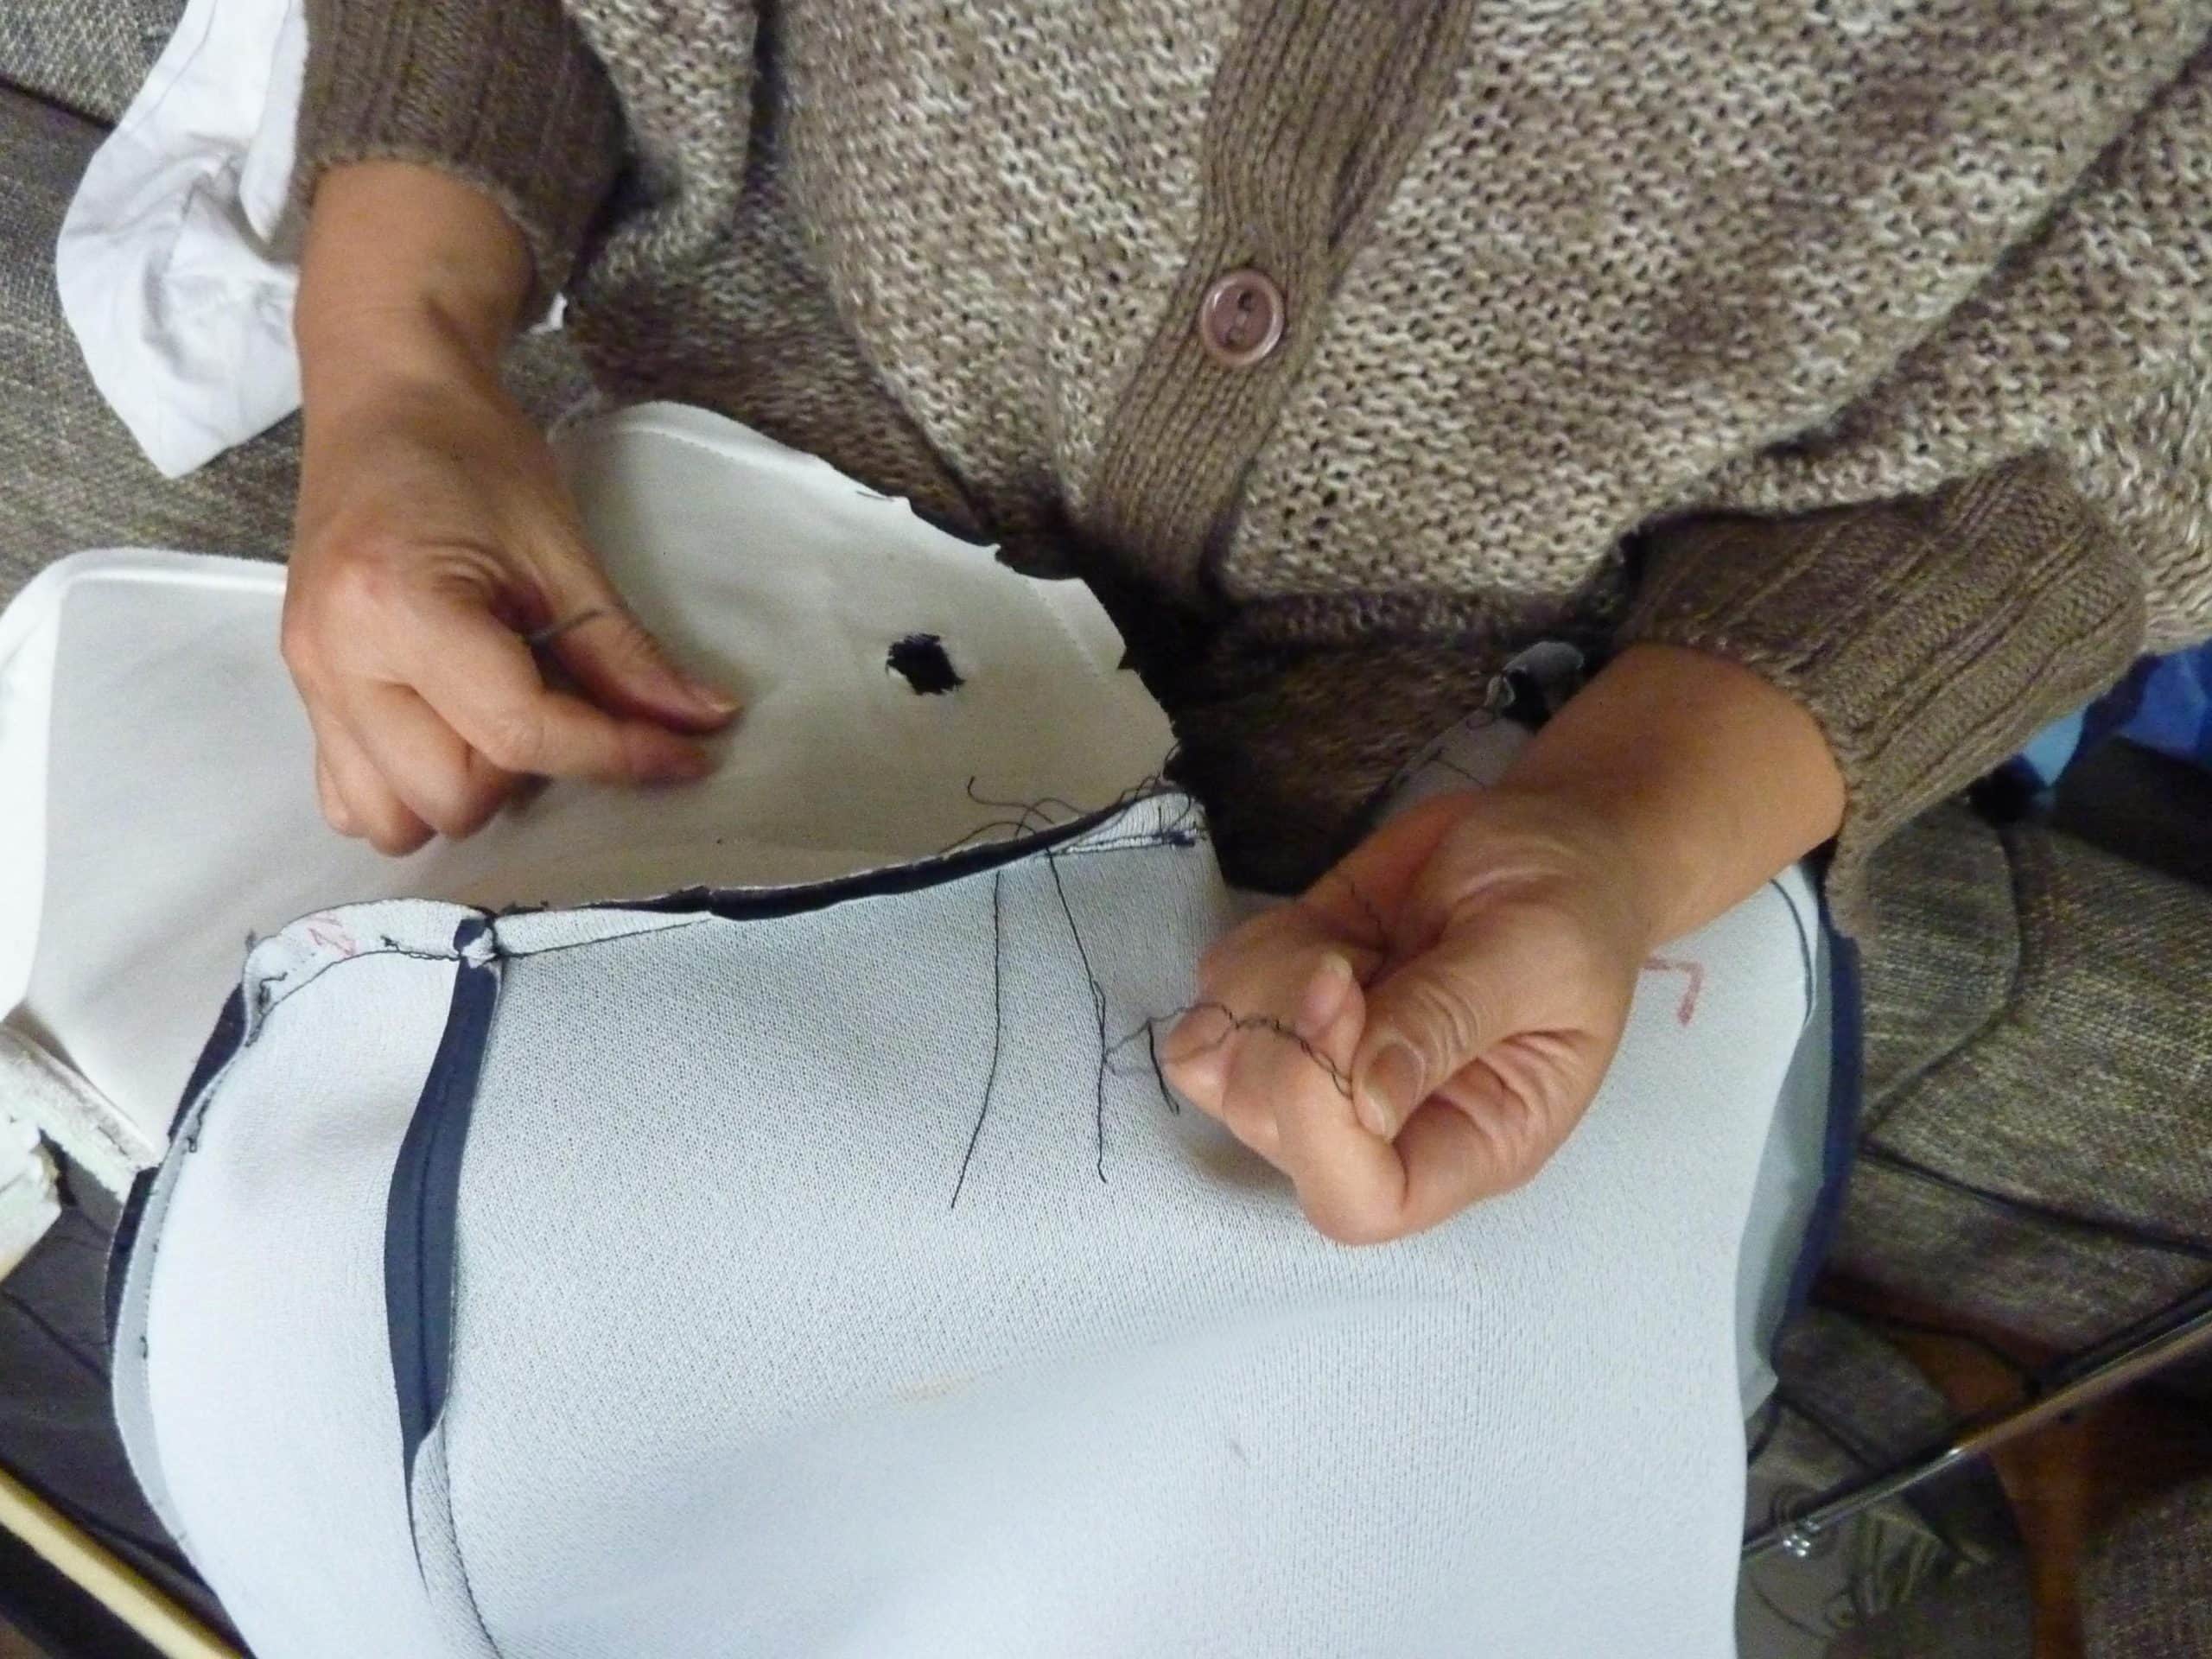
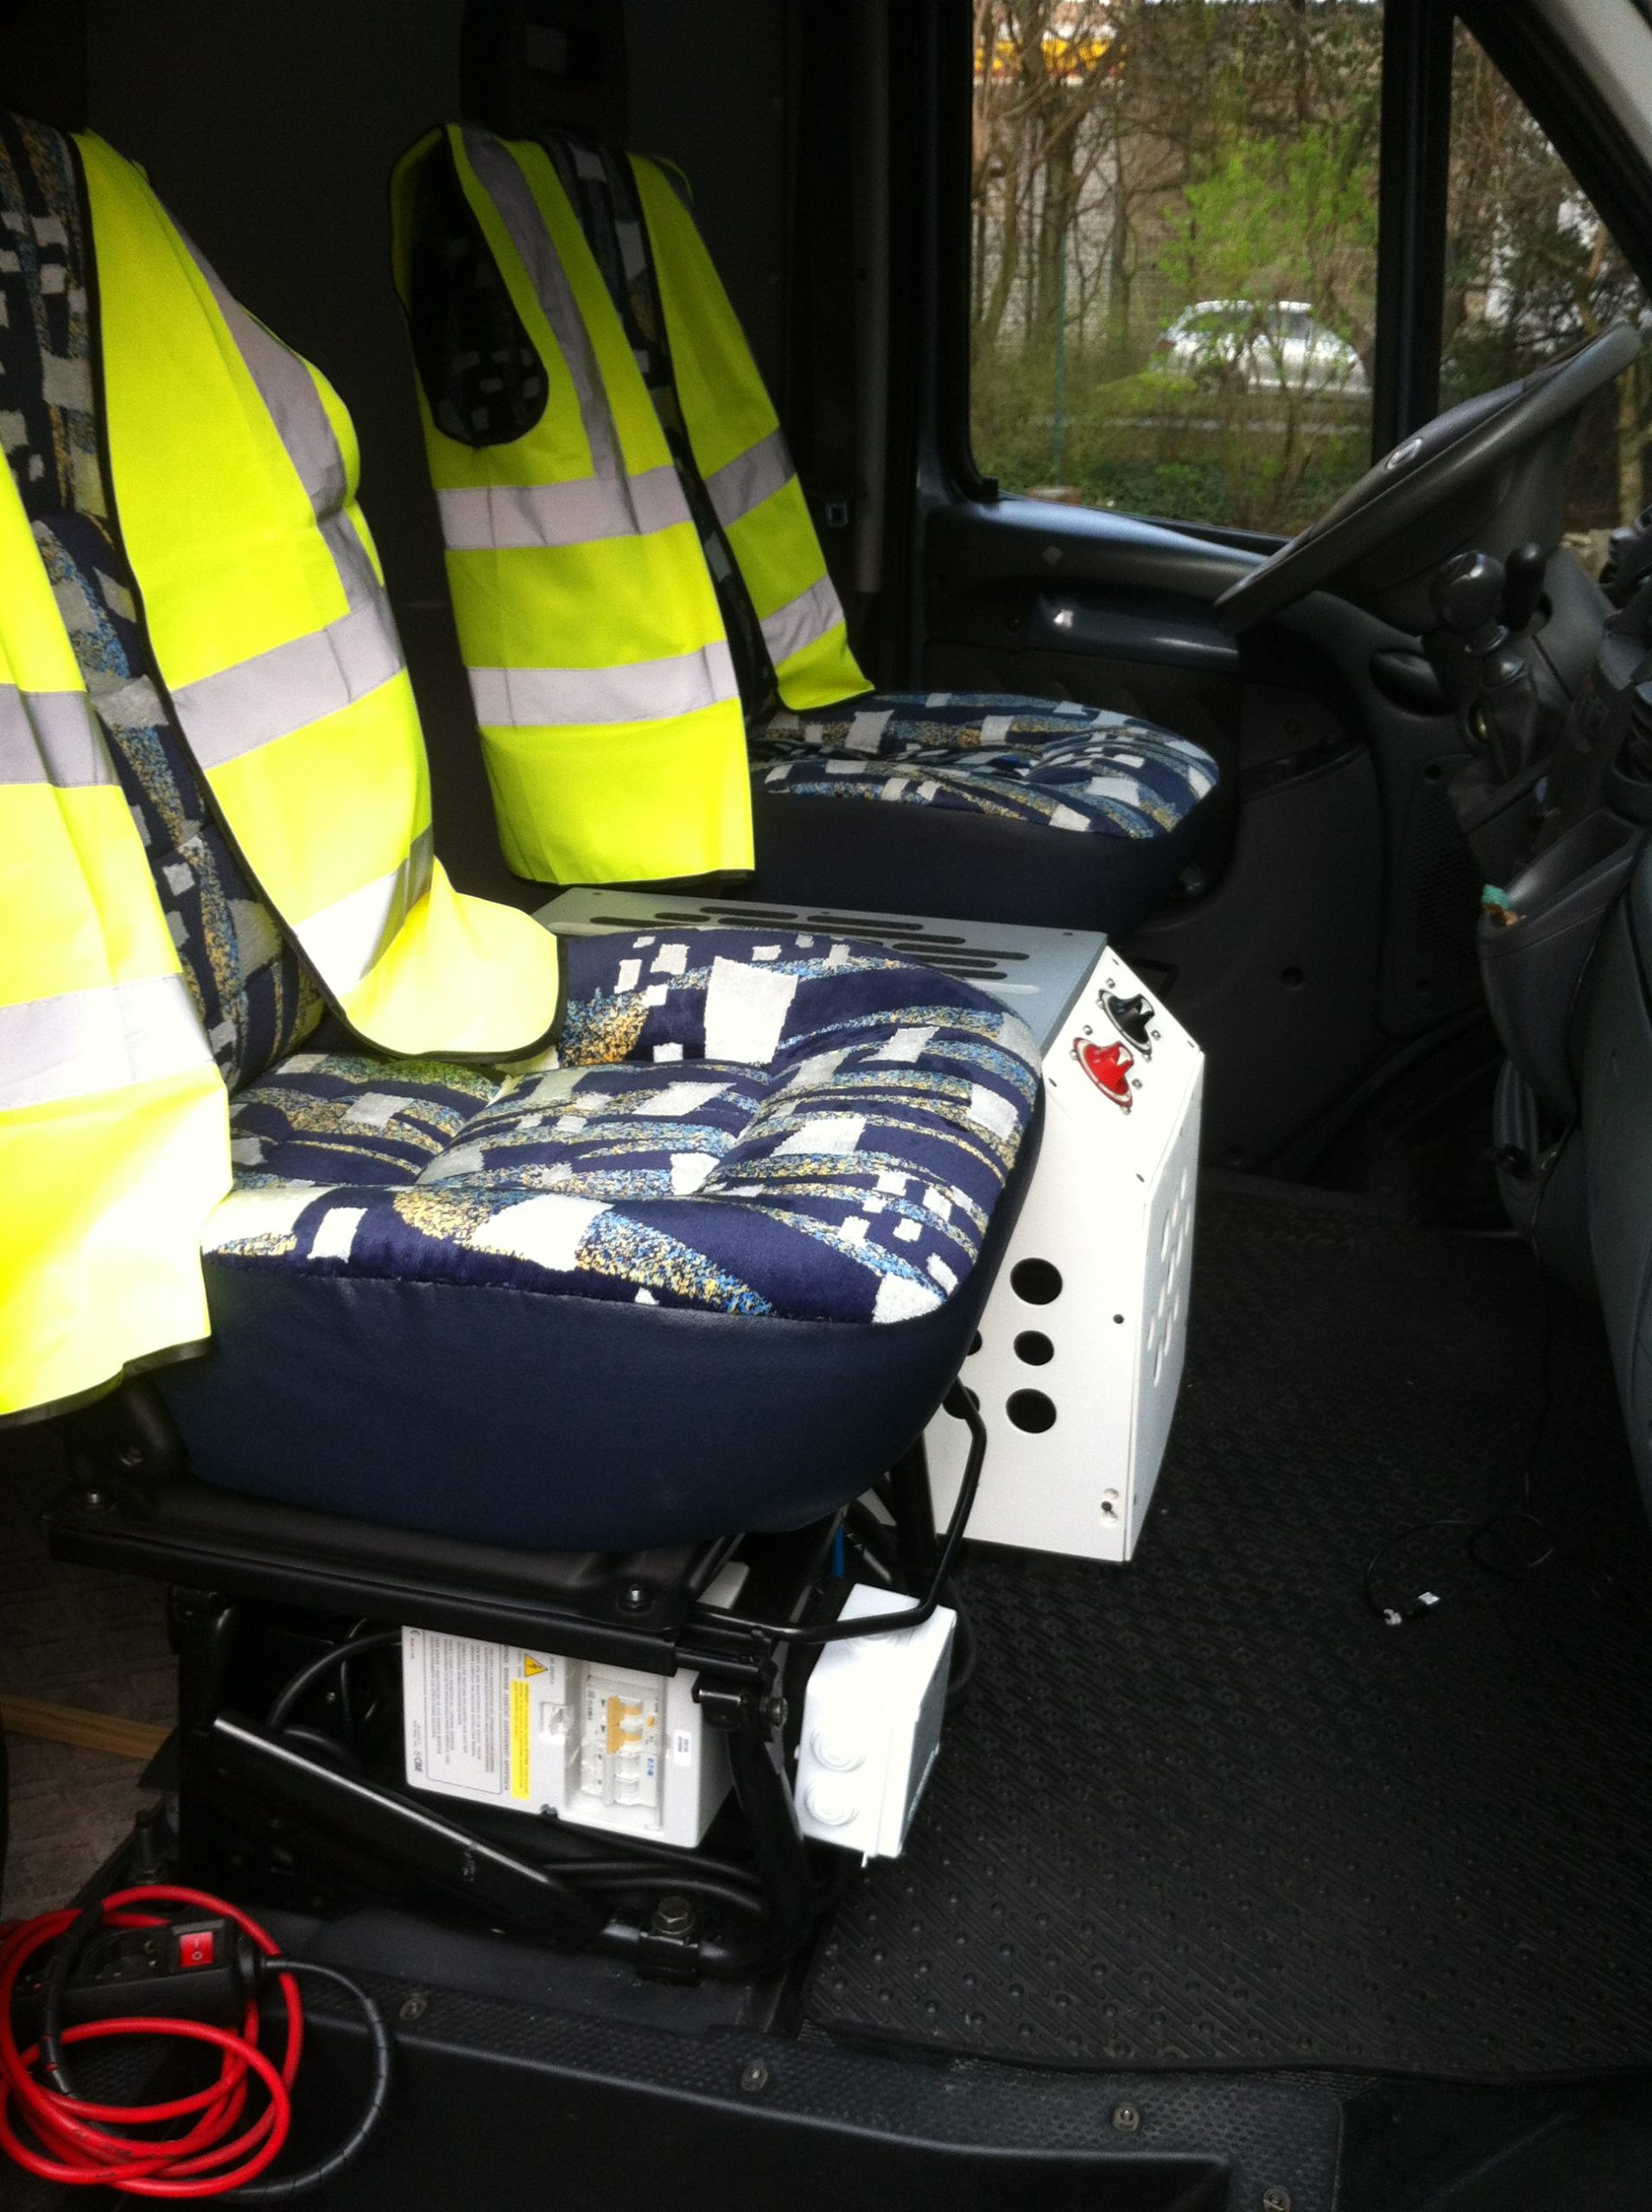
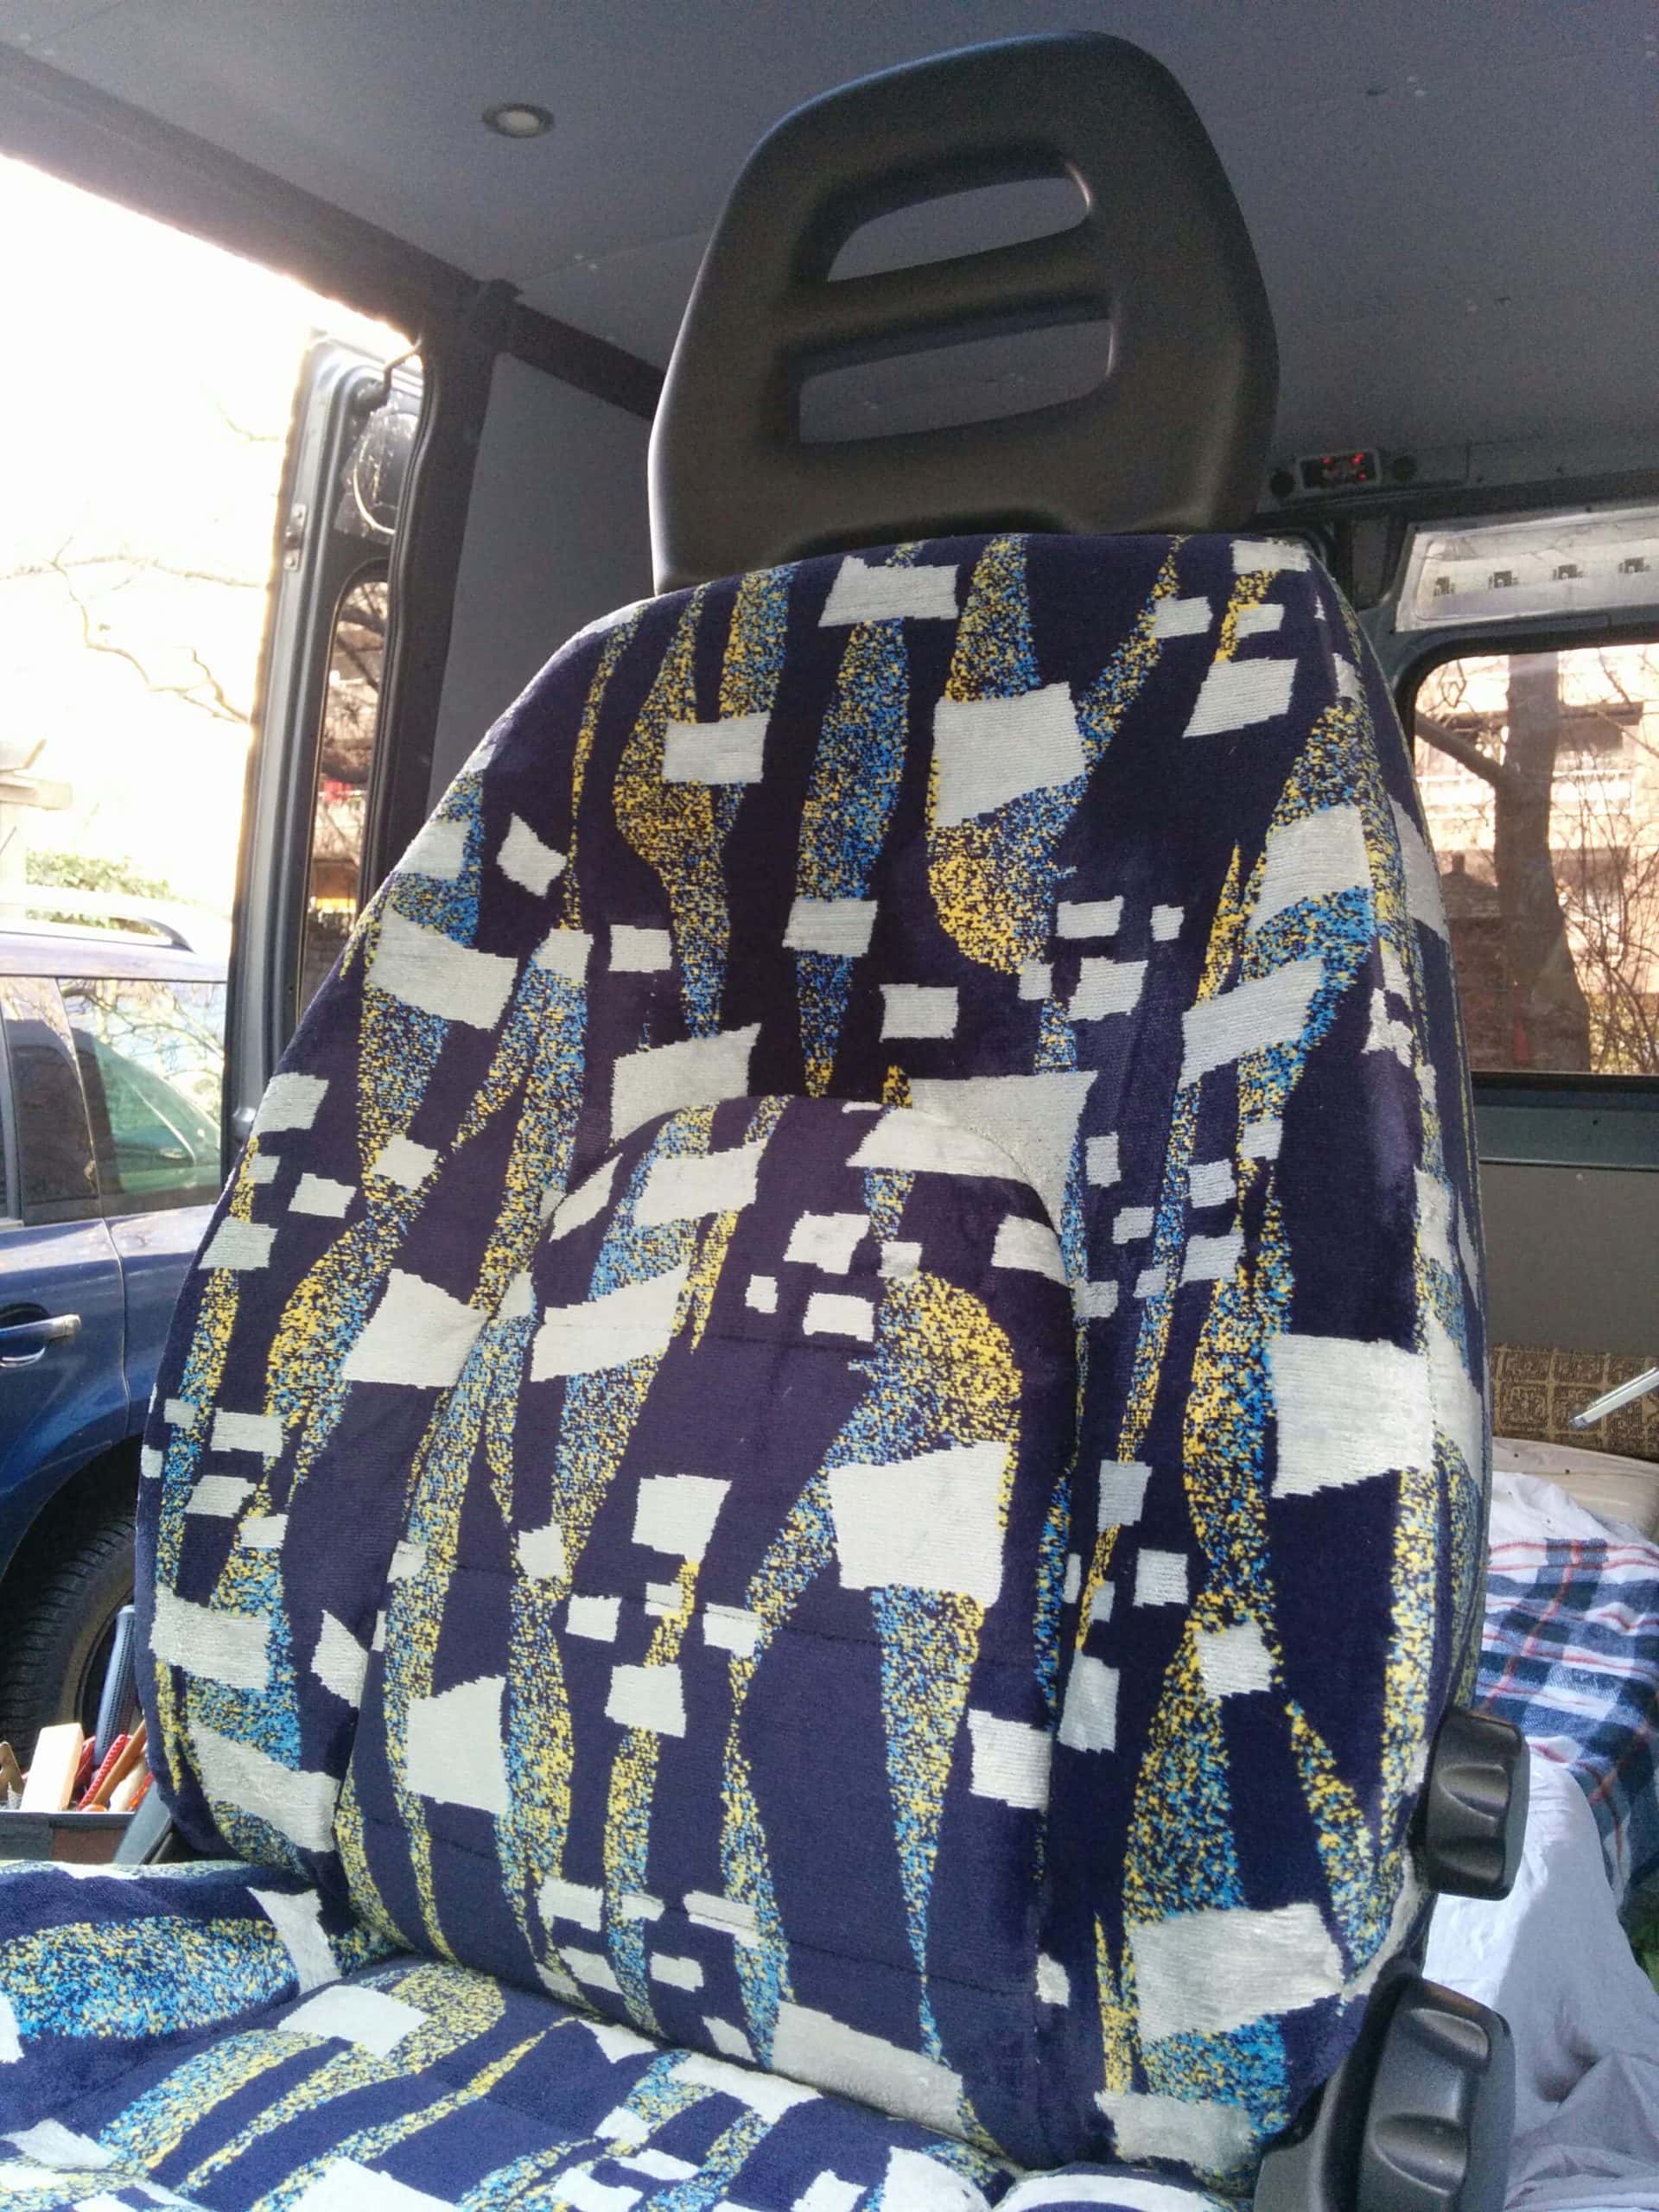
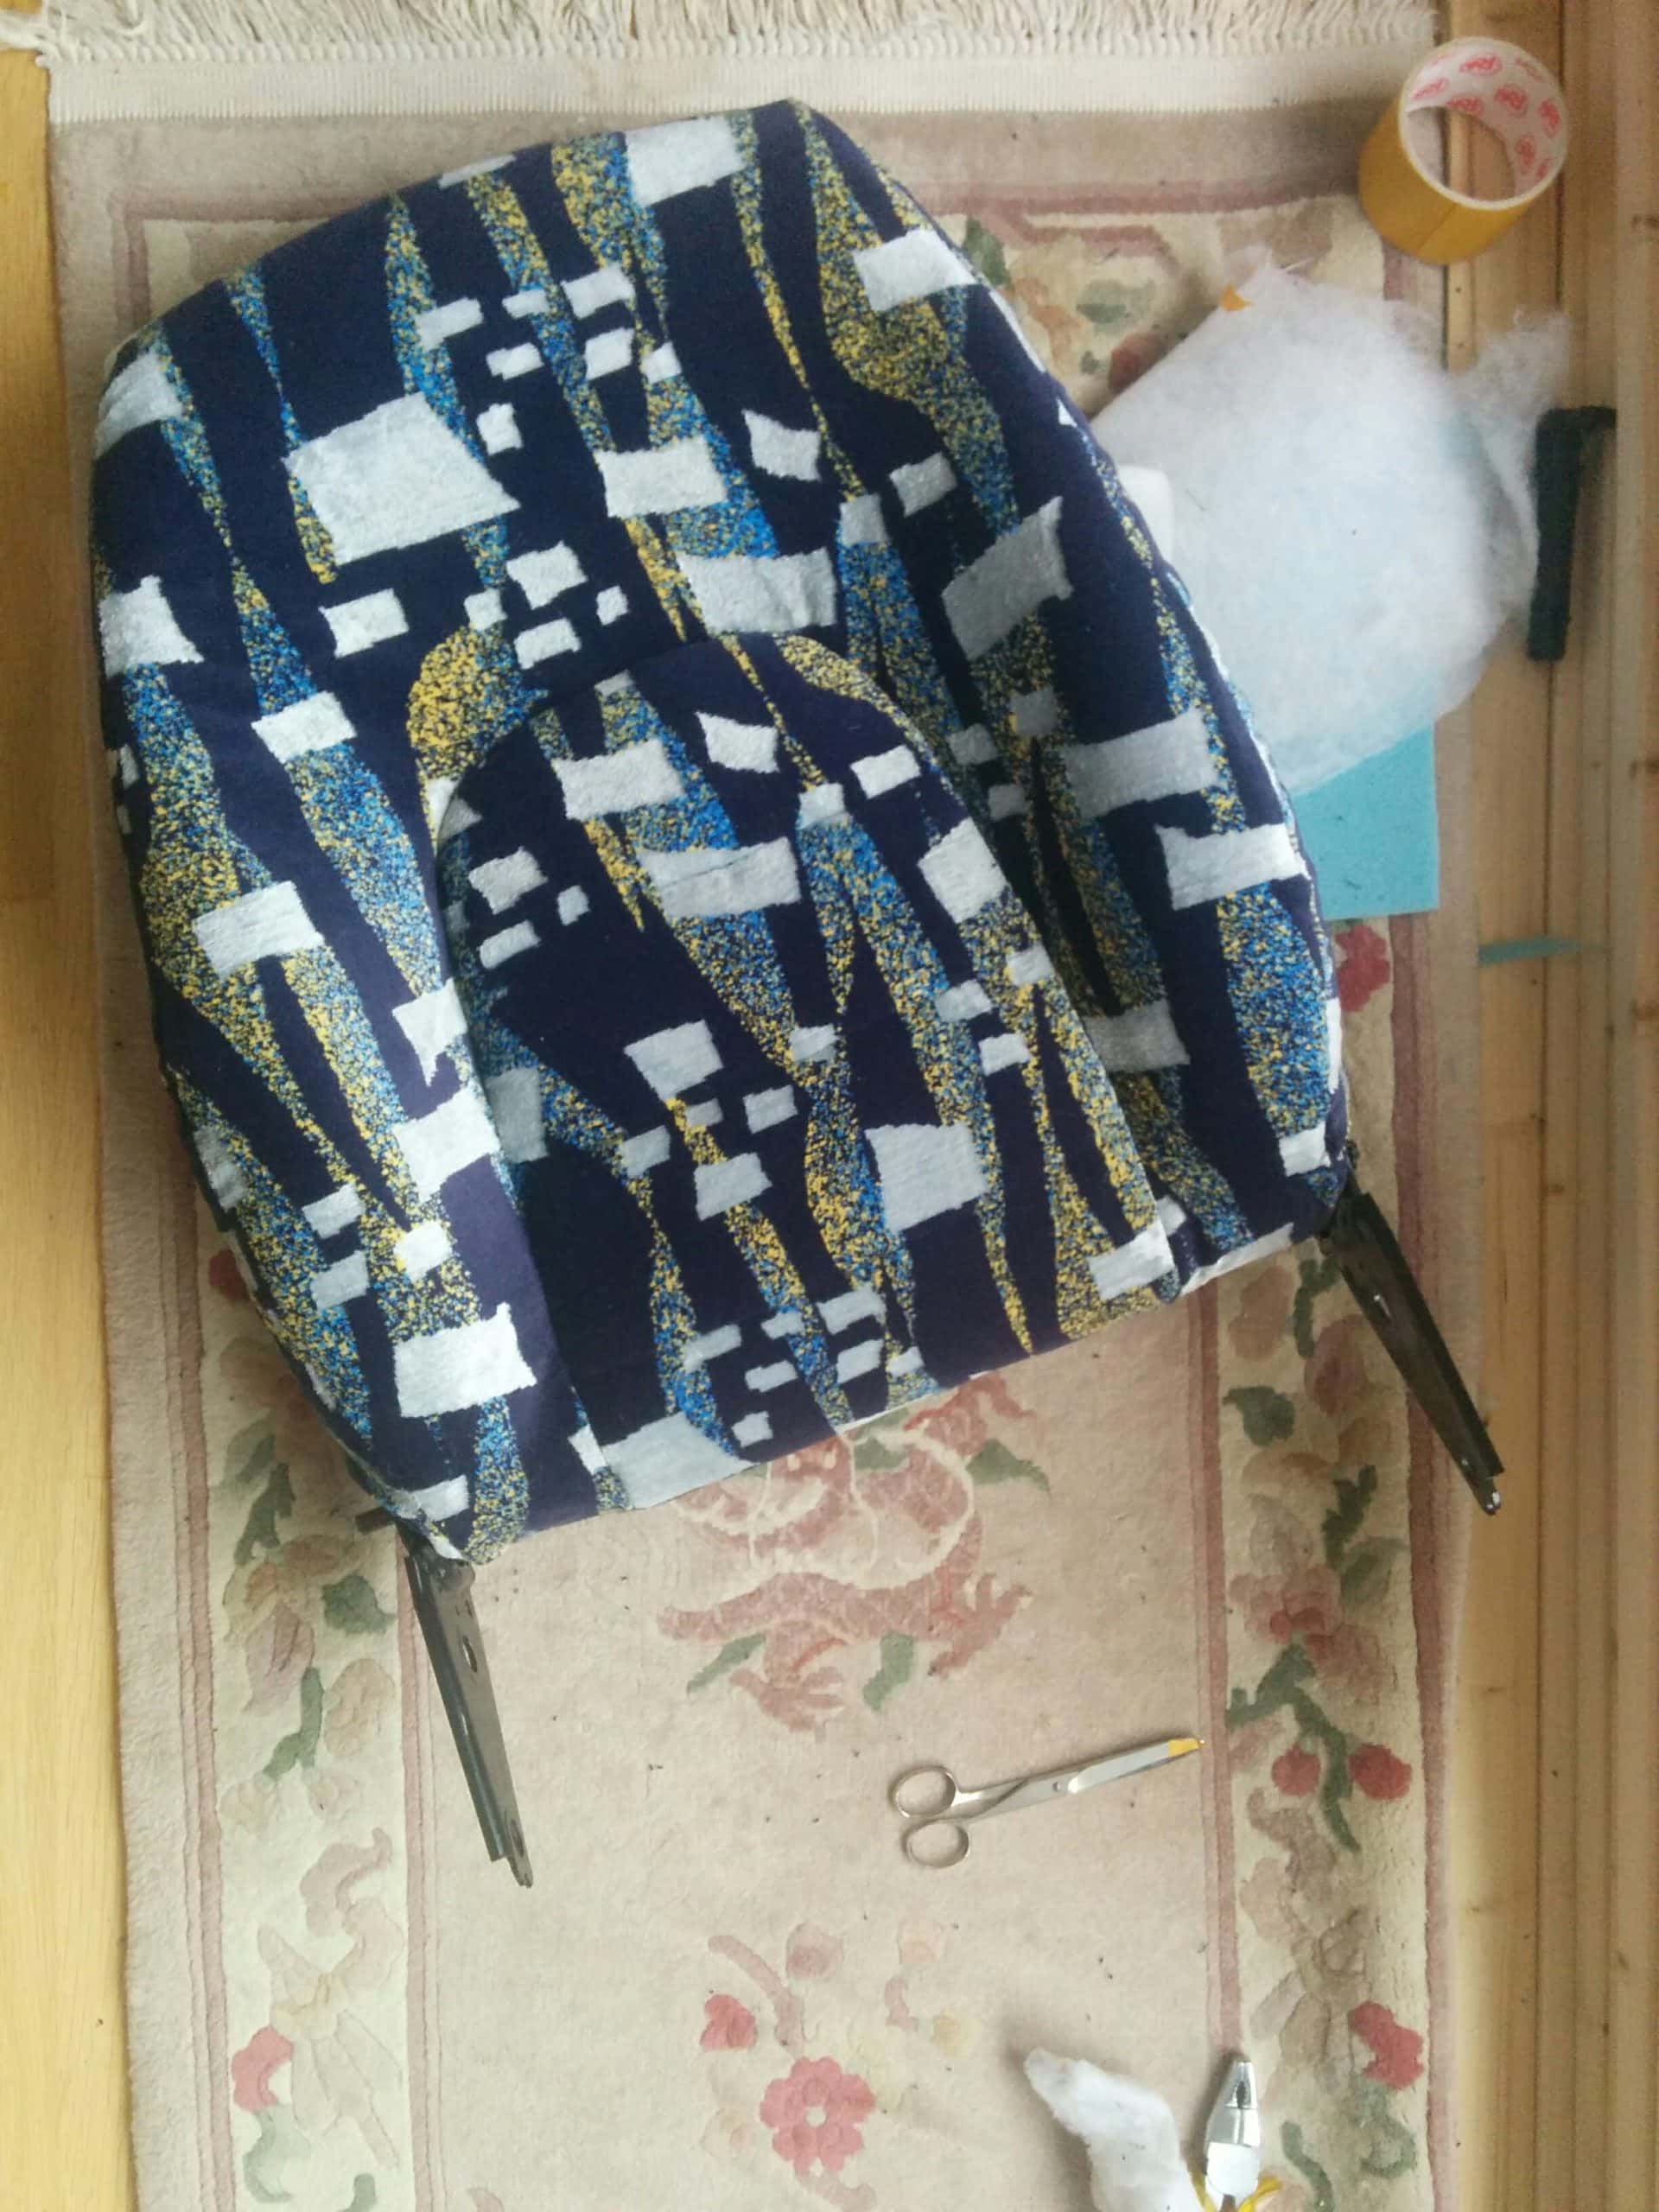
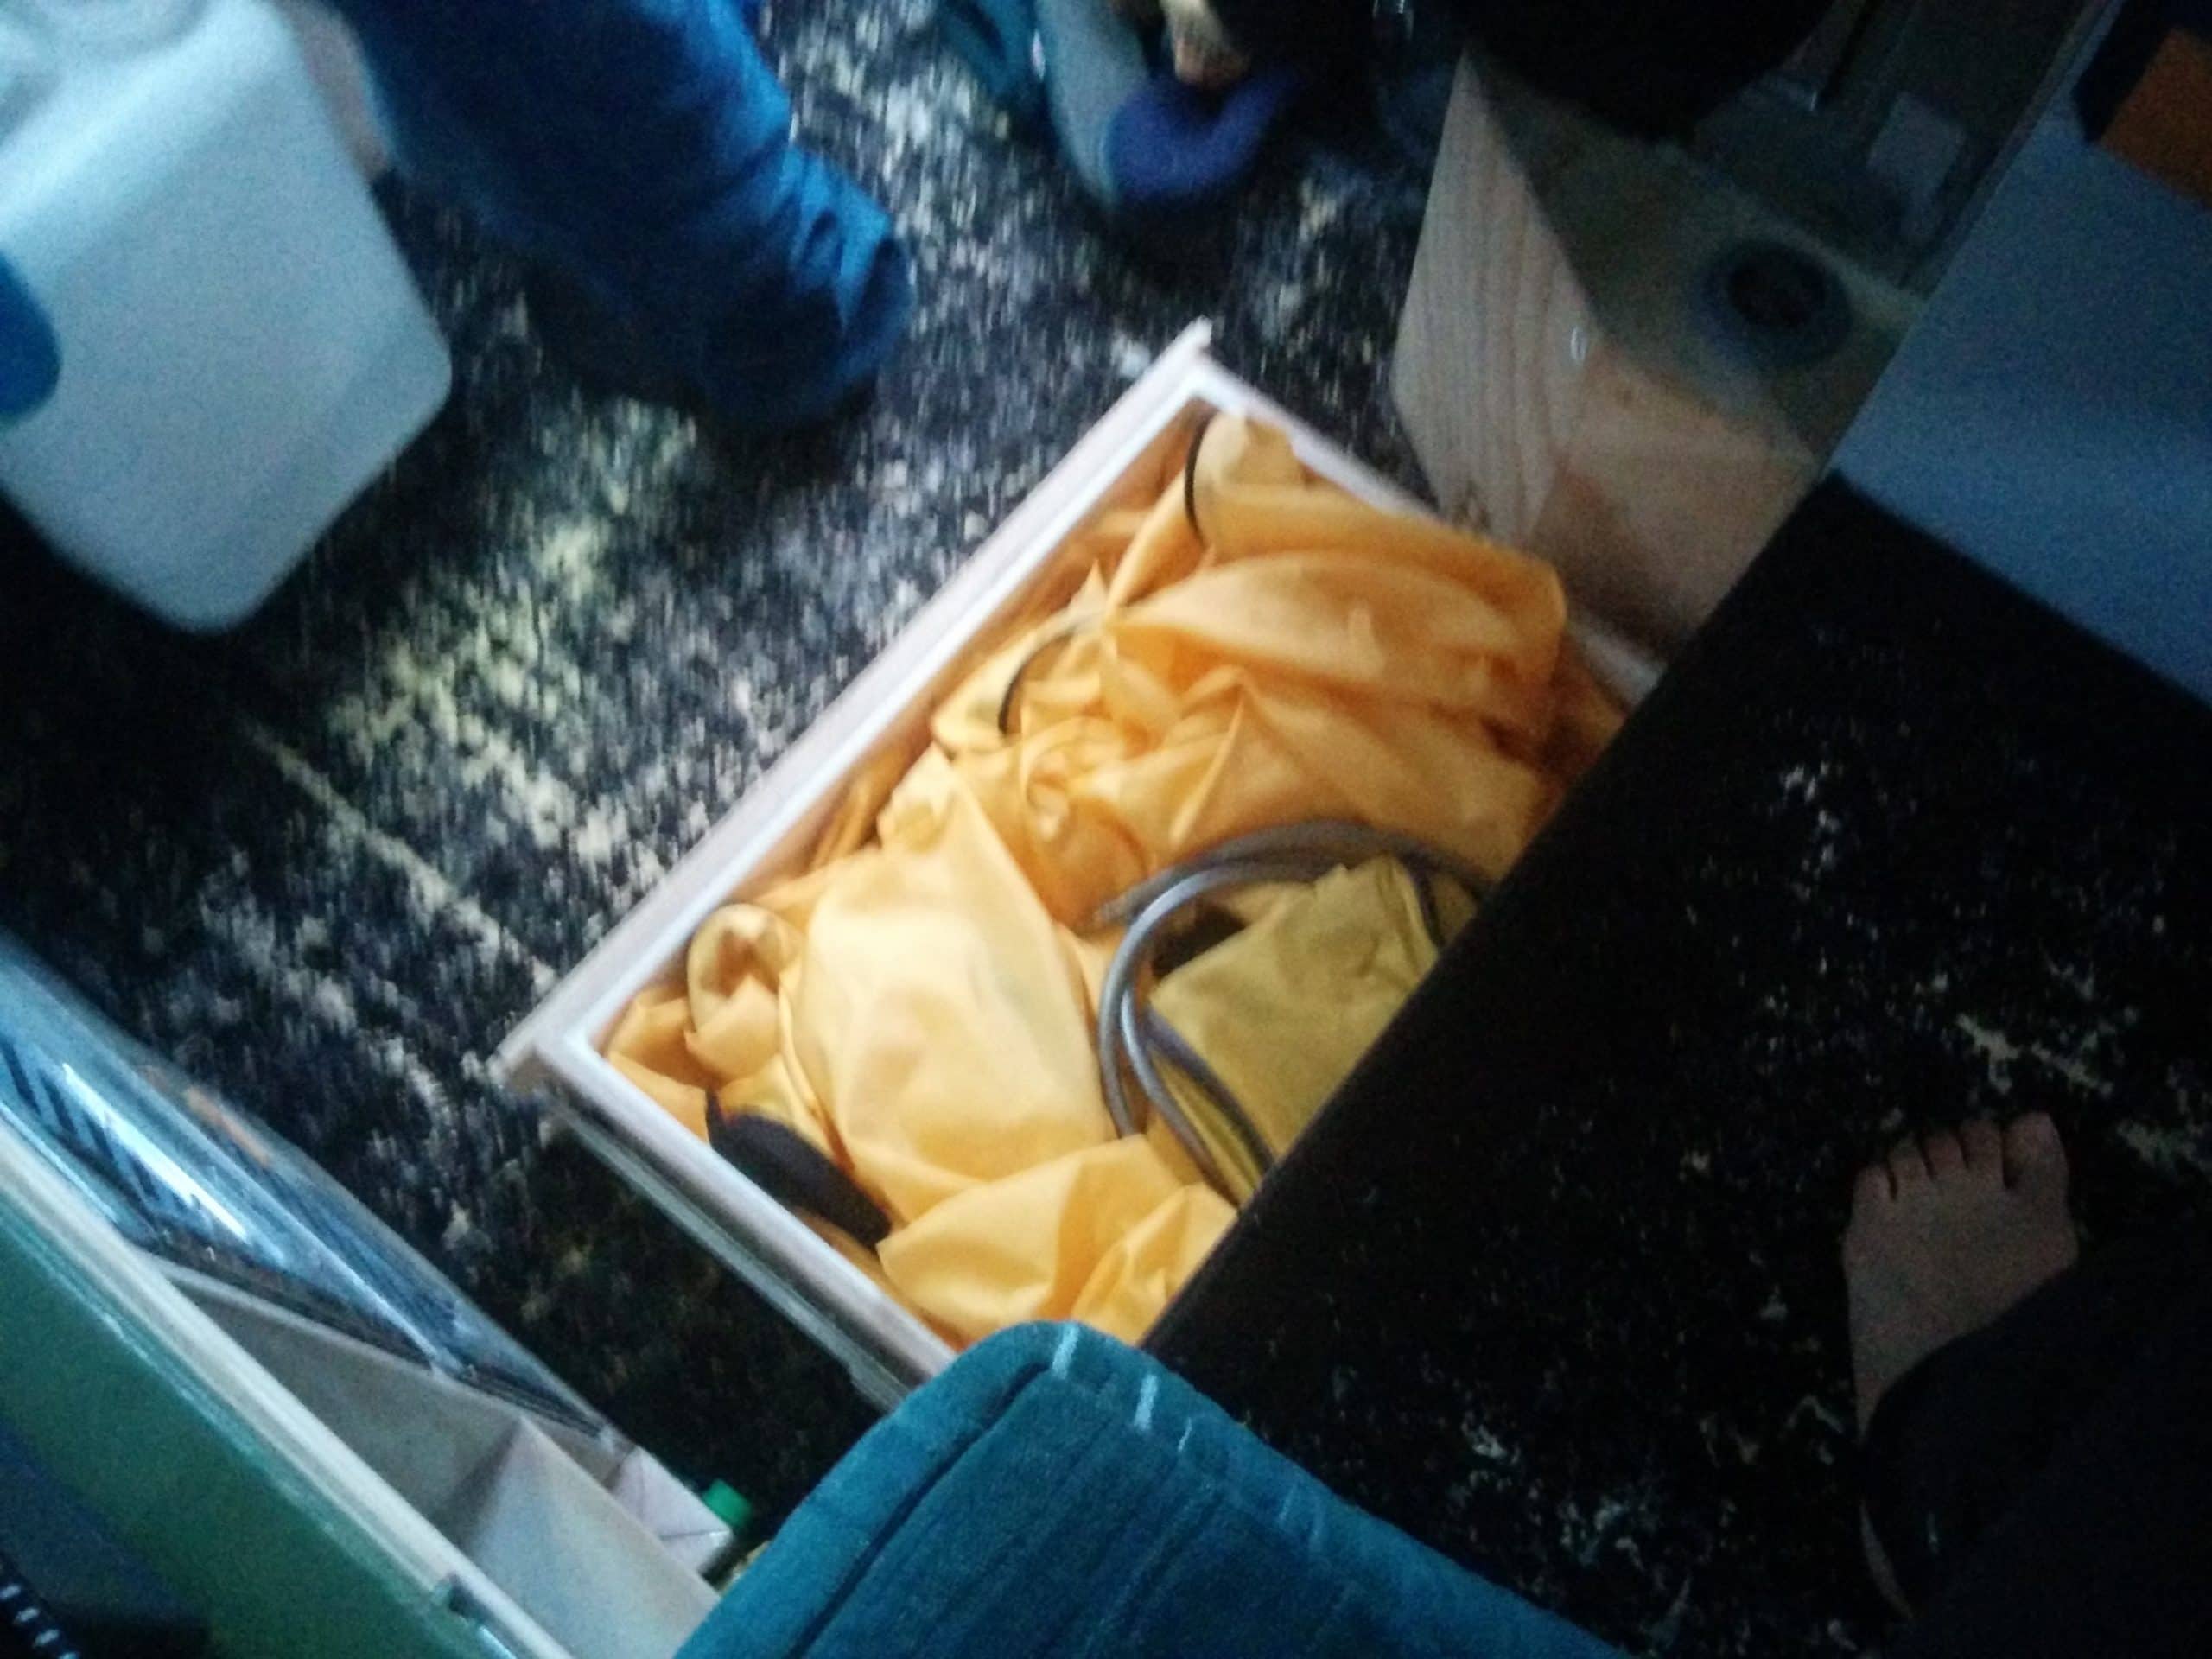
We also took apart the seats in the cab and reupholstered them with a vintage 80’s. It really catches the eye with the neon color of the reflective vests that we put around the back of the seats. It wasn’t that easy as expected and quite a sowing mission to complete. But the result looks fantastic and we love it.
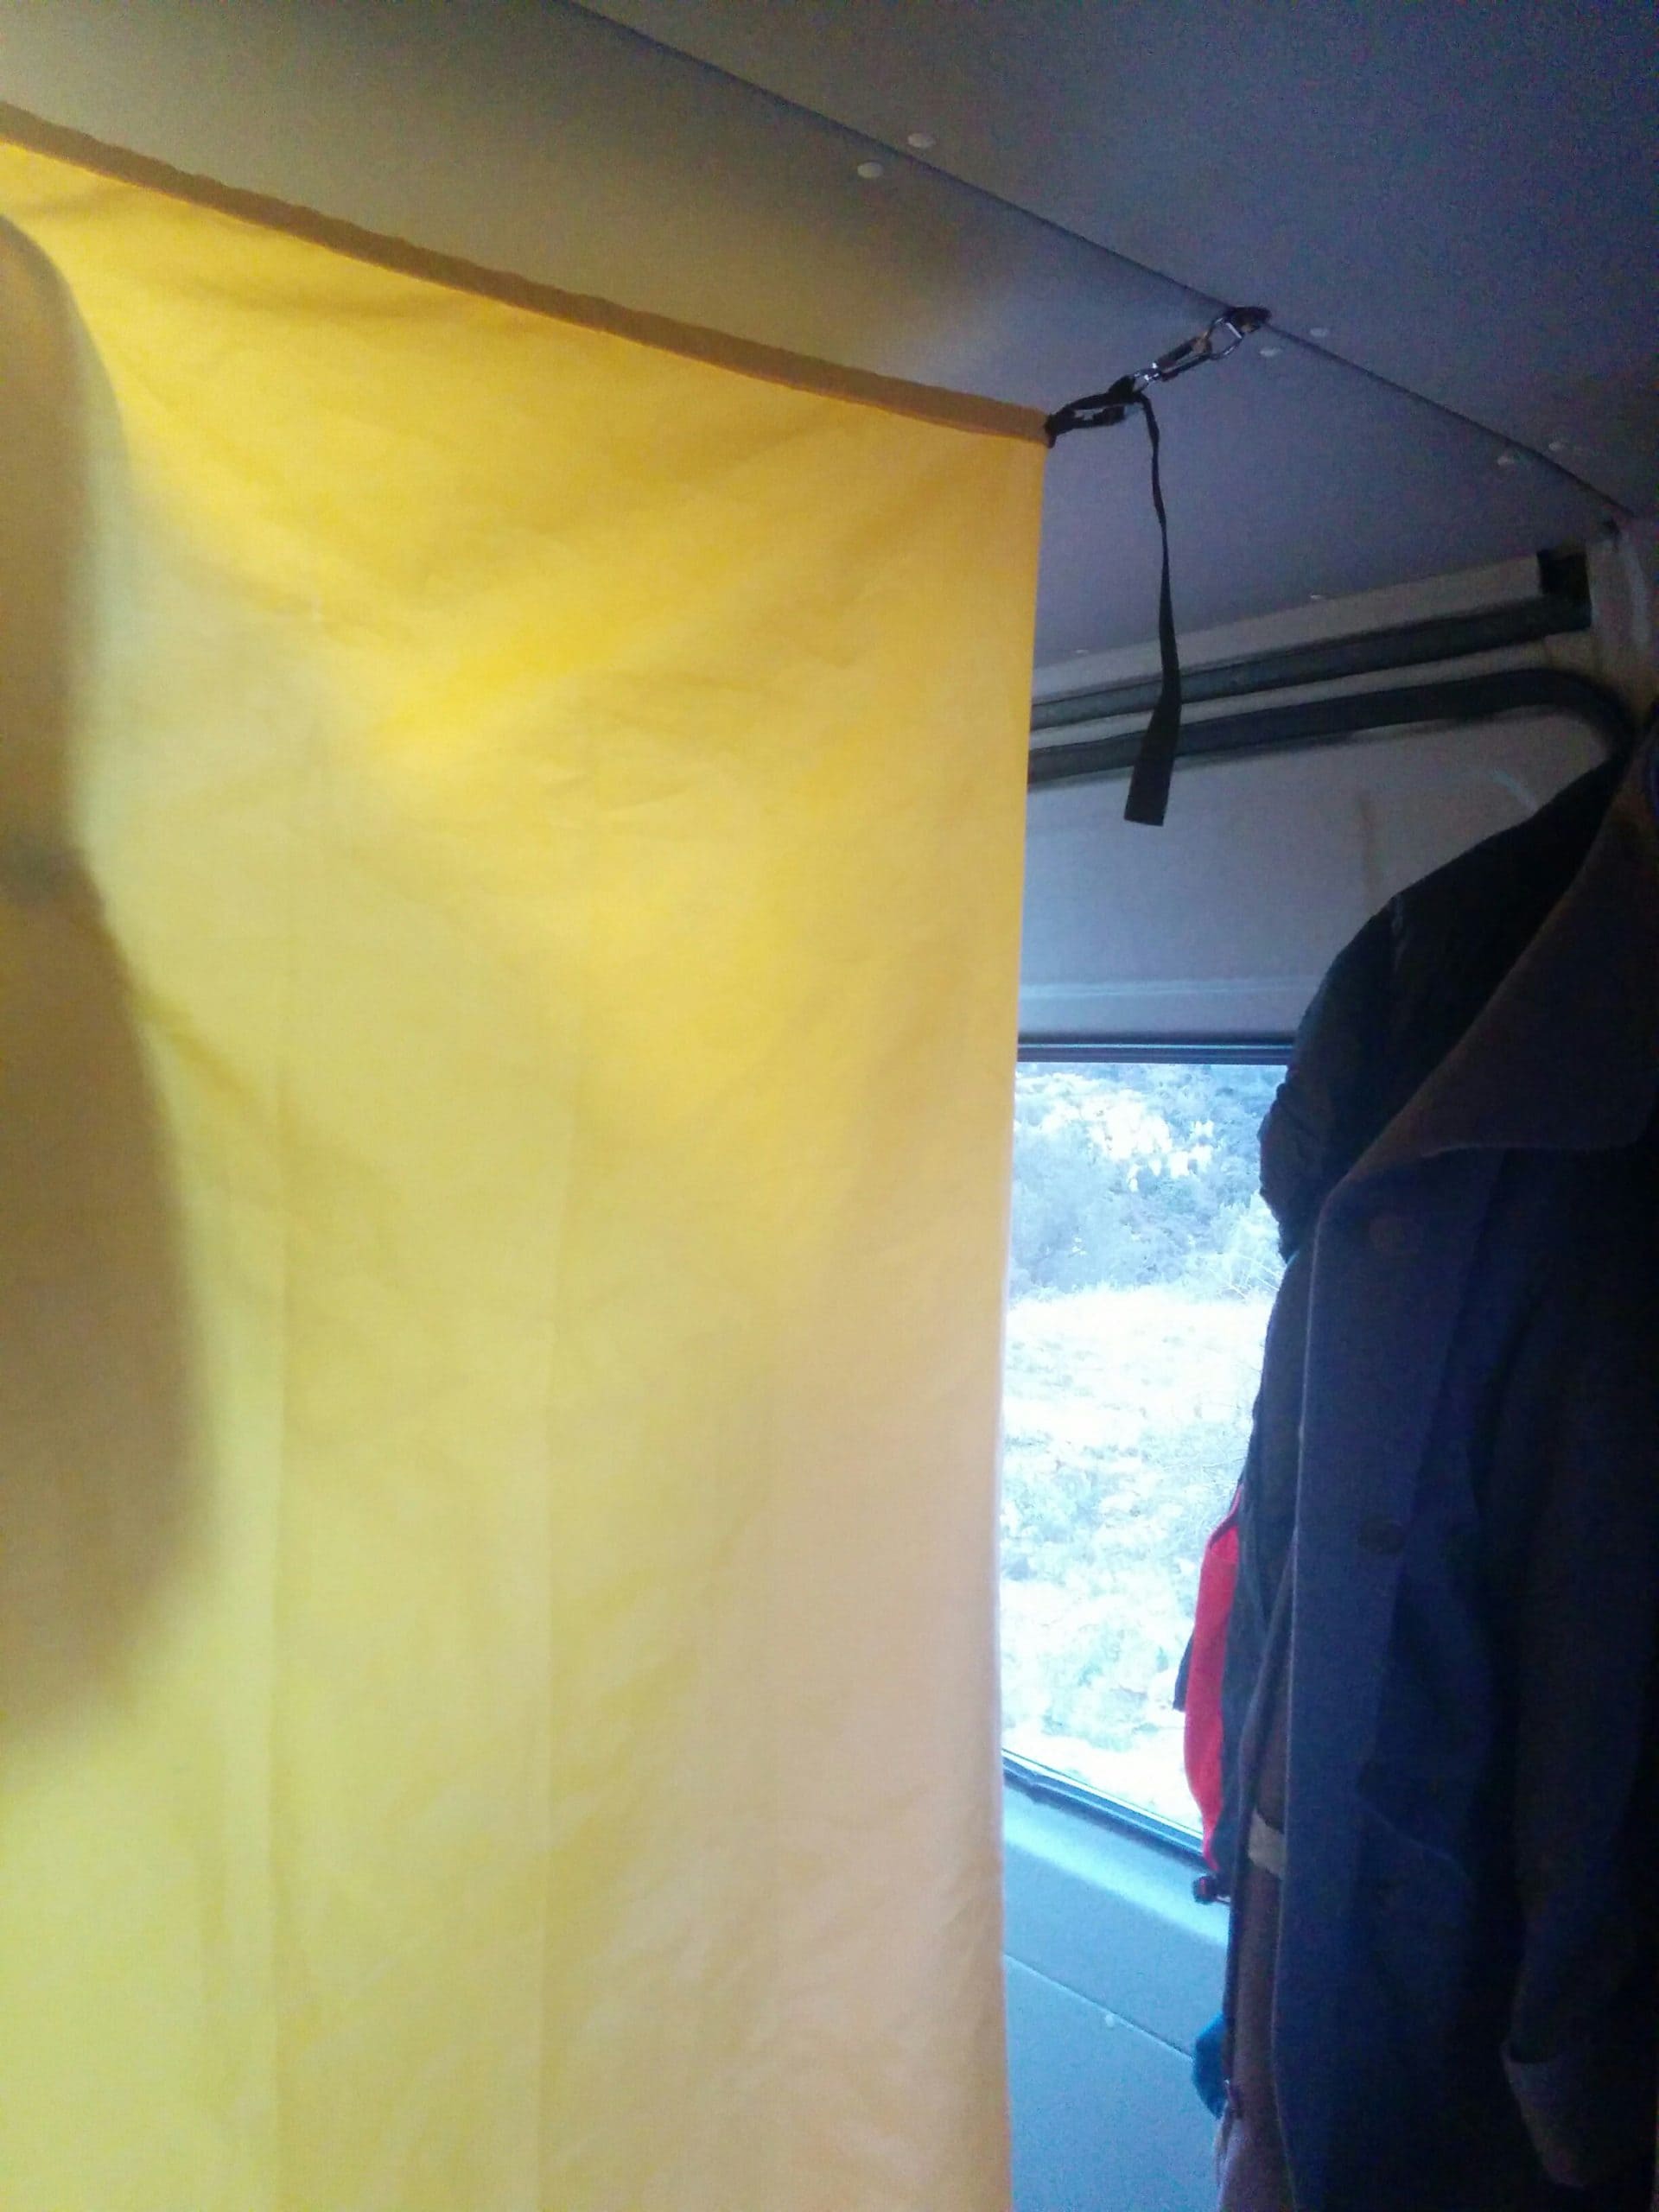
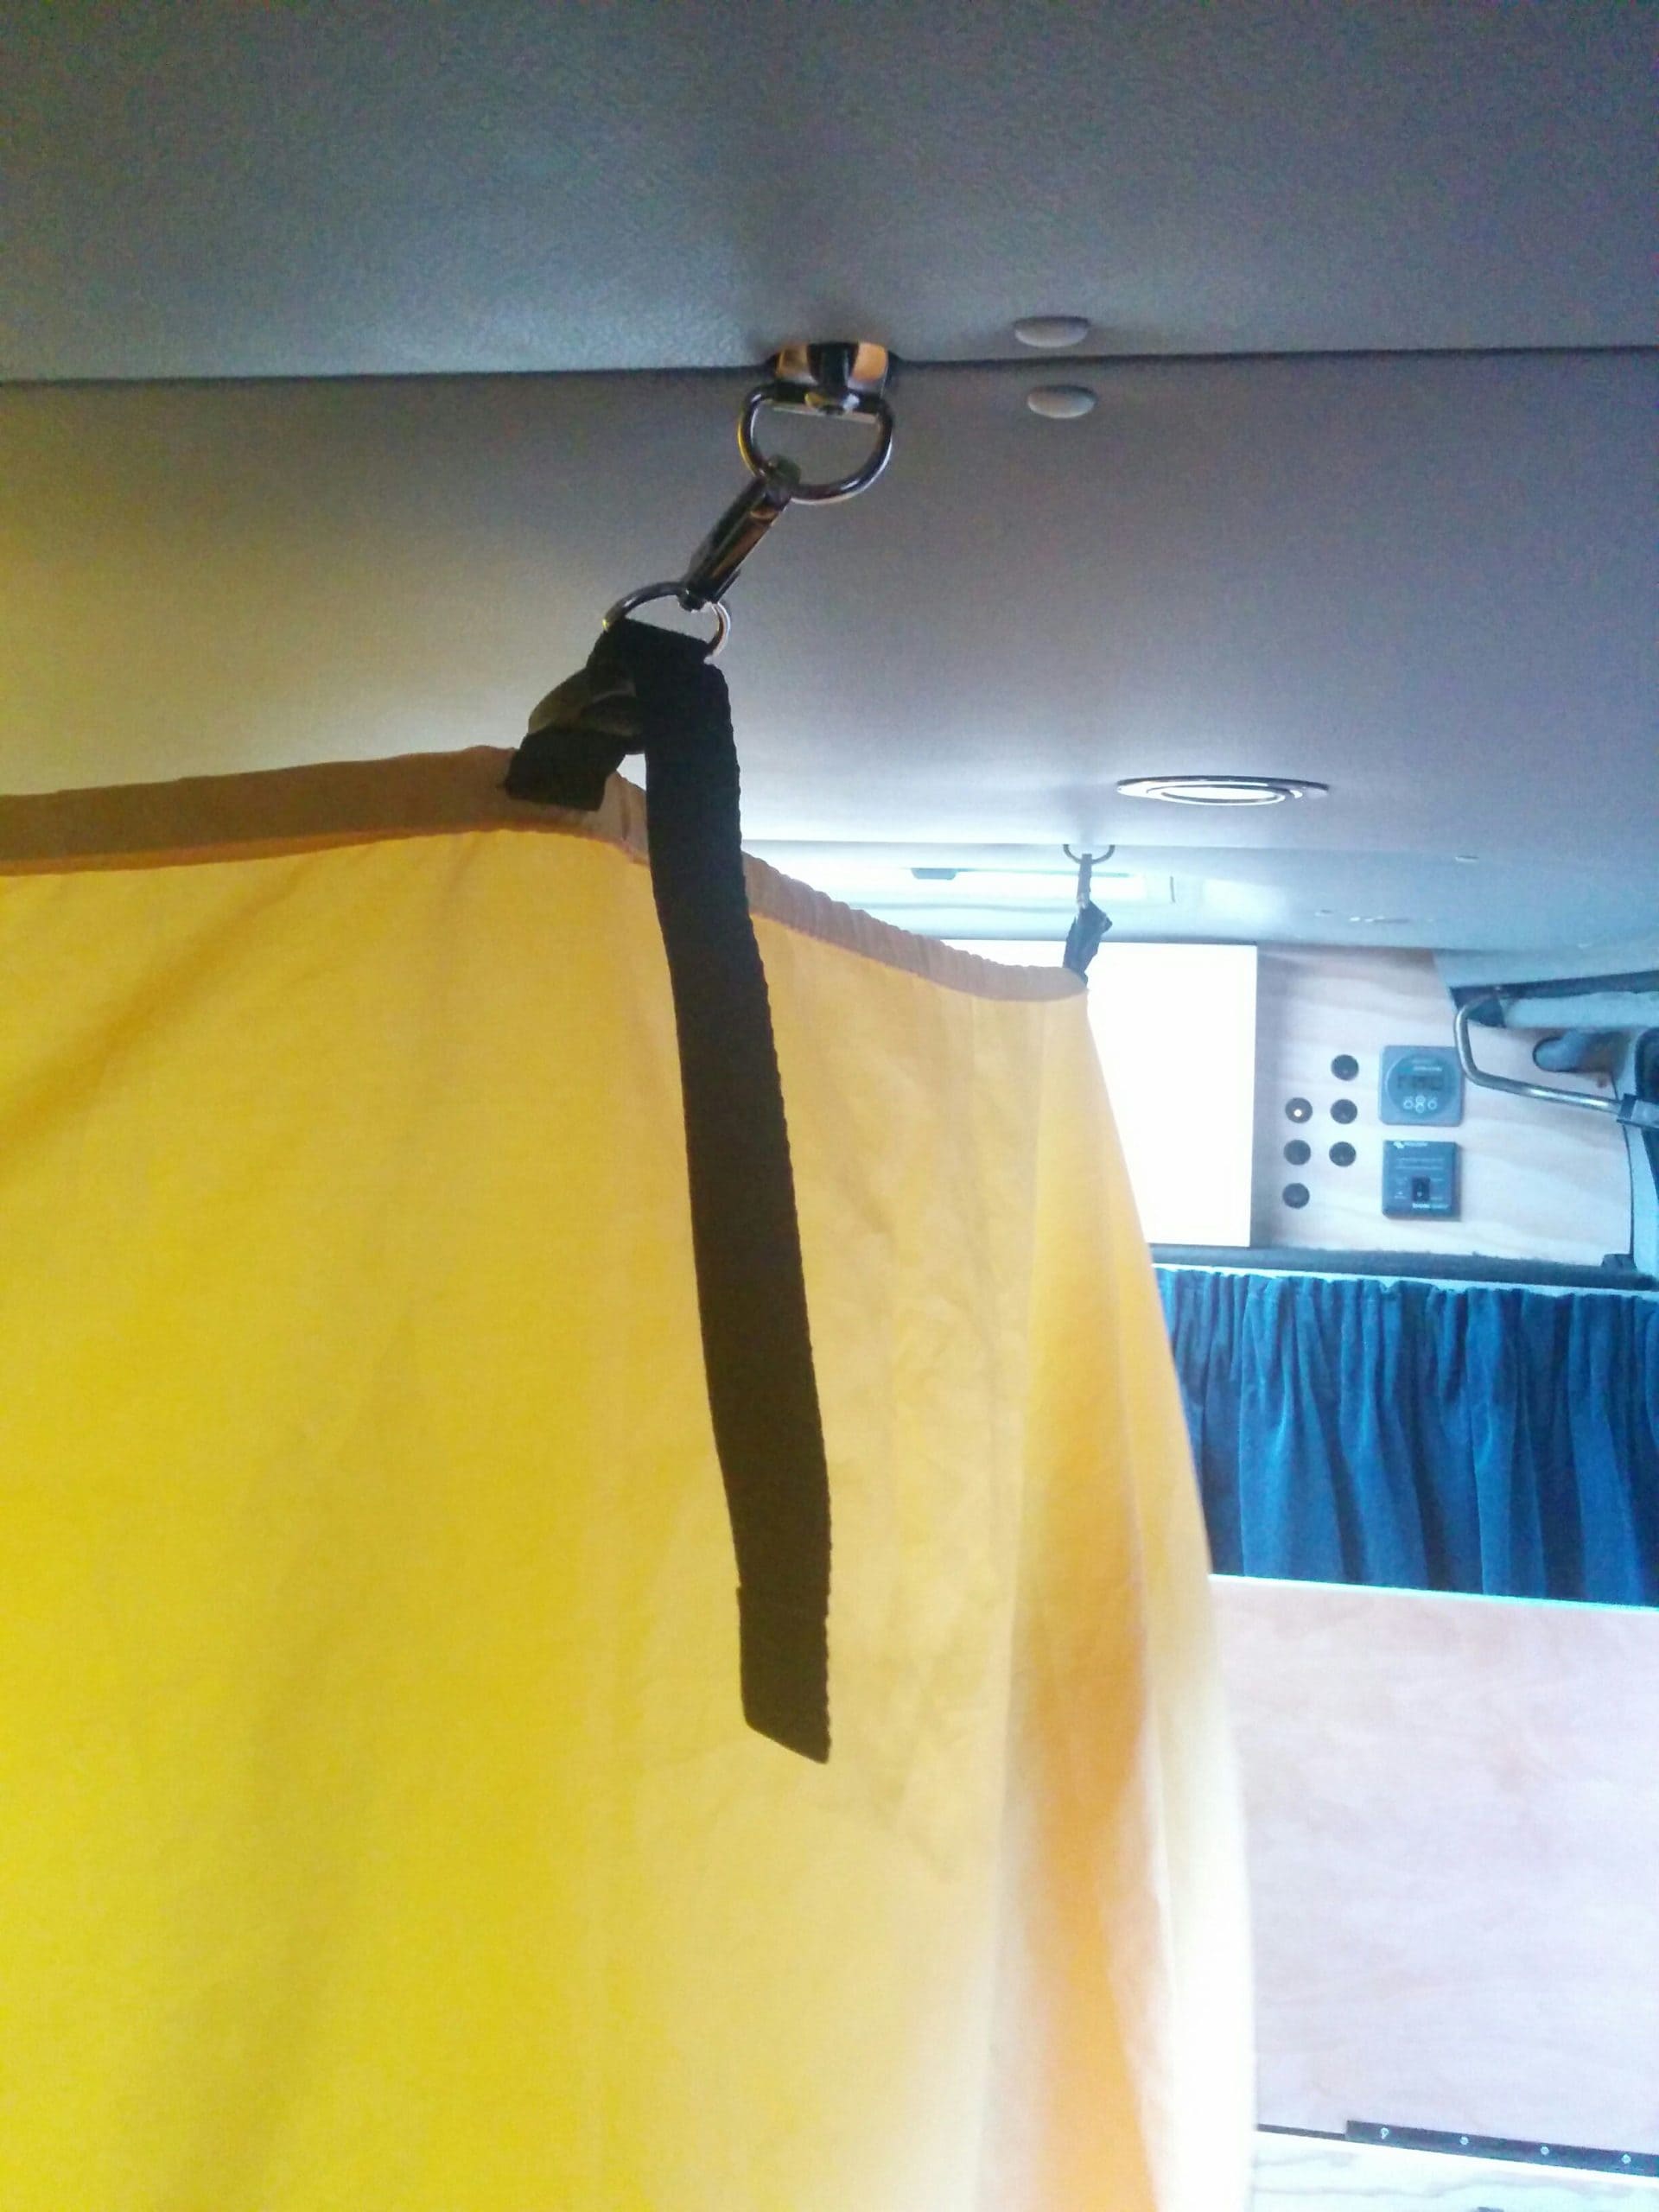
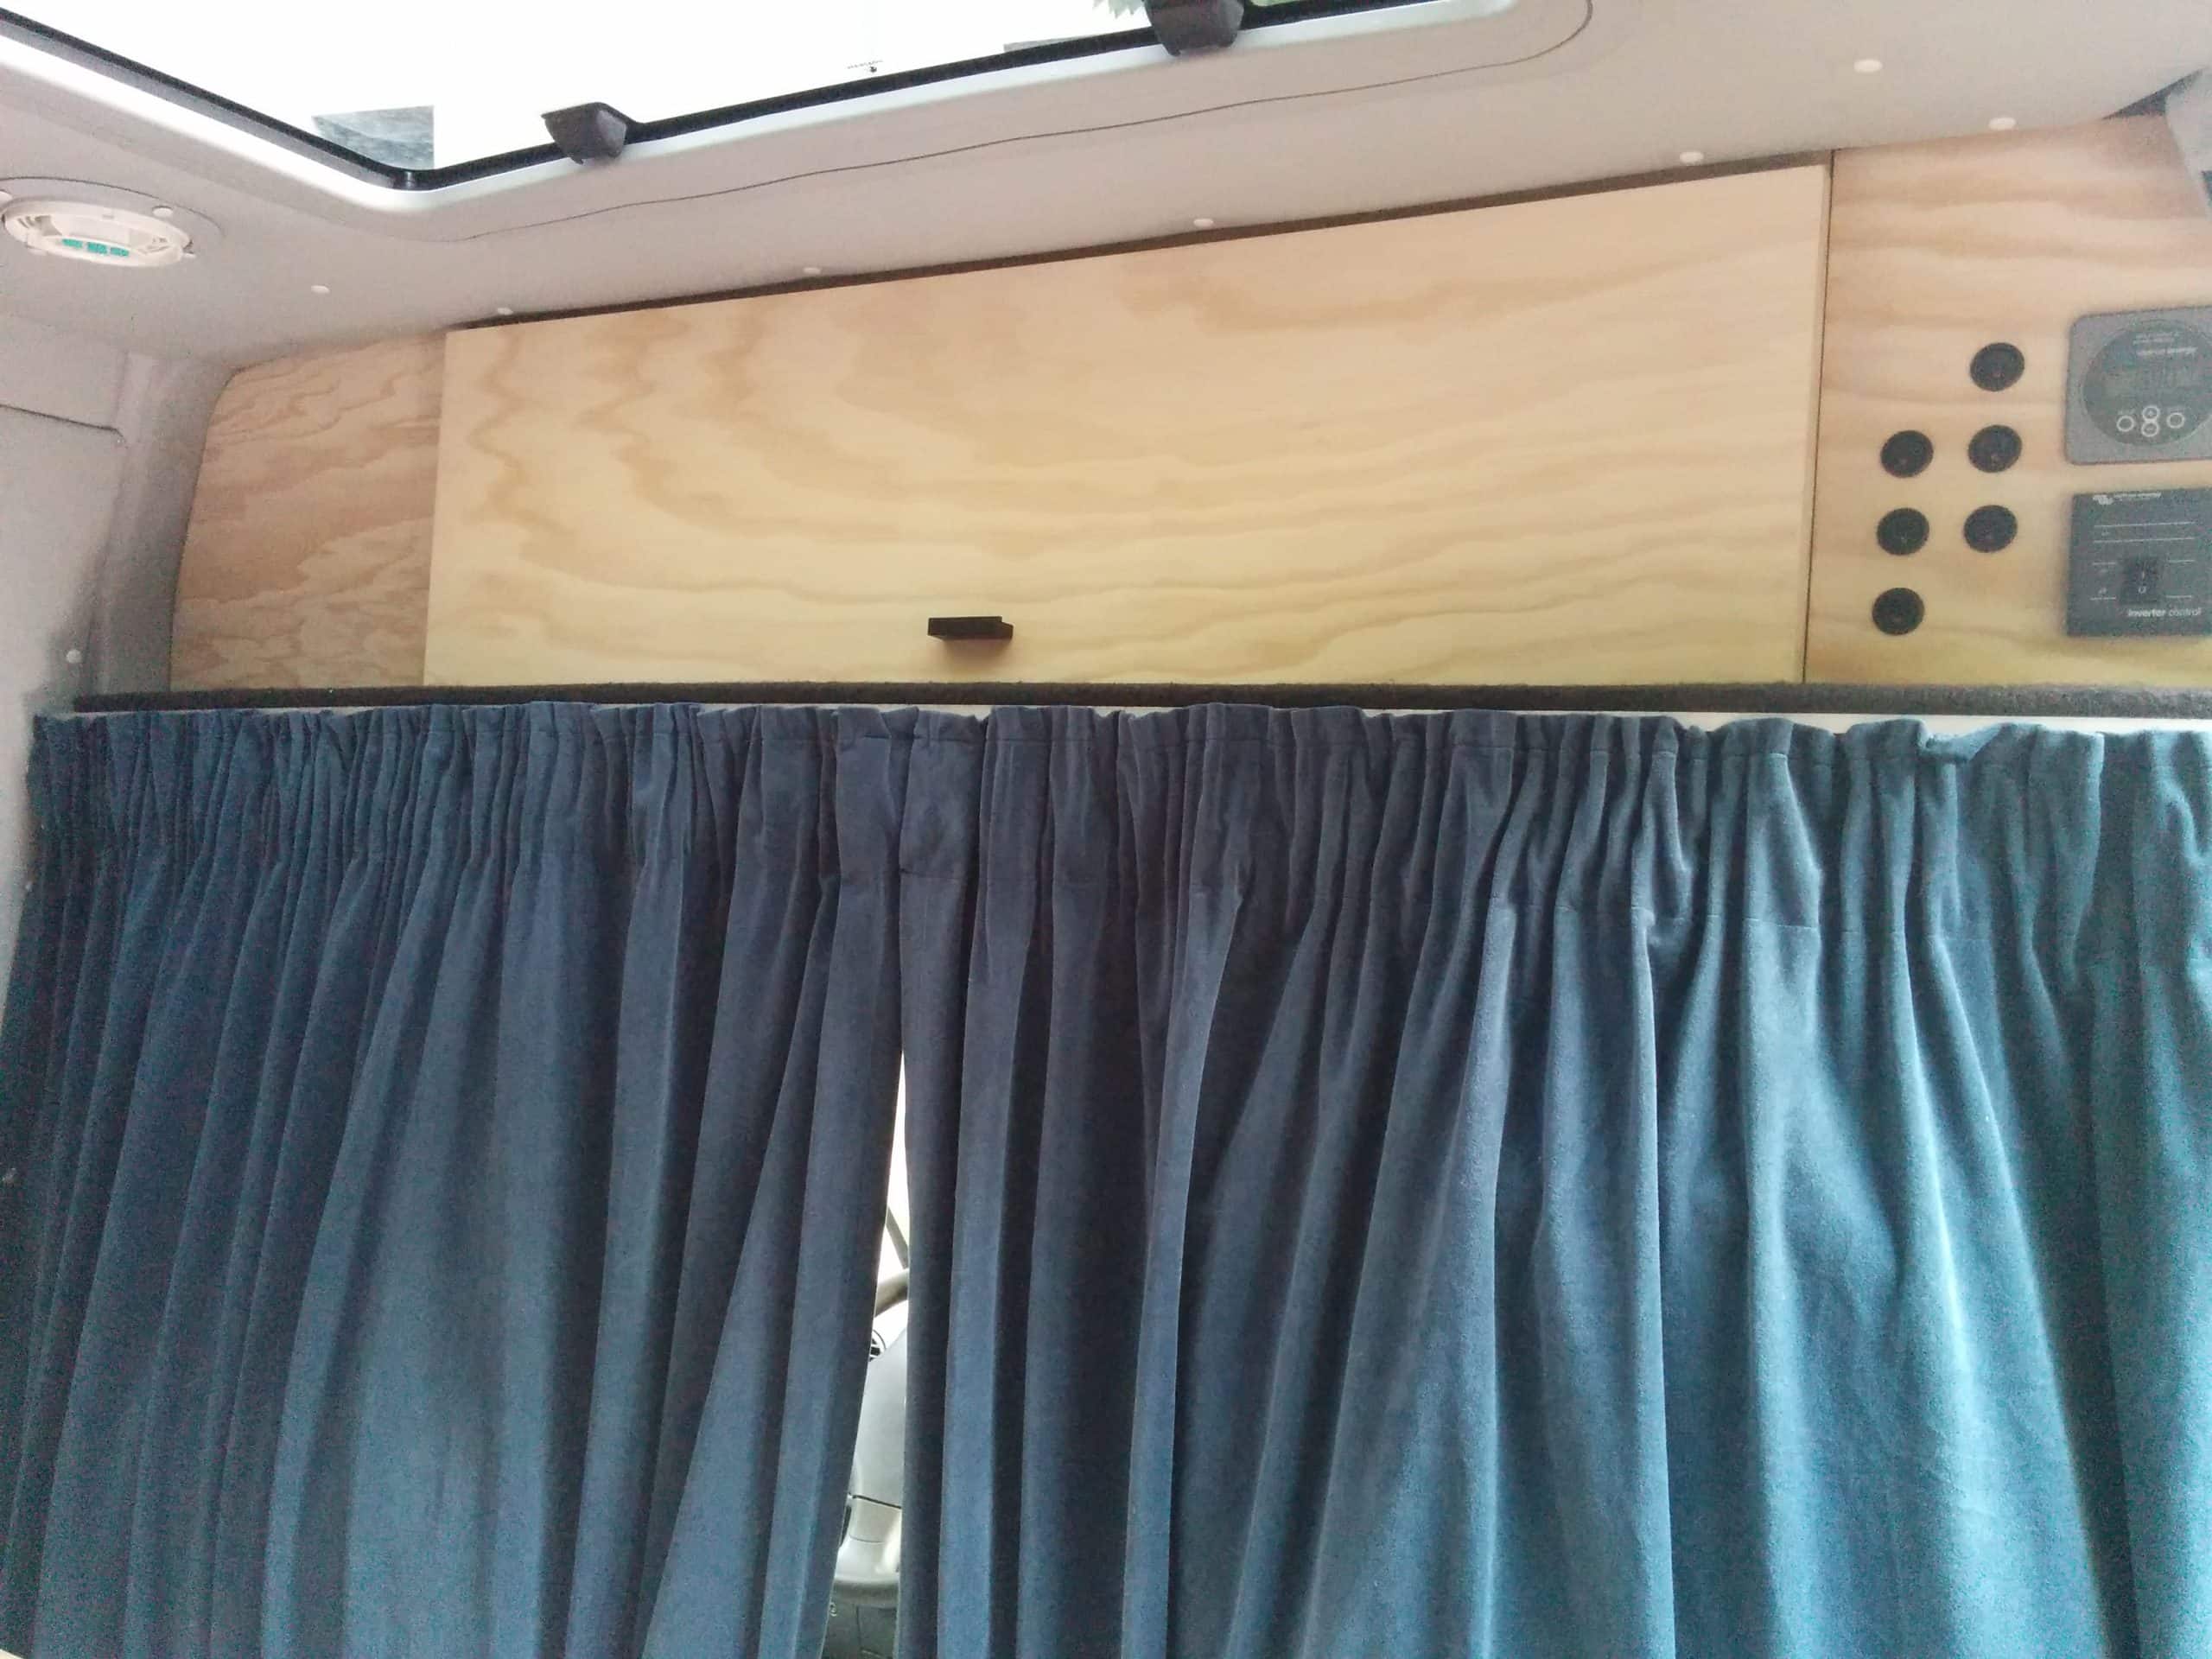
Also part of the insulation are the curtains between the cab and the rear. We have a green velvet curtain for the back and a more robust dark gray curtain that looks simpler at the front. They are snap-fastened to the metal wall and together they not only insulate but also keep the light in and out, which is part of our stealth concept along with the window covers we designed. These can be stuck between the rubber frame and the glass with small plastic connectors and also have small magnets in the lighter fabric border that covers the gaps to block out all light. The window covers also help with insulation, especially on cold winter days. We had no problems with our down sleeping bag while traveling in snowy Switzerland. So we can say with confidence that the insulation works even in extreme weather, both cold and hot.
Heating:
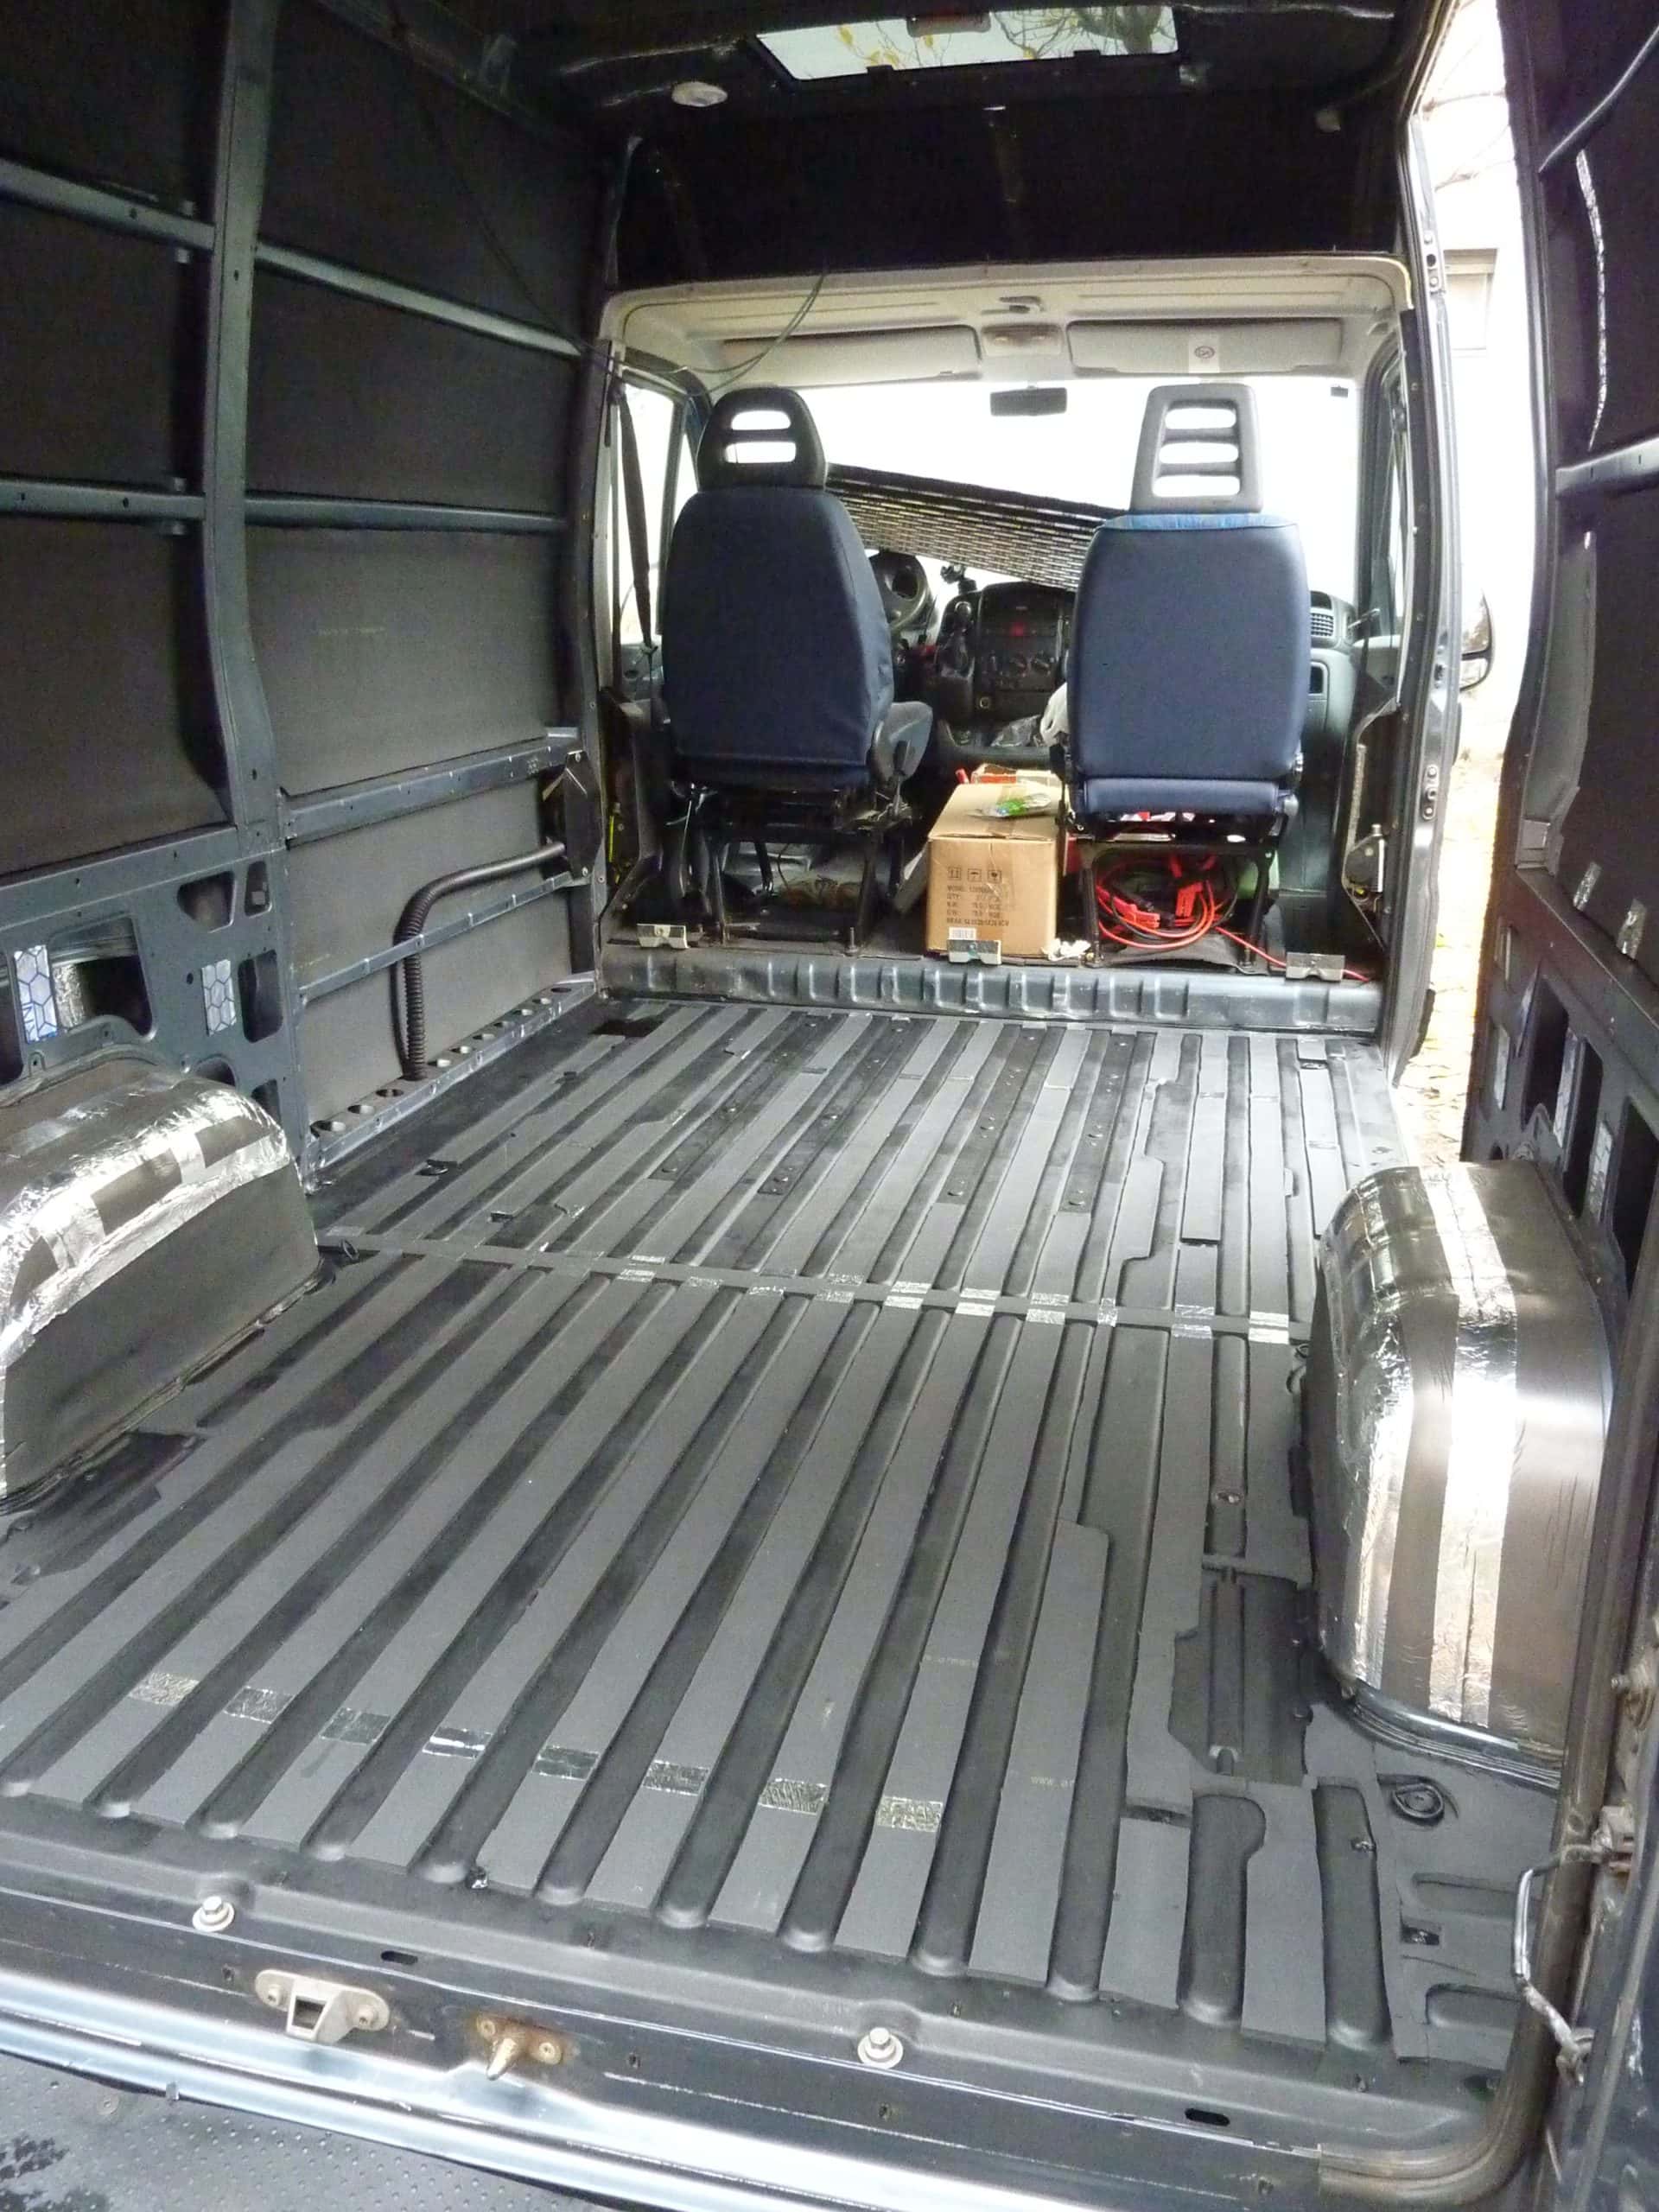
We are glad that we installed a heating system, which has already been a lifesaver if you use your motorhome not only during the summer holidays. And we can recommend and remind everyone that whatever you do, don’t skip the floor insulation if you want warm feet. We gladly installed it. A typical house floor insulation of about 3 to 4mm will do the trick, but without it you may regret never taking the floorboards out. Especially when all the furniture is in place, you are unlikely to take it all down to fix it.
Furniture:
It was the first time we built wood furniture with little to no experience. Building a few skateboard ramps and halfpipes with friends as teenagers was all the woodworking experience we had to draw on. So we can say that it went surprisingly well, even though it was a real puzzle with a lot of precision measuring needed to fit everything in. With the convertible bed, the cushions that double as seating and sleeping, and the shower in the drawer, we can finally say that it has everything we ever wanted in a very small footprint.
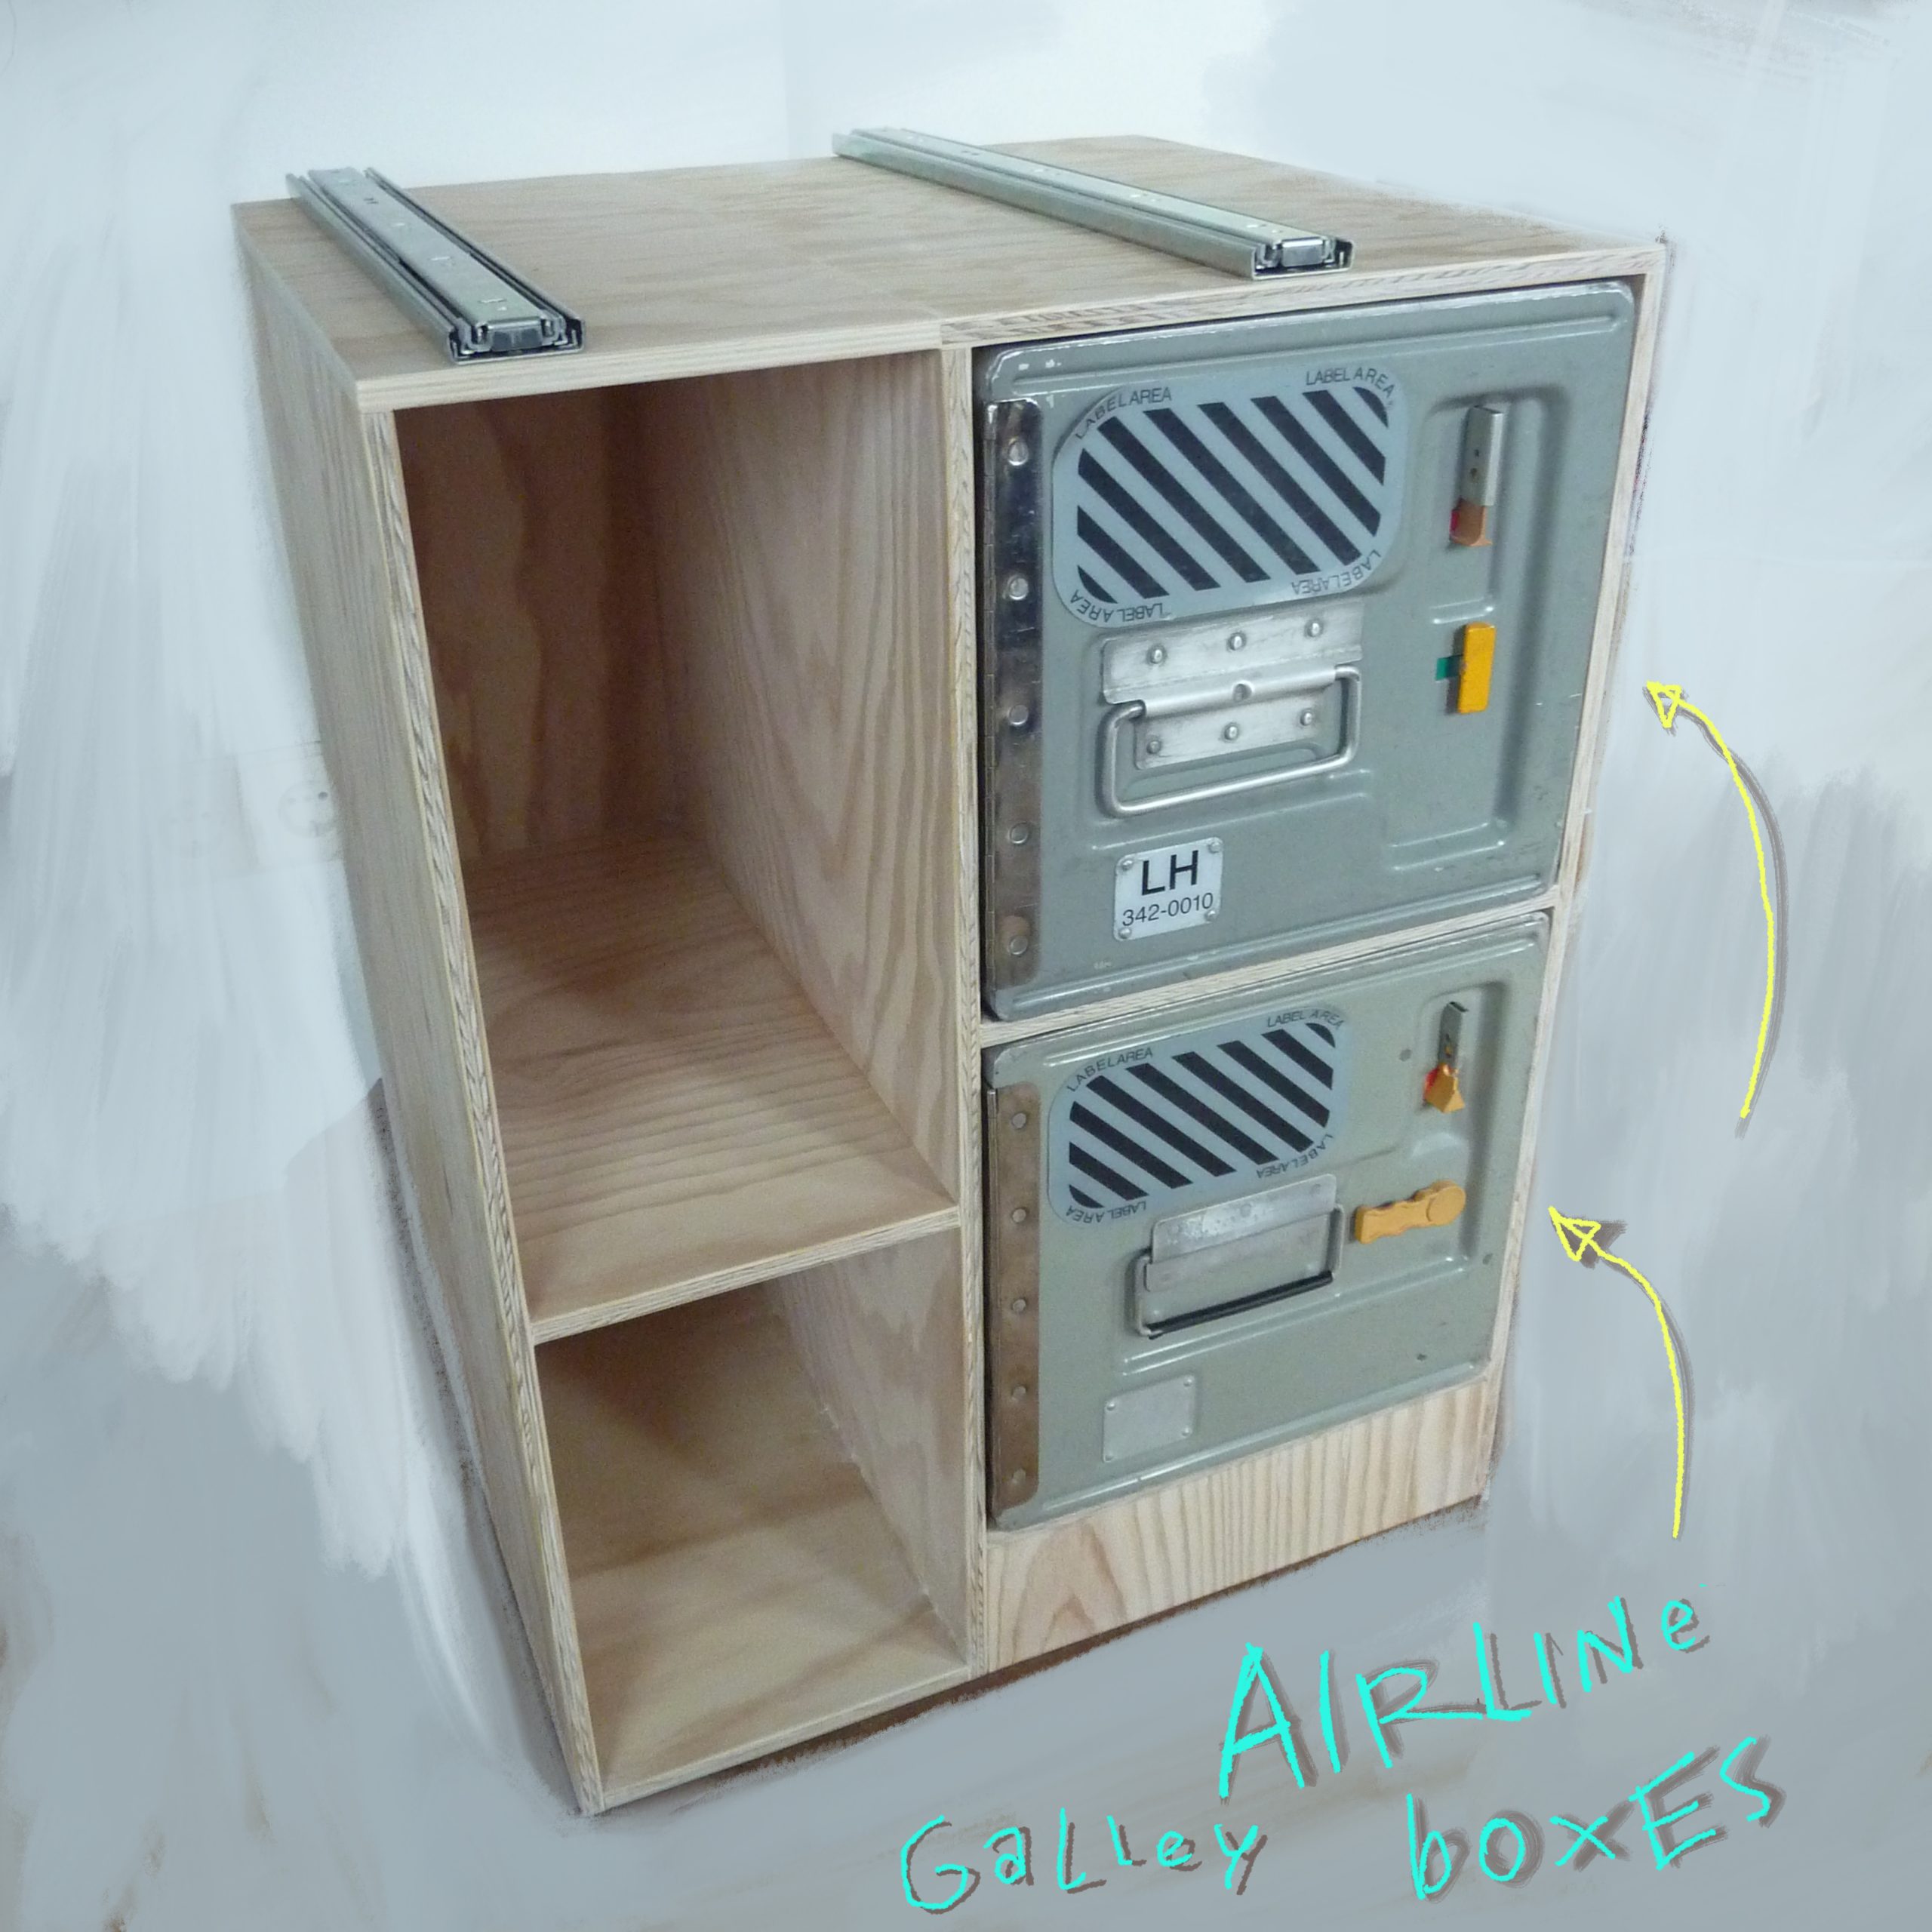
We used aluminum airplane cargo boxes, some integrated into the furniture and one above the heater as part of our toilet system. The cargo boxes are removable and the basic structure of the cabinet is wood. So from a weight saving point of view the whole thing makes no sense and it would have been better to just install some doors instead. But it has such a special look that we wanted to integrate into the design that we didn’t mind the extra weight. And since they are made of lightweight aluminum, it is not really a big deal.
What turned out to be really practical is the area above the fridge where we can store veggies and fruit, a small compost bin, oil and bottles, and the larger cutlery and tools that are too big for the drawers. It looks a little more messy and cluttered, but the practical aspect of having an easily accessible place to put all these things we use every day makes it worth it.
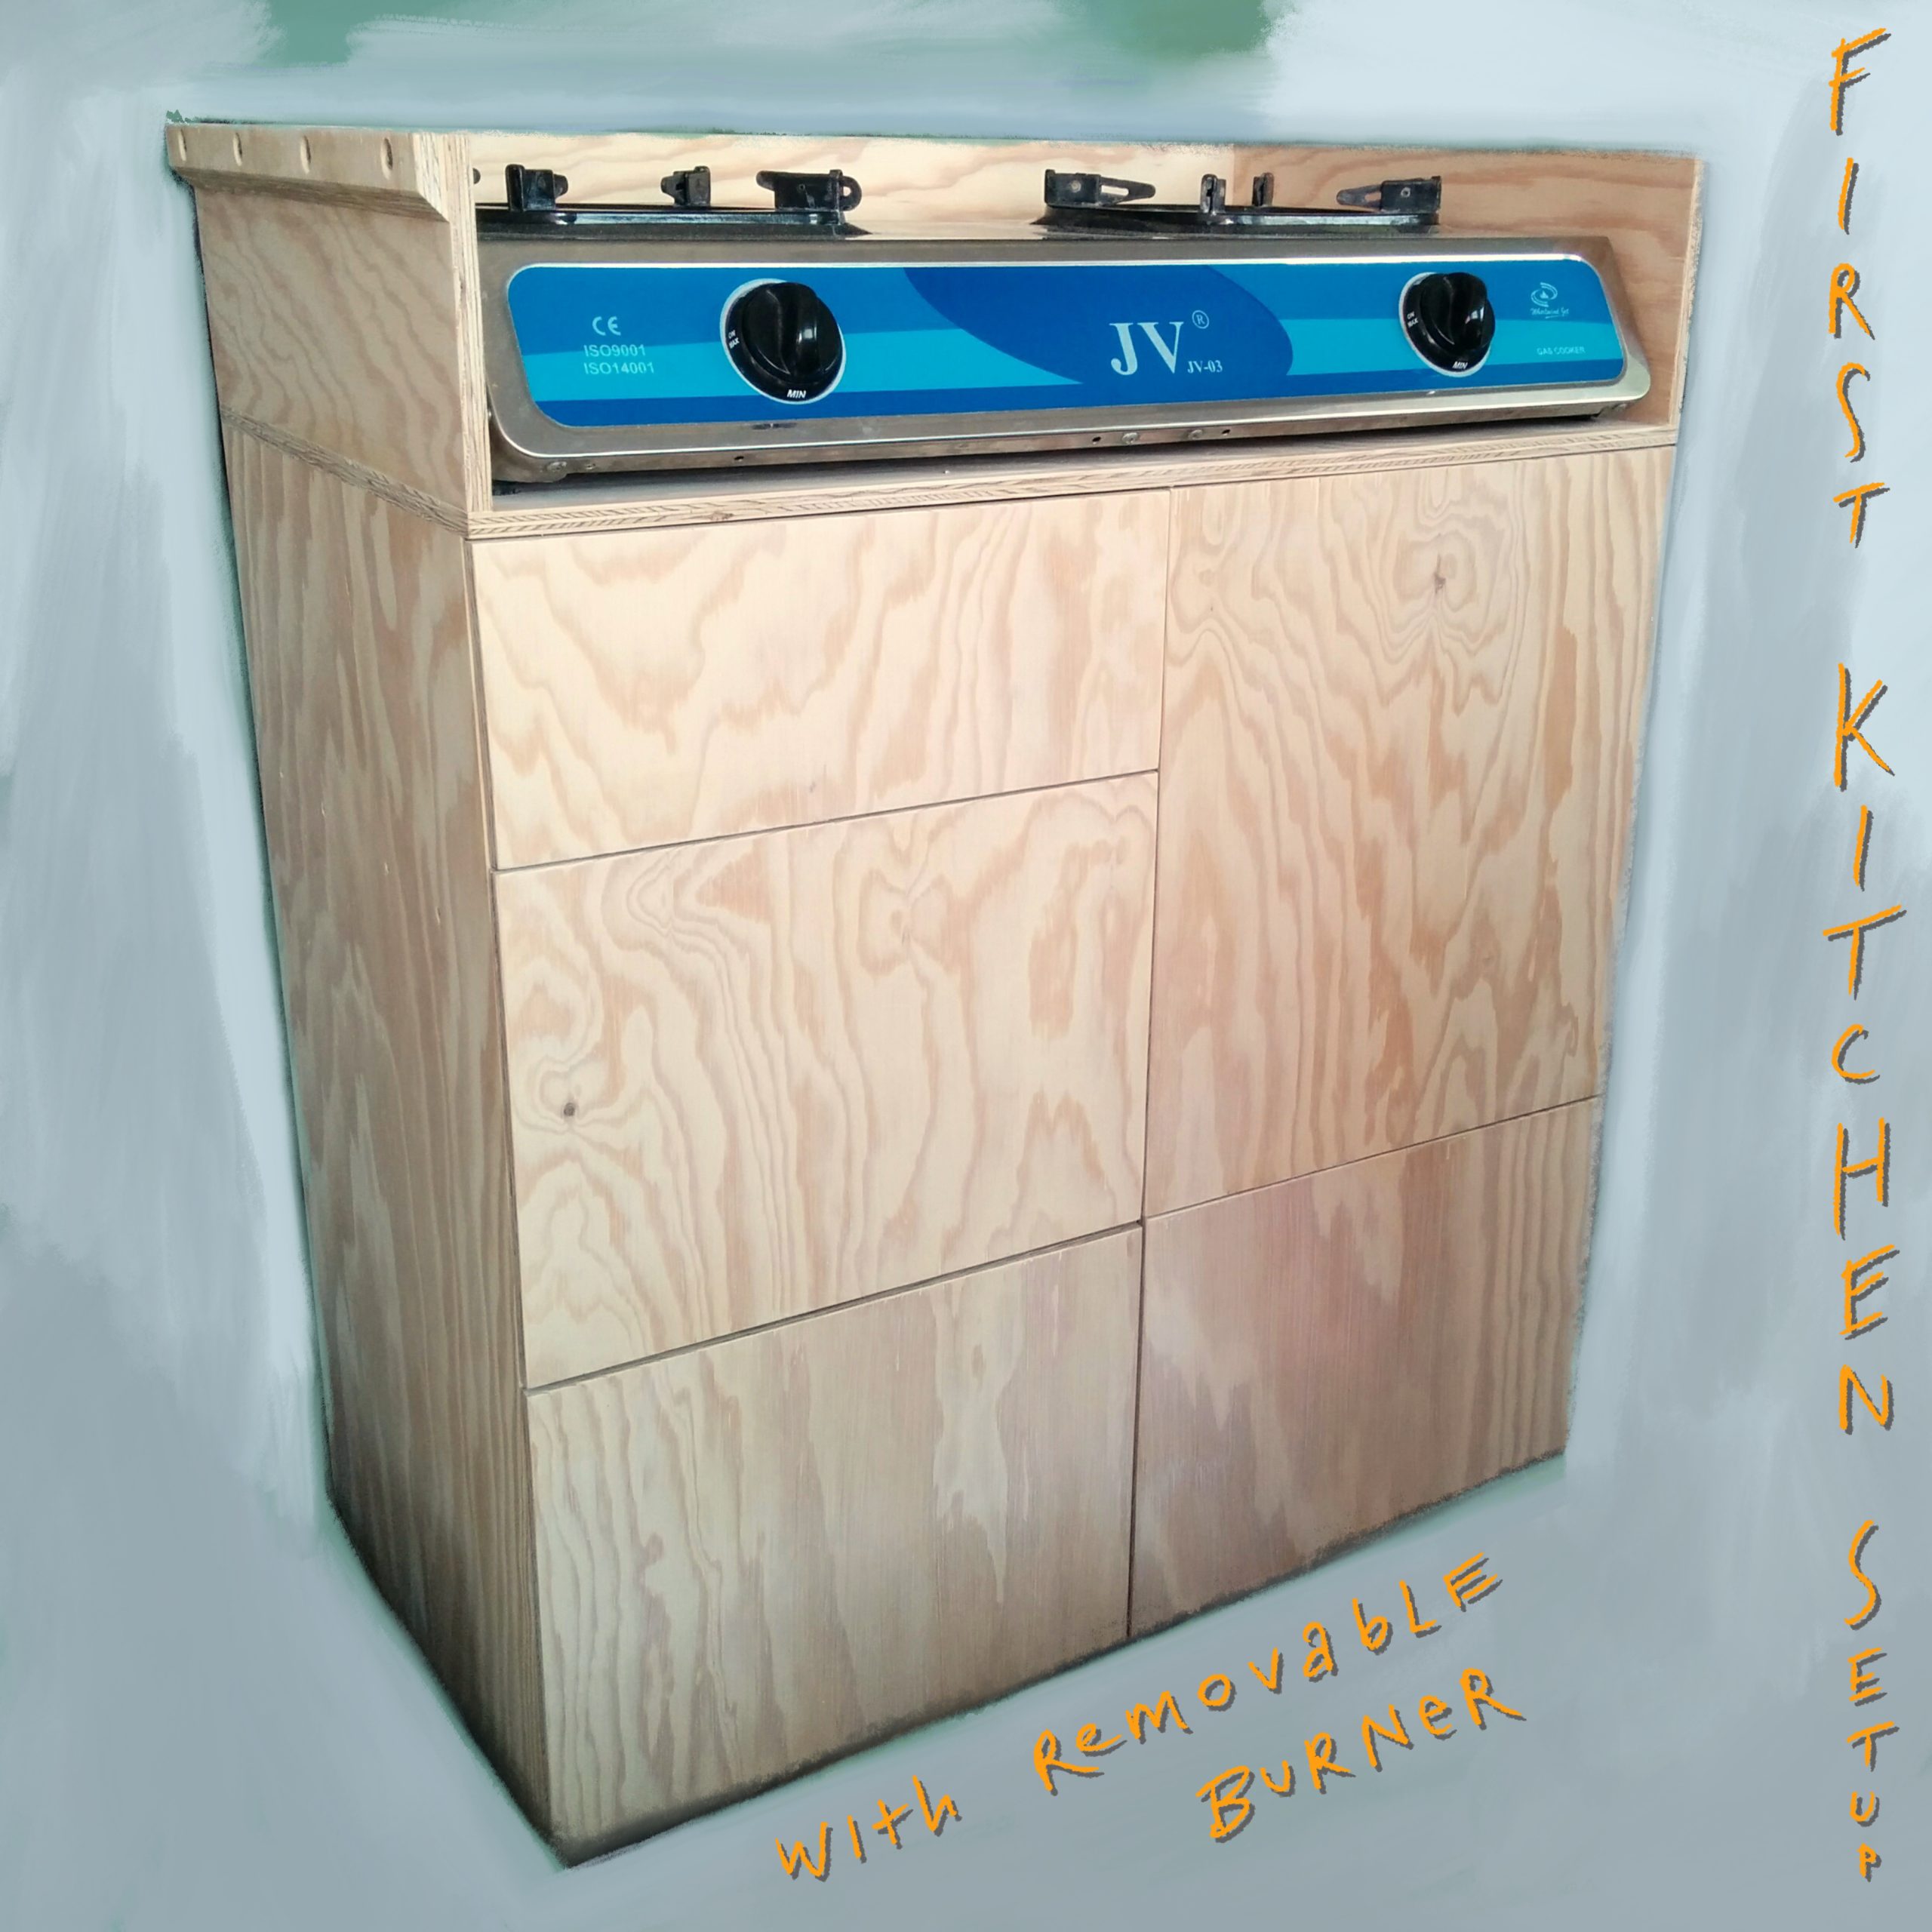
Another feature is an extension that you can pull out on the side of the cabinet with the stove when the sliding door is open. We have an extra gas stove that we can put on the extension to cook outside when the weather allows. There is a gas socket built into the side of the cabinet to connect it. The pull-out also serves as a storage area for larger cooking utensils, which is accessible through doors when not pulled out.
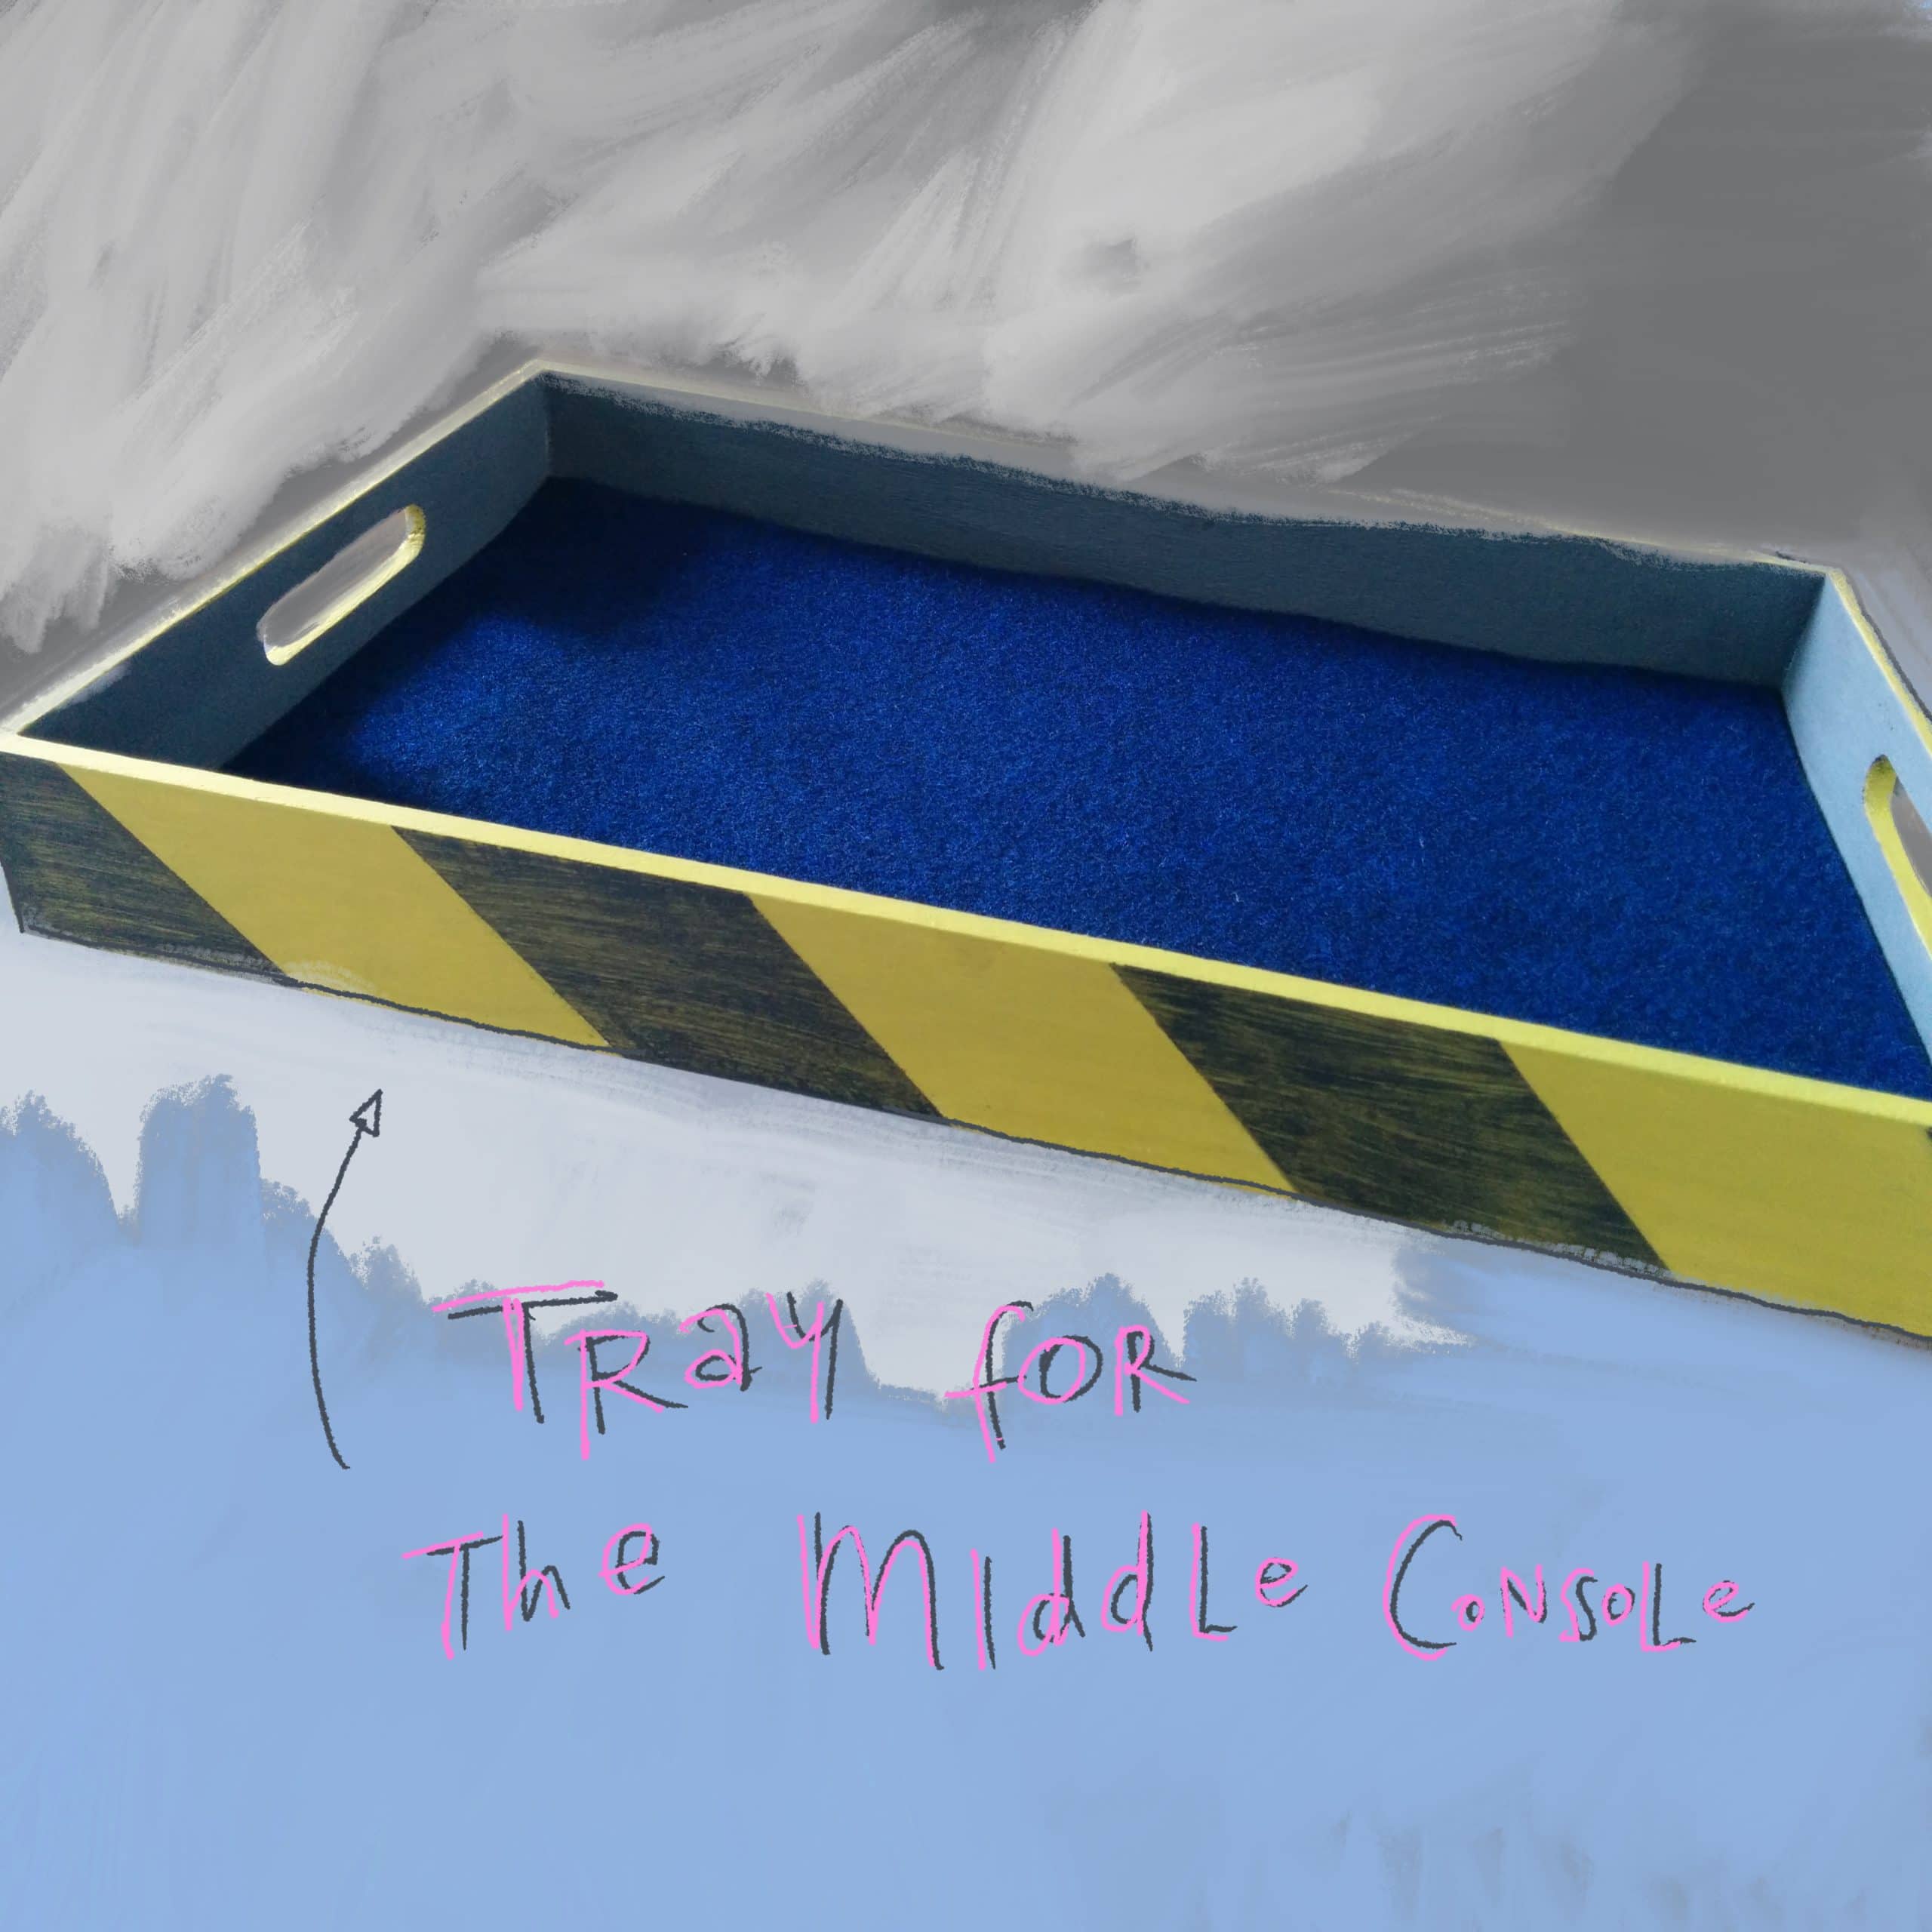
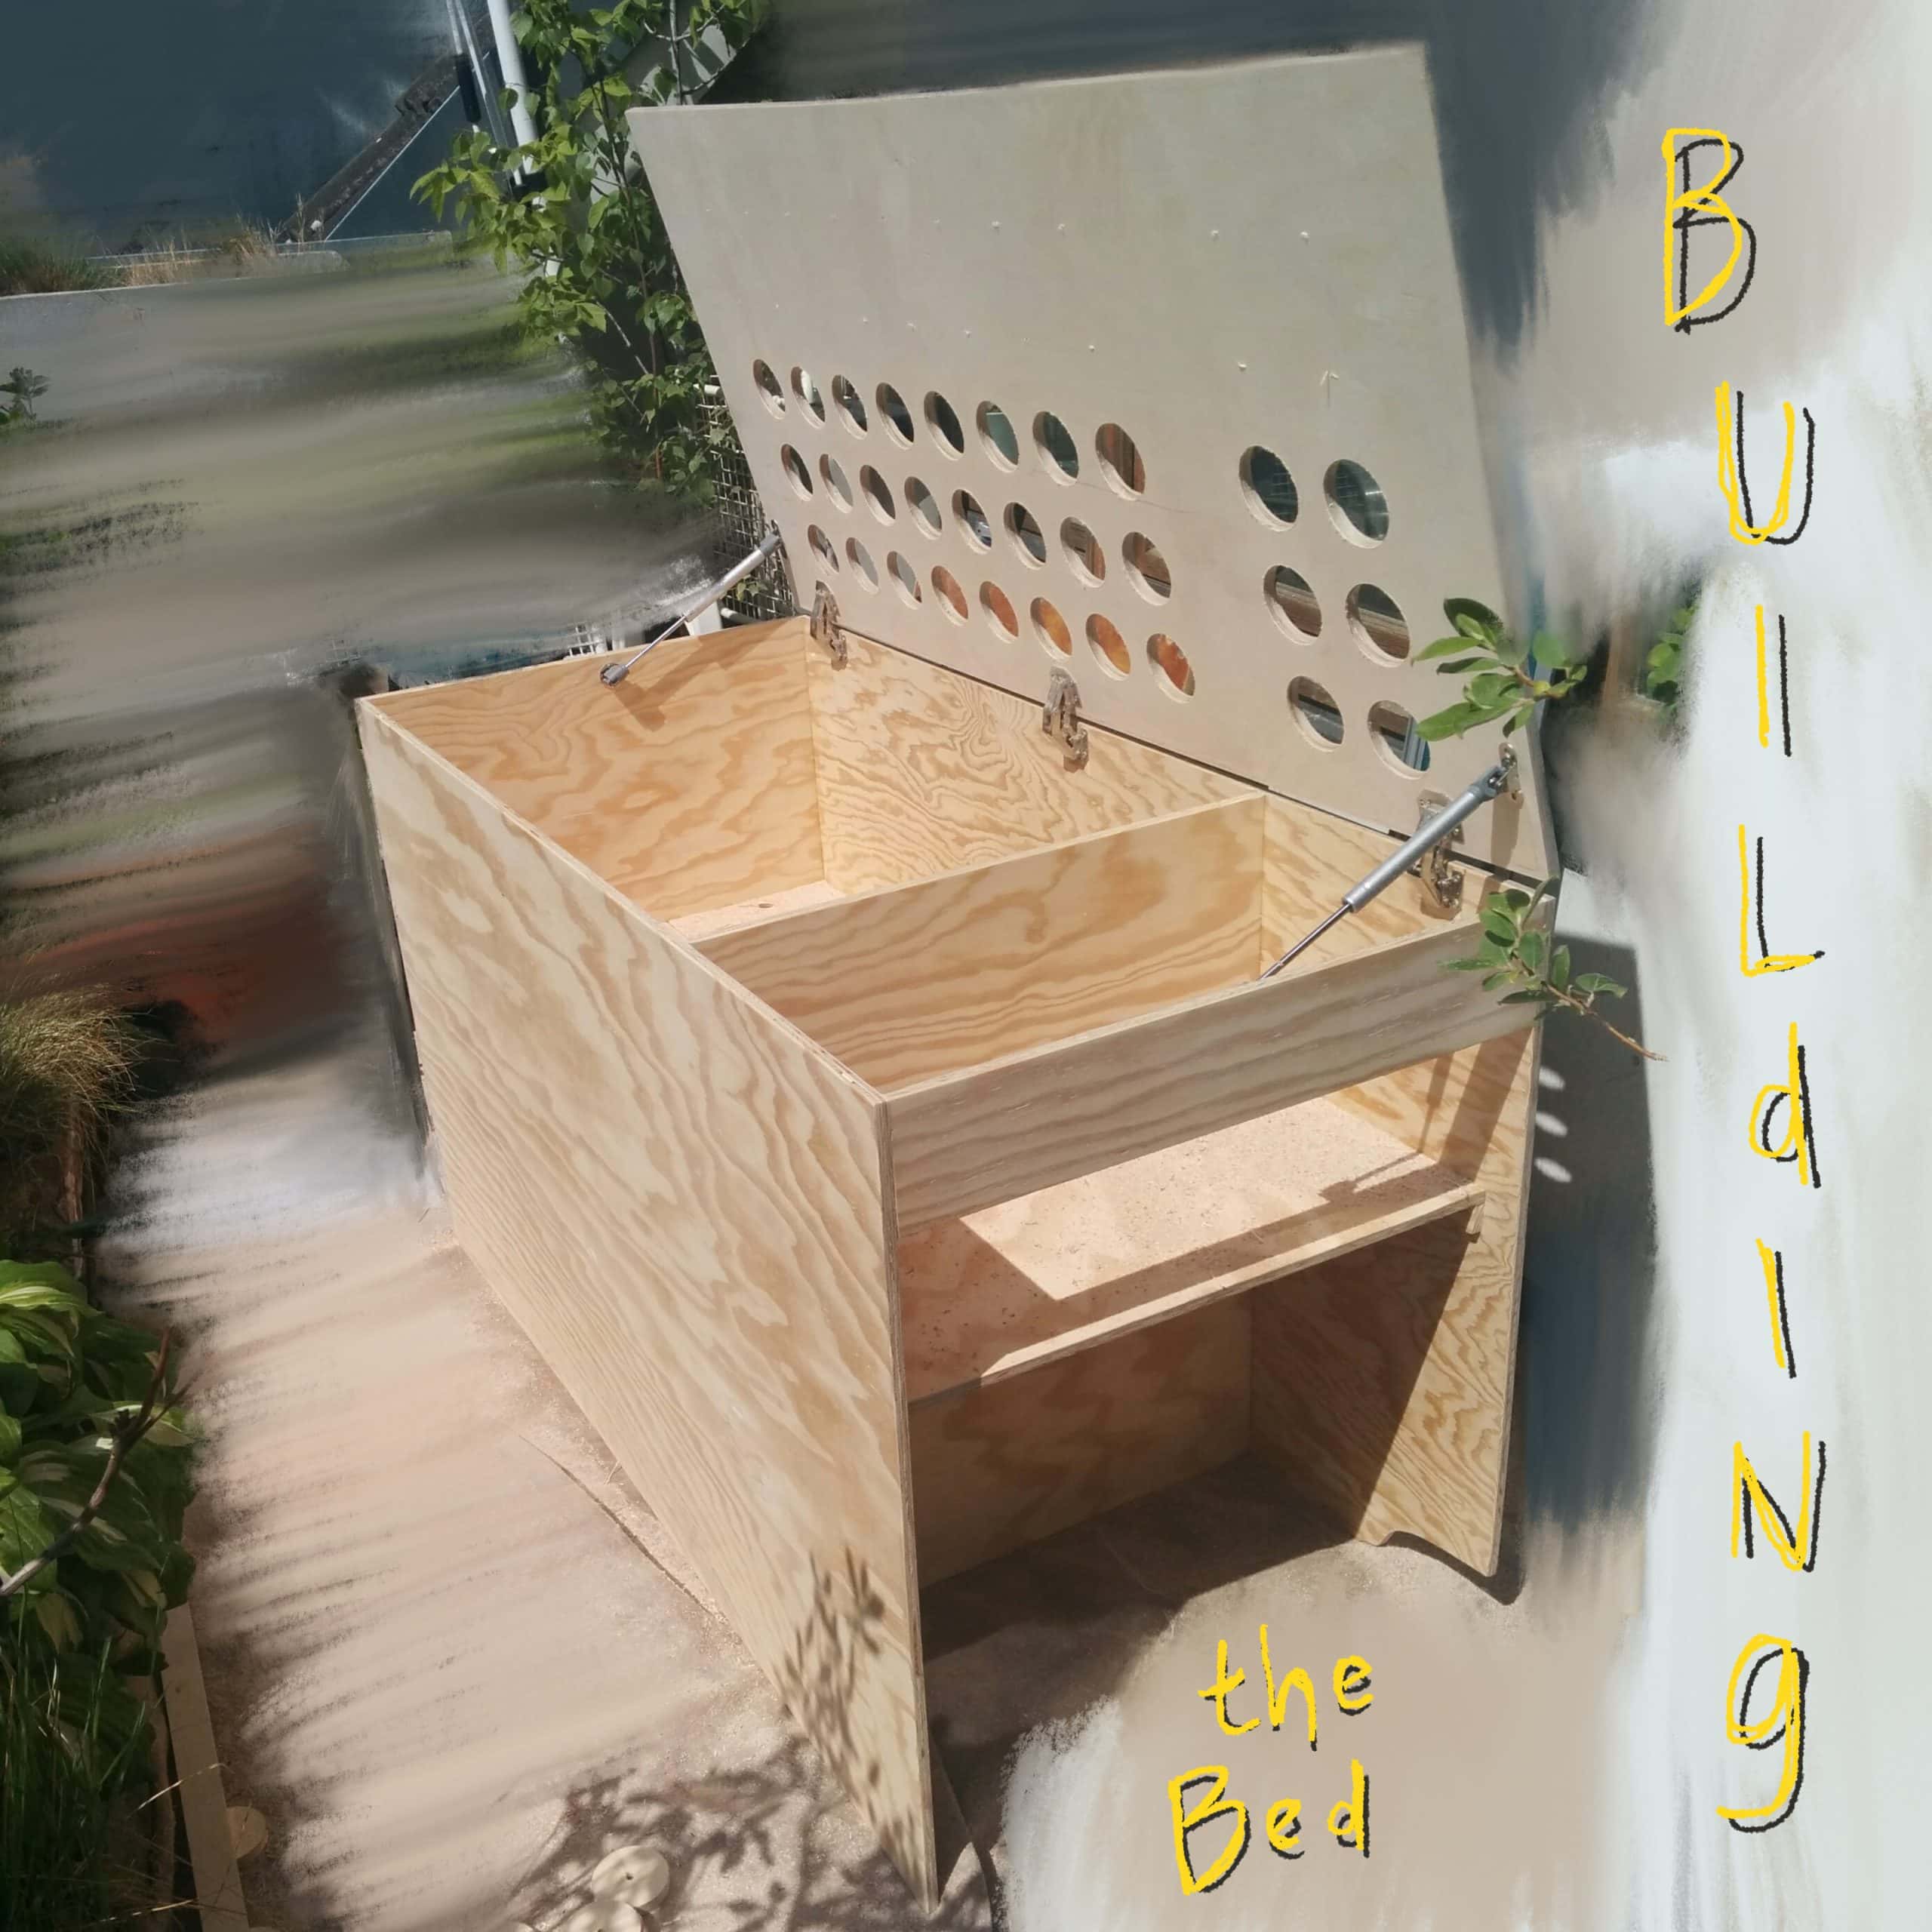
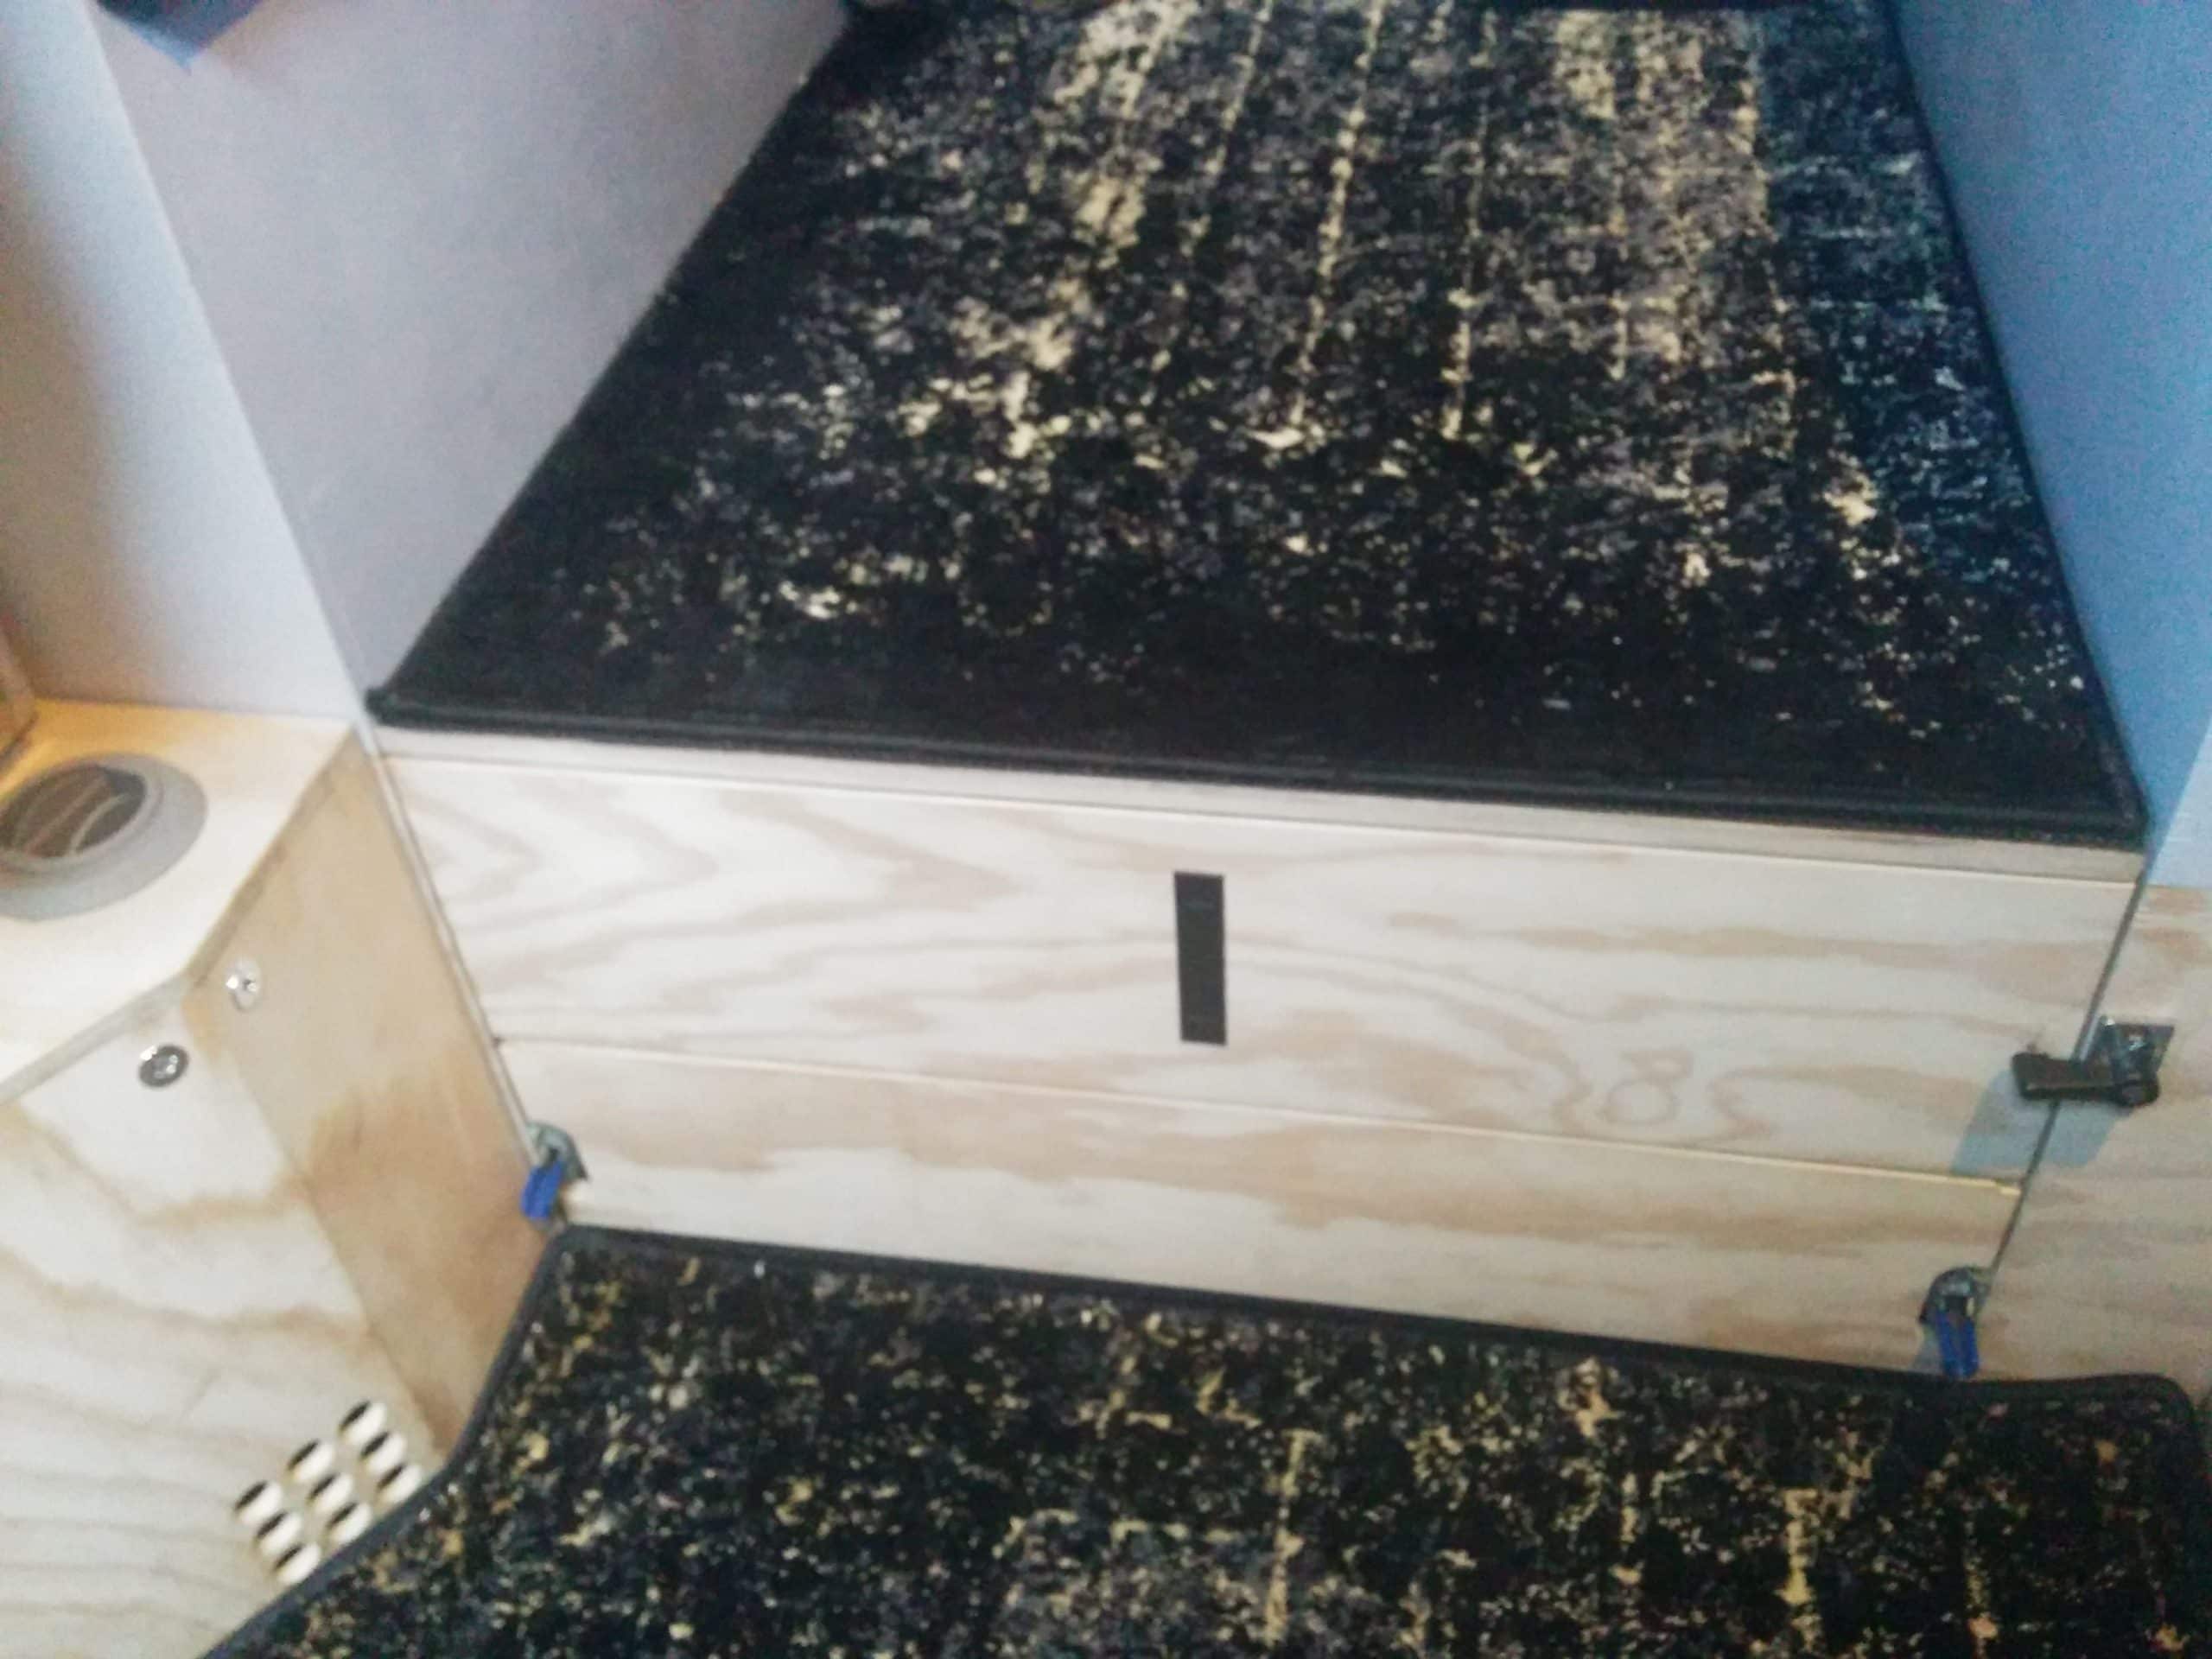
We have a movable table that also becomes the base for the bed, where we put the back cushions when we convert the sitting situation into a bed. There is a small pull-out with 2 extra cushions that can extend the bed situation for people who need more space. And if you don’t need it for the bed, you have a little extra space that offers a sort of table surface, which can come in handy when preparing a meal.
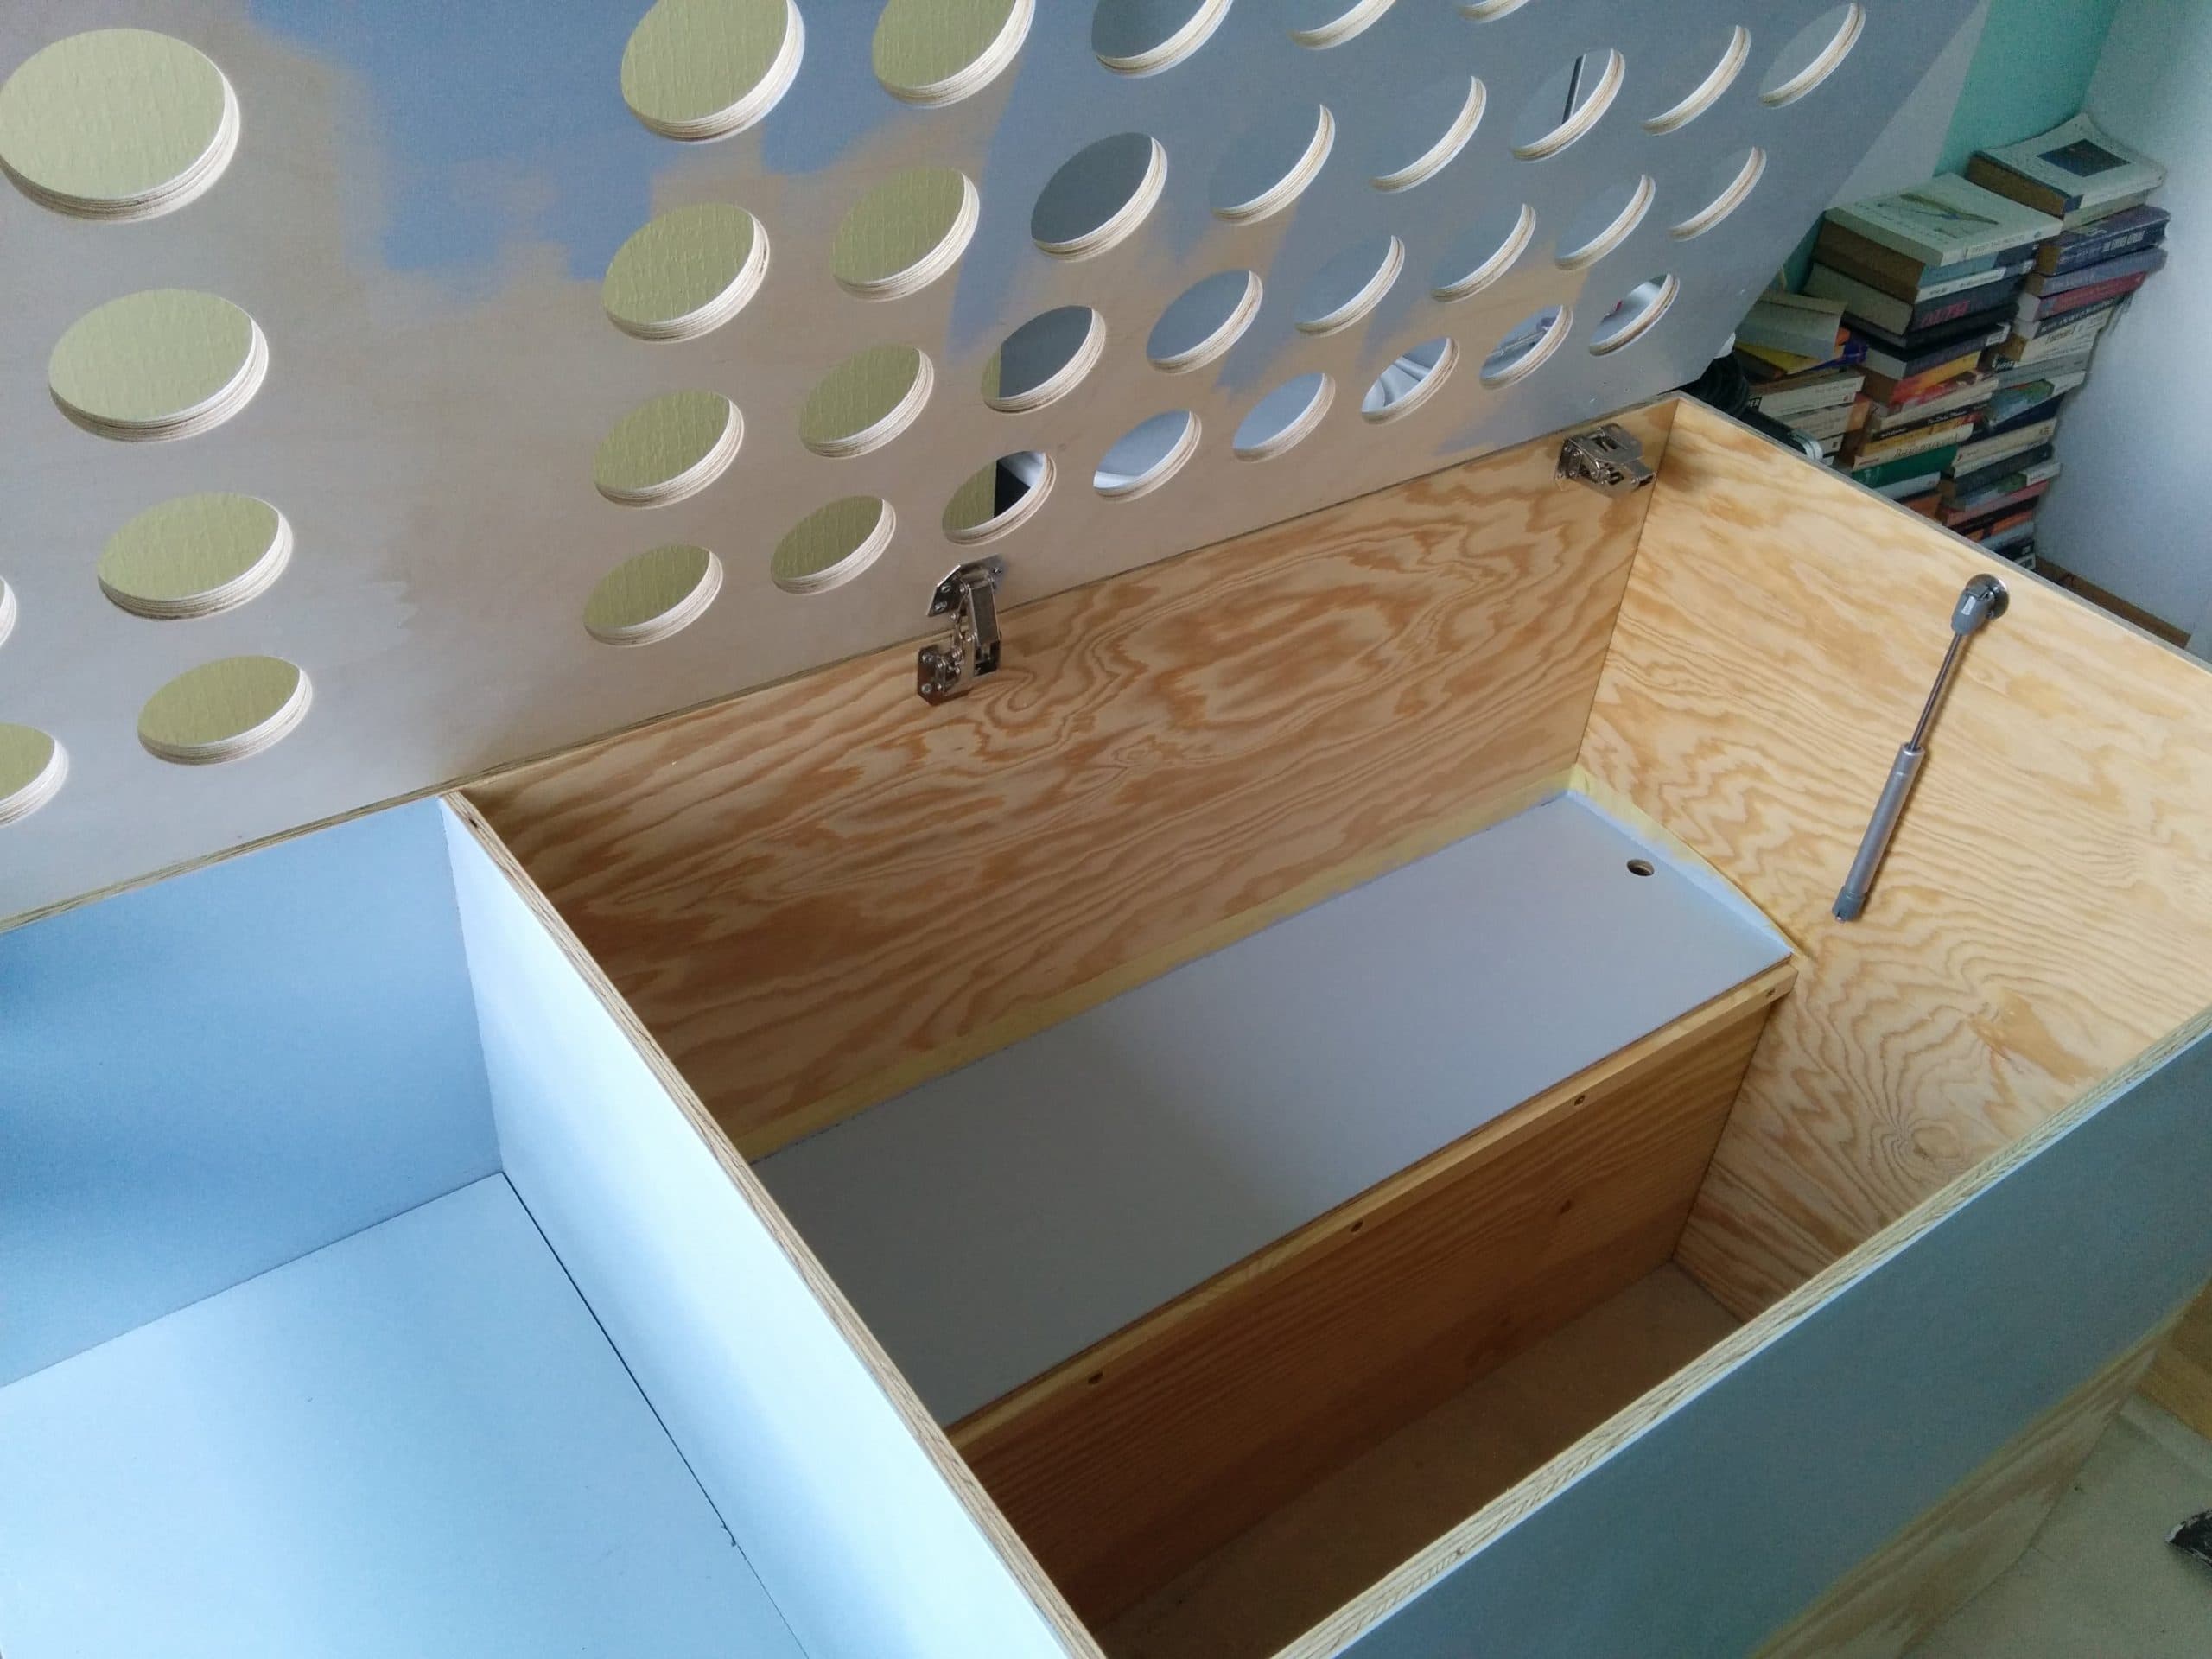
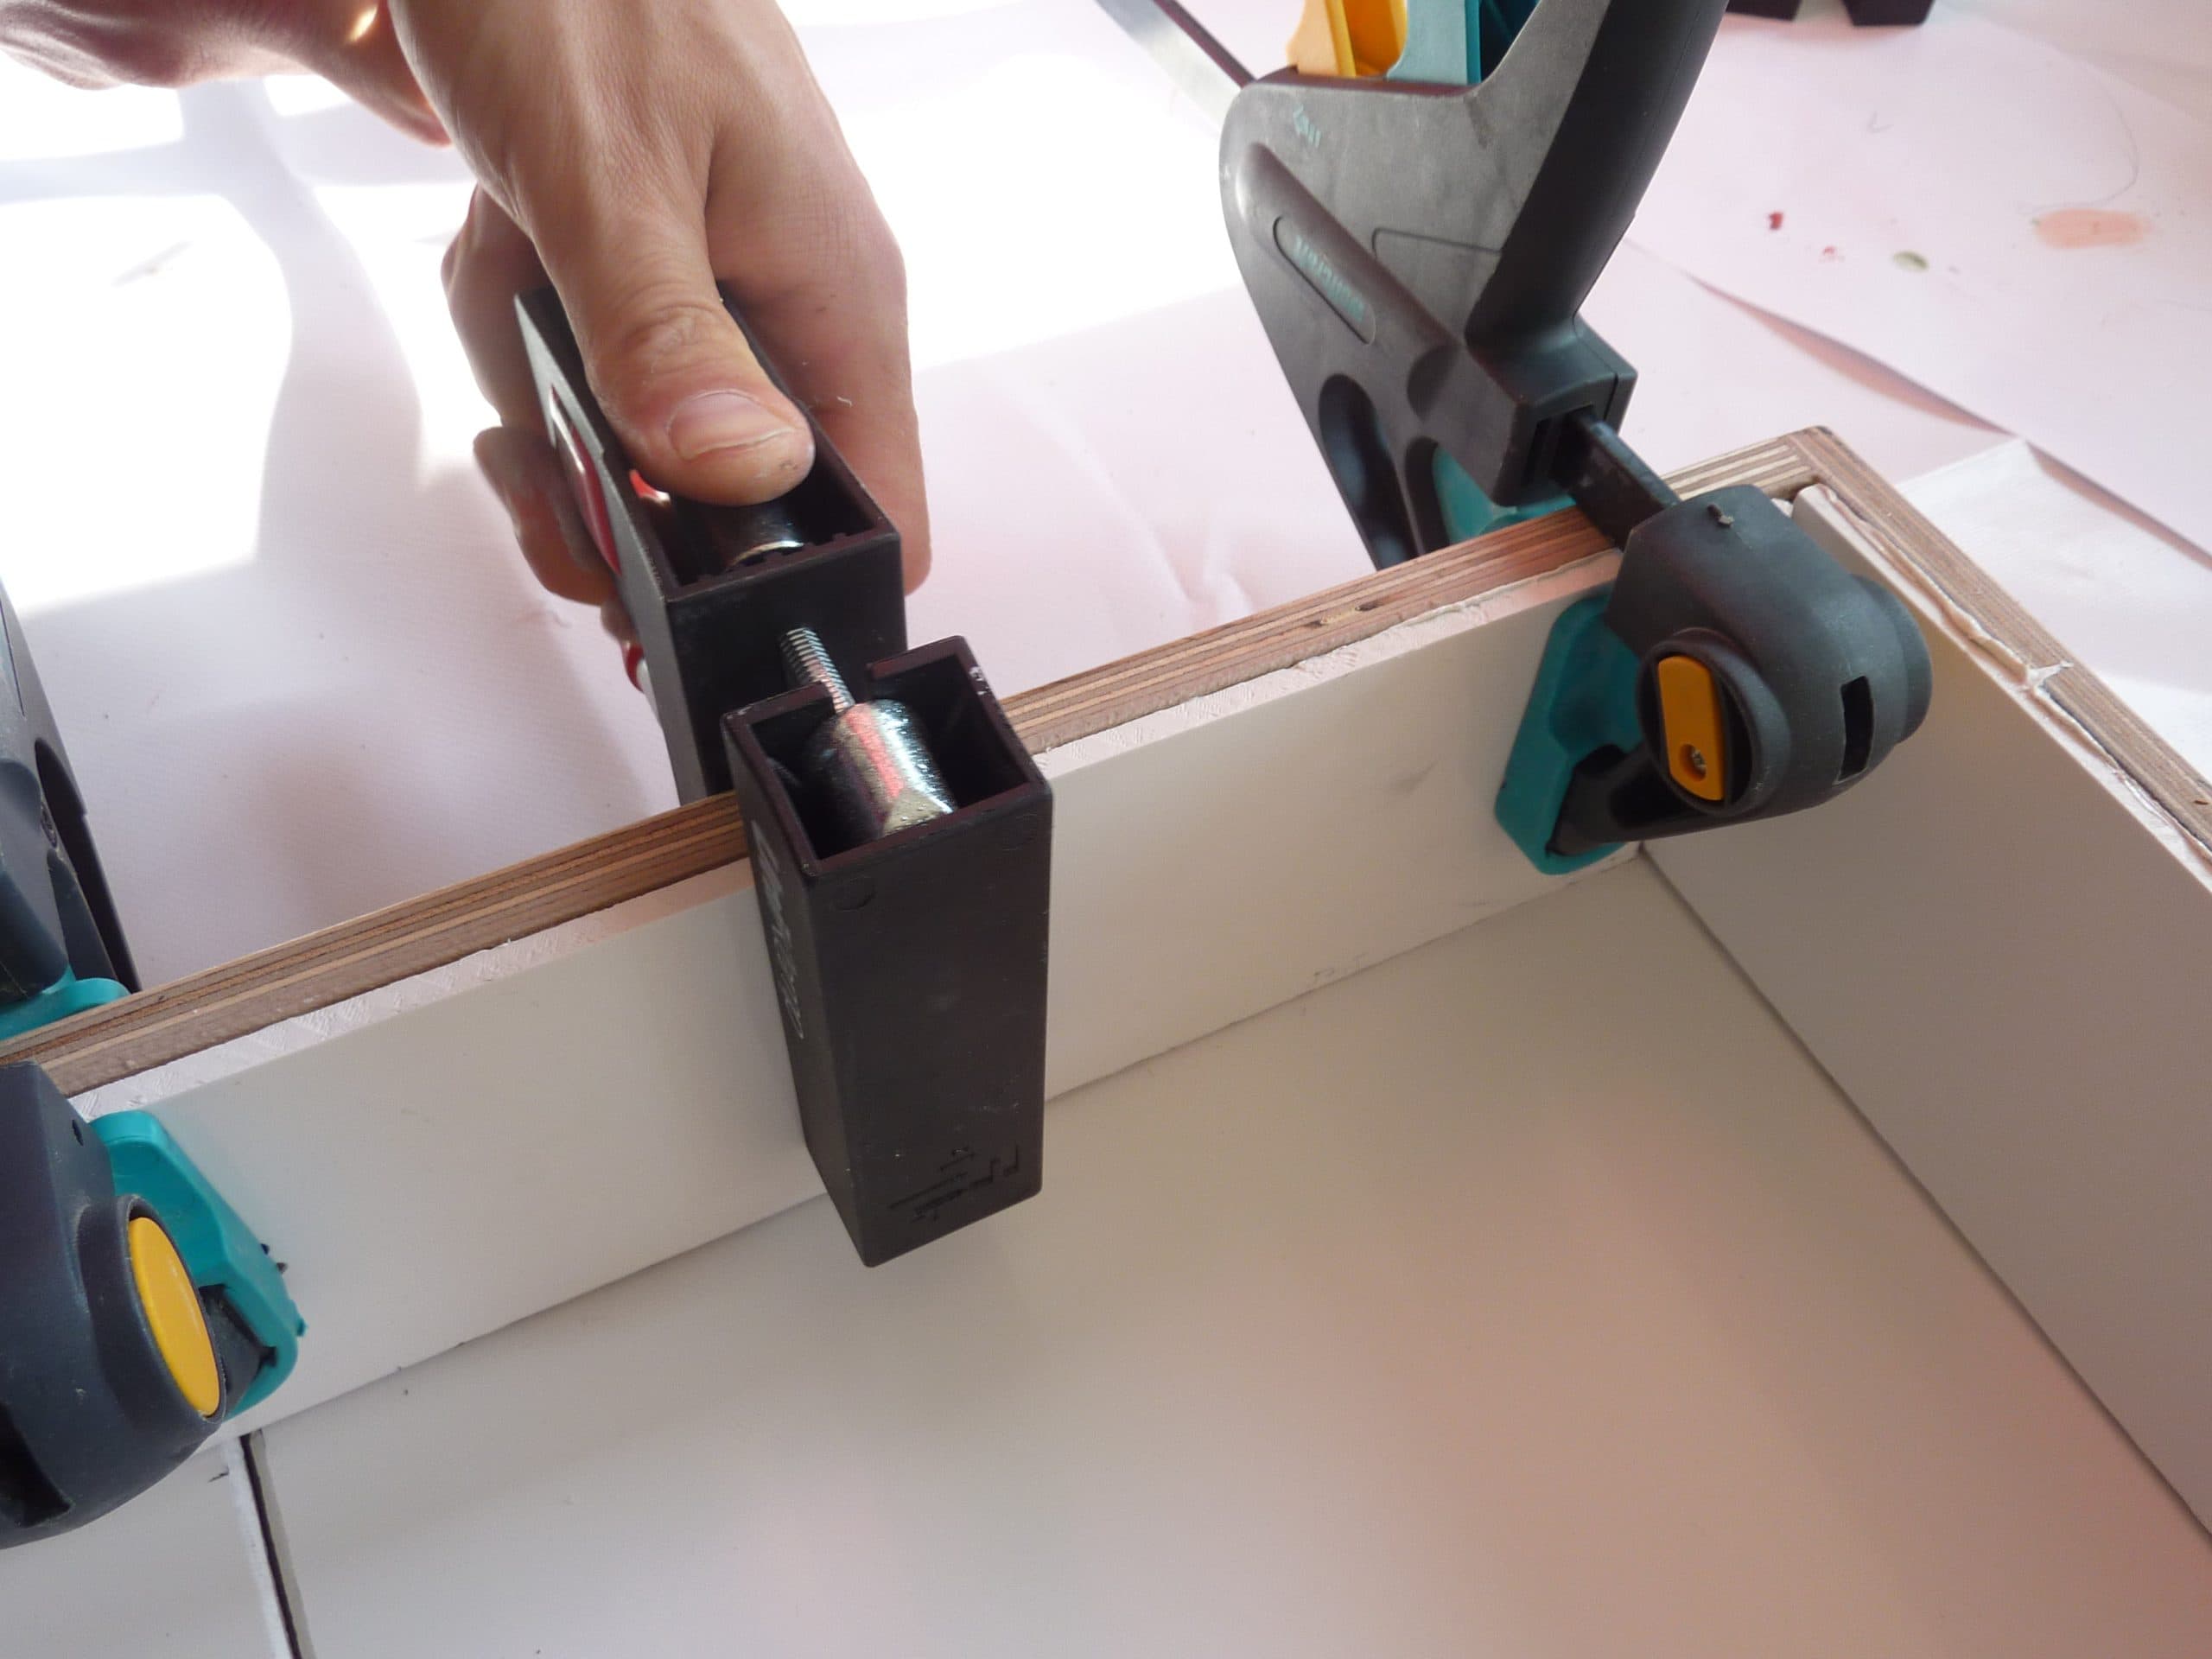
For the furniture we used 16mm and 12mm maritime pine and soaped it with some white pigment to give it a more modern look. The soap is a great protection against sun and liquids and you can reapply it from time to time to refresh it. In terms of woodworking, all you need to know is how to cut the wood, we used a plunge saw with a guide, a wood trimmer for the corners to make them look more refined and a tool to properly set round wood plugs or tenons for proper joints with wood glue and some tension ropes to hold it together while it cures. With a little skill and a willingness to learn (we watched a lot of youtube videos) it is all doable with no prior experience.
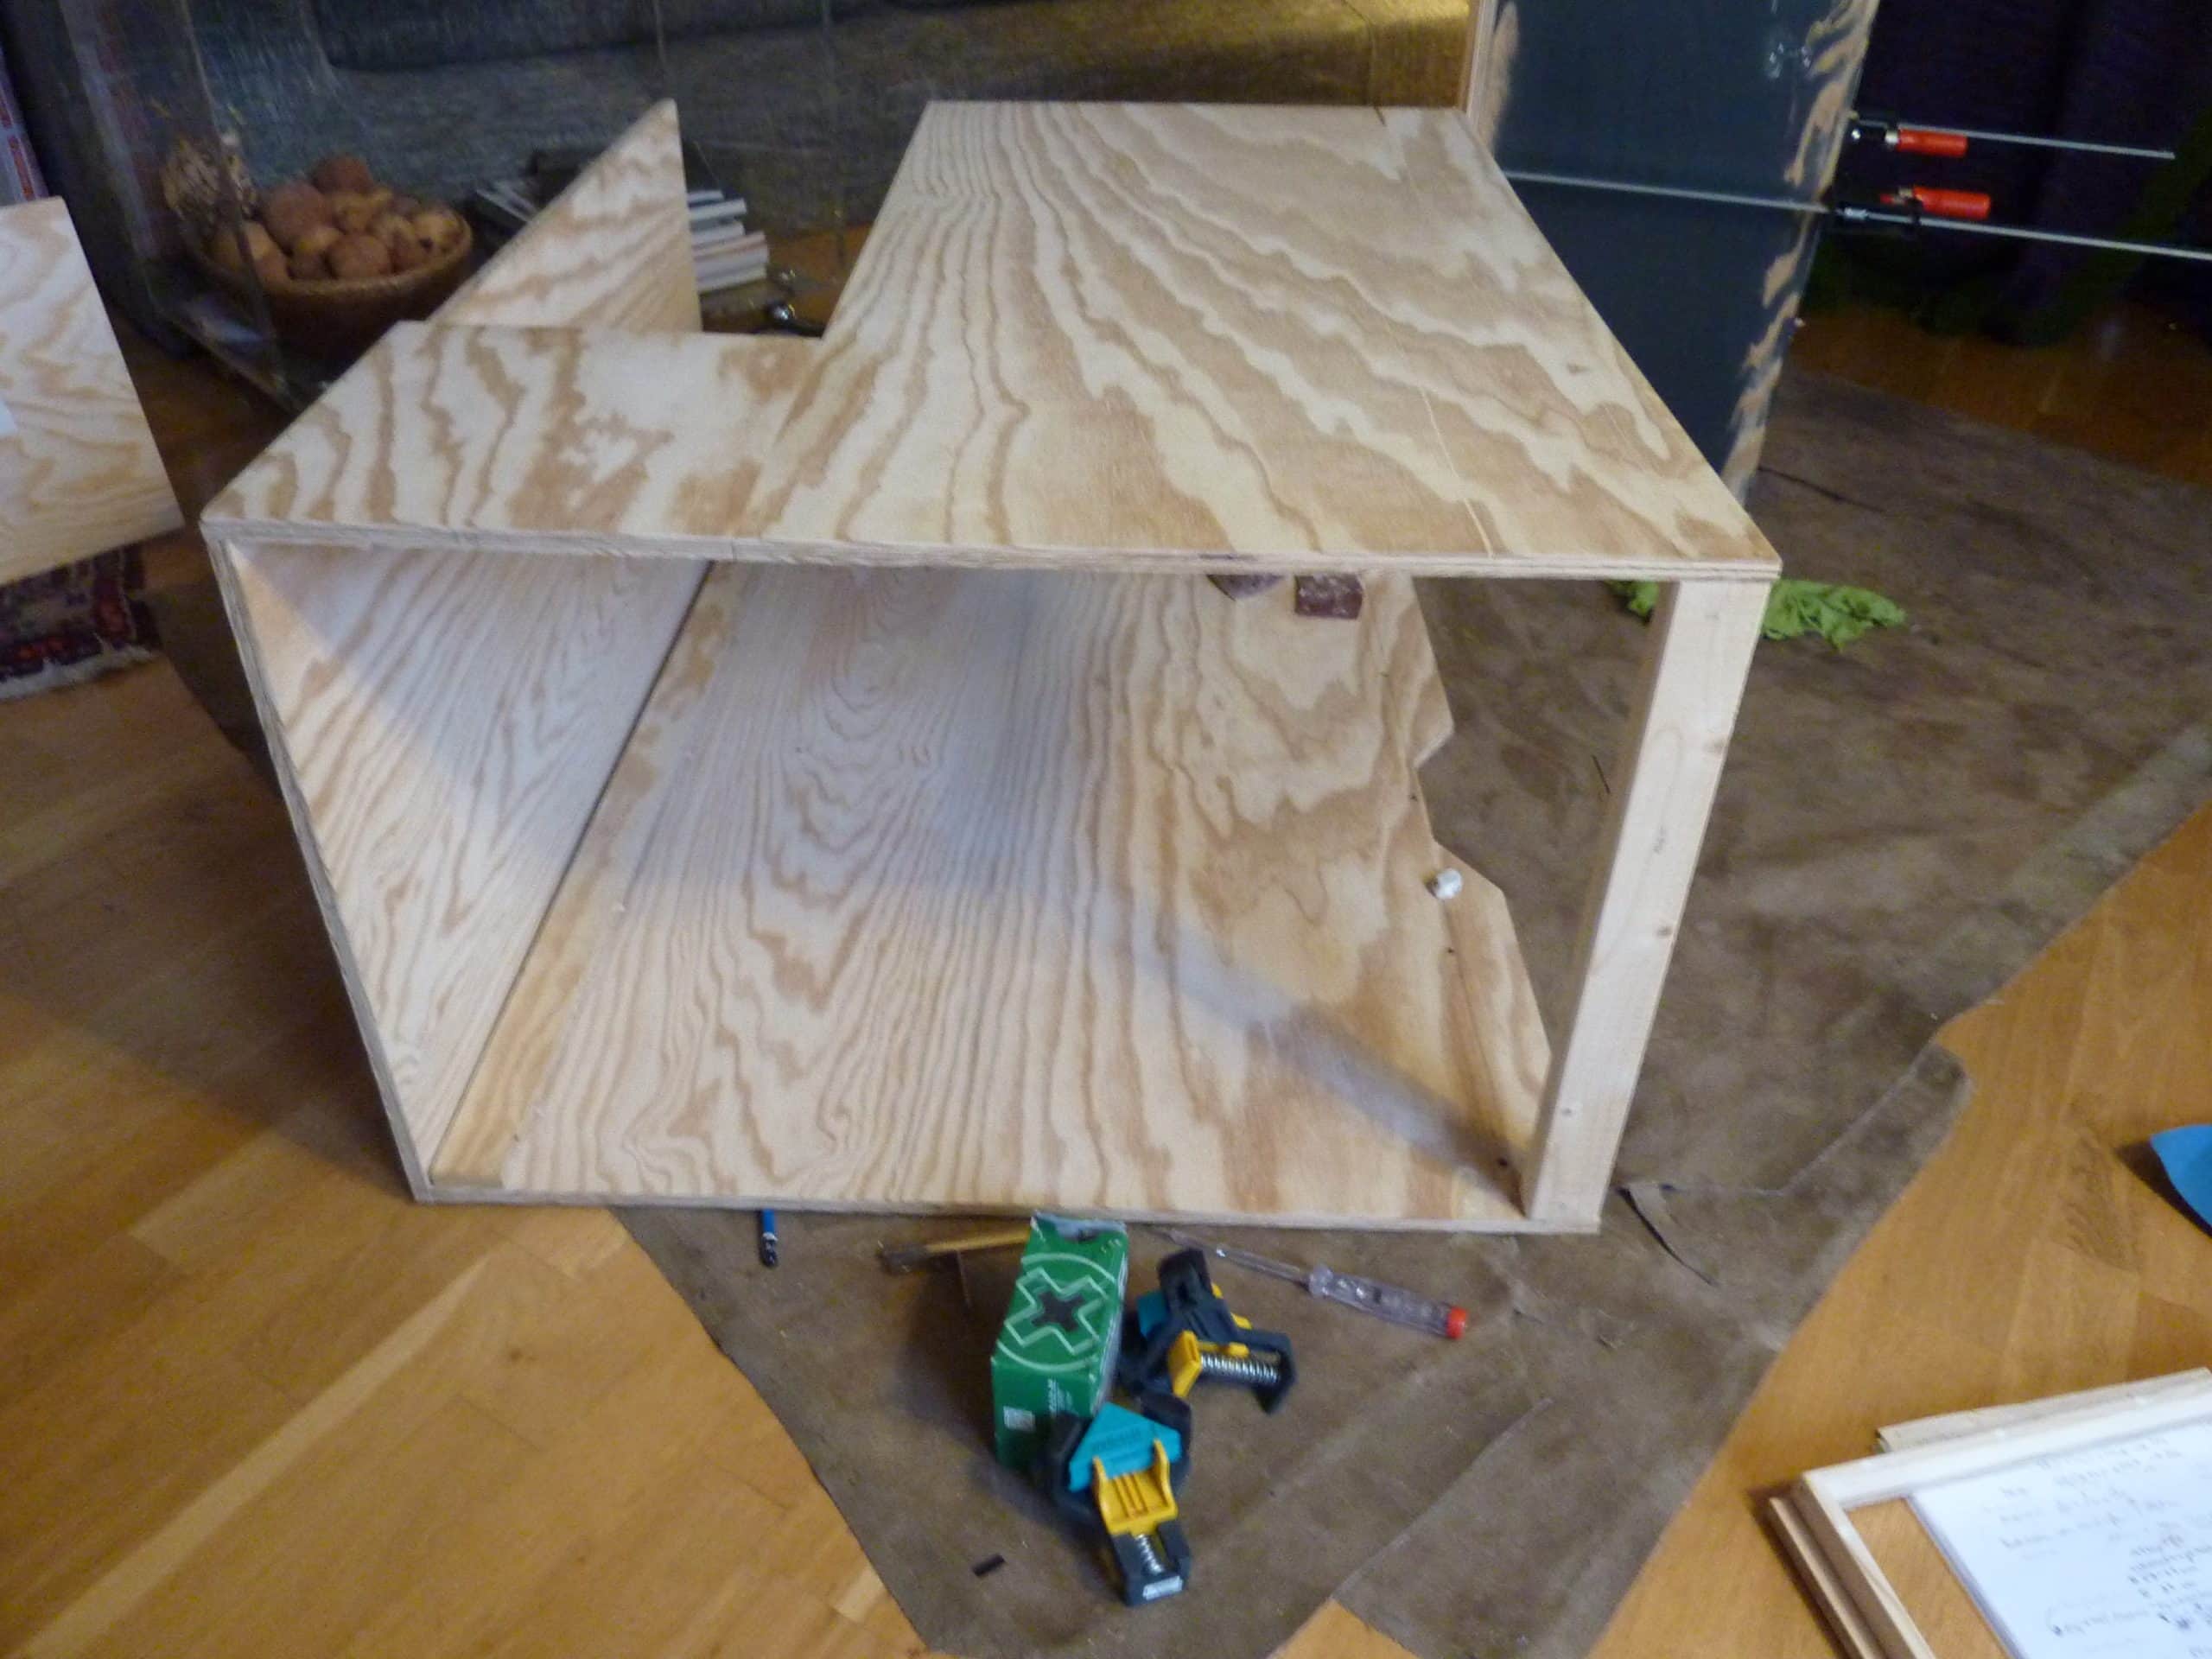
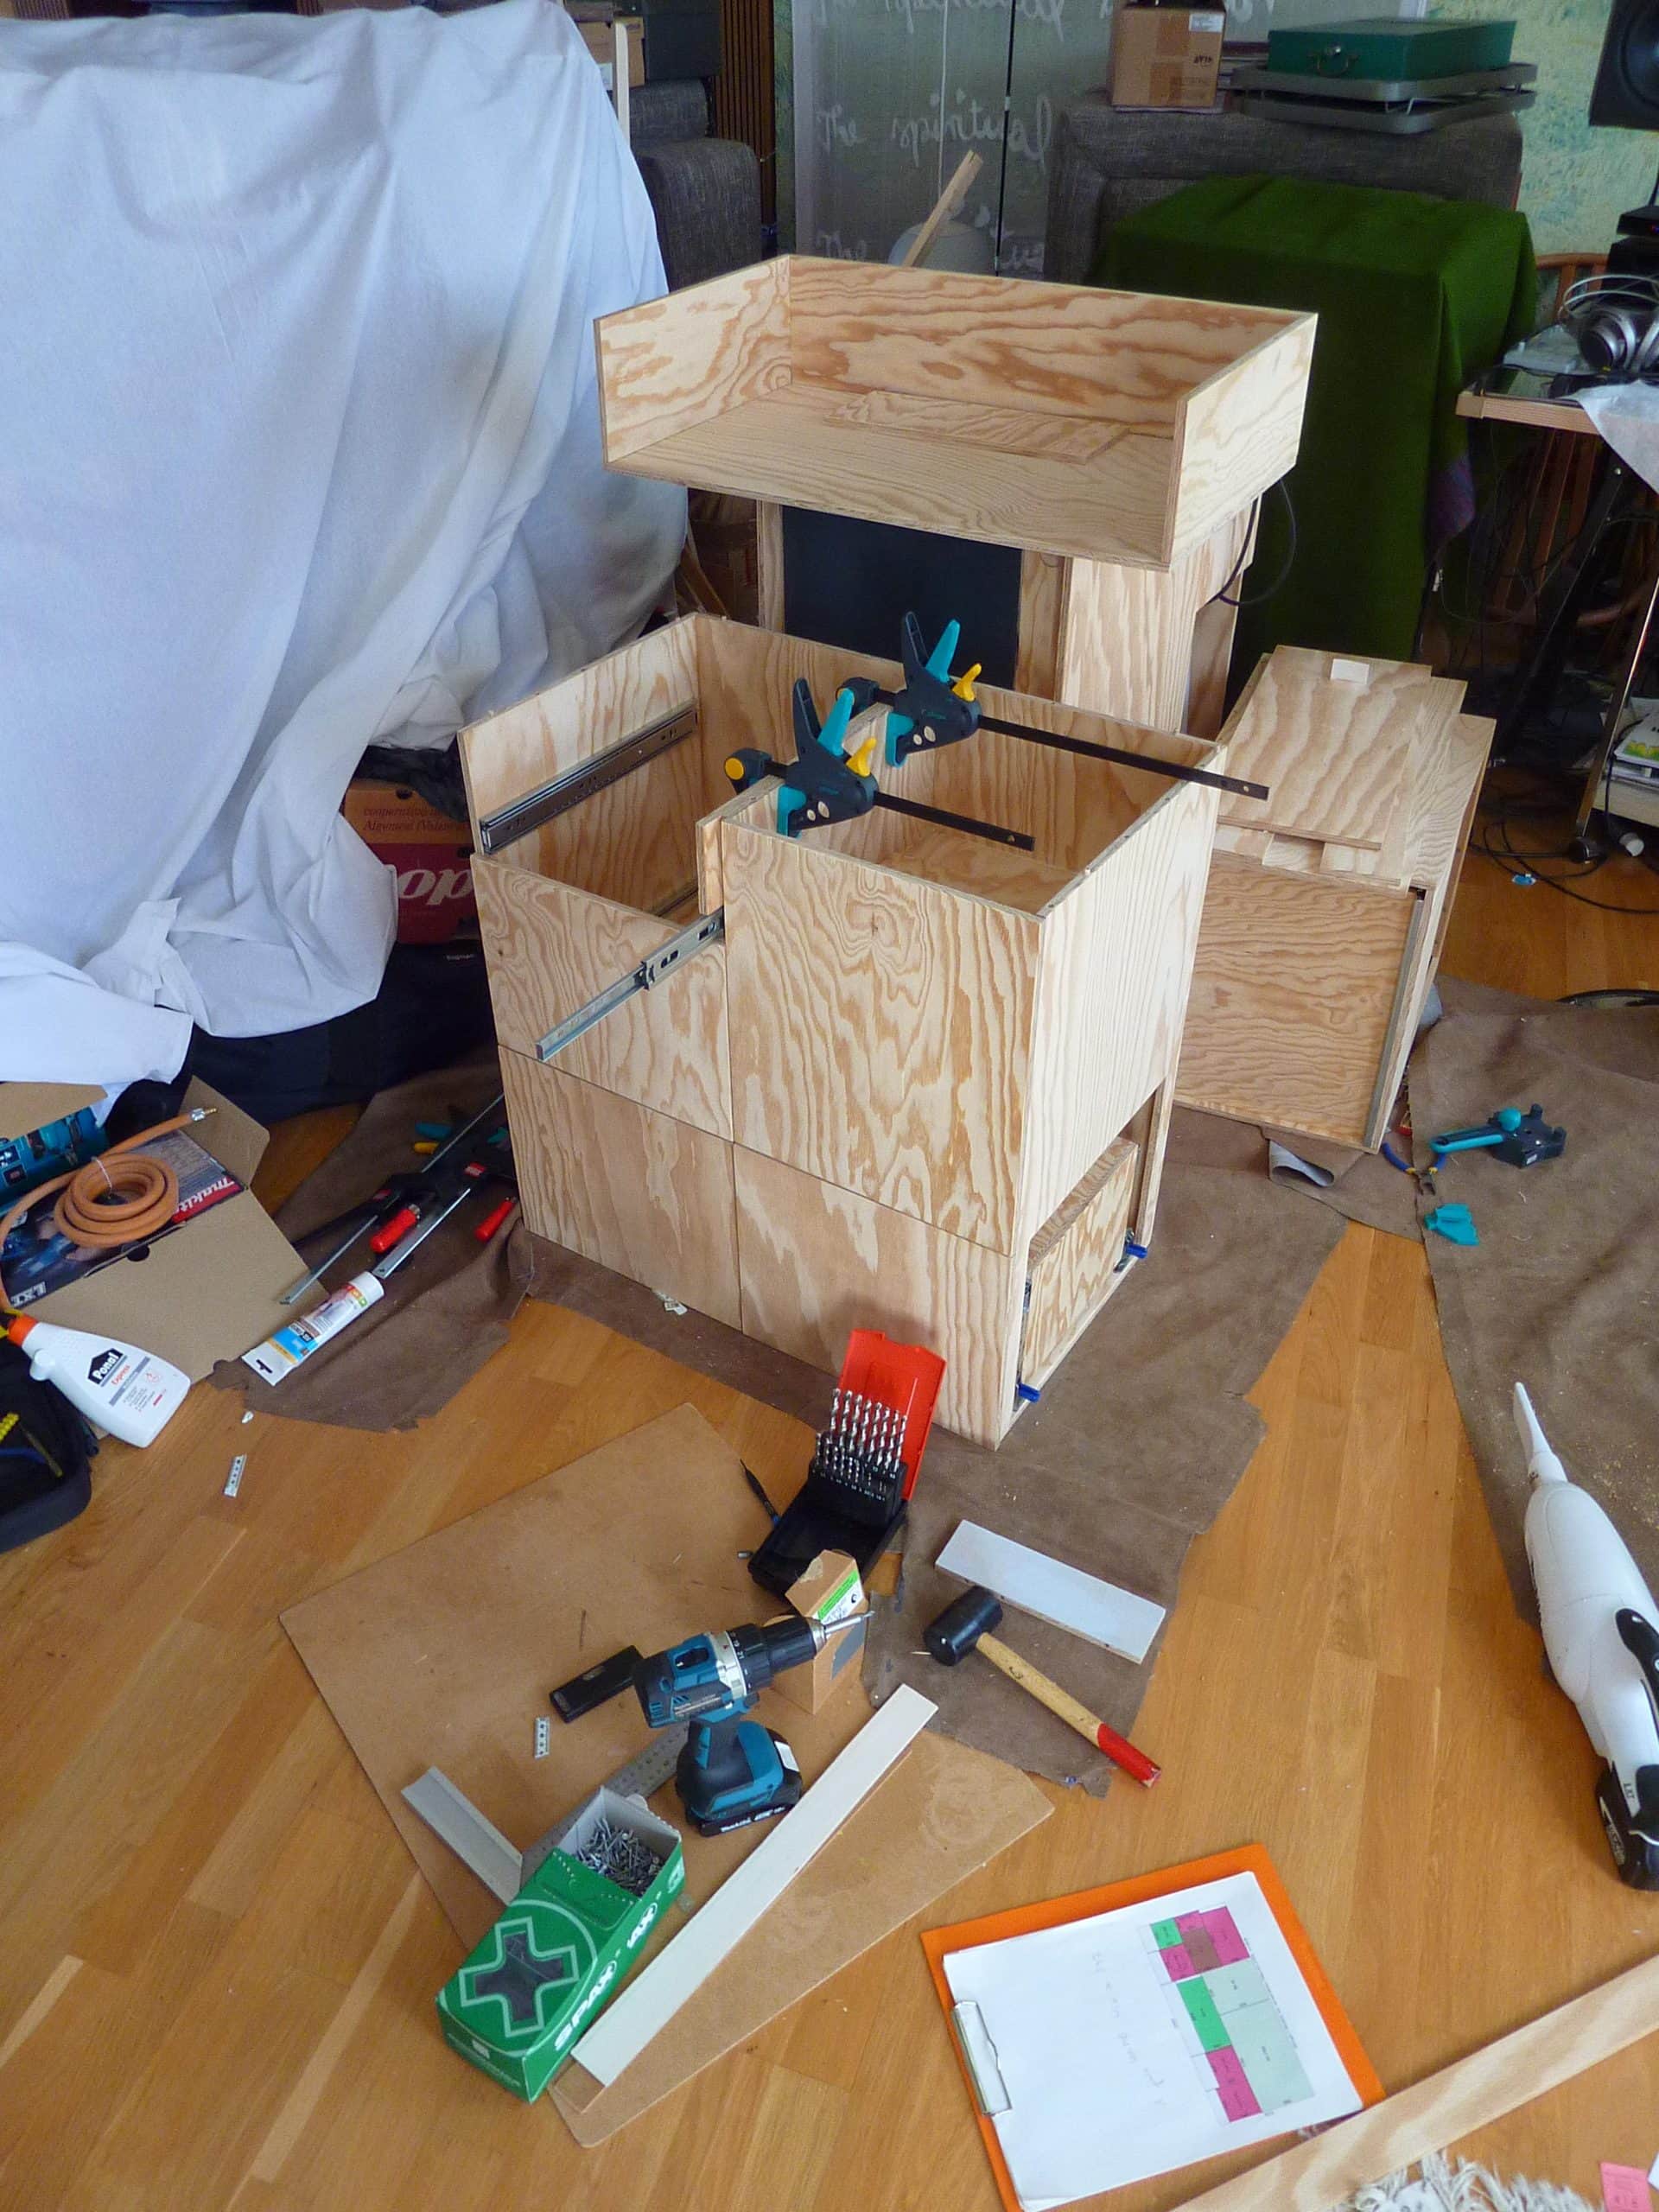
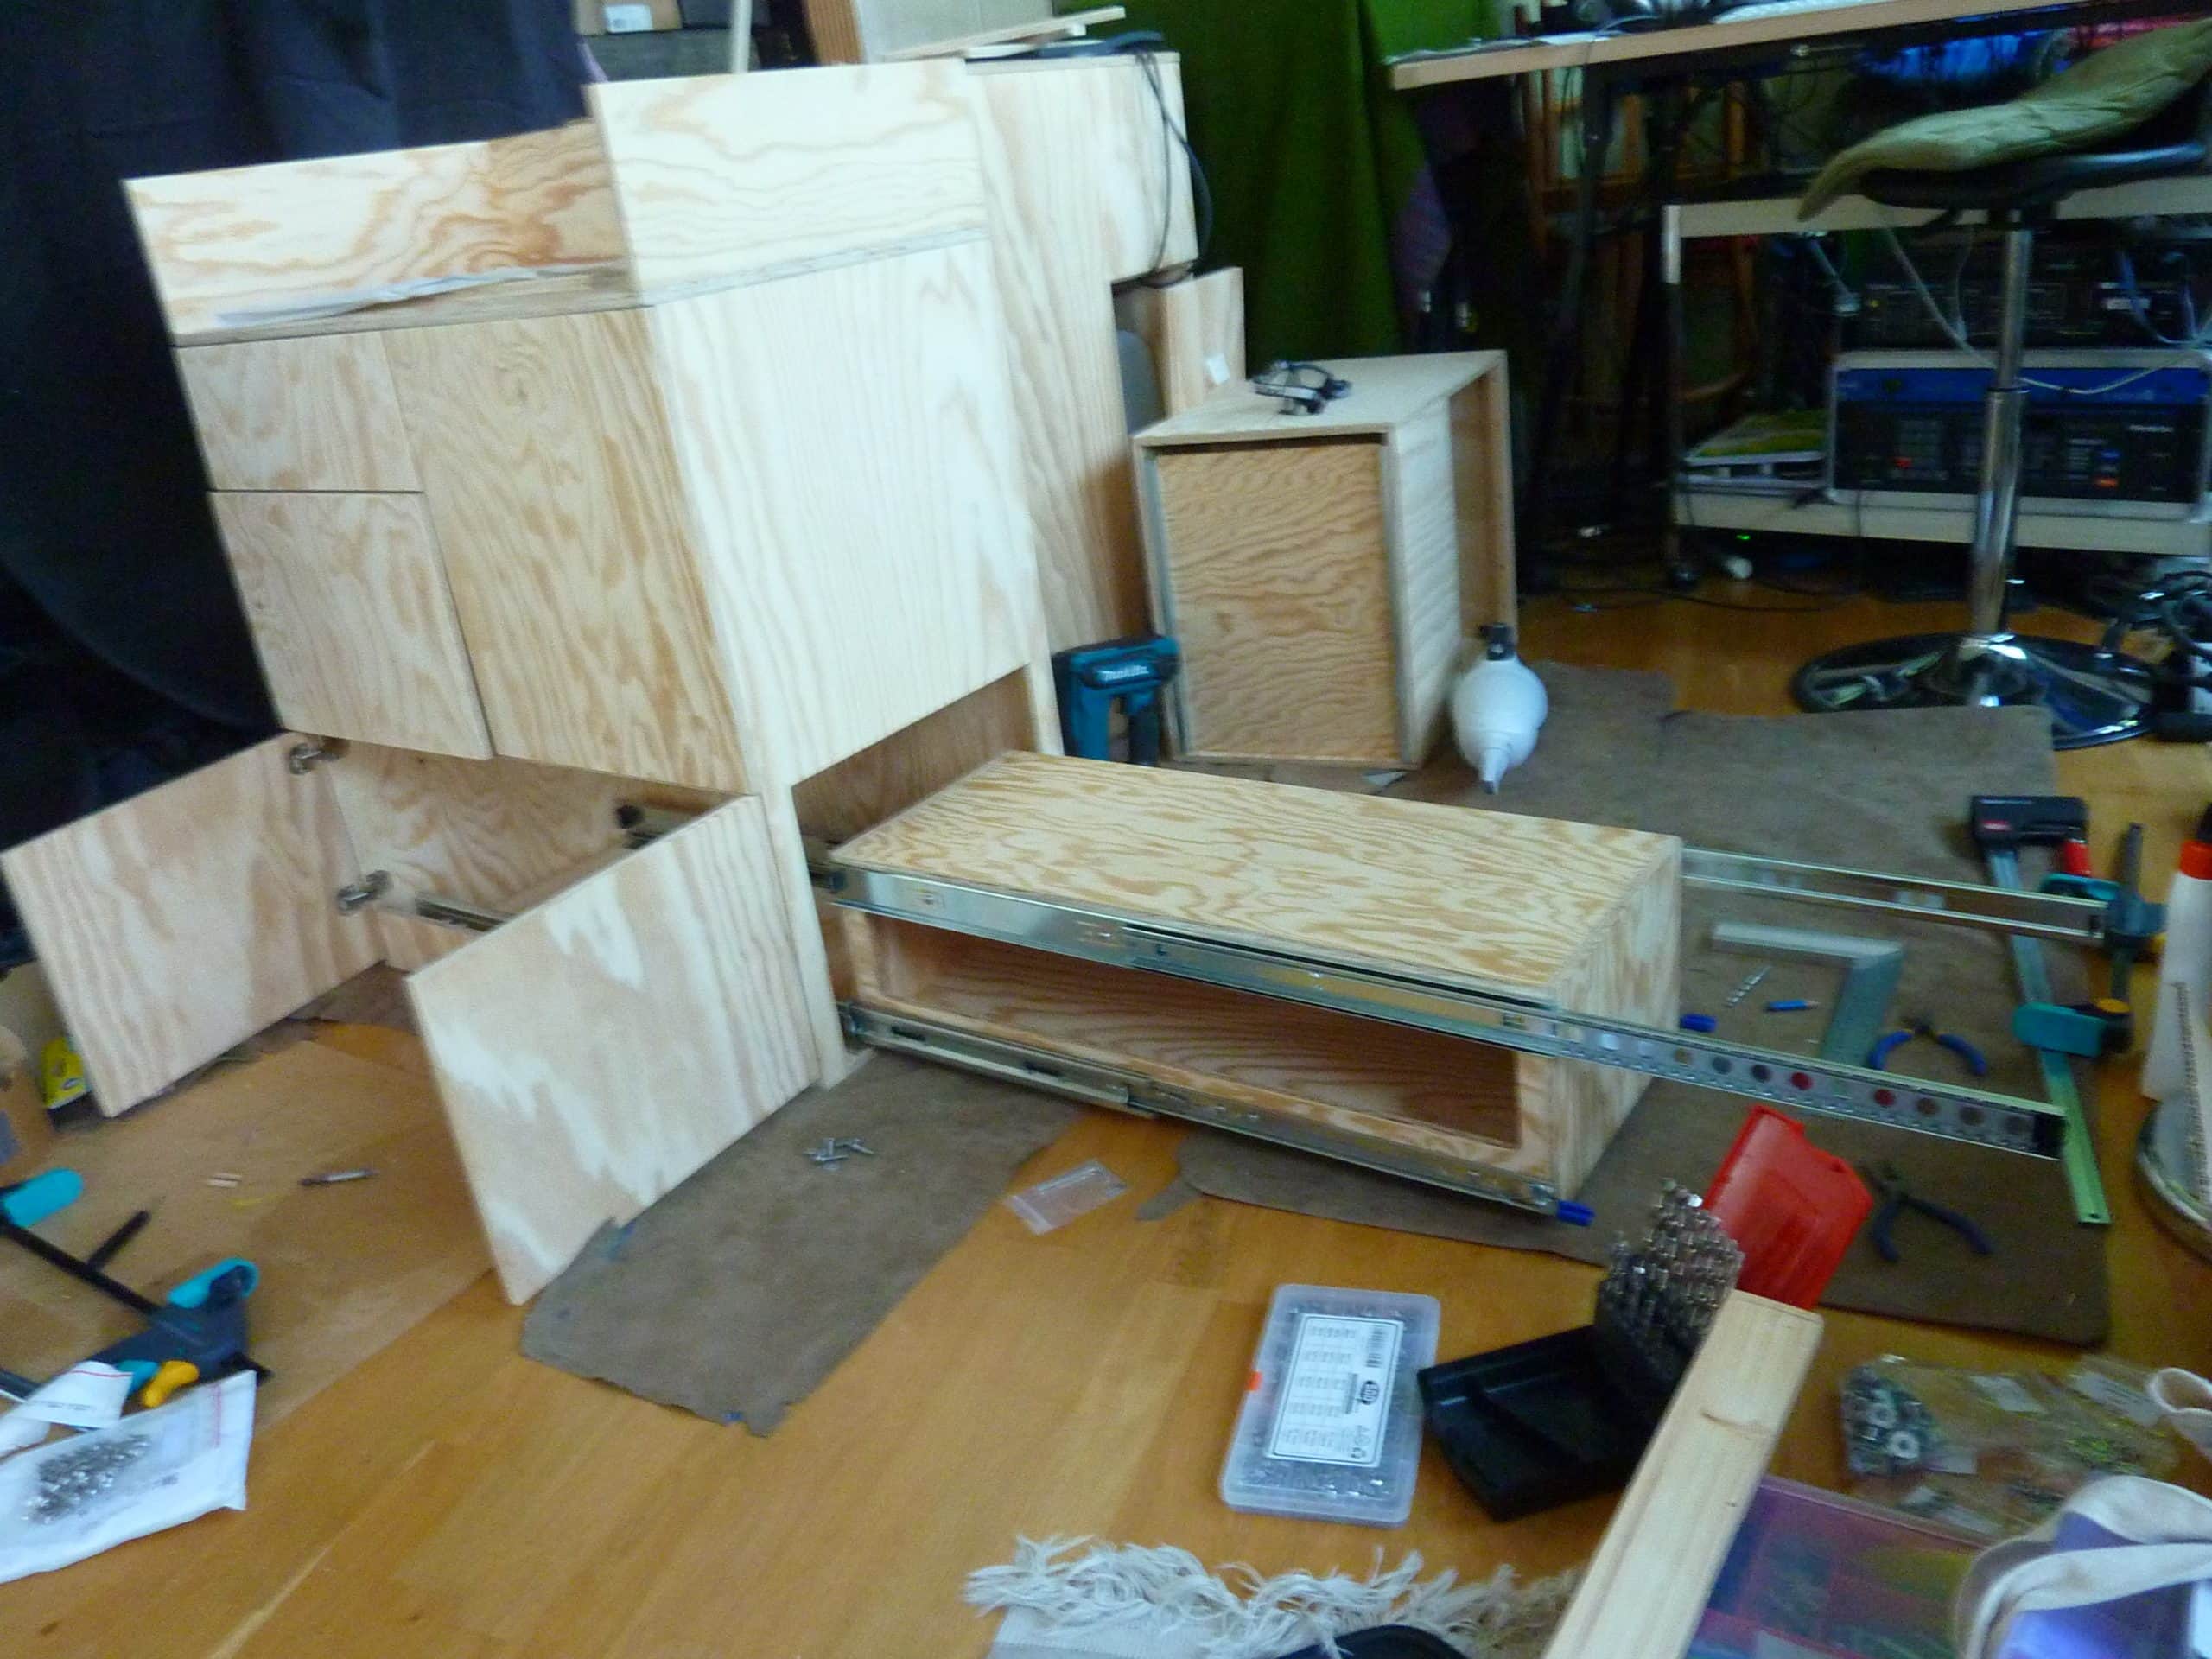
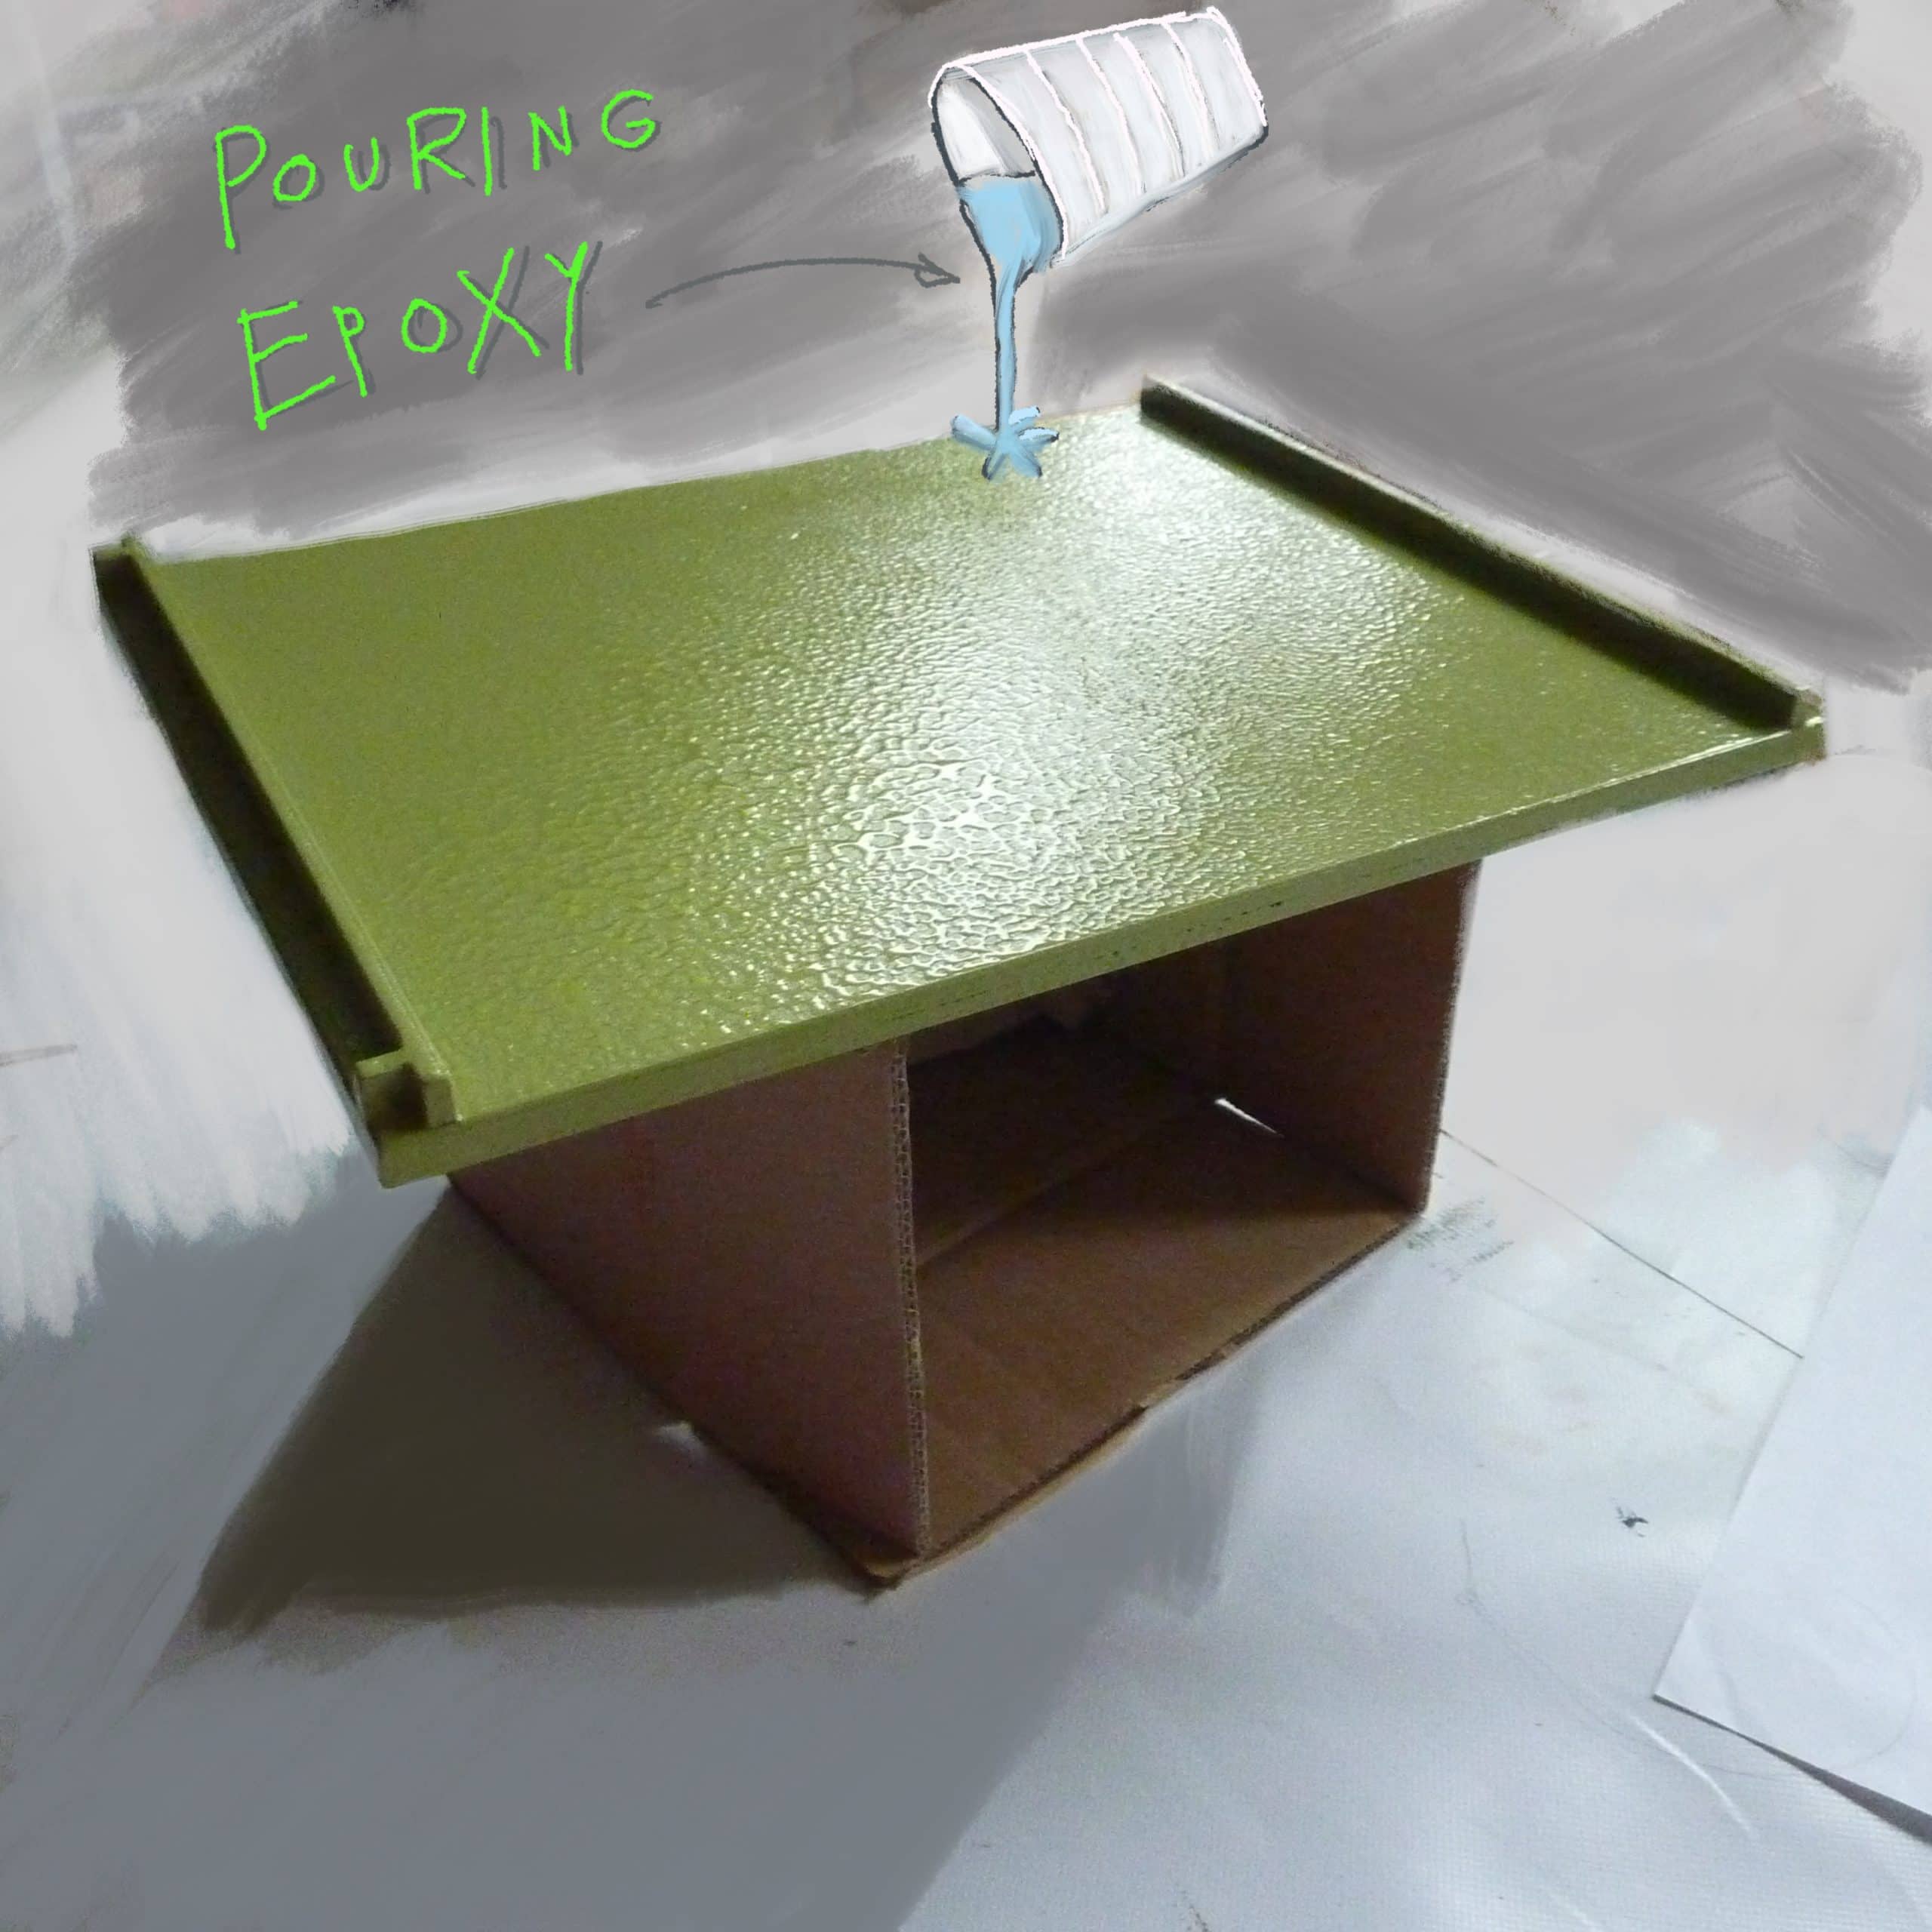
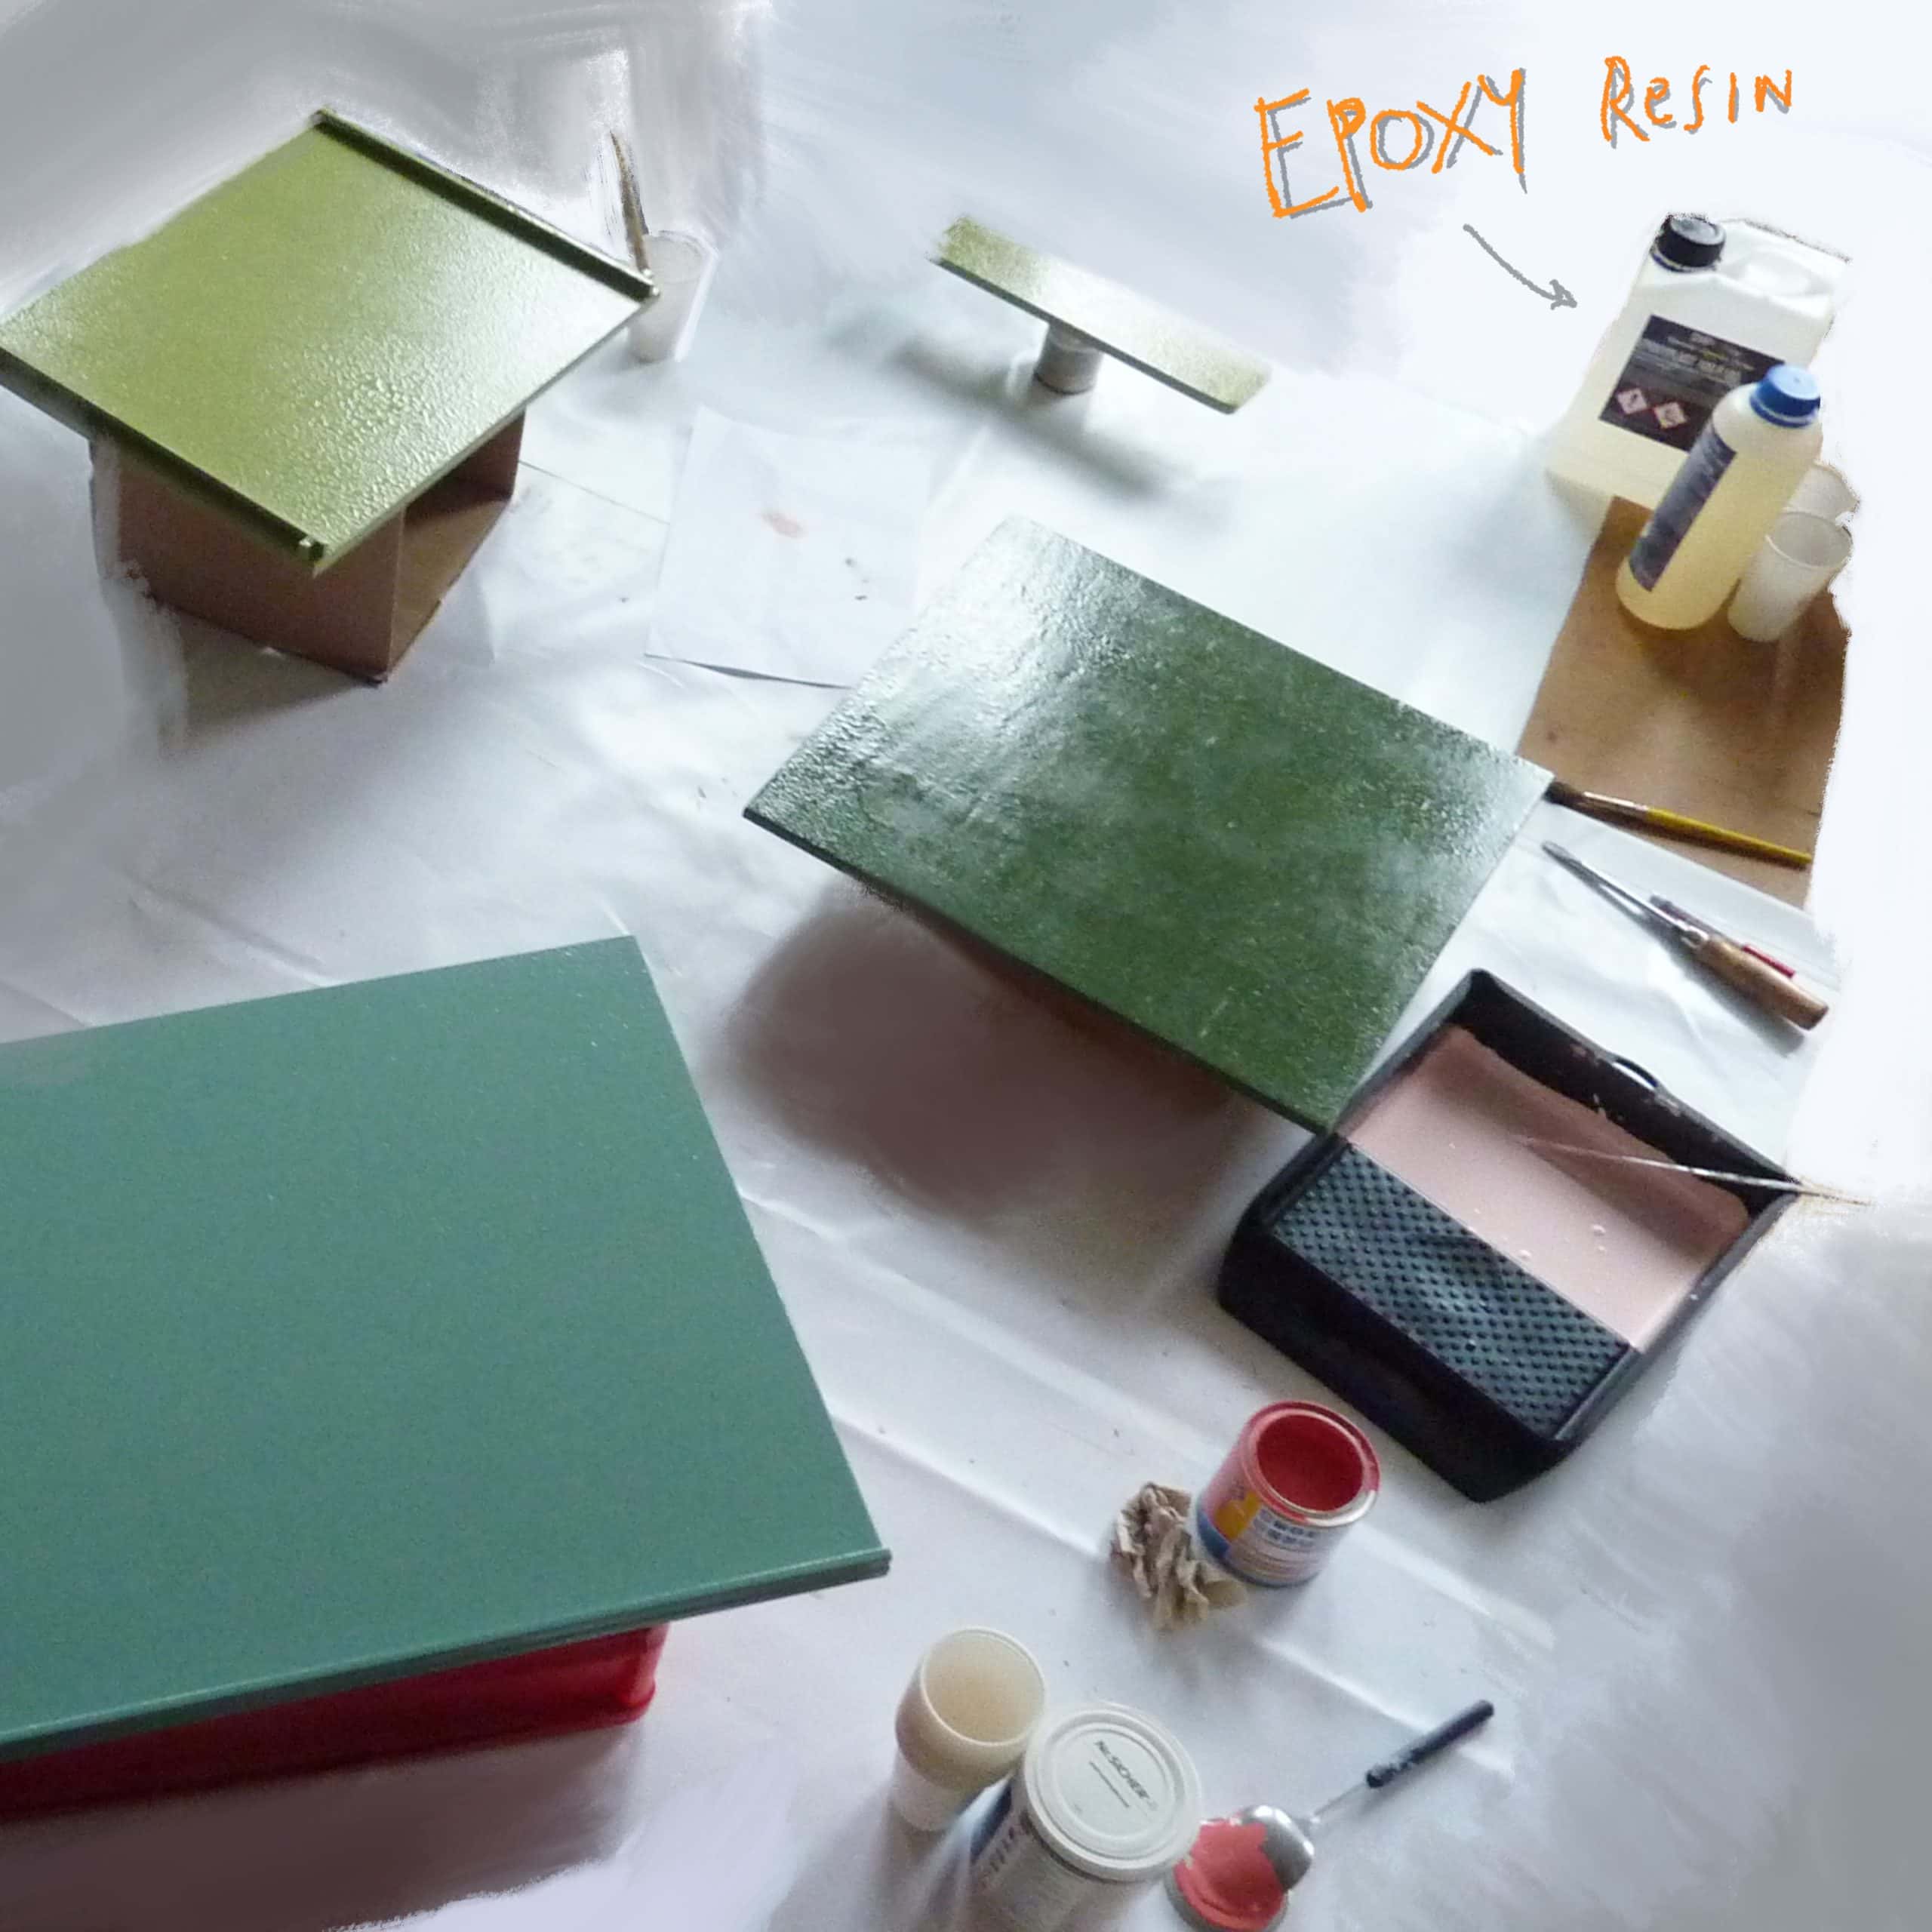
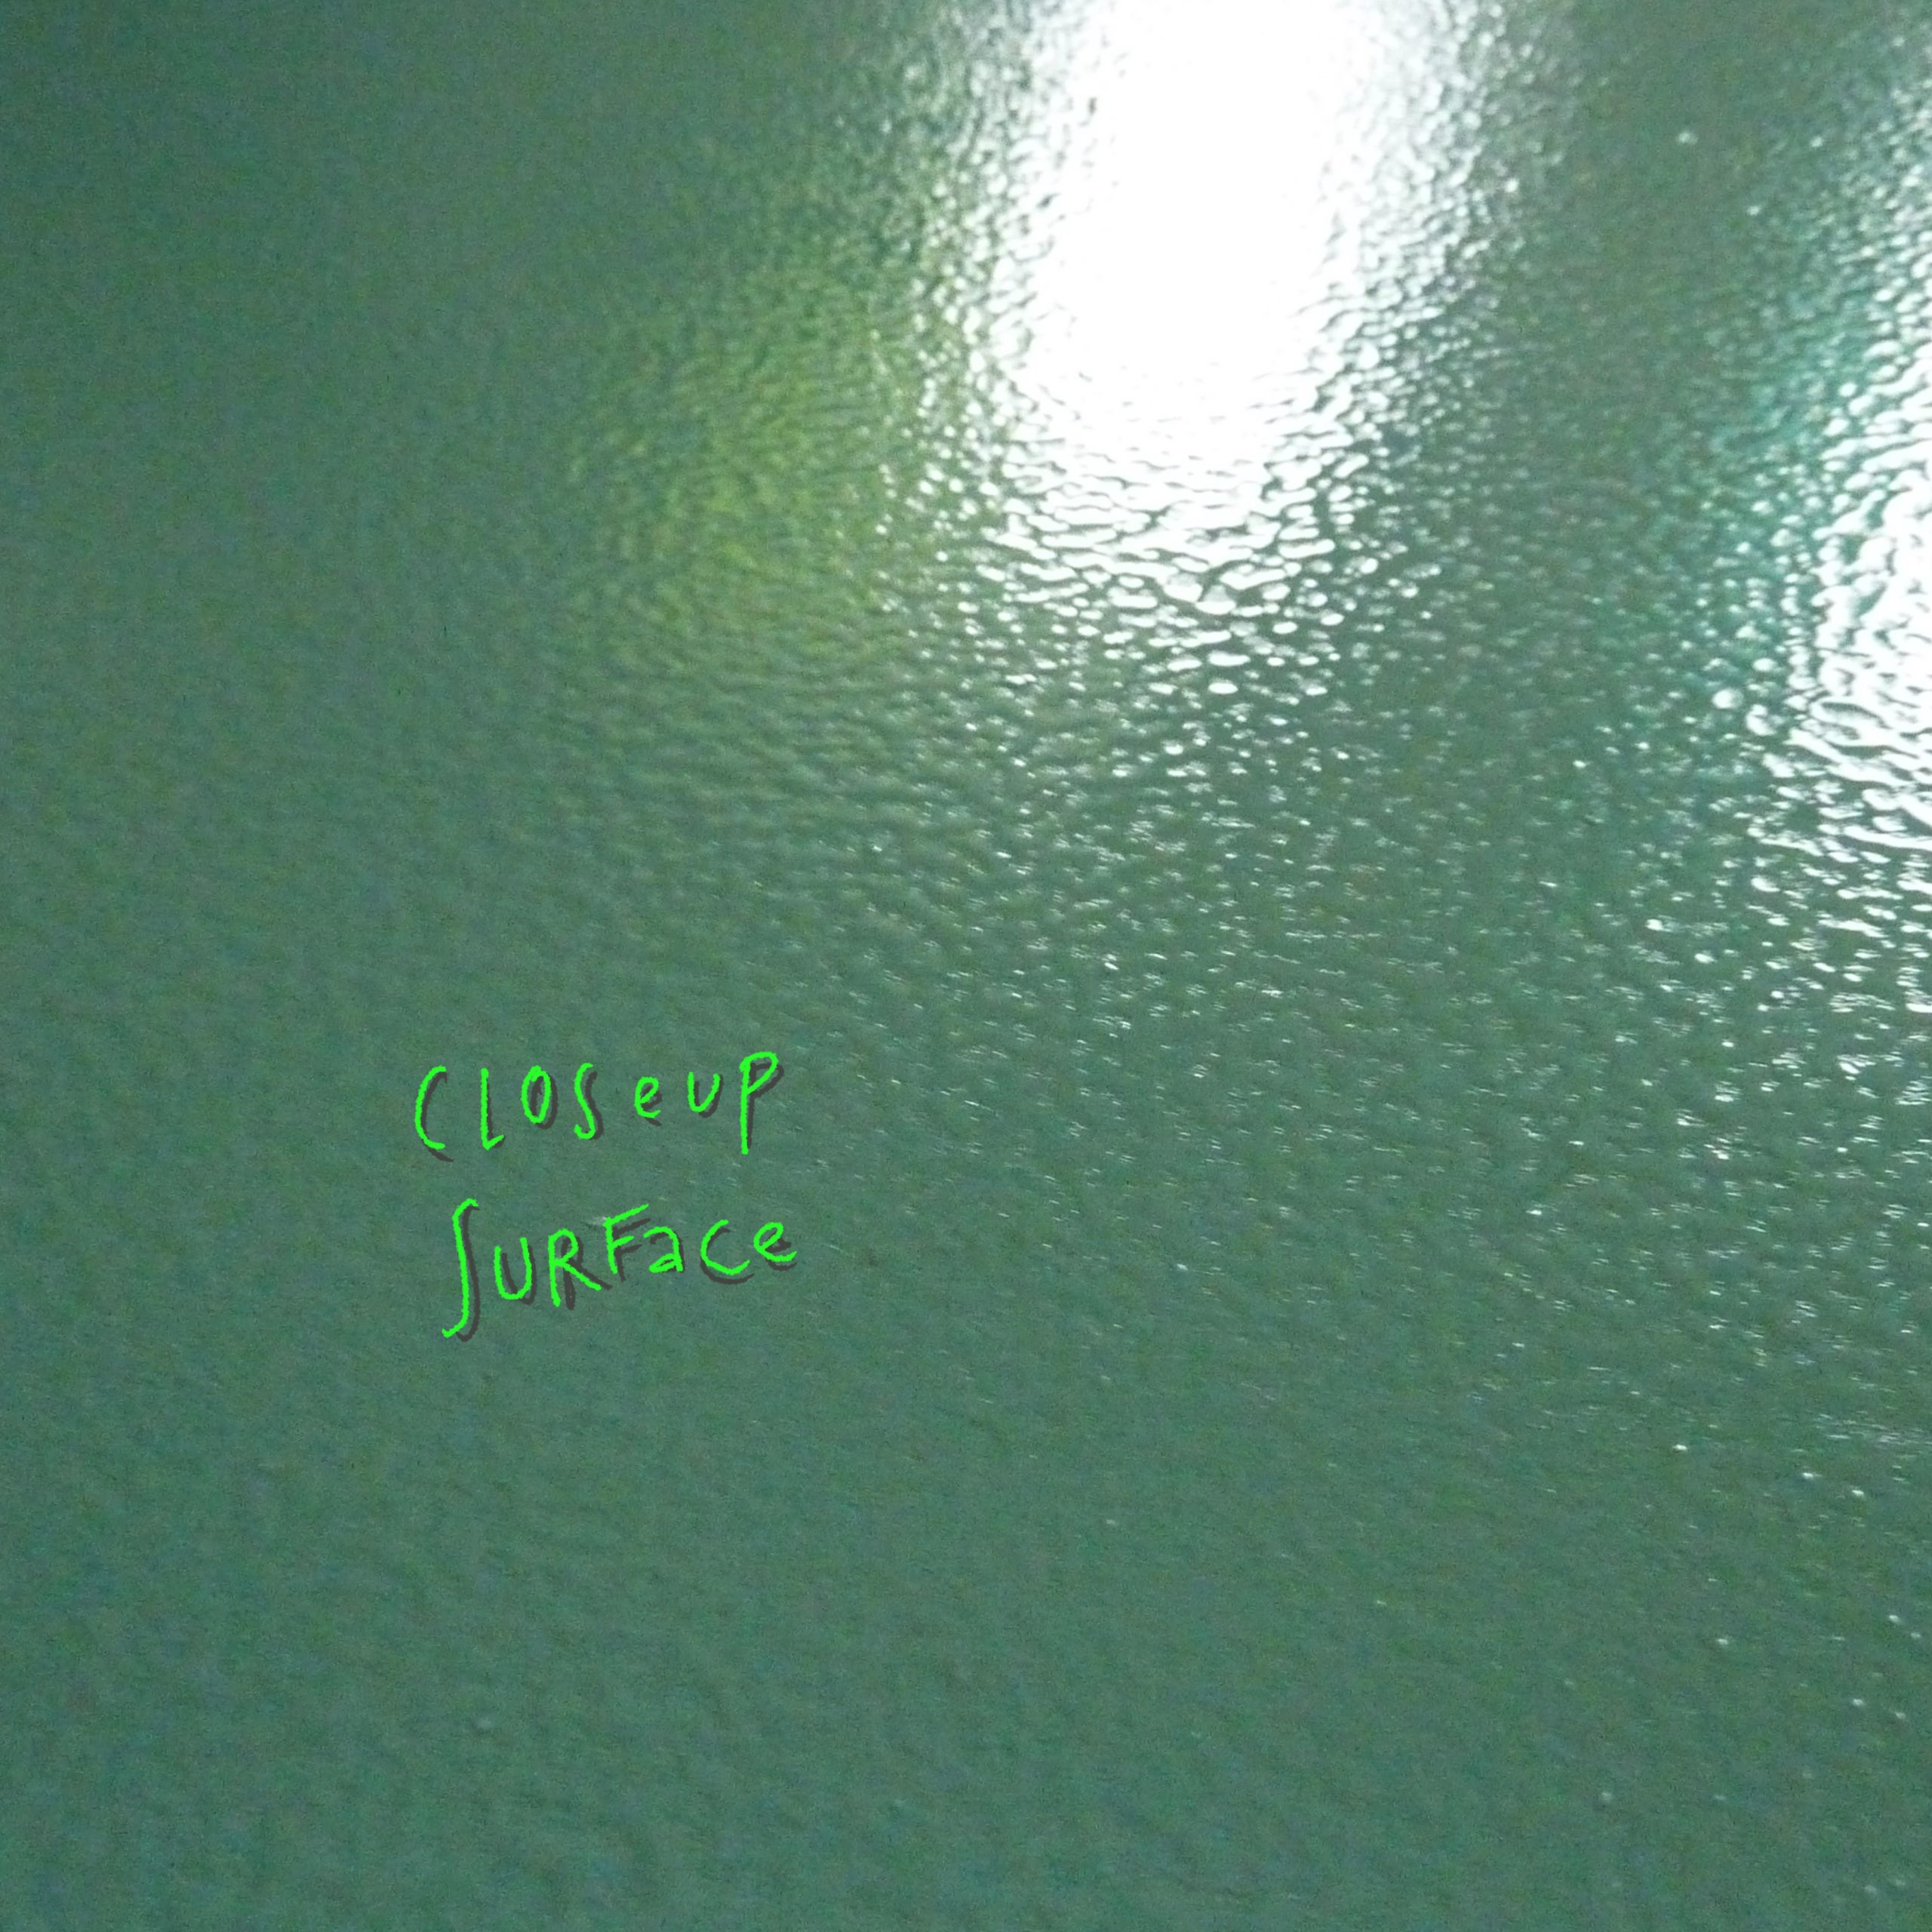
Some of the countertops have a special epoxy coating to make them more durable, especially against moisture from the sink and from cooking and drying dishes. We painted them first and then coated them with the epoxy to seal them. Epoxy is quite durable and so far it is working pretty well. The only board where we have some chipping is the foldout for the bed, as there is some mechanical force involved, but nothing that cannot be repaired with a little paint.
Electricity:
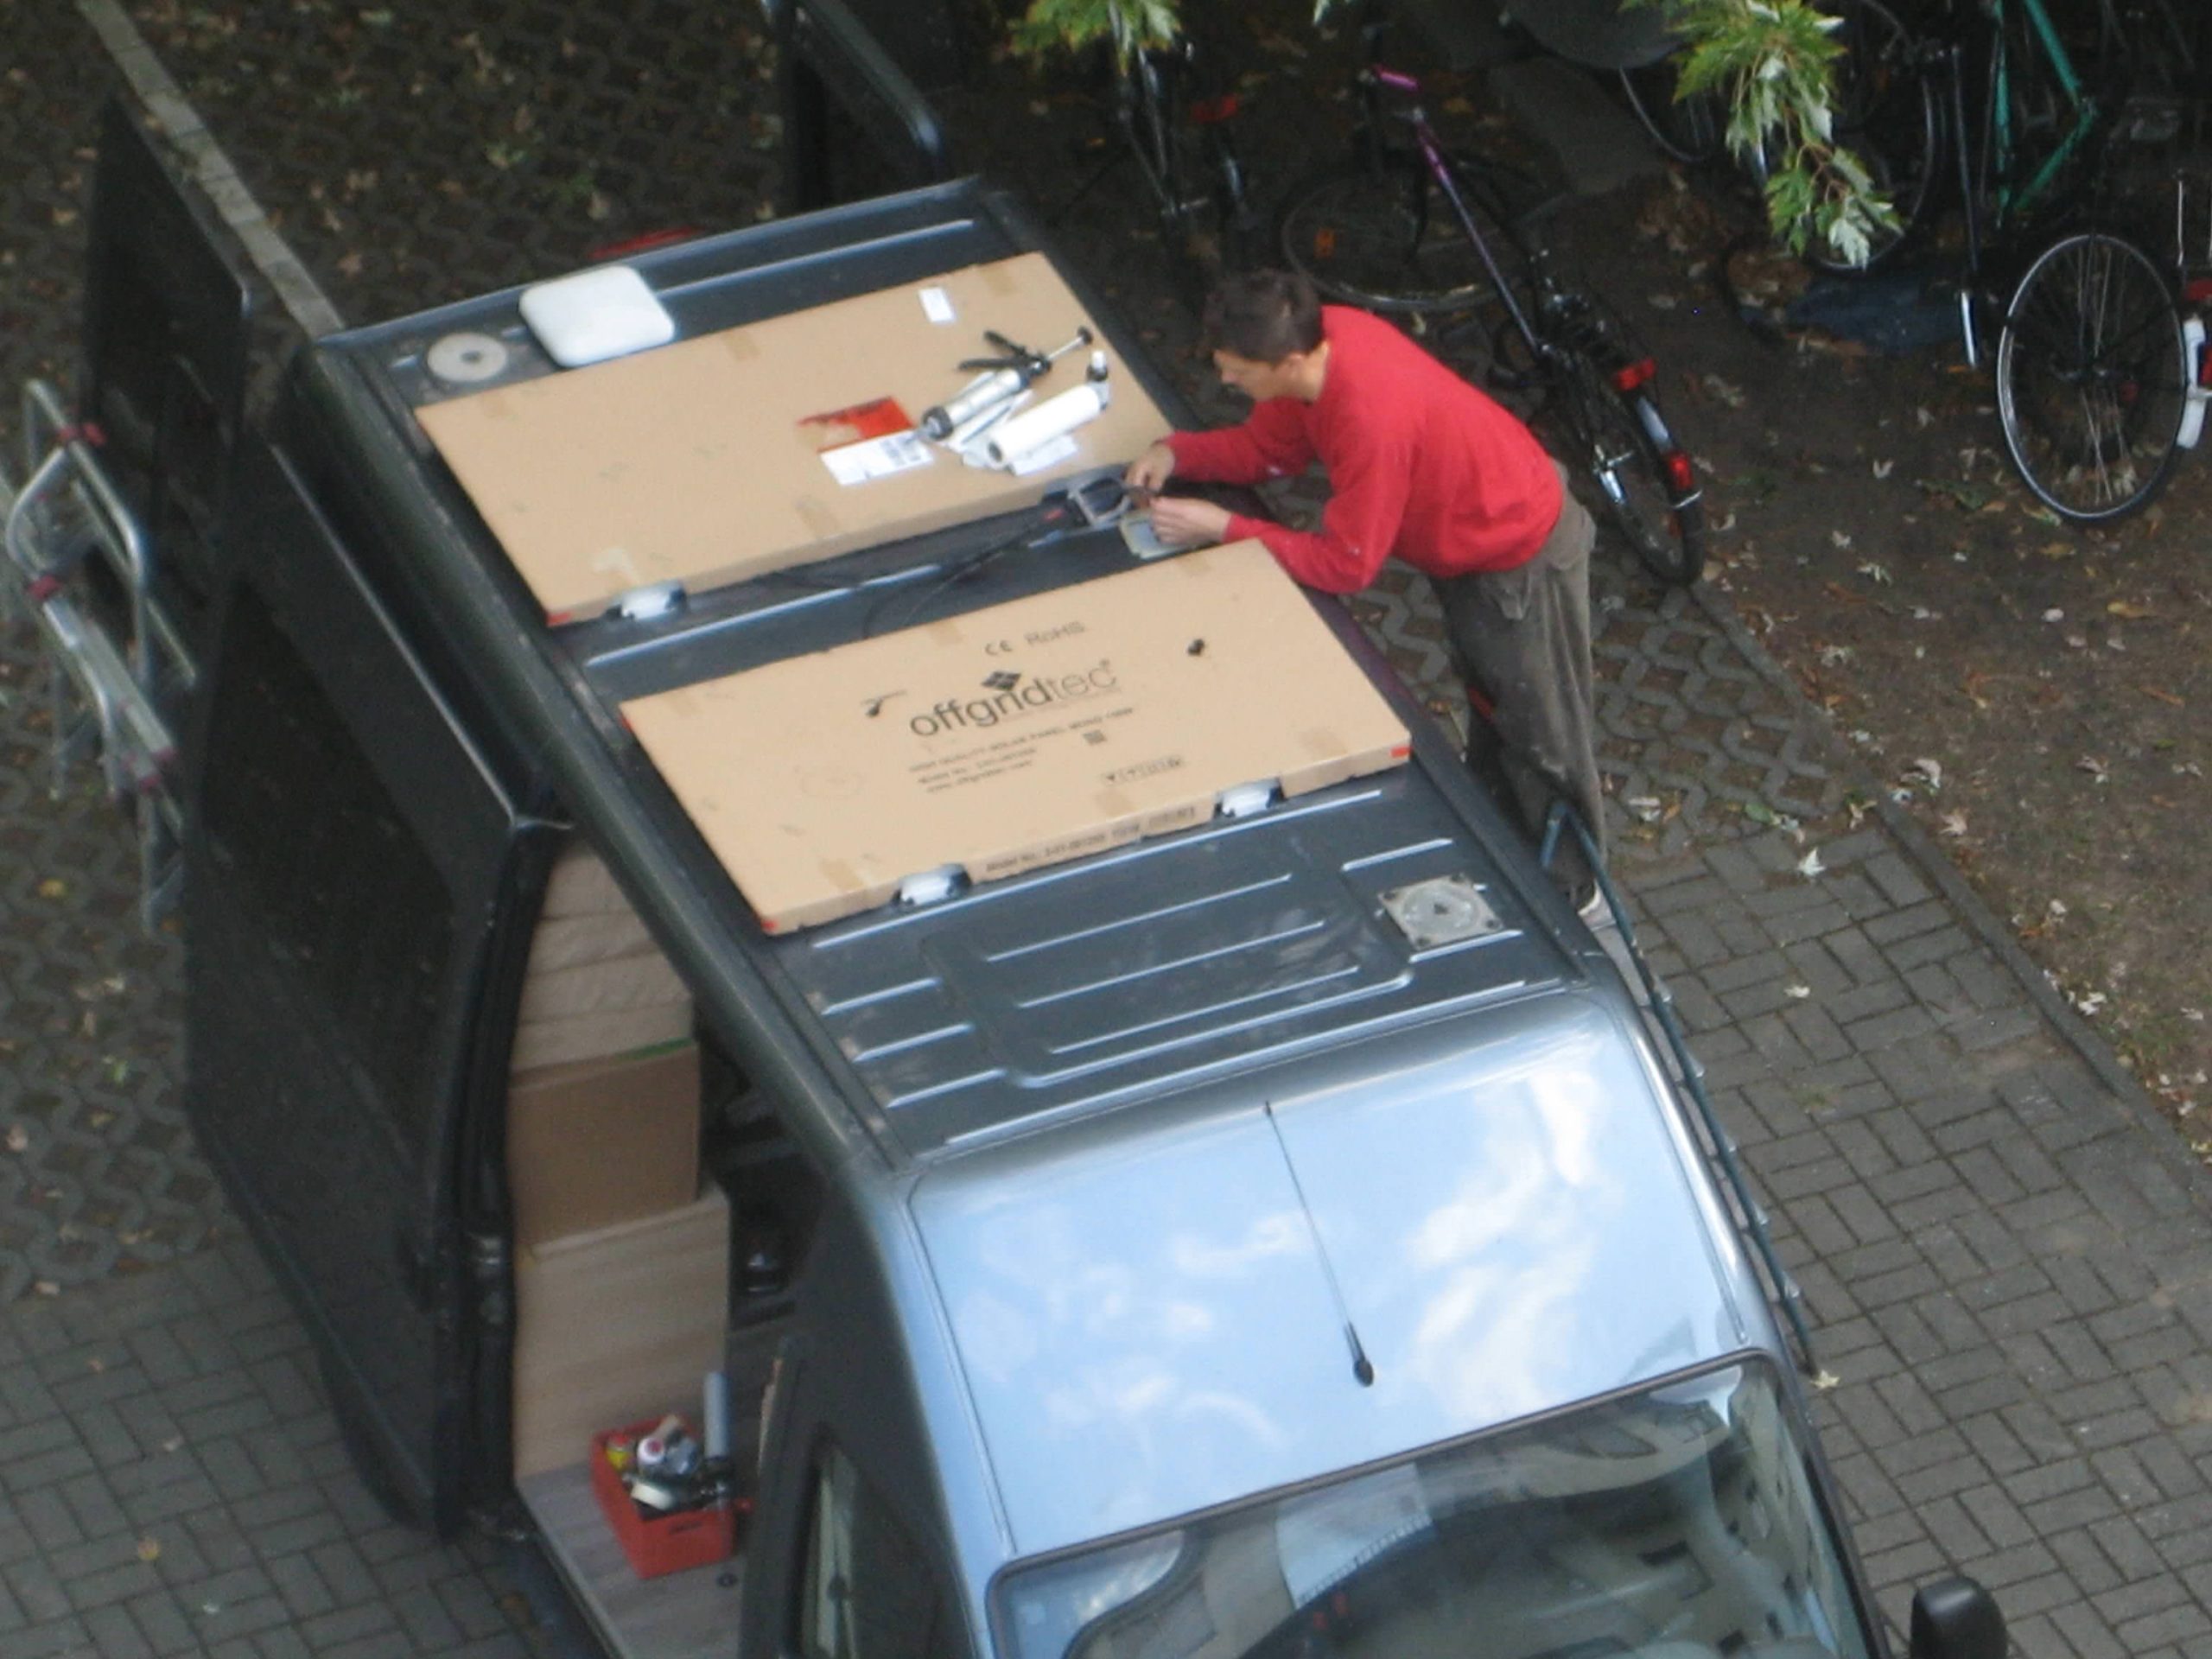
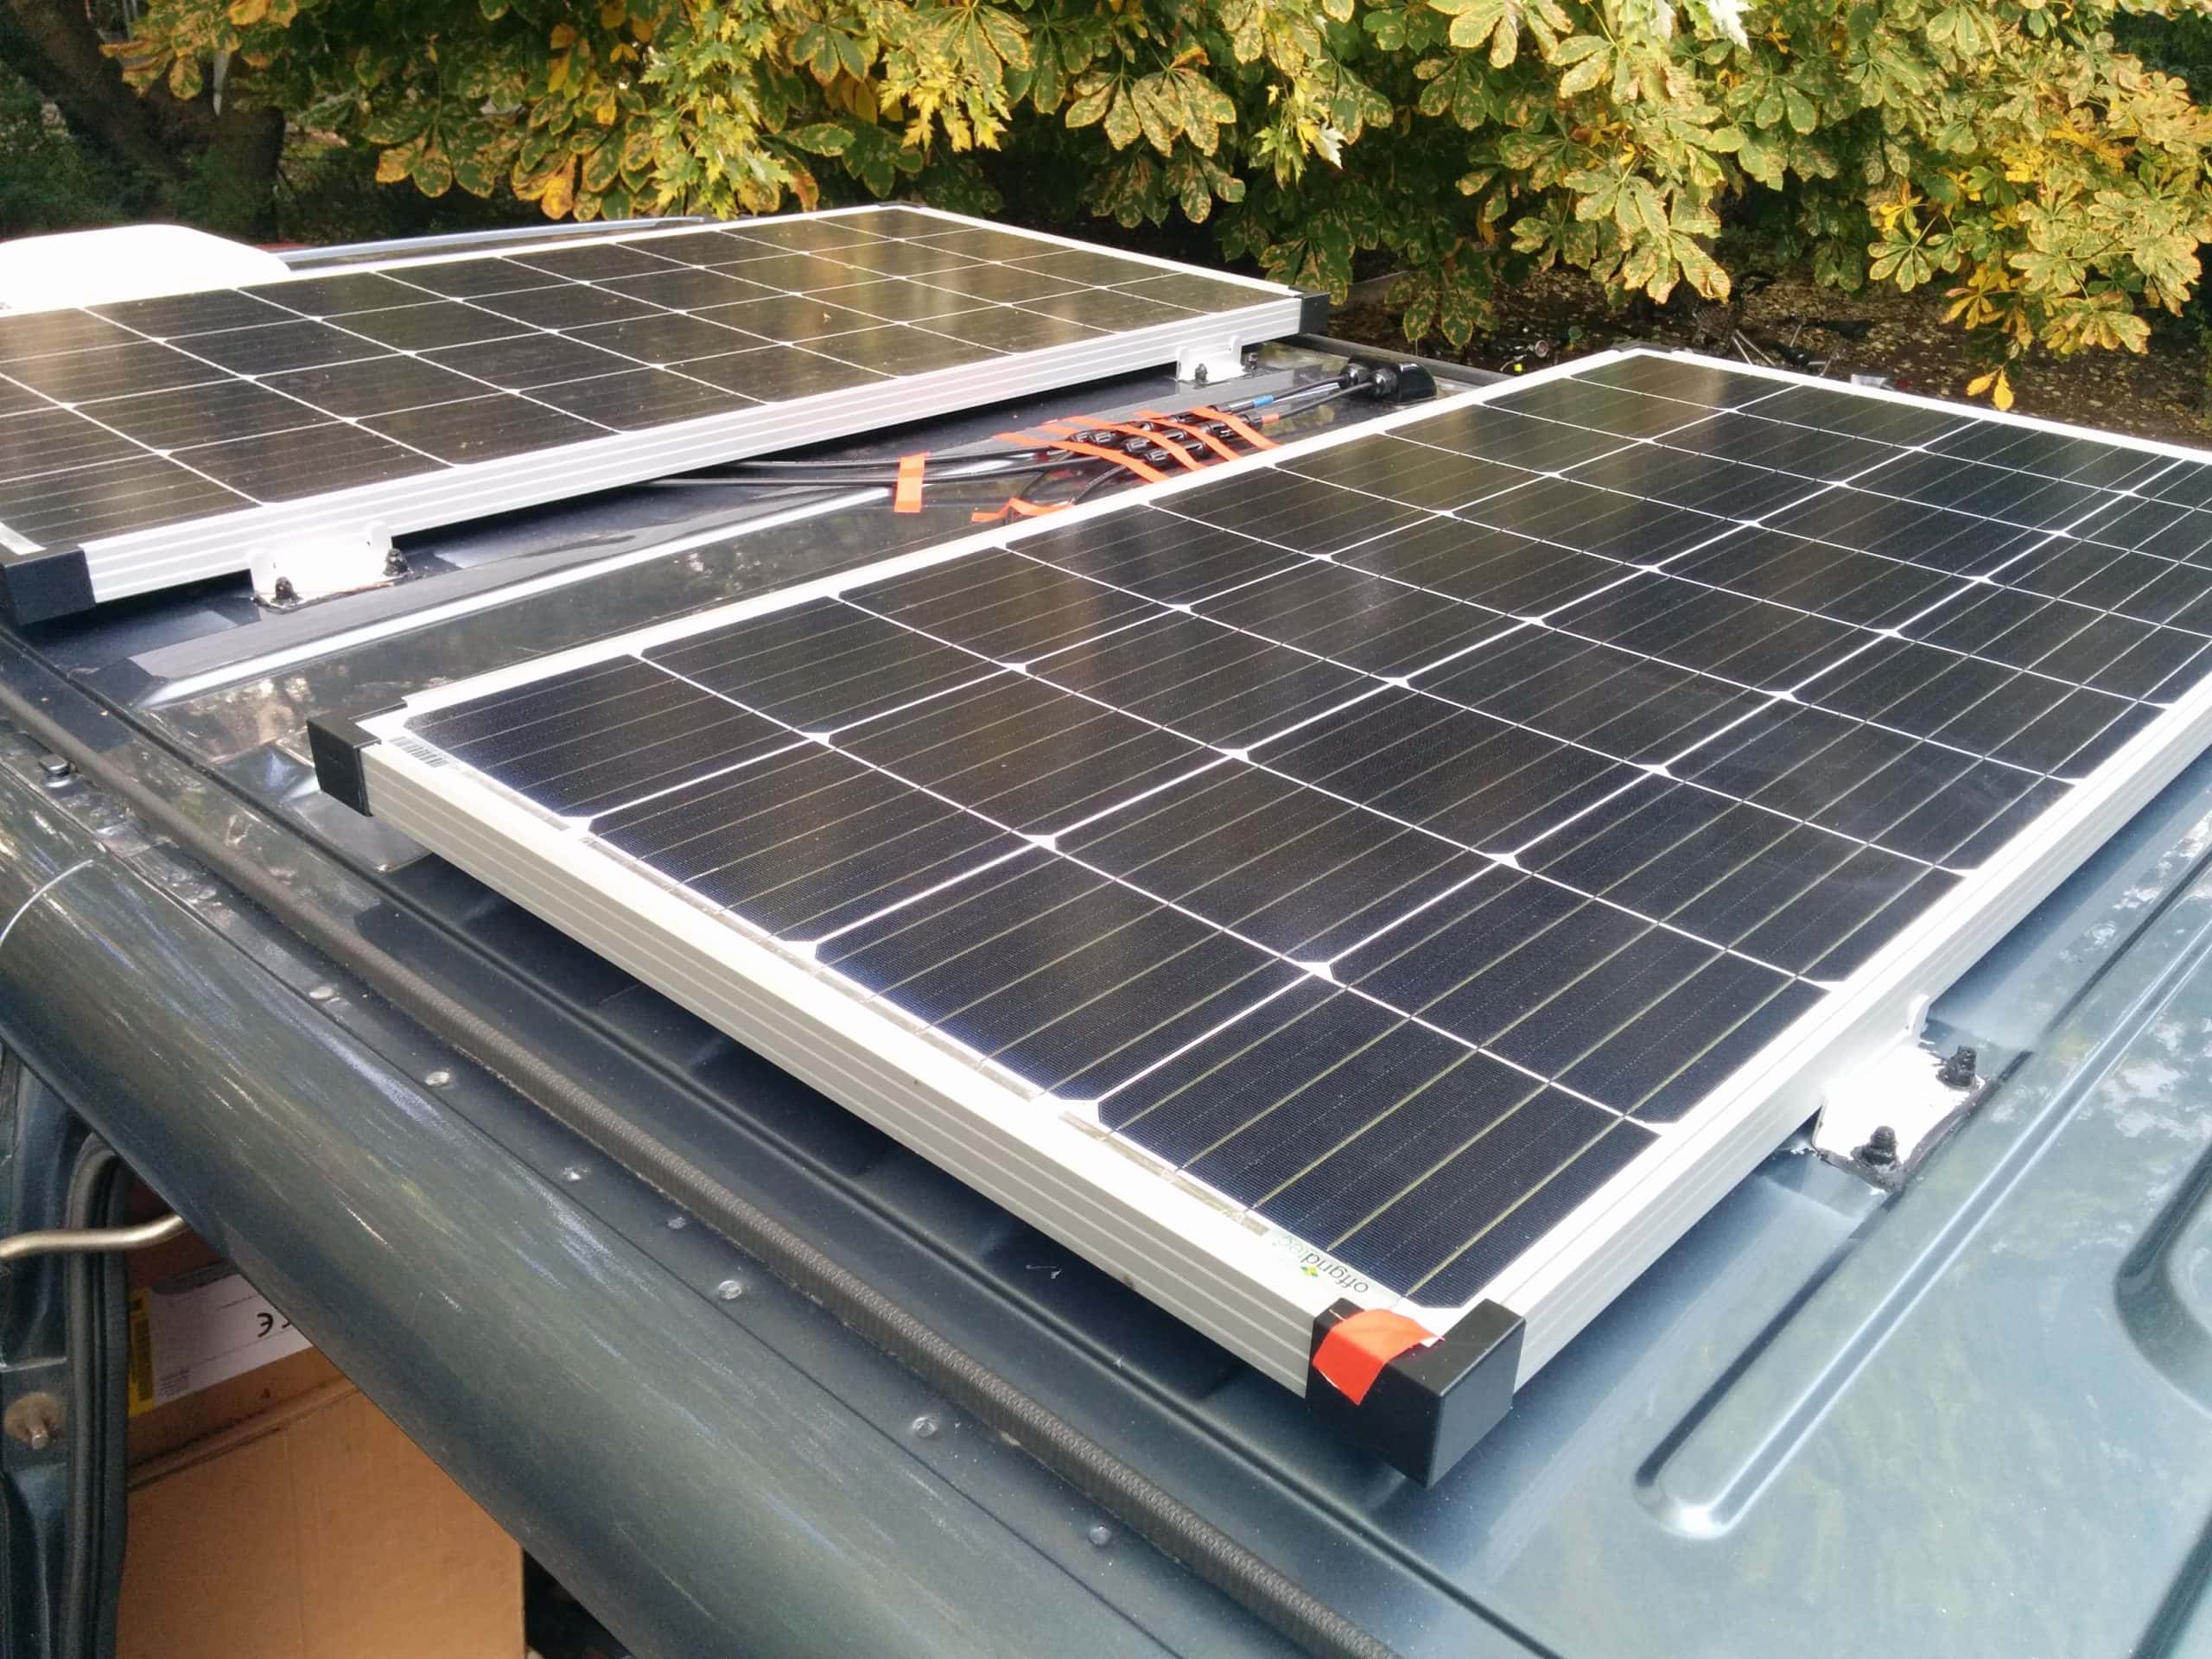
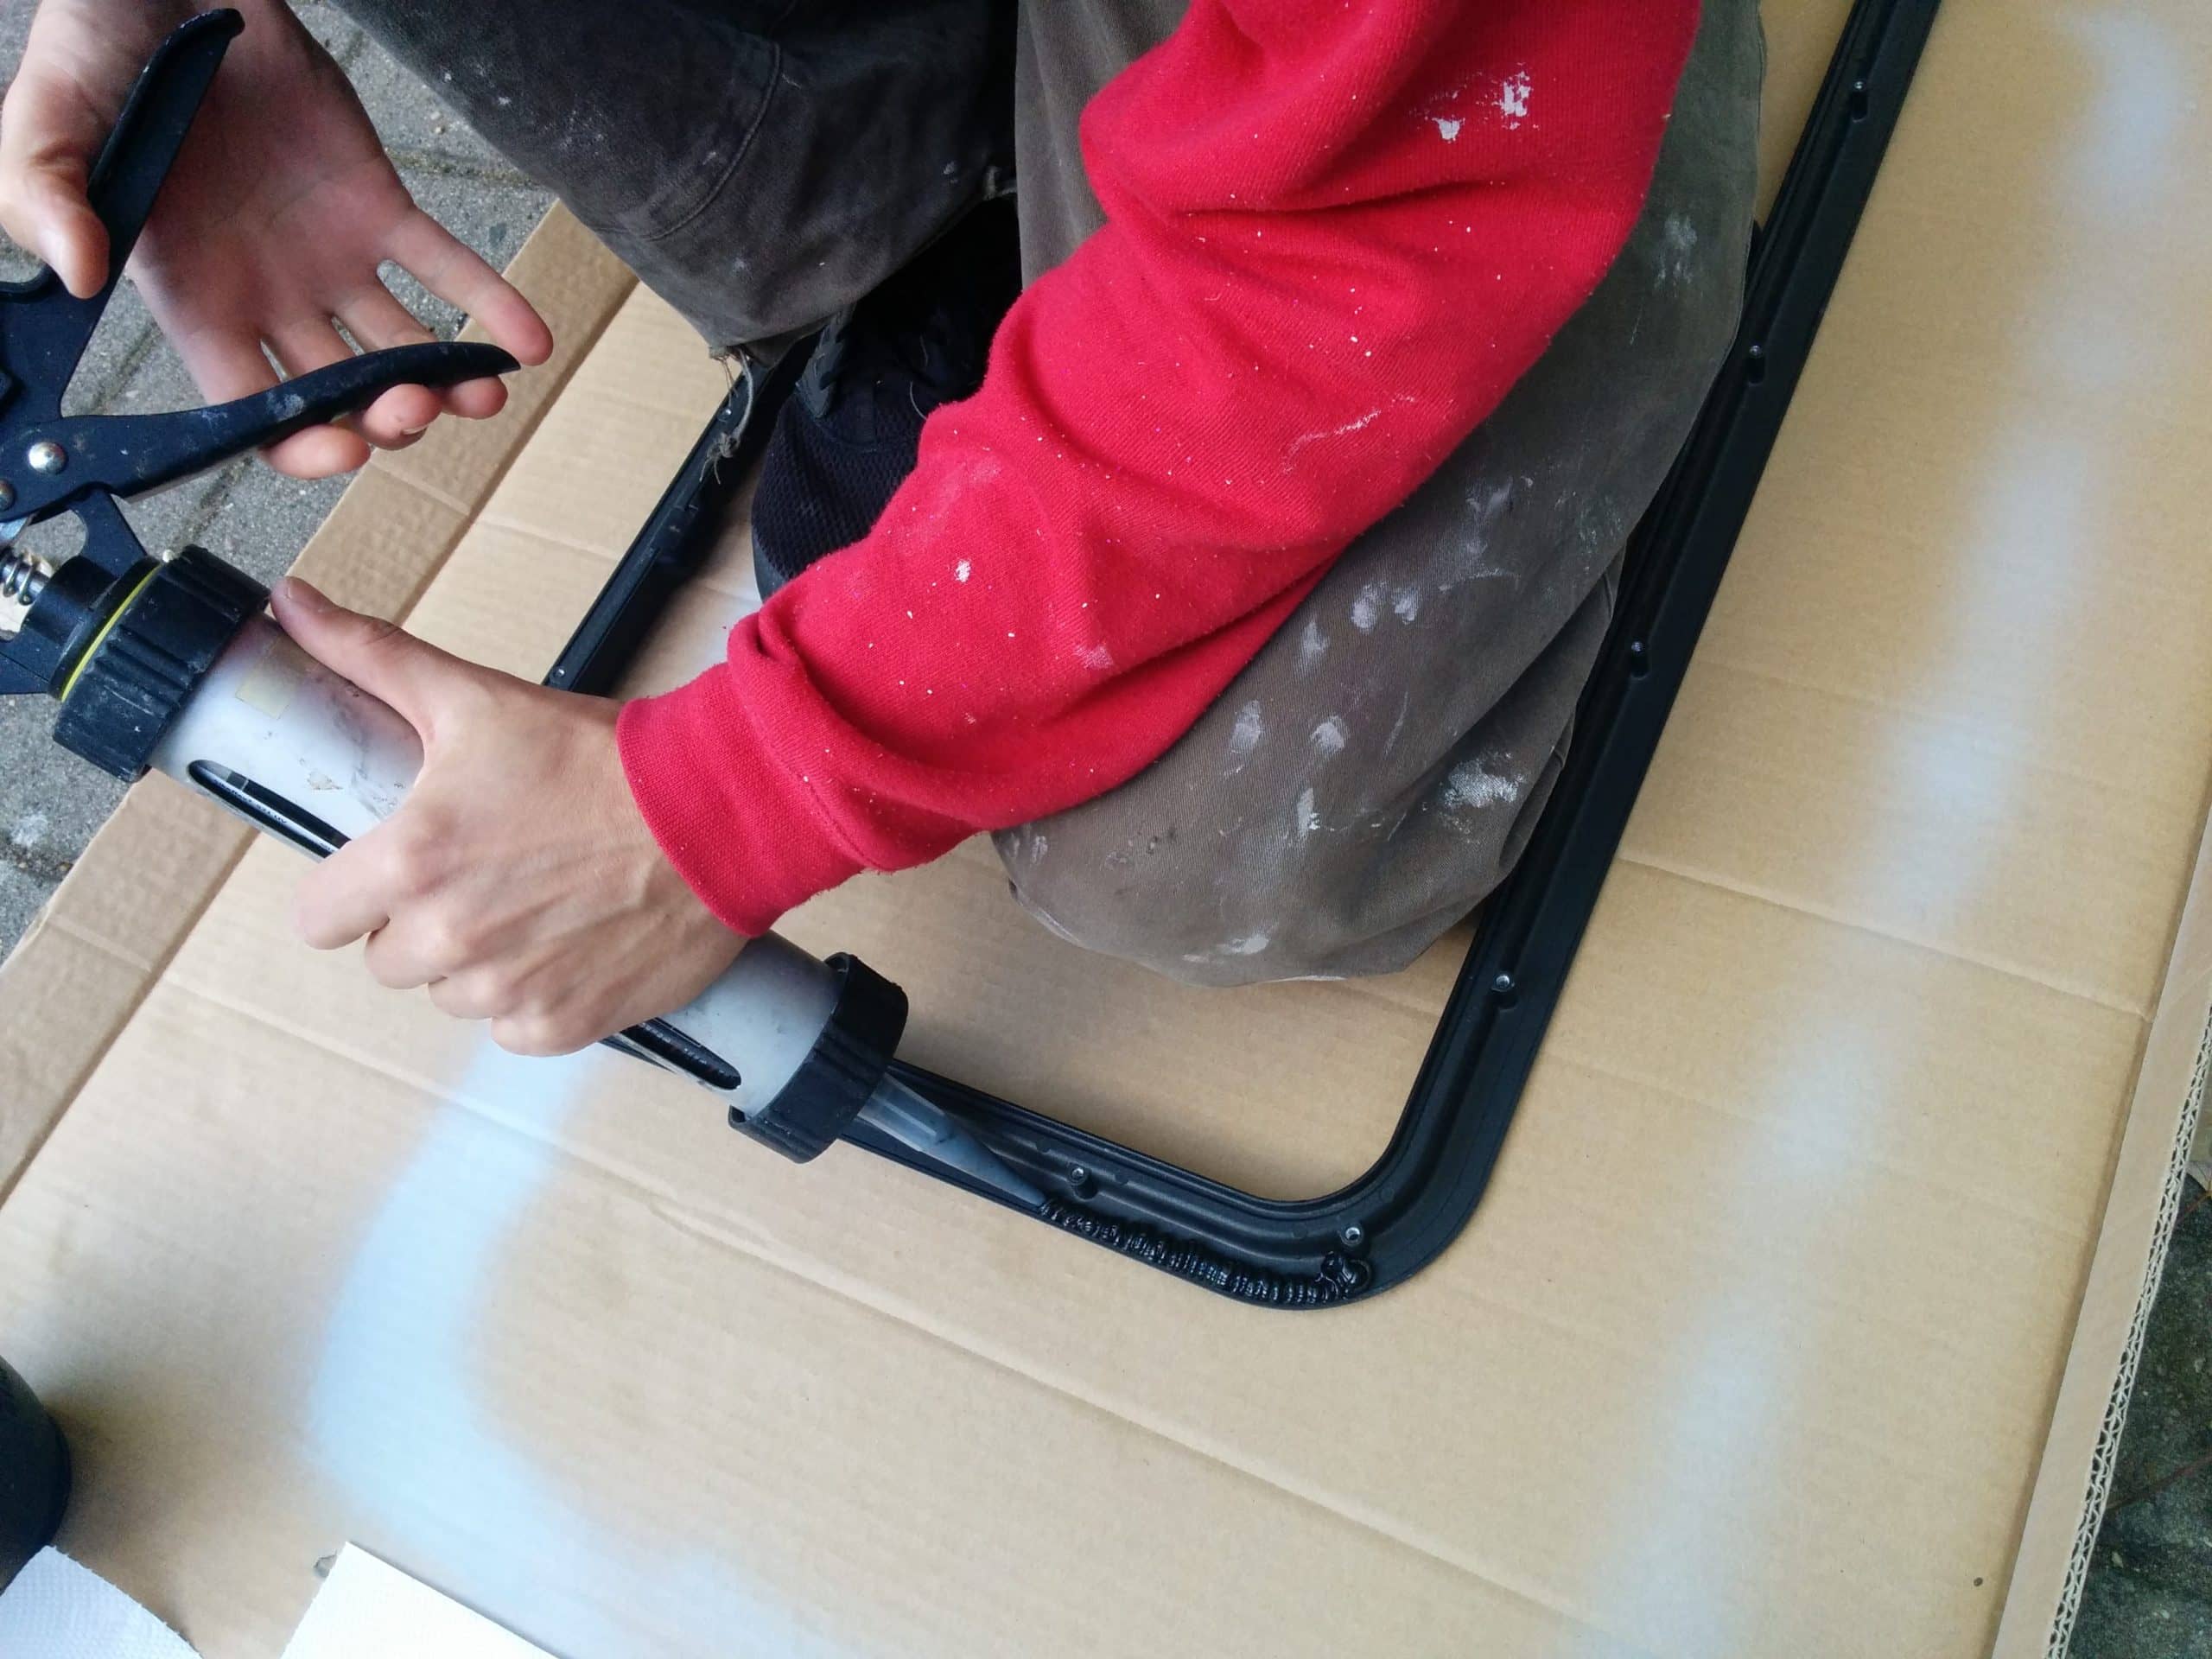
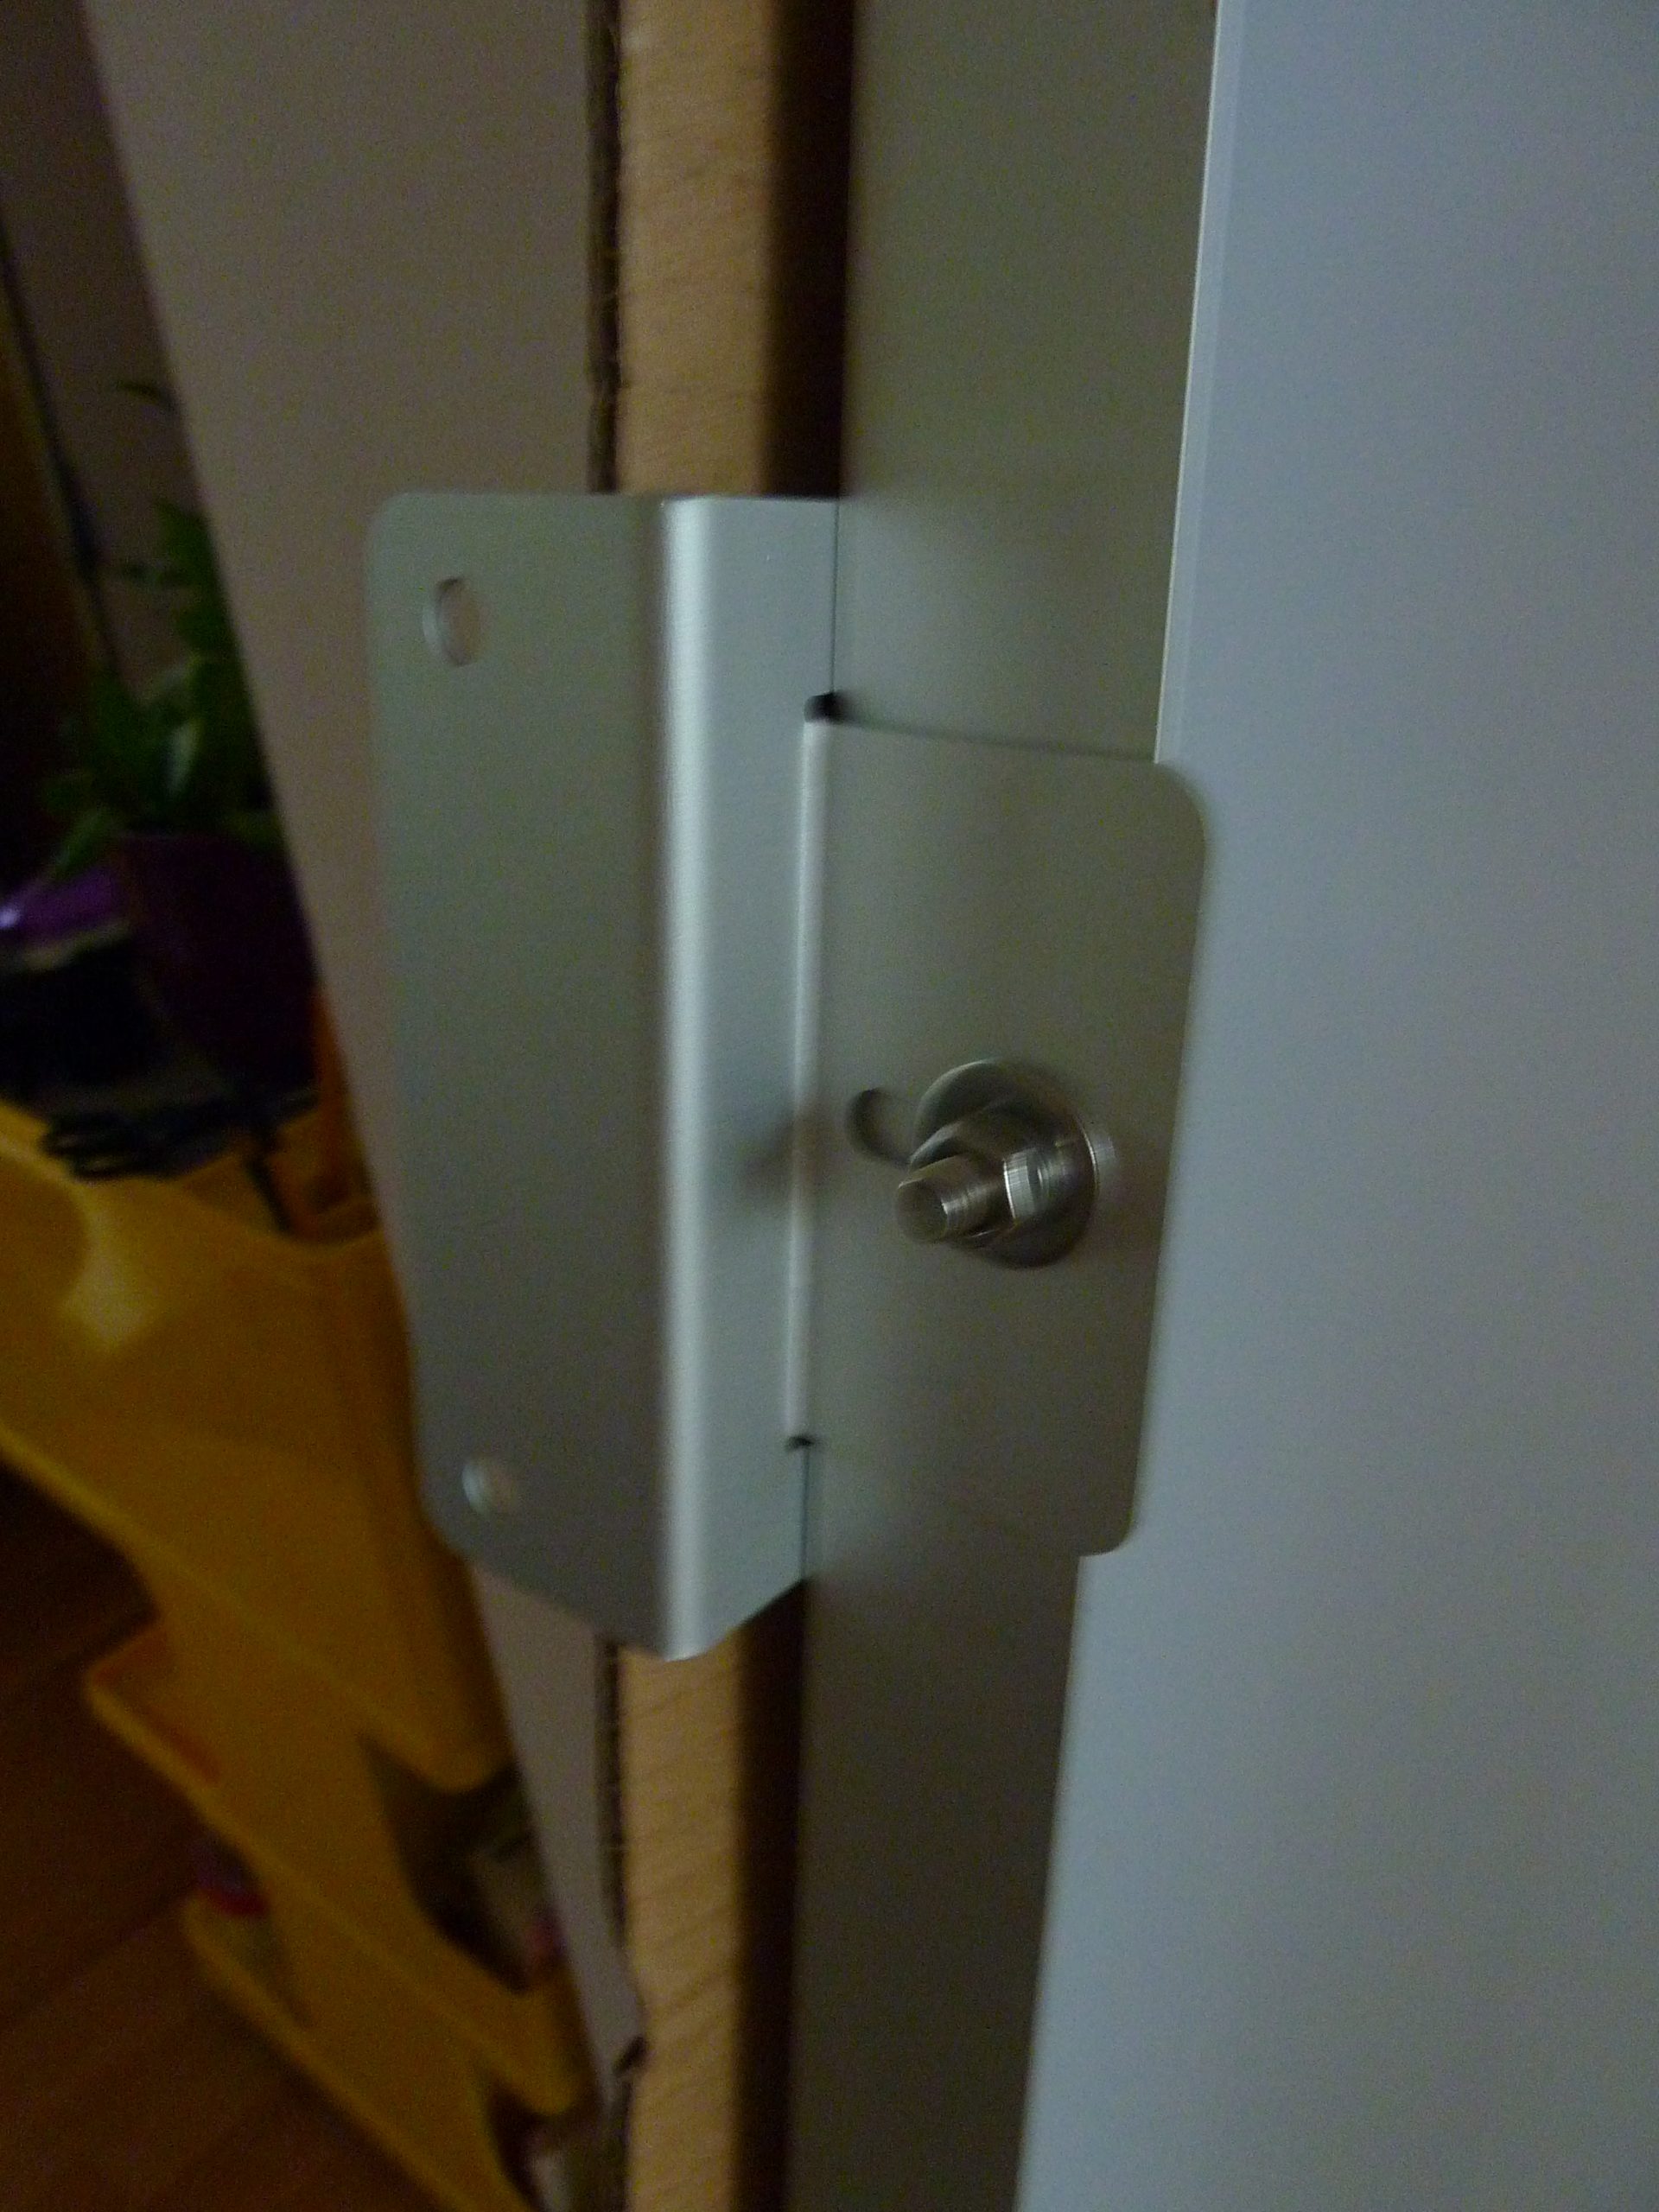
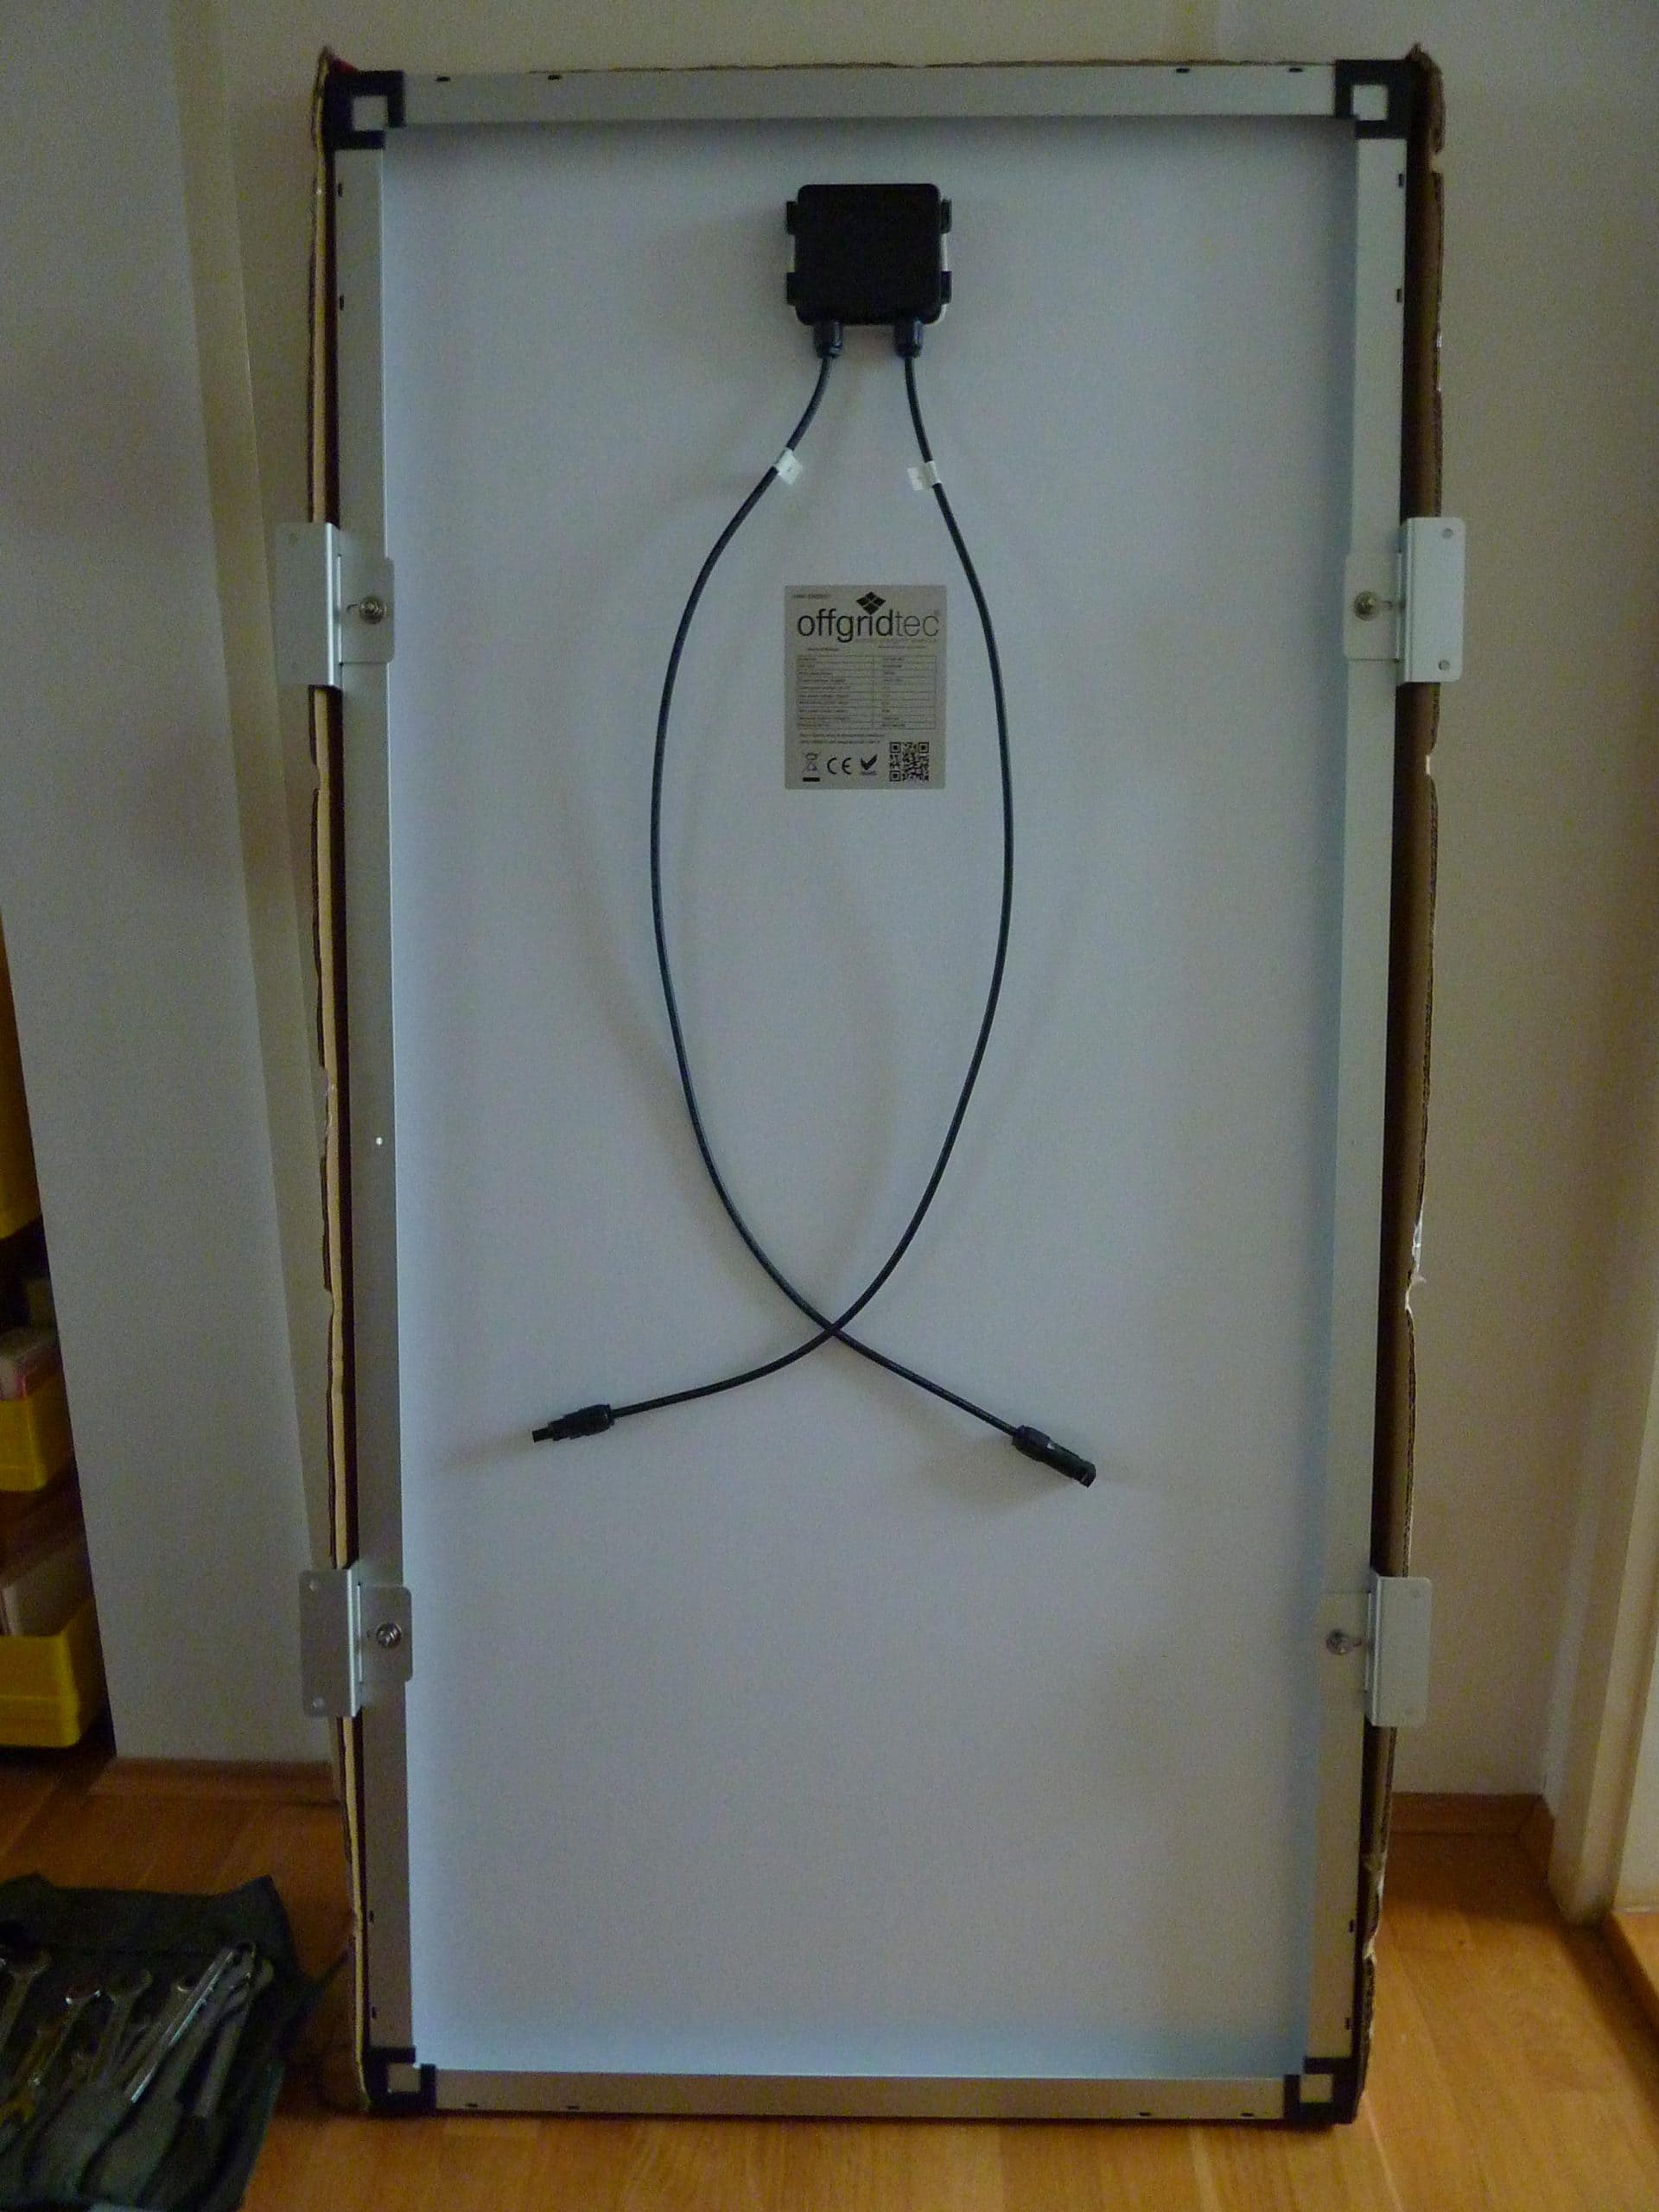
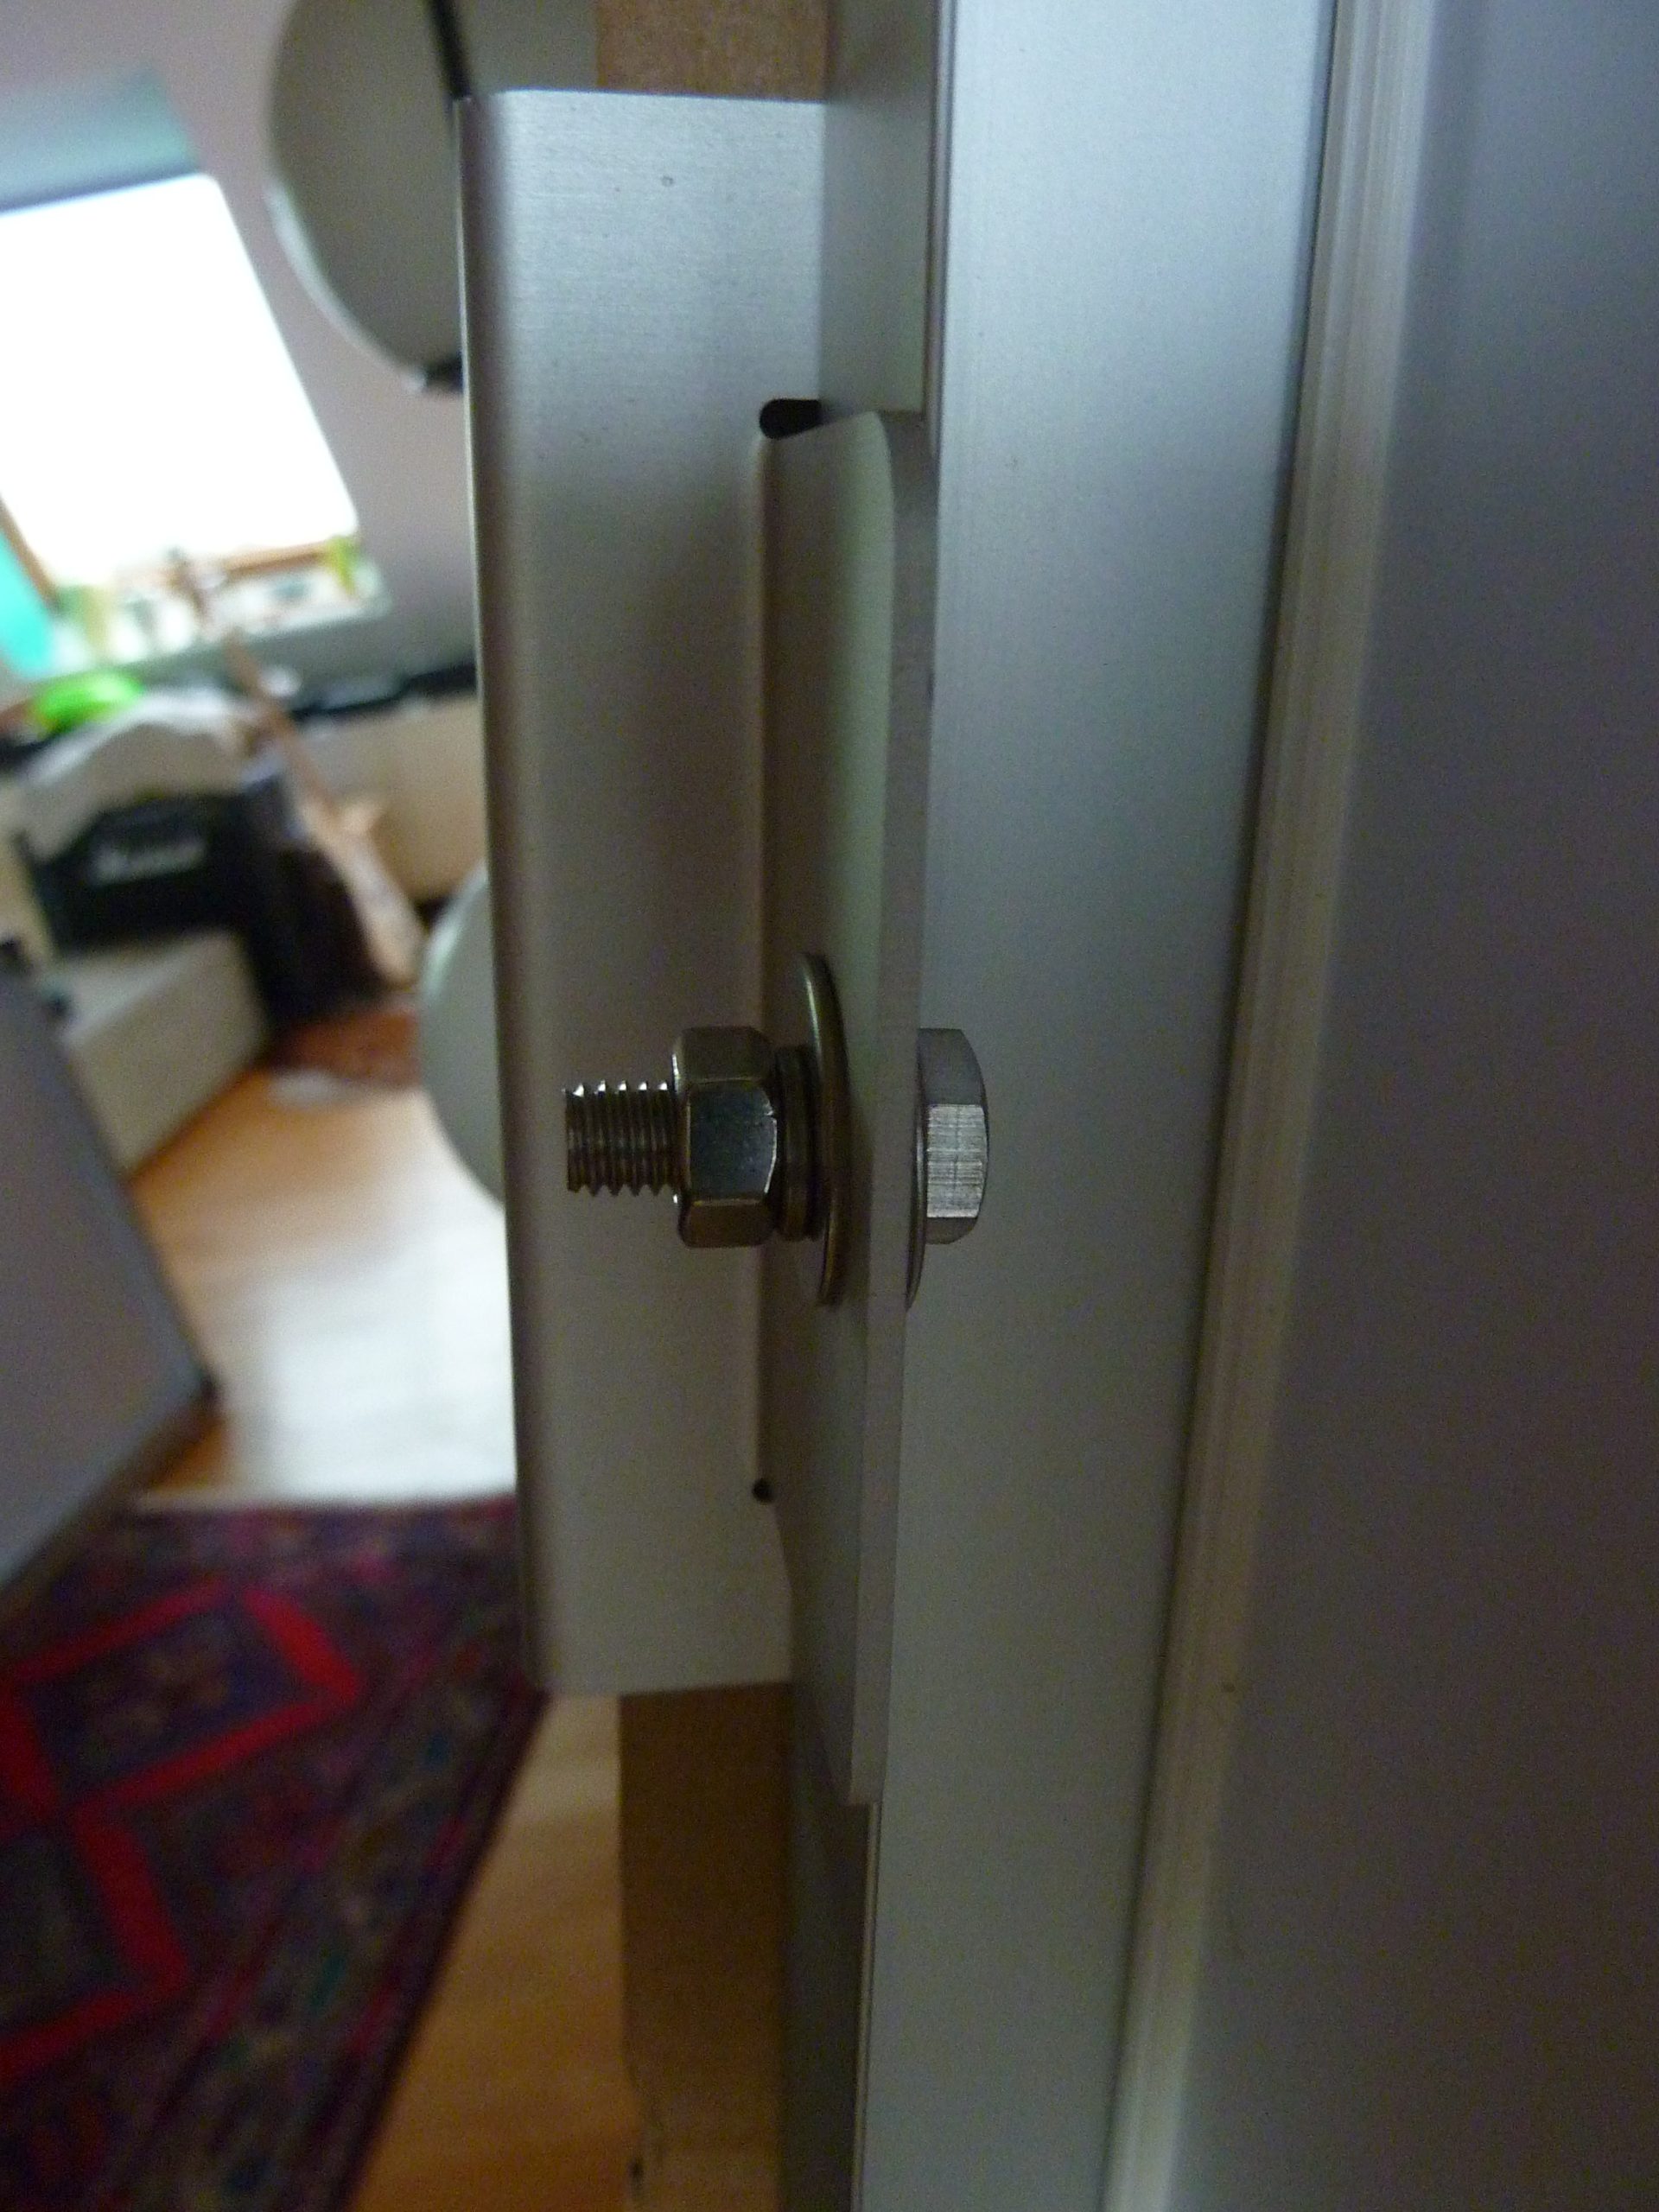
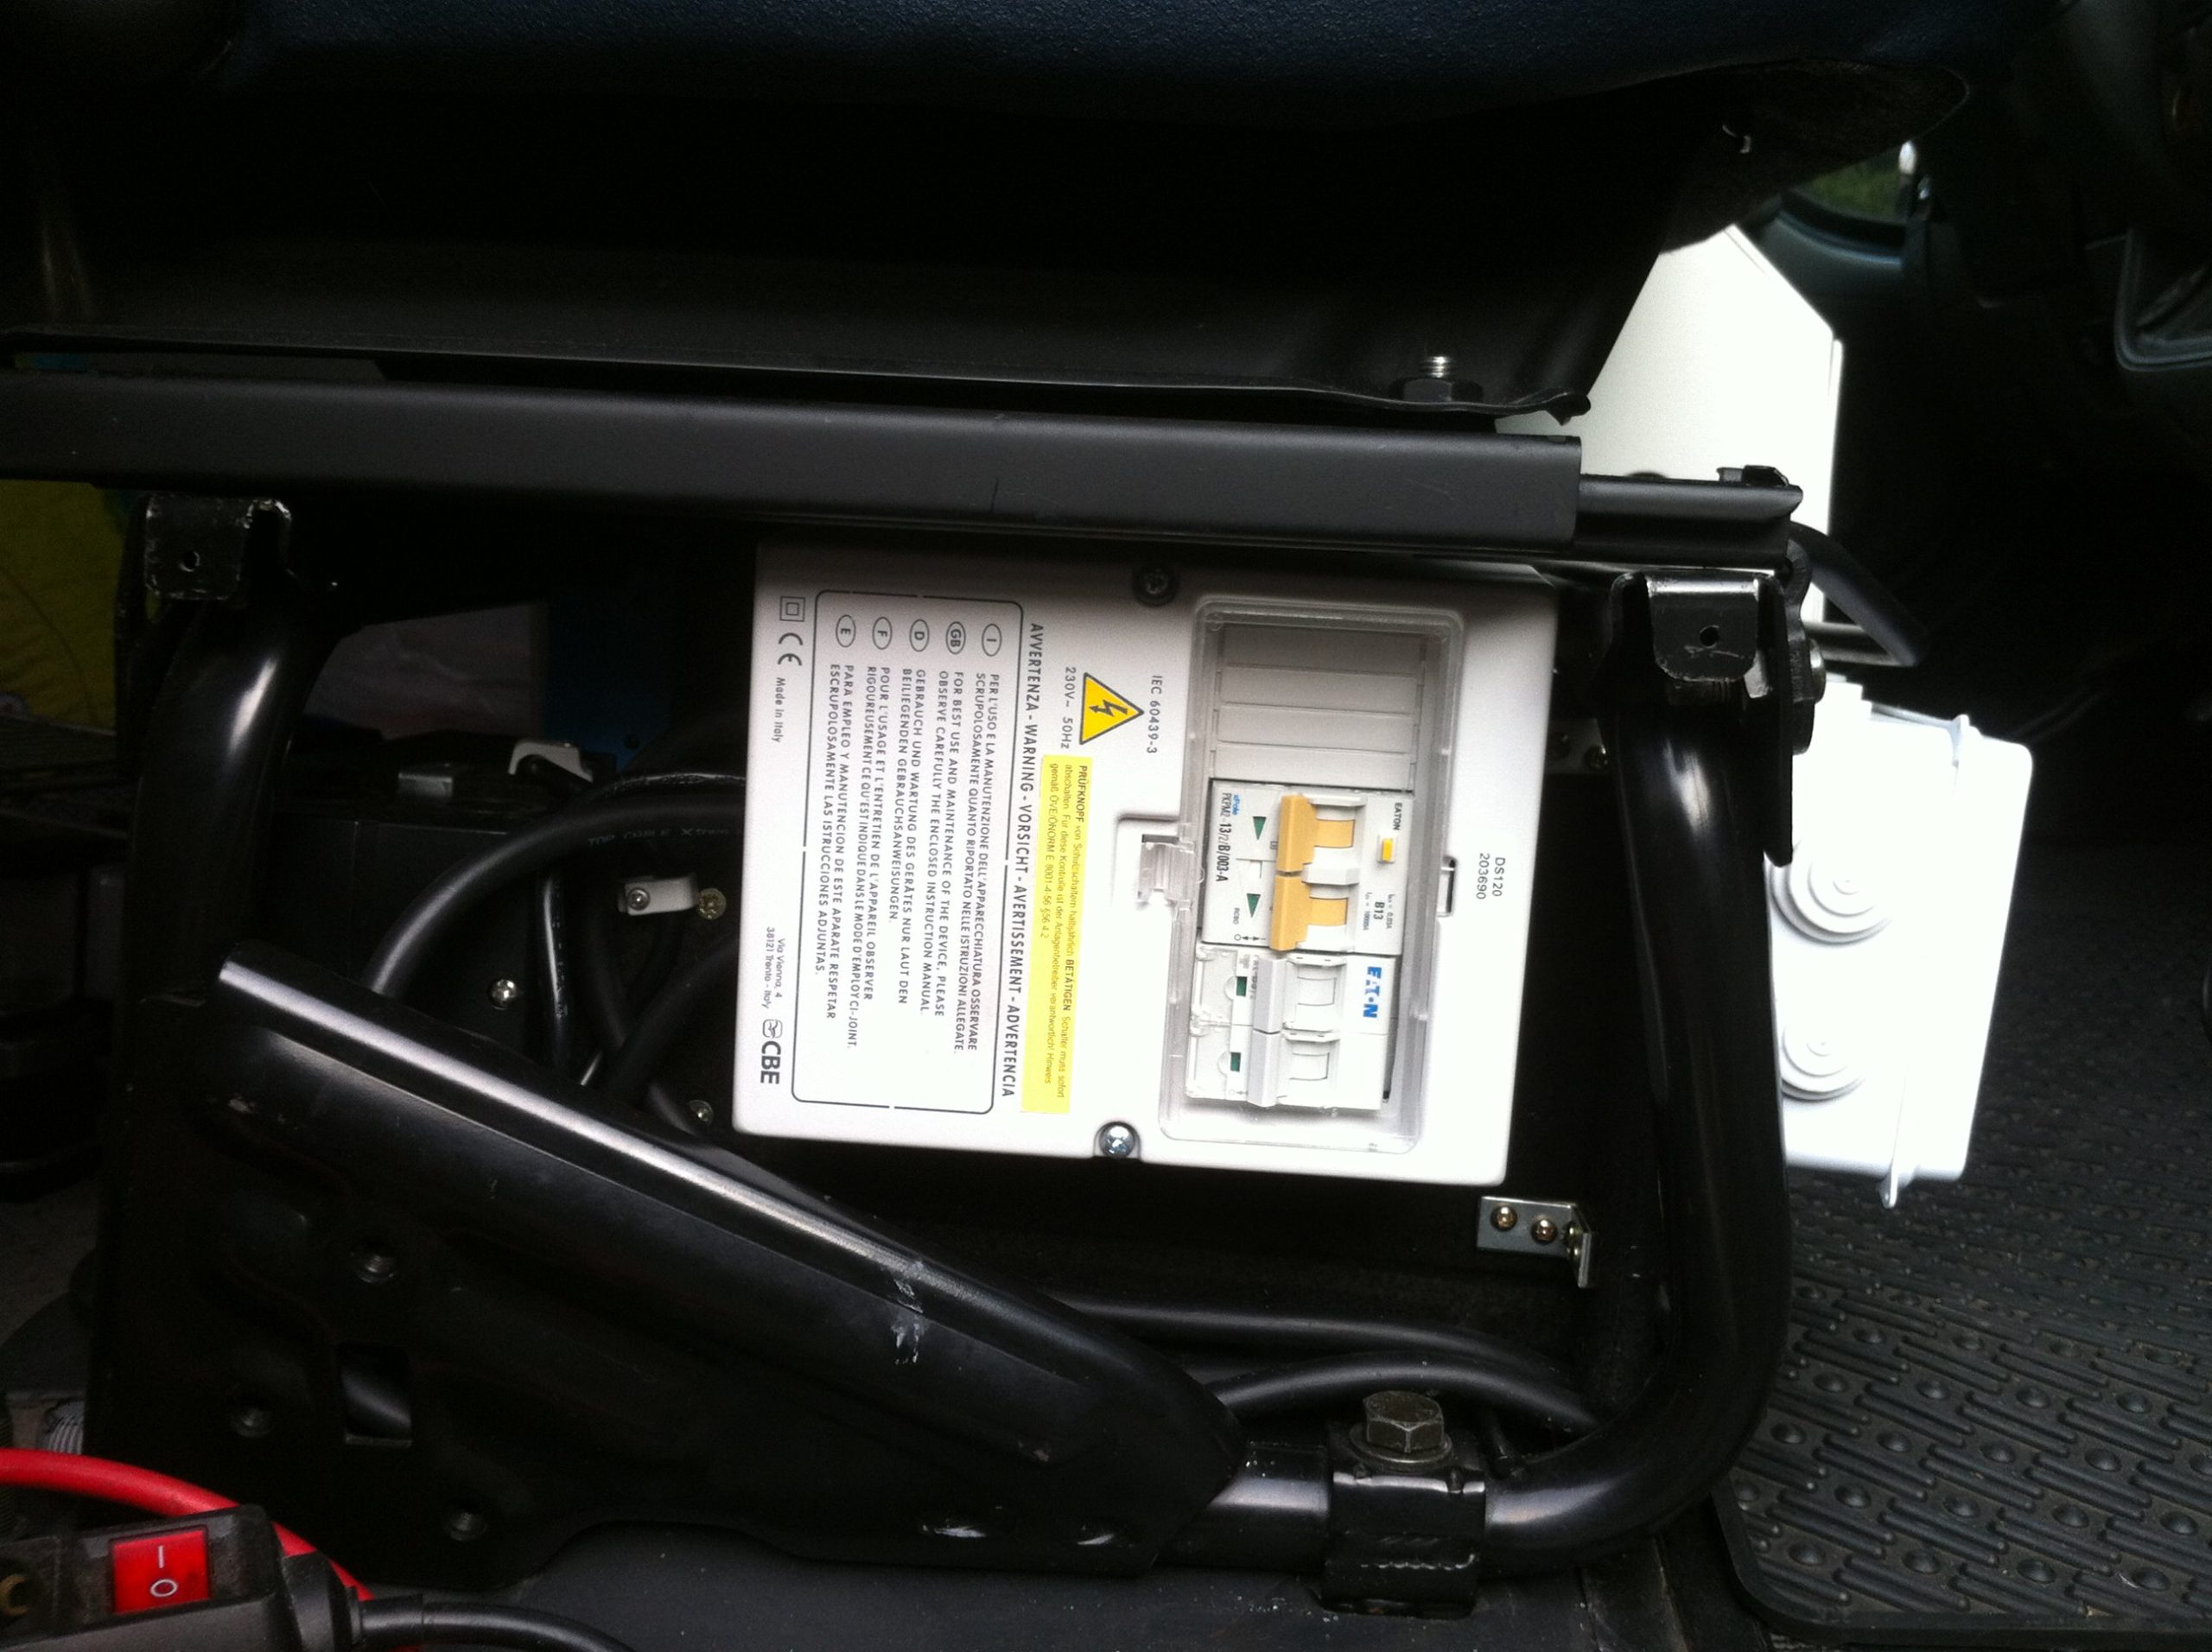
We have two 150W solar panels in parallel, a 260Ah AGM battery that sits between the driver and passenger seats and is mounted to the floor with a welded iron frame and a wooden box that houses all the wiring and fuses. The battery is charged during the trip and by a 30A solar charger. We can also use an external 20A power cord if necessary (we would now choose a 30A version, 20A is a bit slow), which is not a bad idea for bad weather conditions with little sunlight. Together with a 700W inverter this covers all our power needs. The inverter is on the small side, but works well for us as we only run a crockpot and occasional battery charging or laptop duties through it, but there is not much headroom left. It works fine, but don’t expect to run a hairdryer or anything like that.
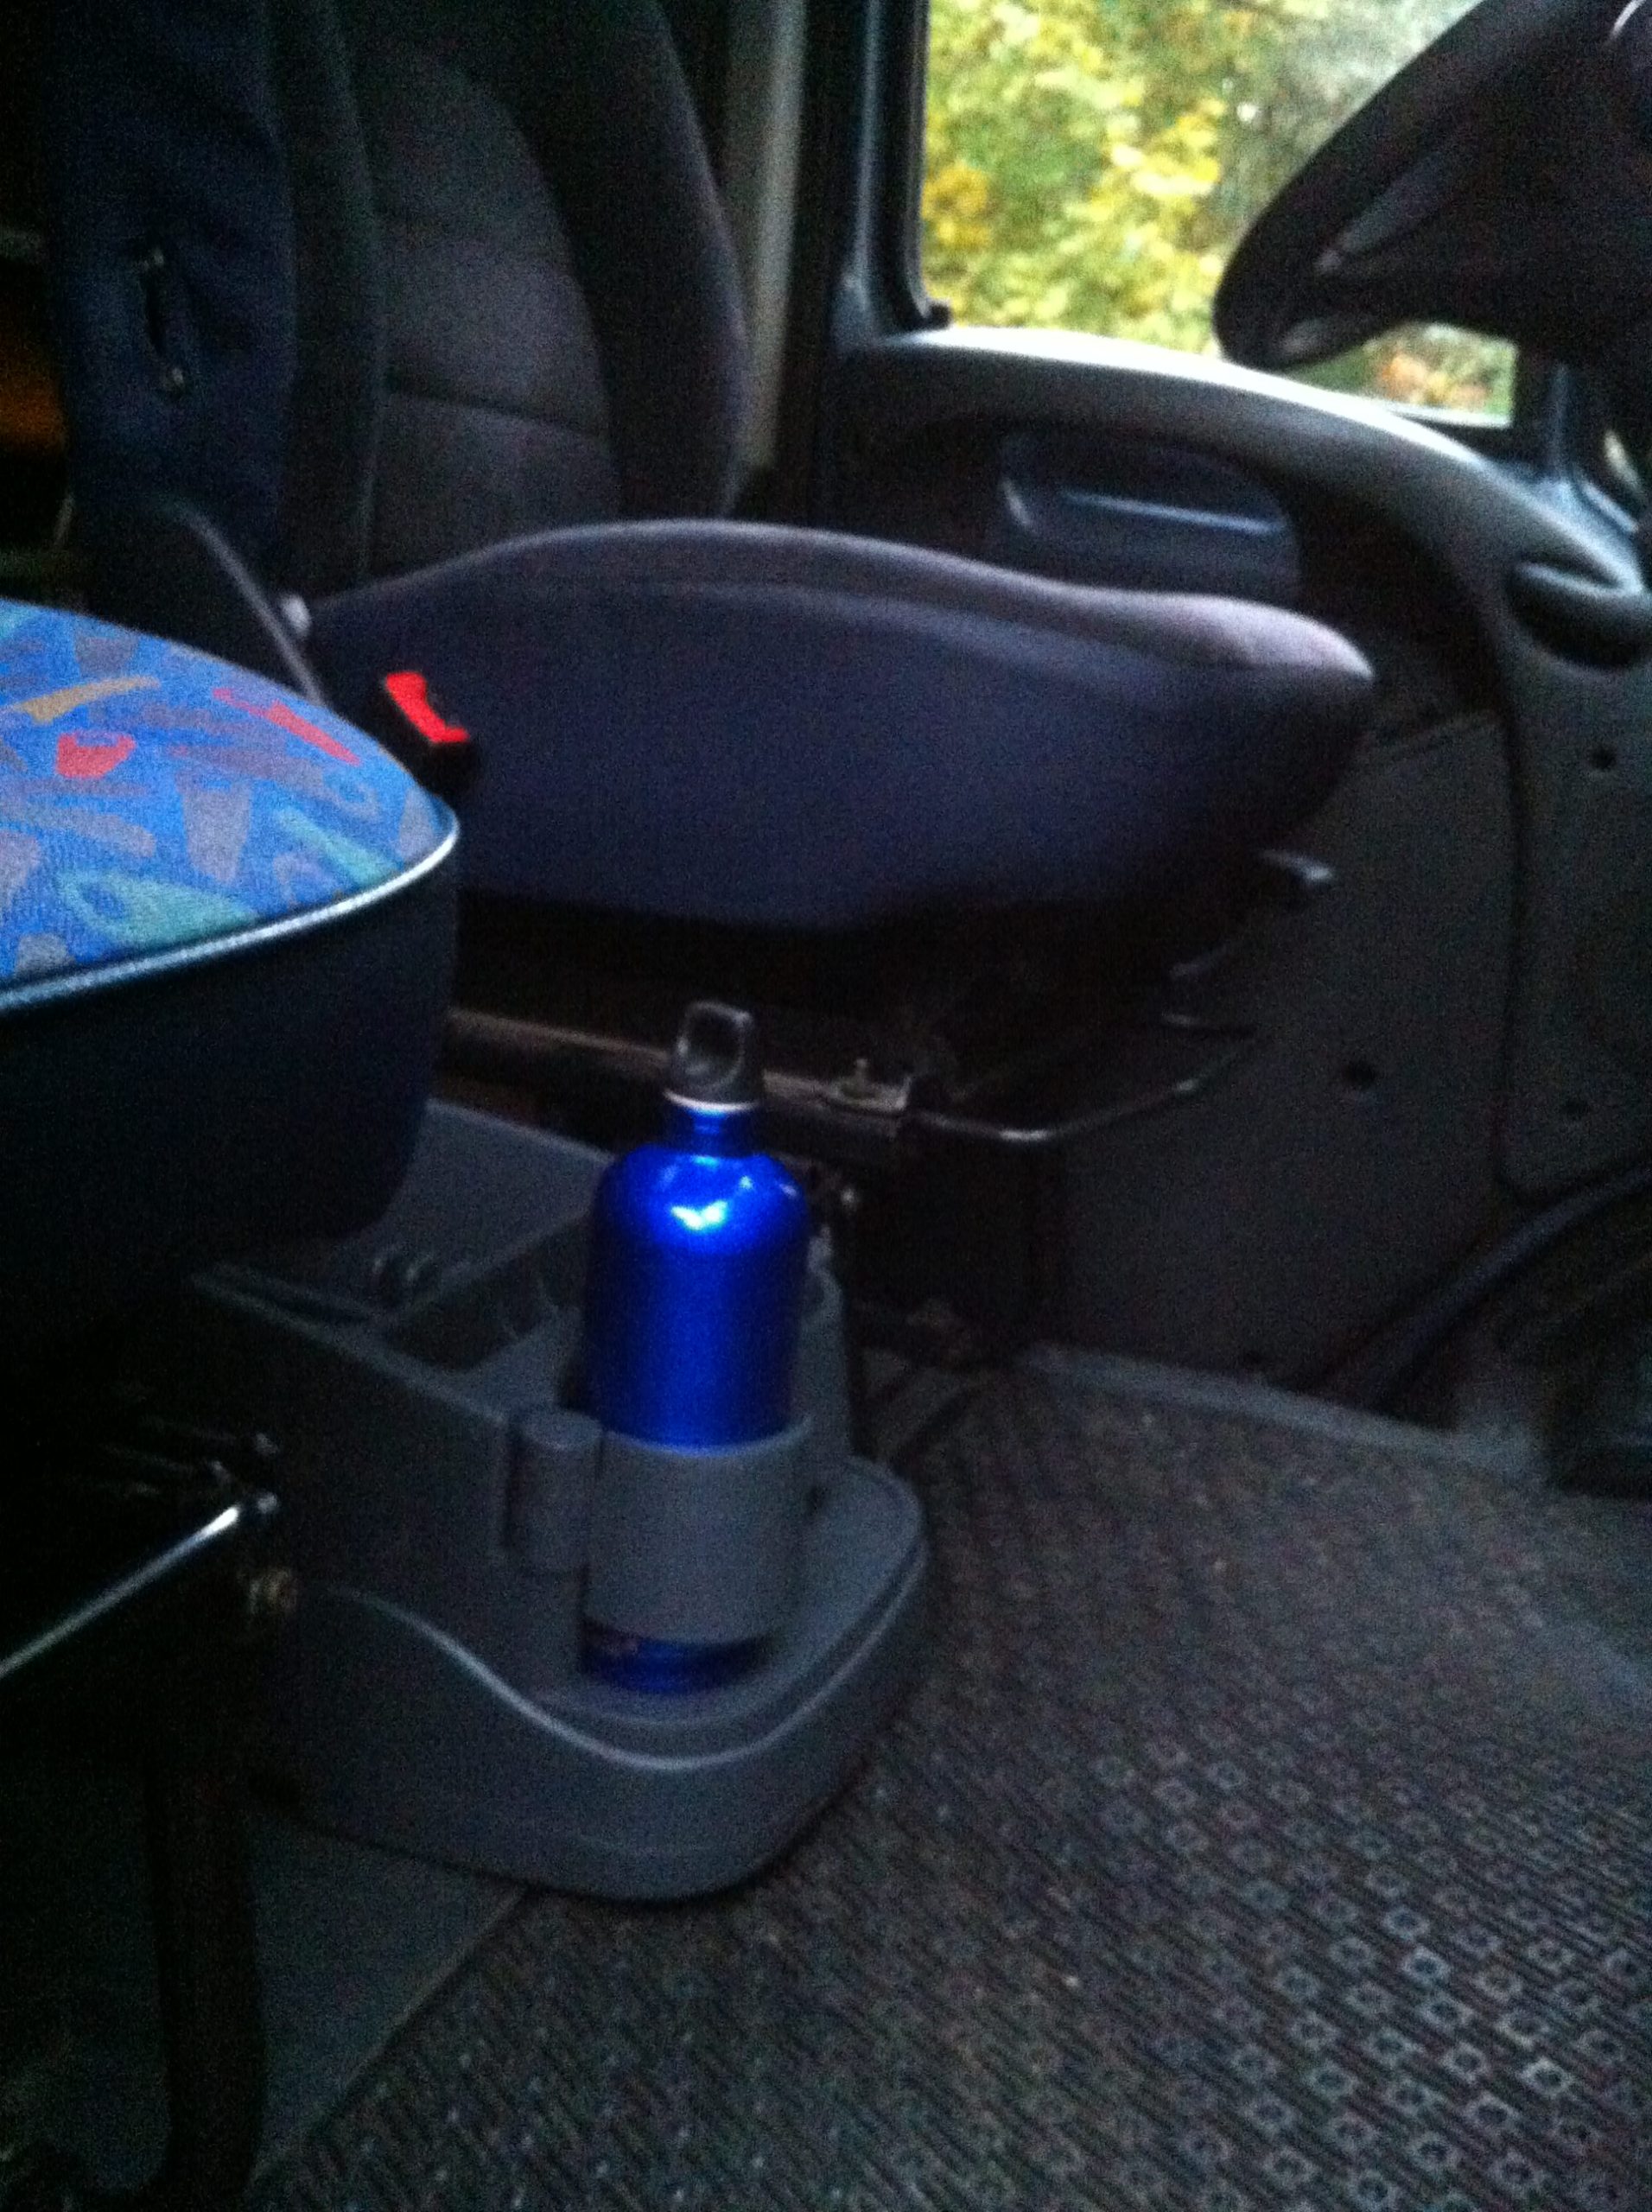
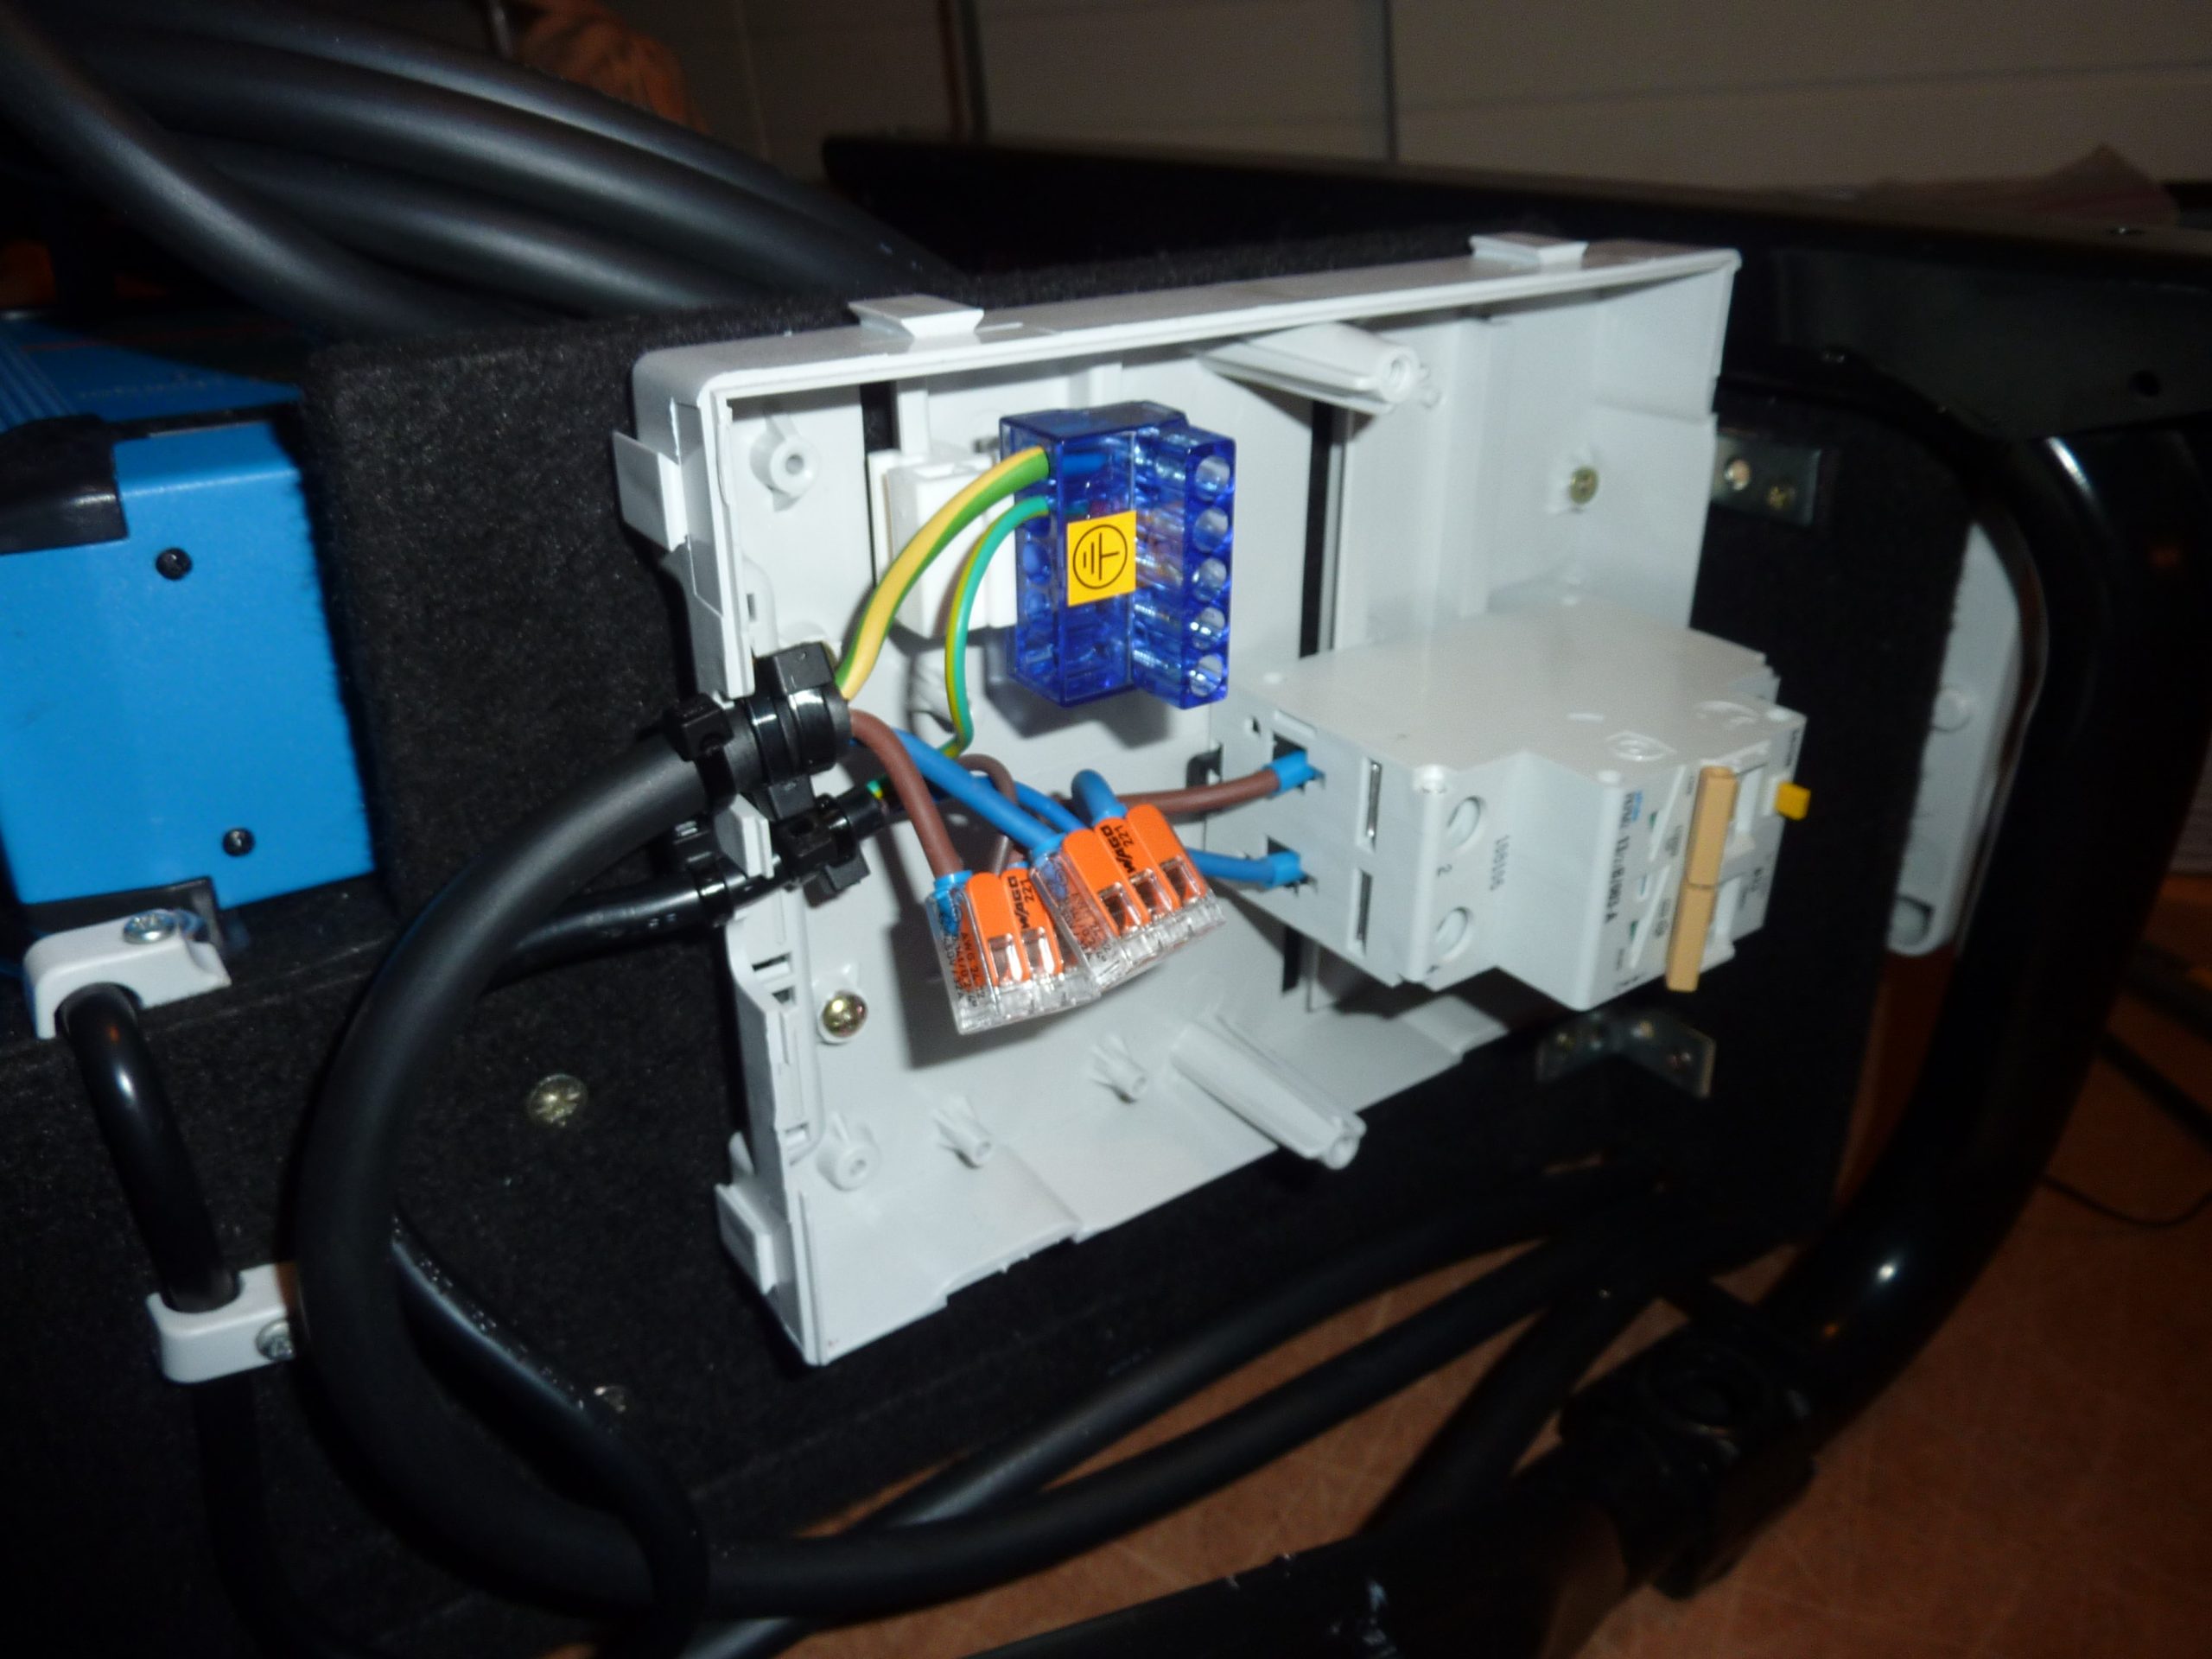
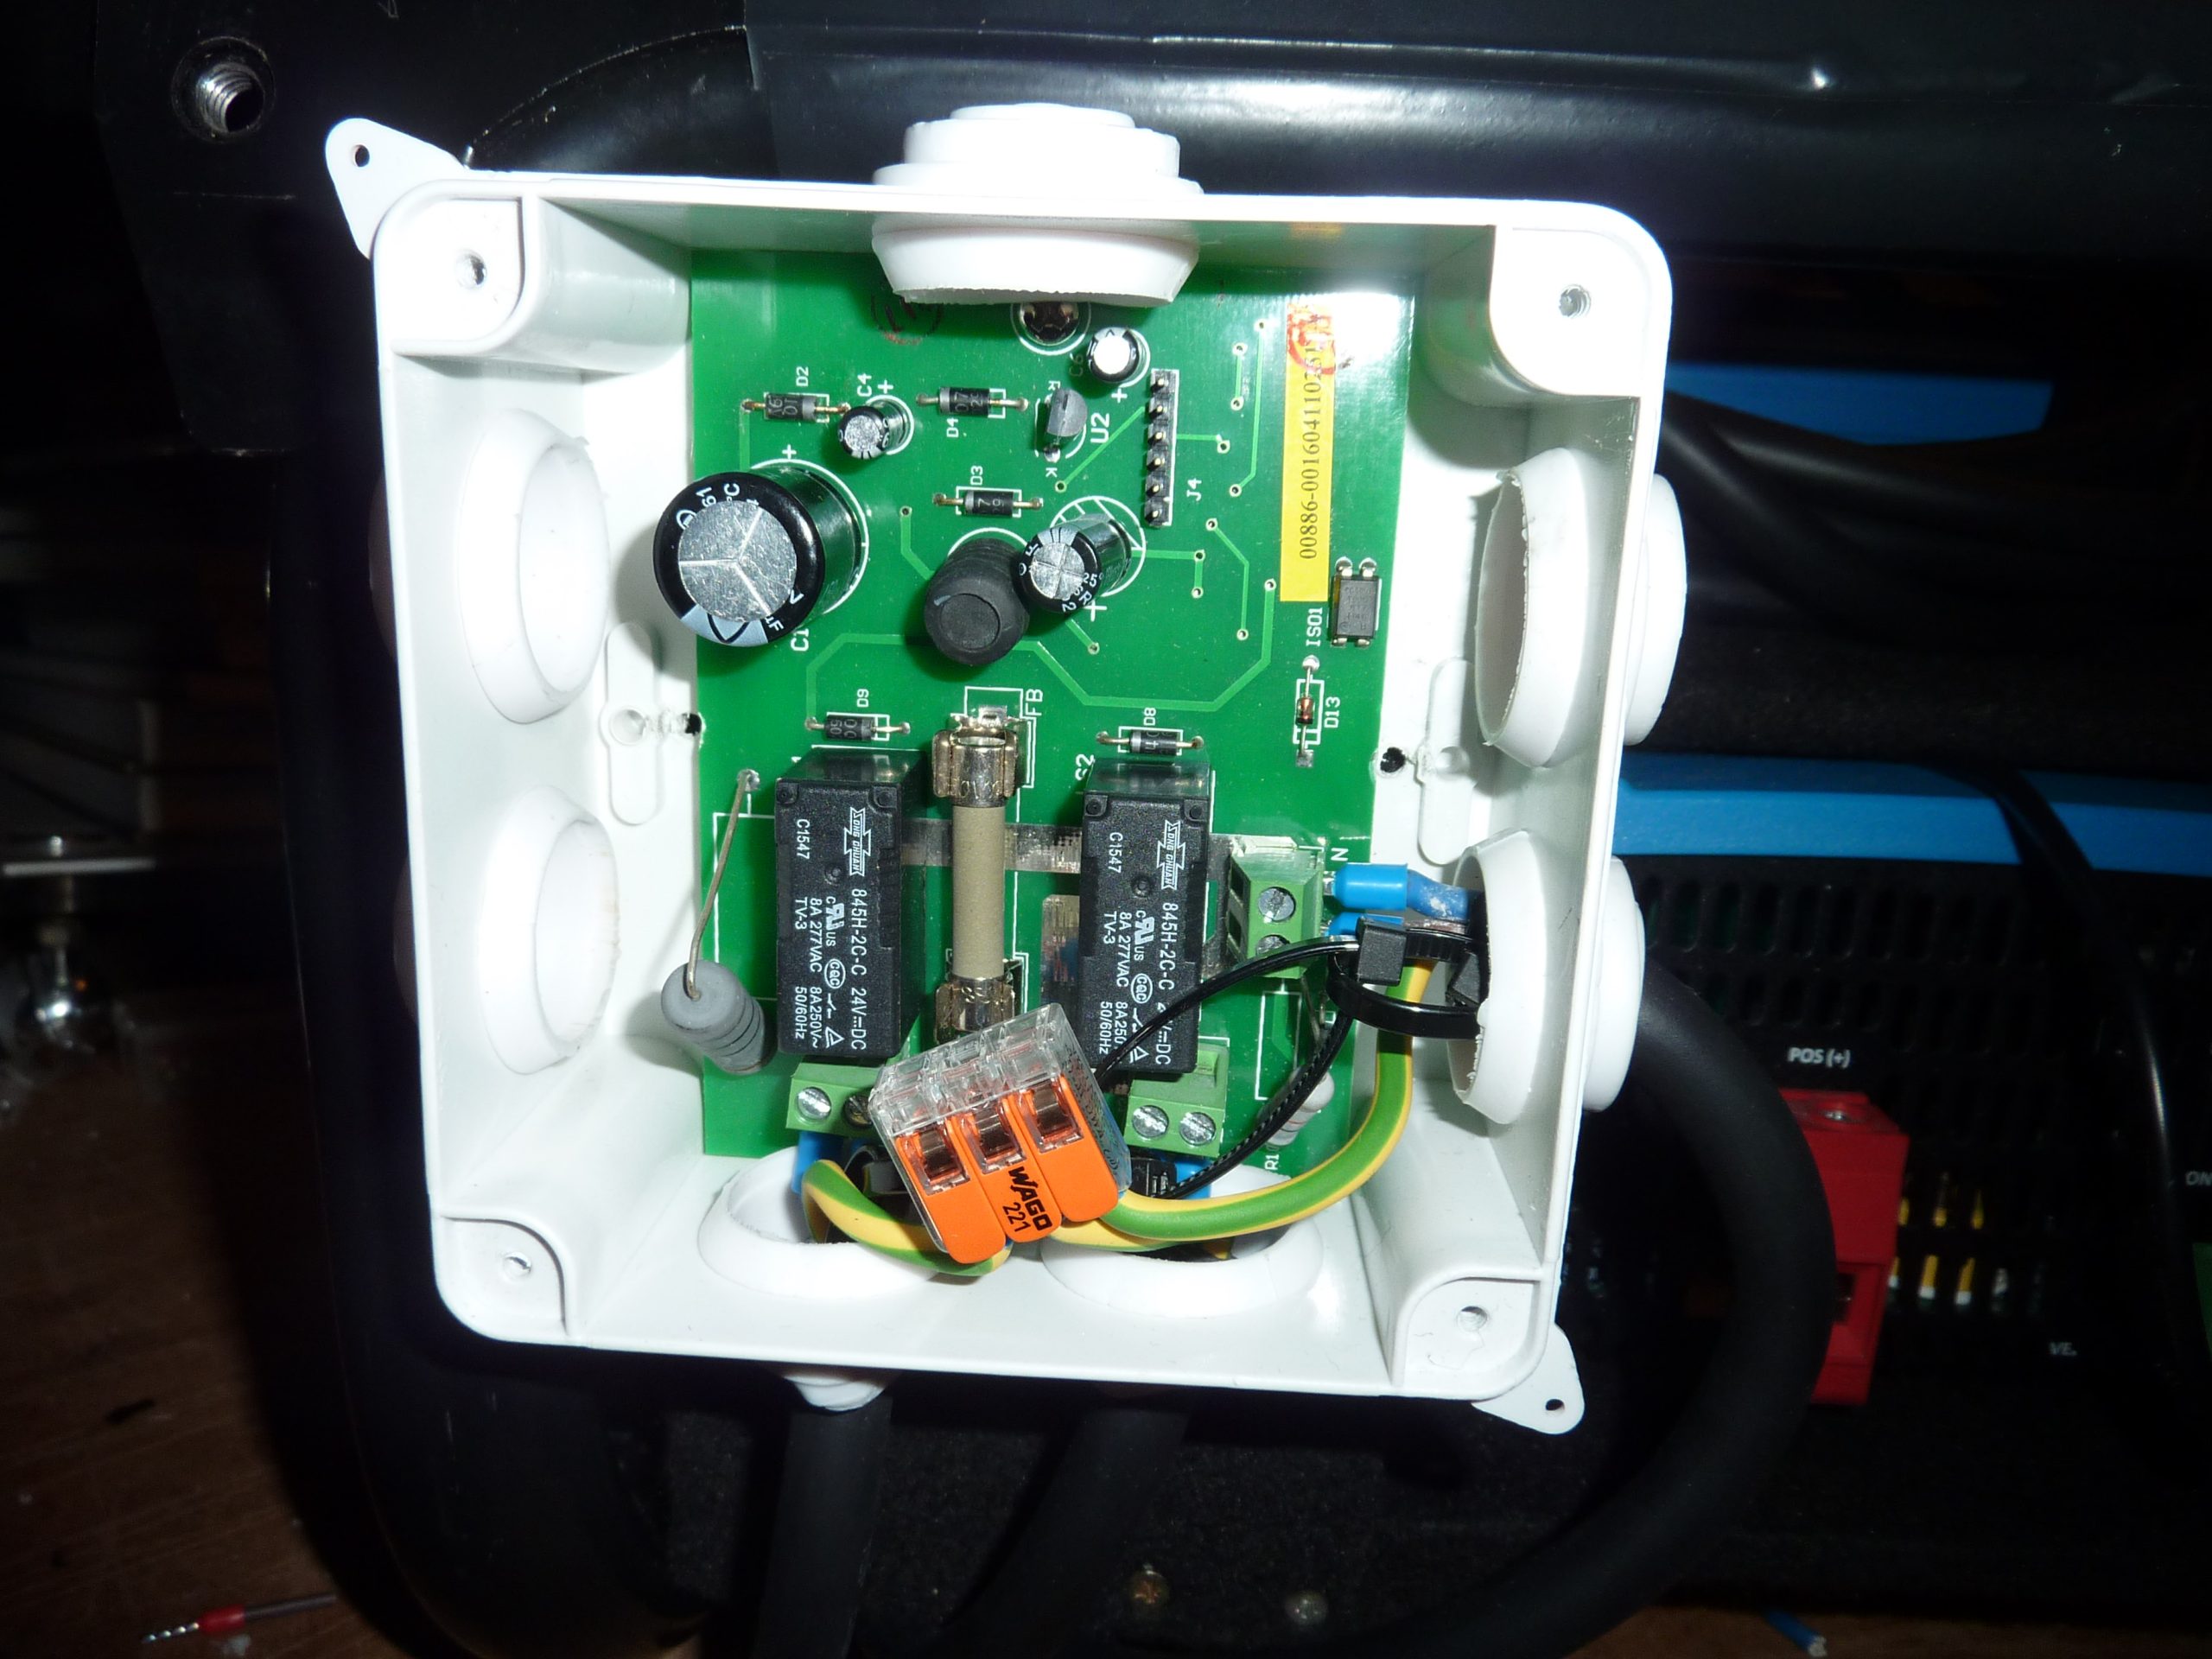
Most of the power setup is stored under the driver and passenger seats along with a main fuse and a priority switch for when we charge externally via “shore power”.
The fridge runs on 12V and is the biggest power hog we have. If there is enough sun, the system is completely self-sufficient. The 300W solar power runs everything, including charging all the devices. Only when there is a longer period of weather where there is not enough sun to charge, you have to get moving or find a power outlet to charge, which you can sometimes find for free at supermarkets or for a fee at some places with a power outlet. In theory, the whole setup is designed for independent off-grid use. In practice, to keep it running, you would actually need to double the battery for backup duties, and then you would go with a lighter and more expensive battery system, as AGM batteries are quite heavy, ours weighs about 70kg / 150 lbs. So you would probably need to invest in lithium batteries or something similar to counter bad weather periods depending on the climate zone you are traveling in.
For us it is a functional cost/performance compromise and it works for us mostly traveling in Europe.
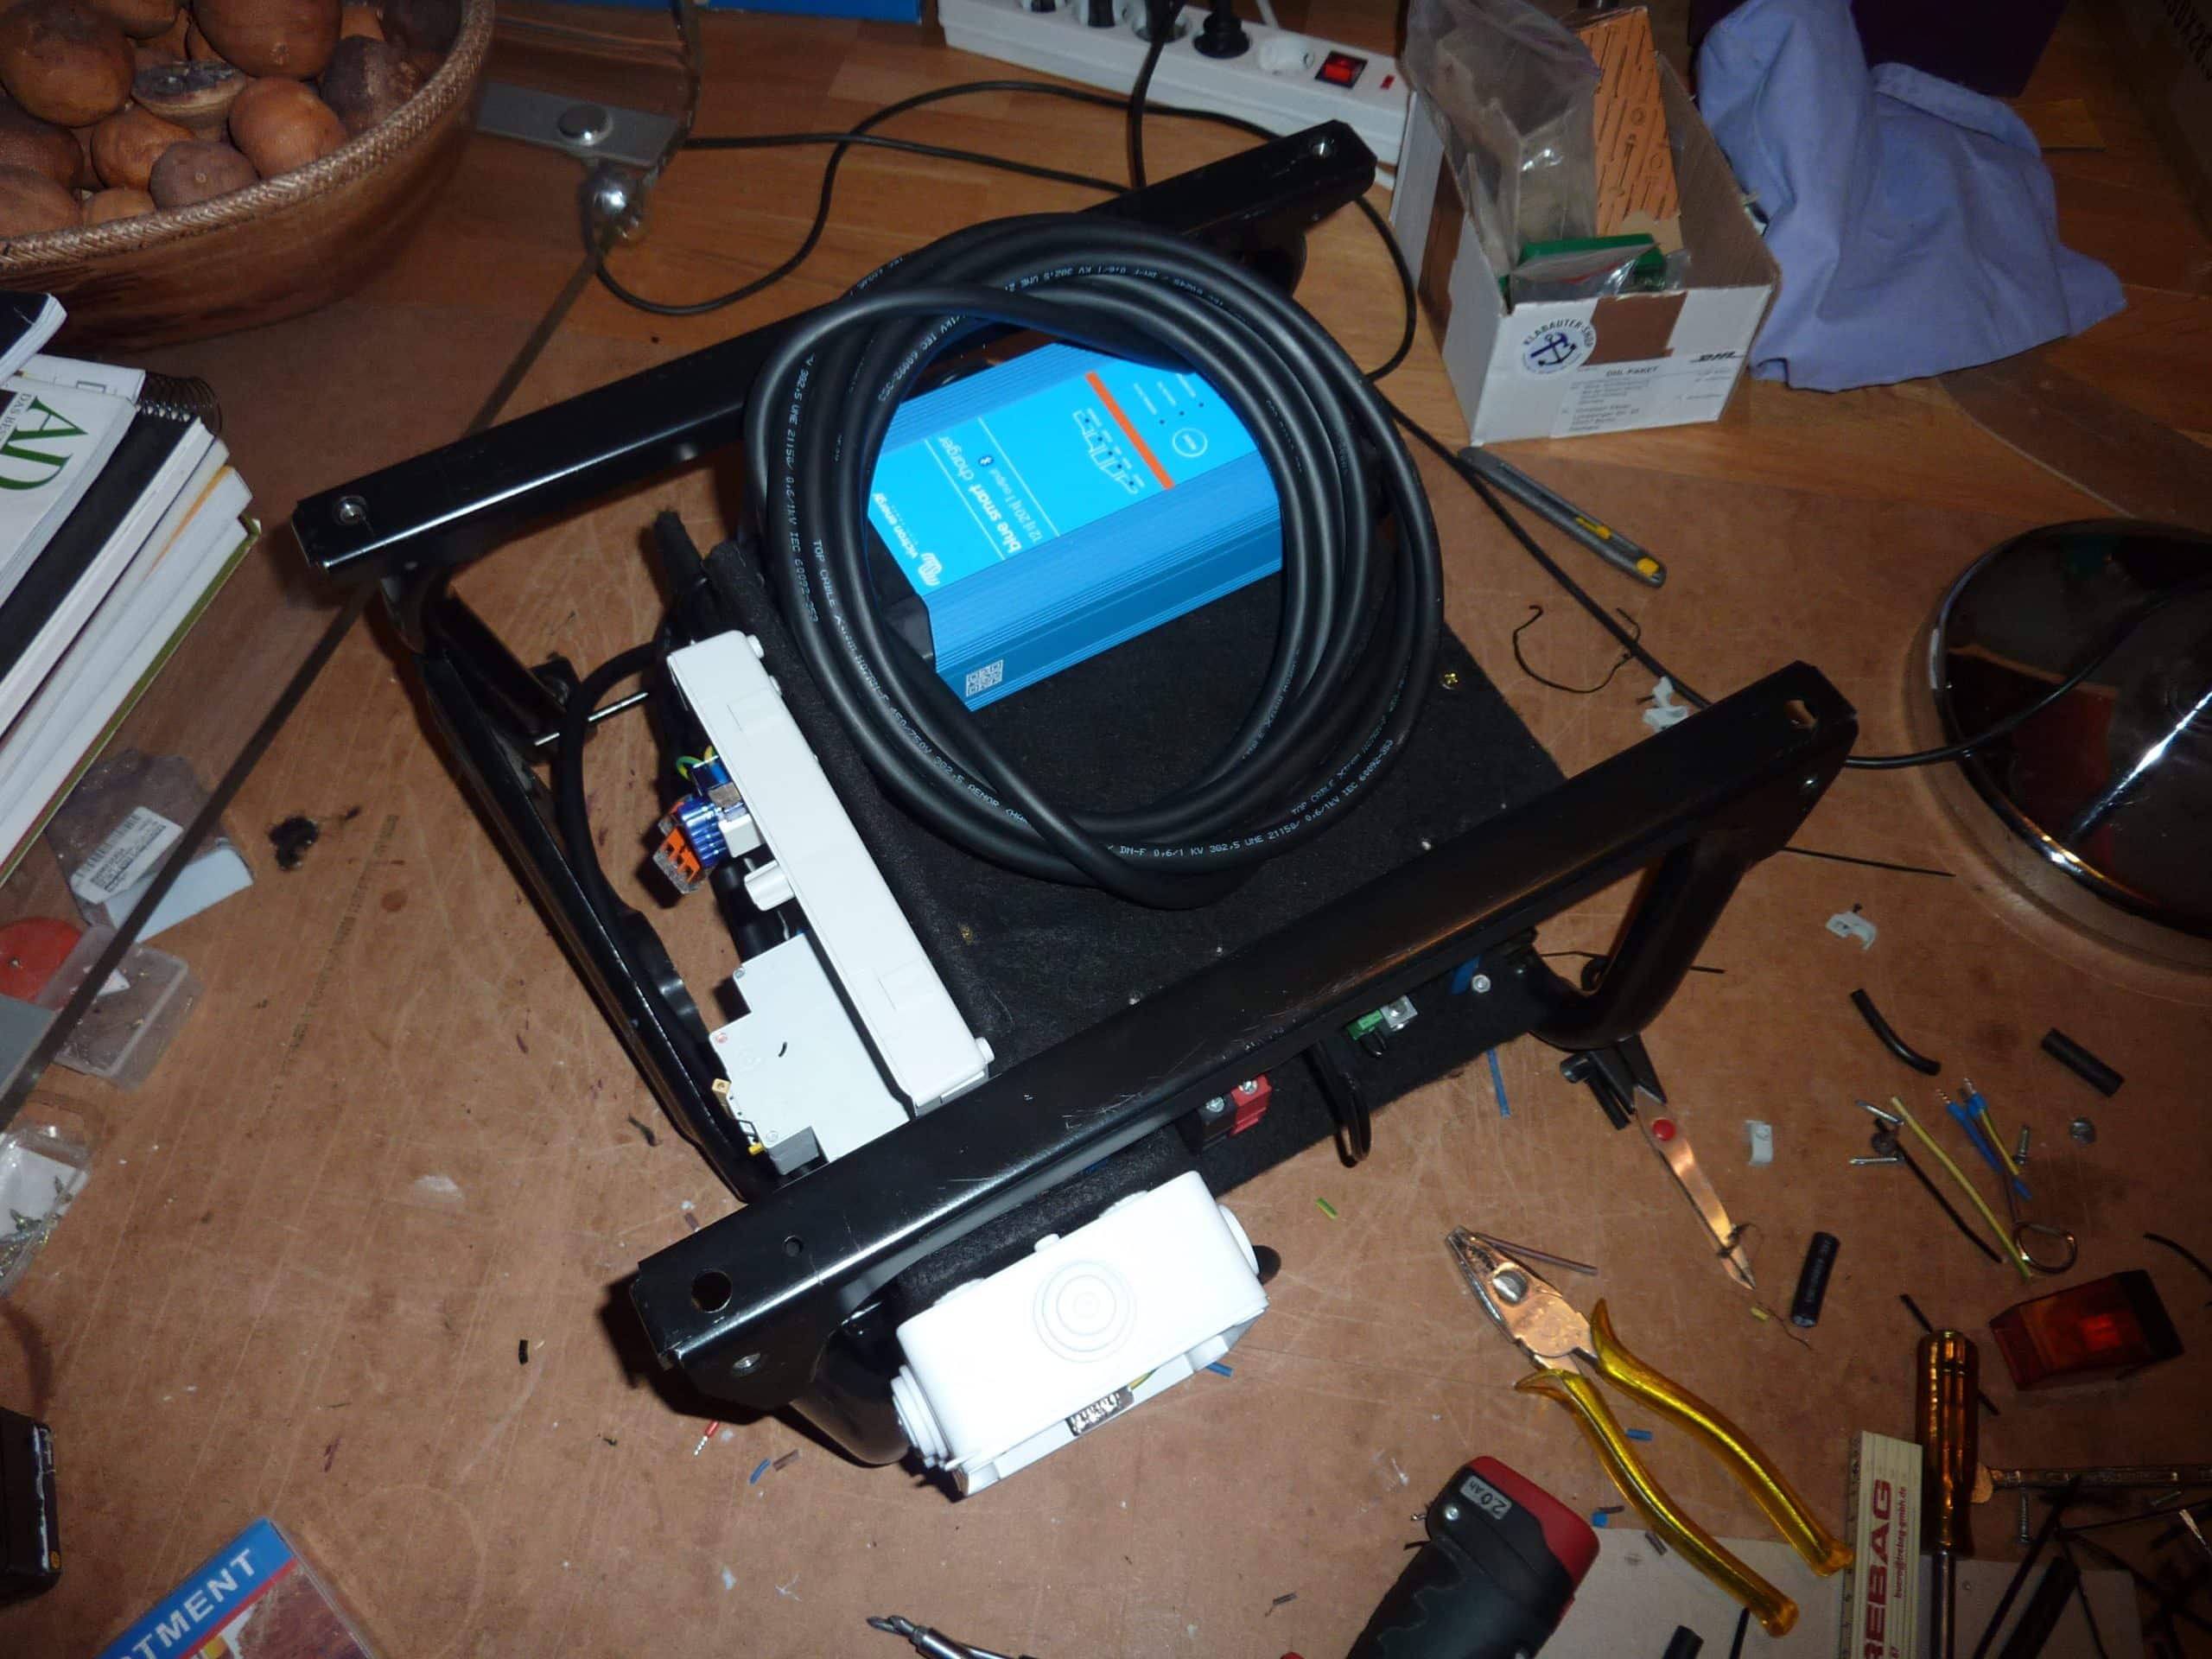
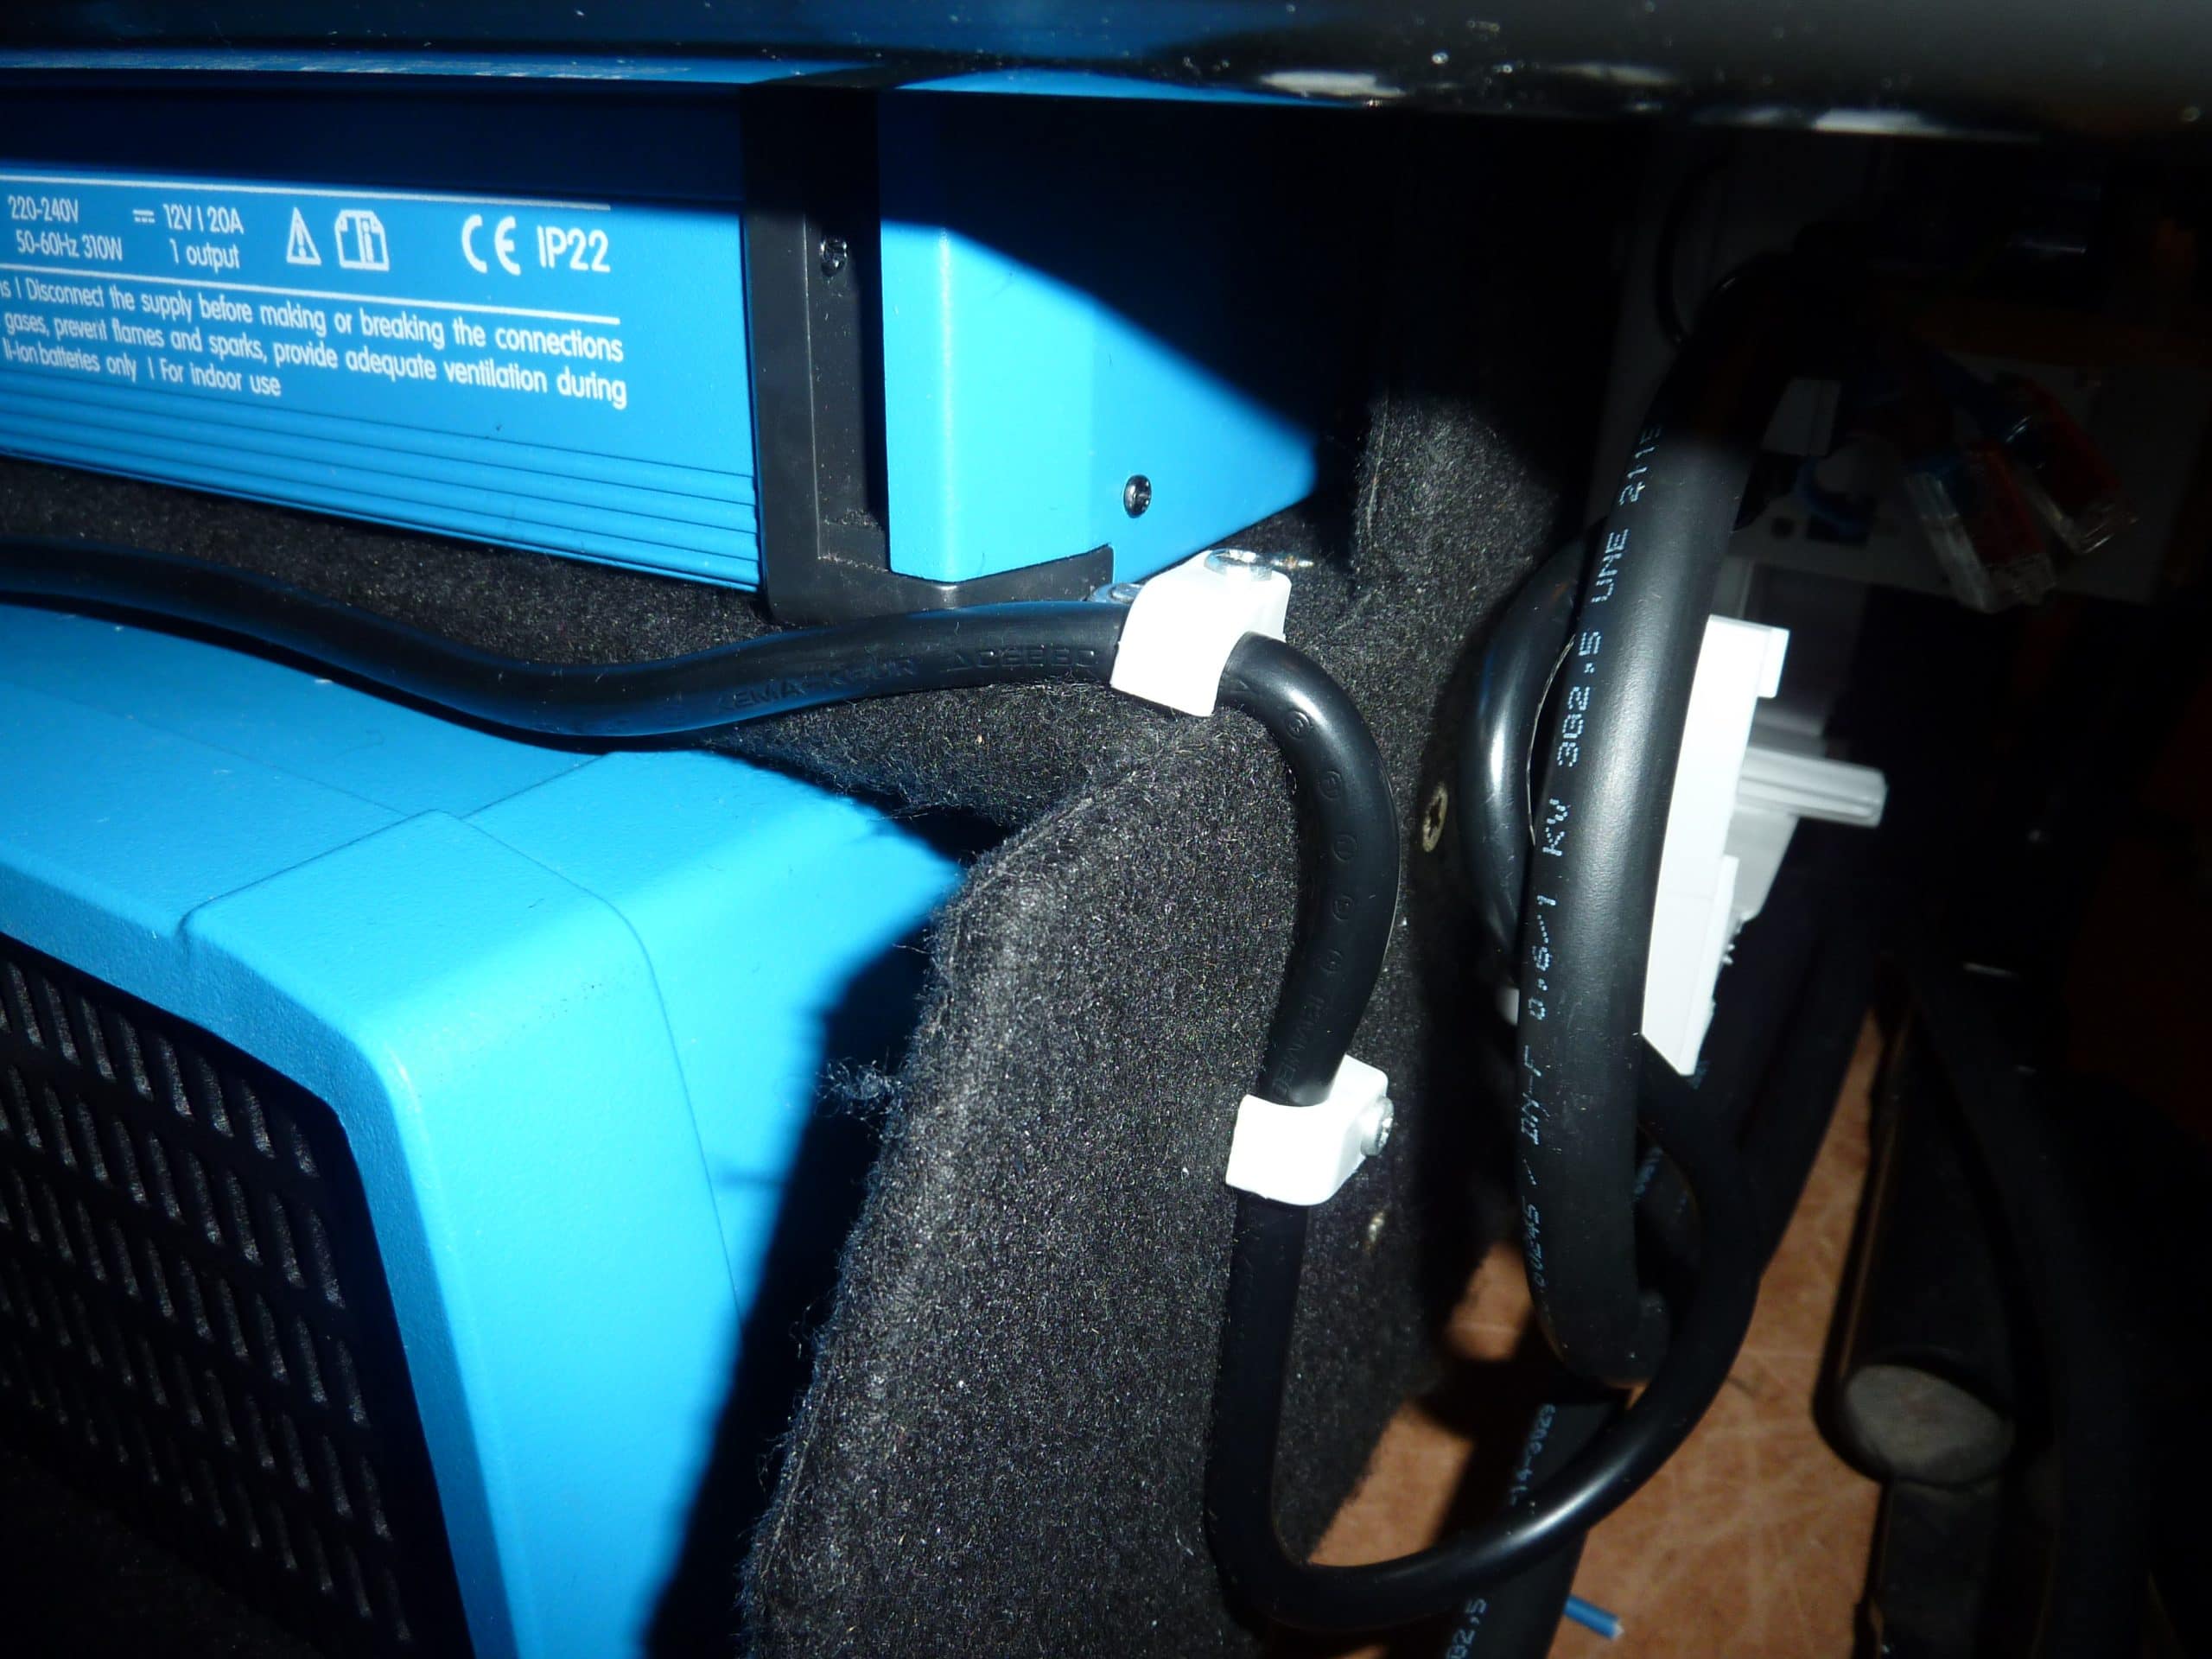
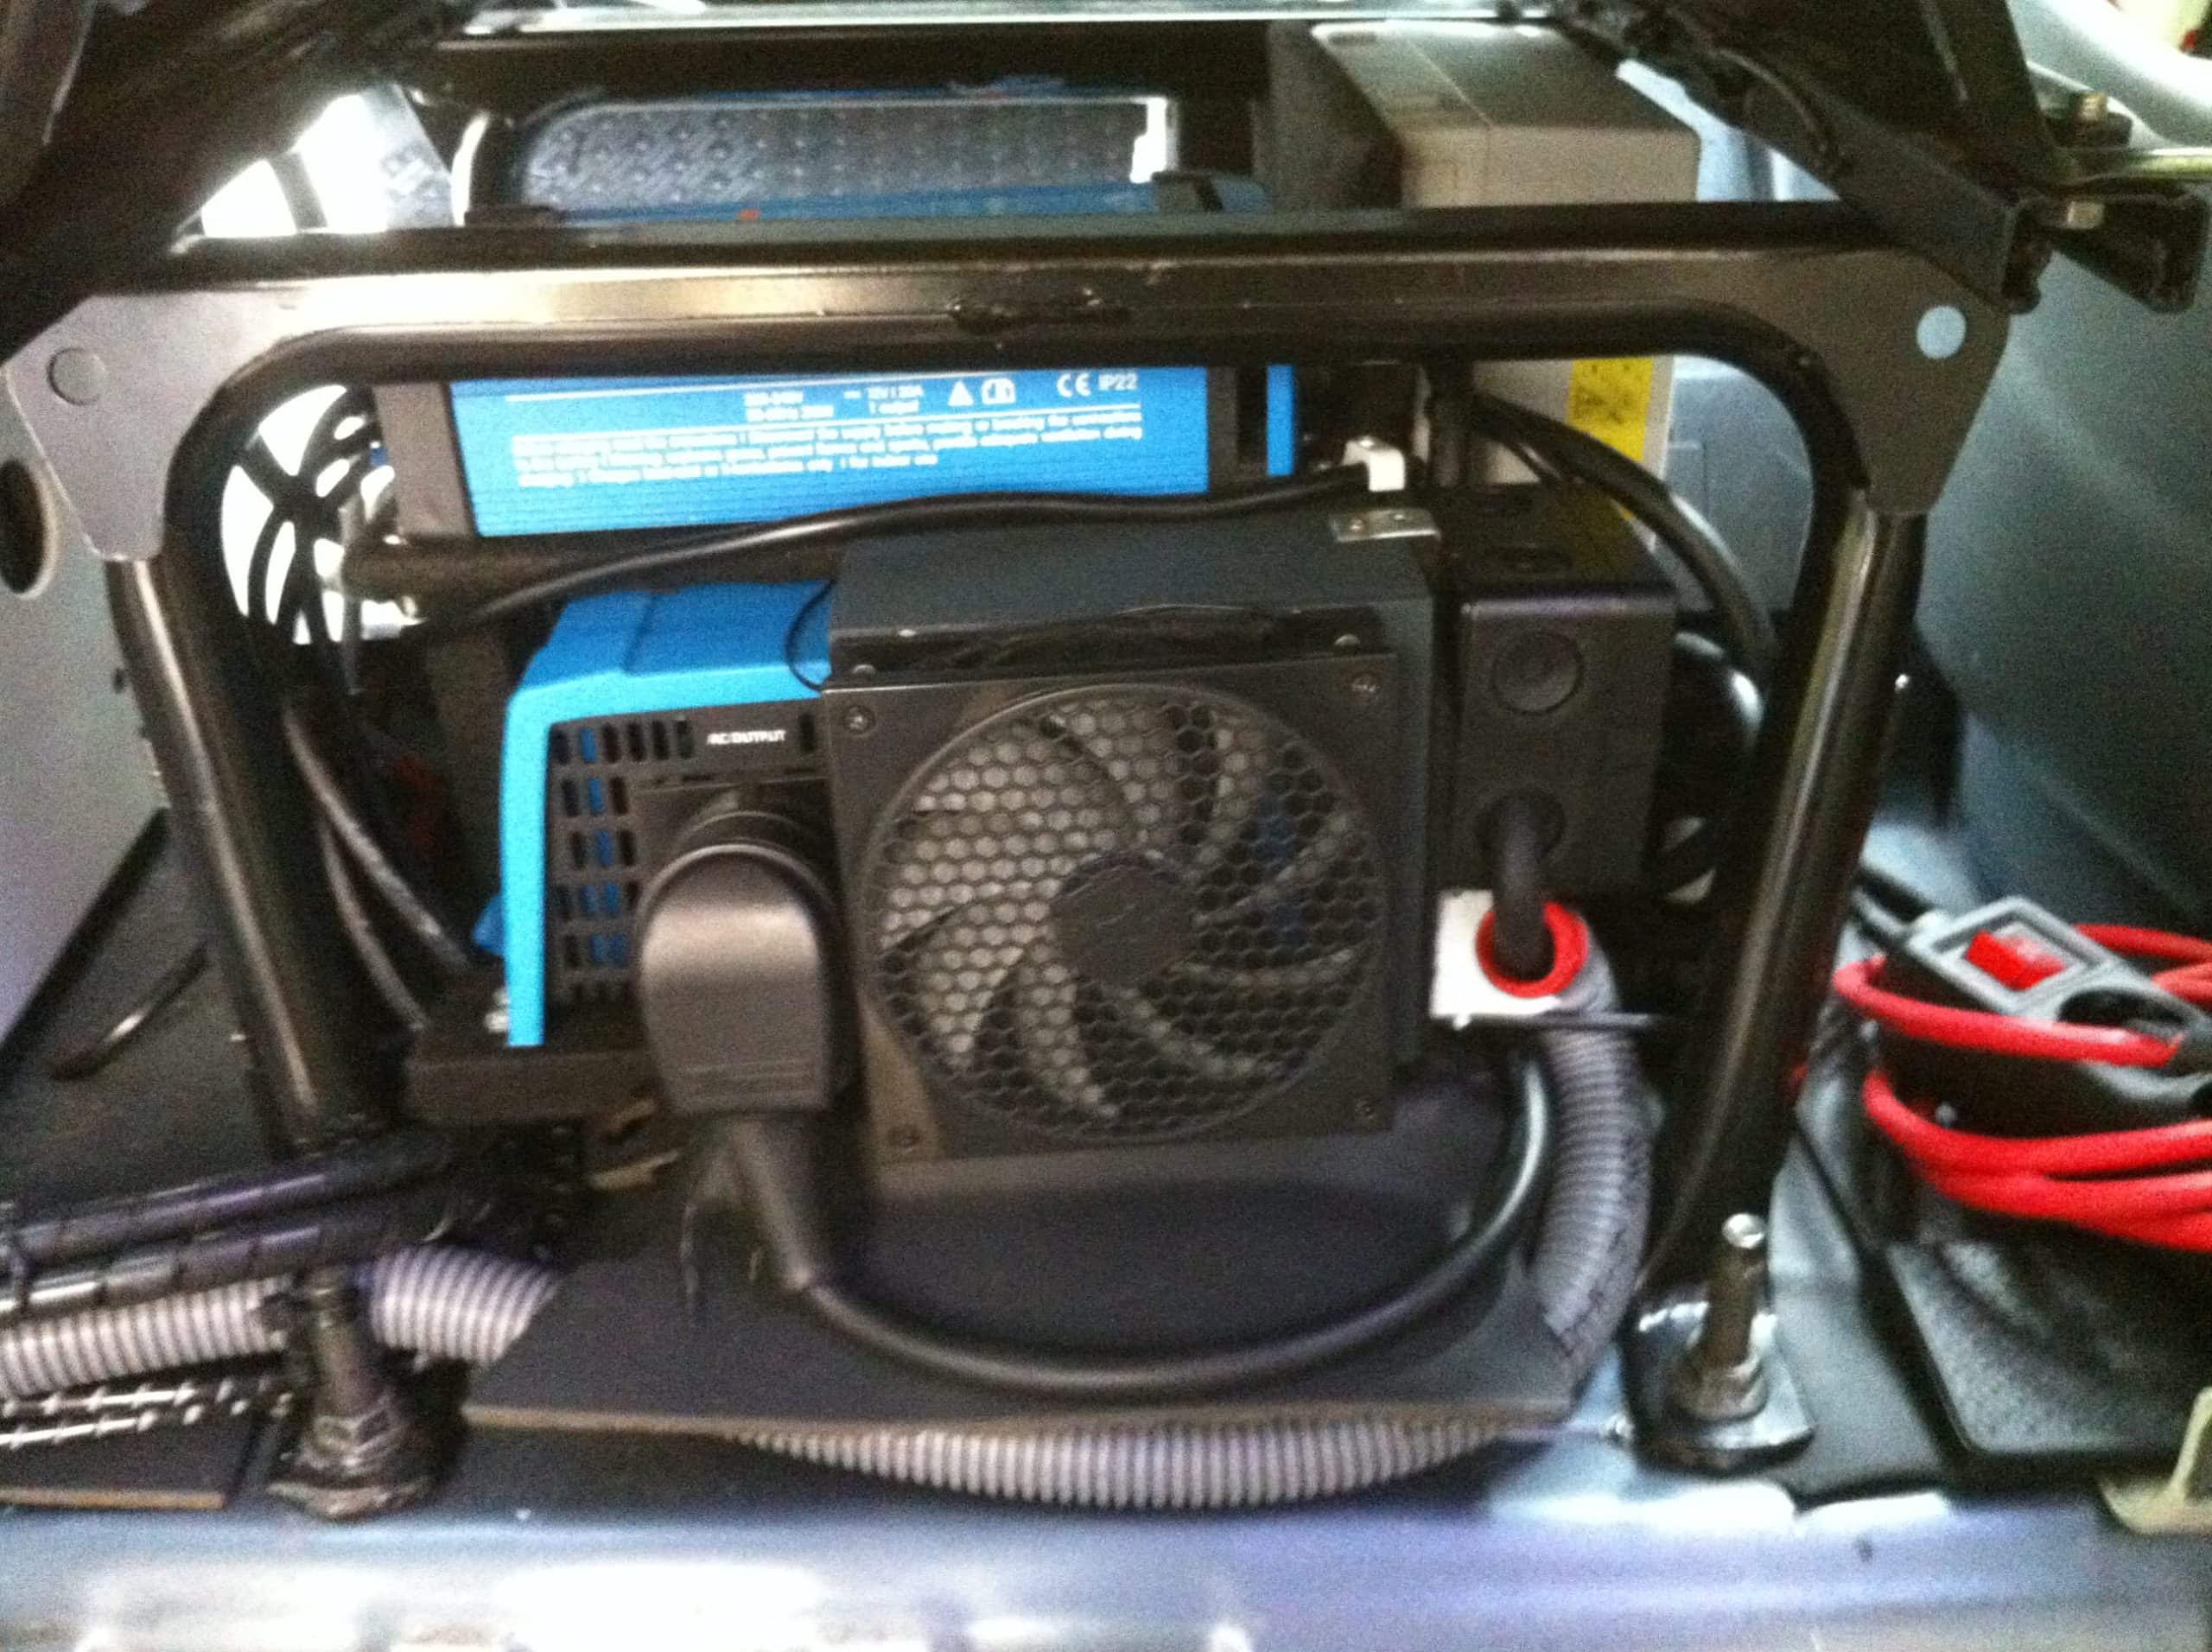
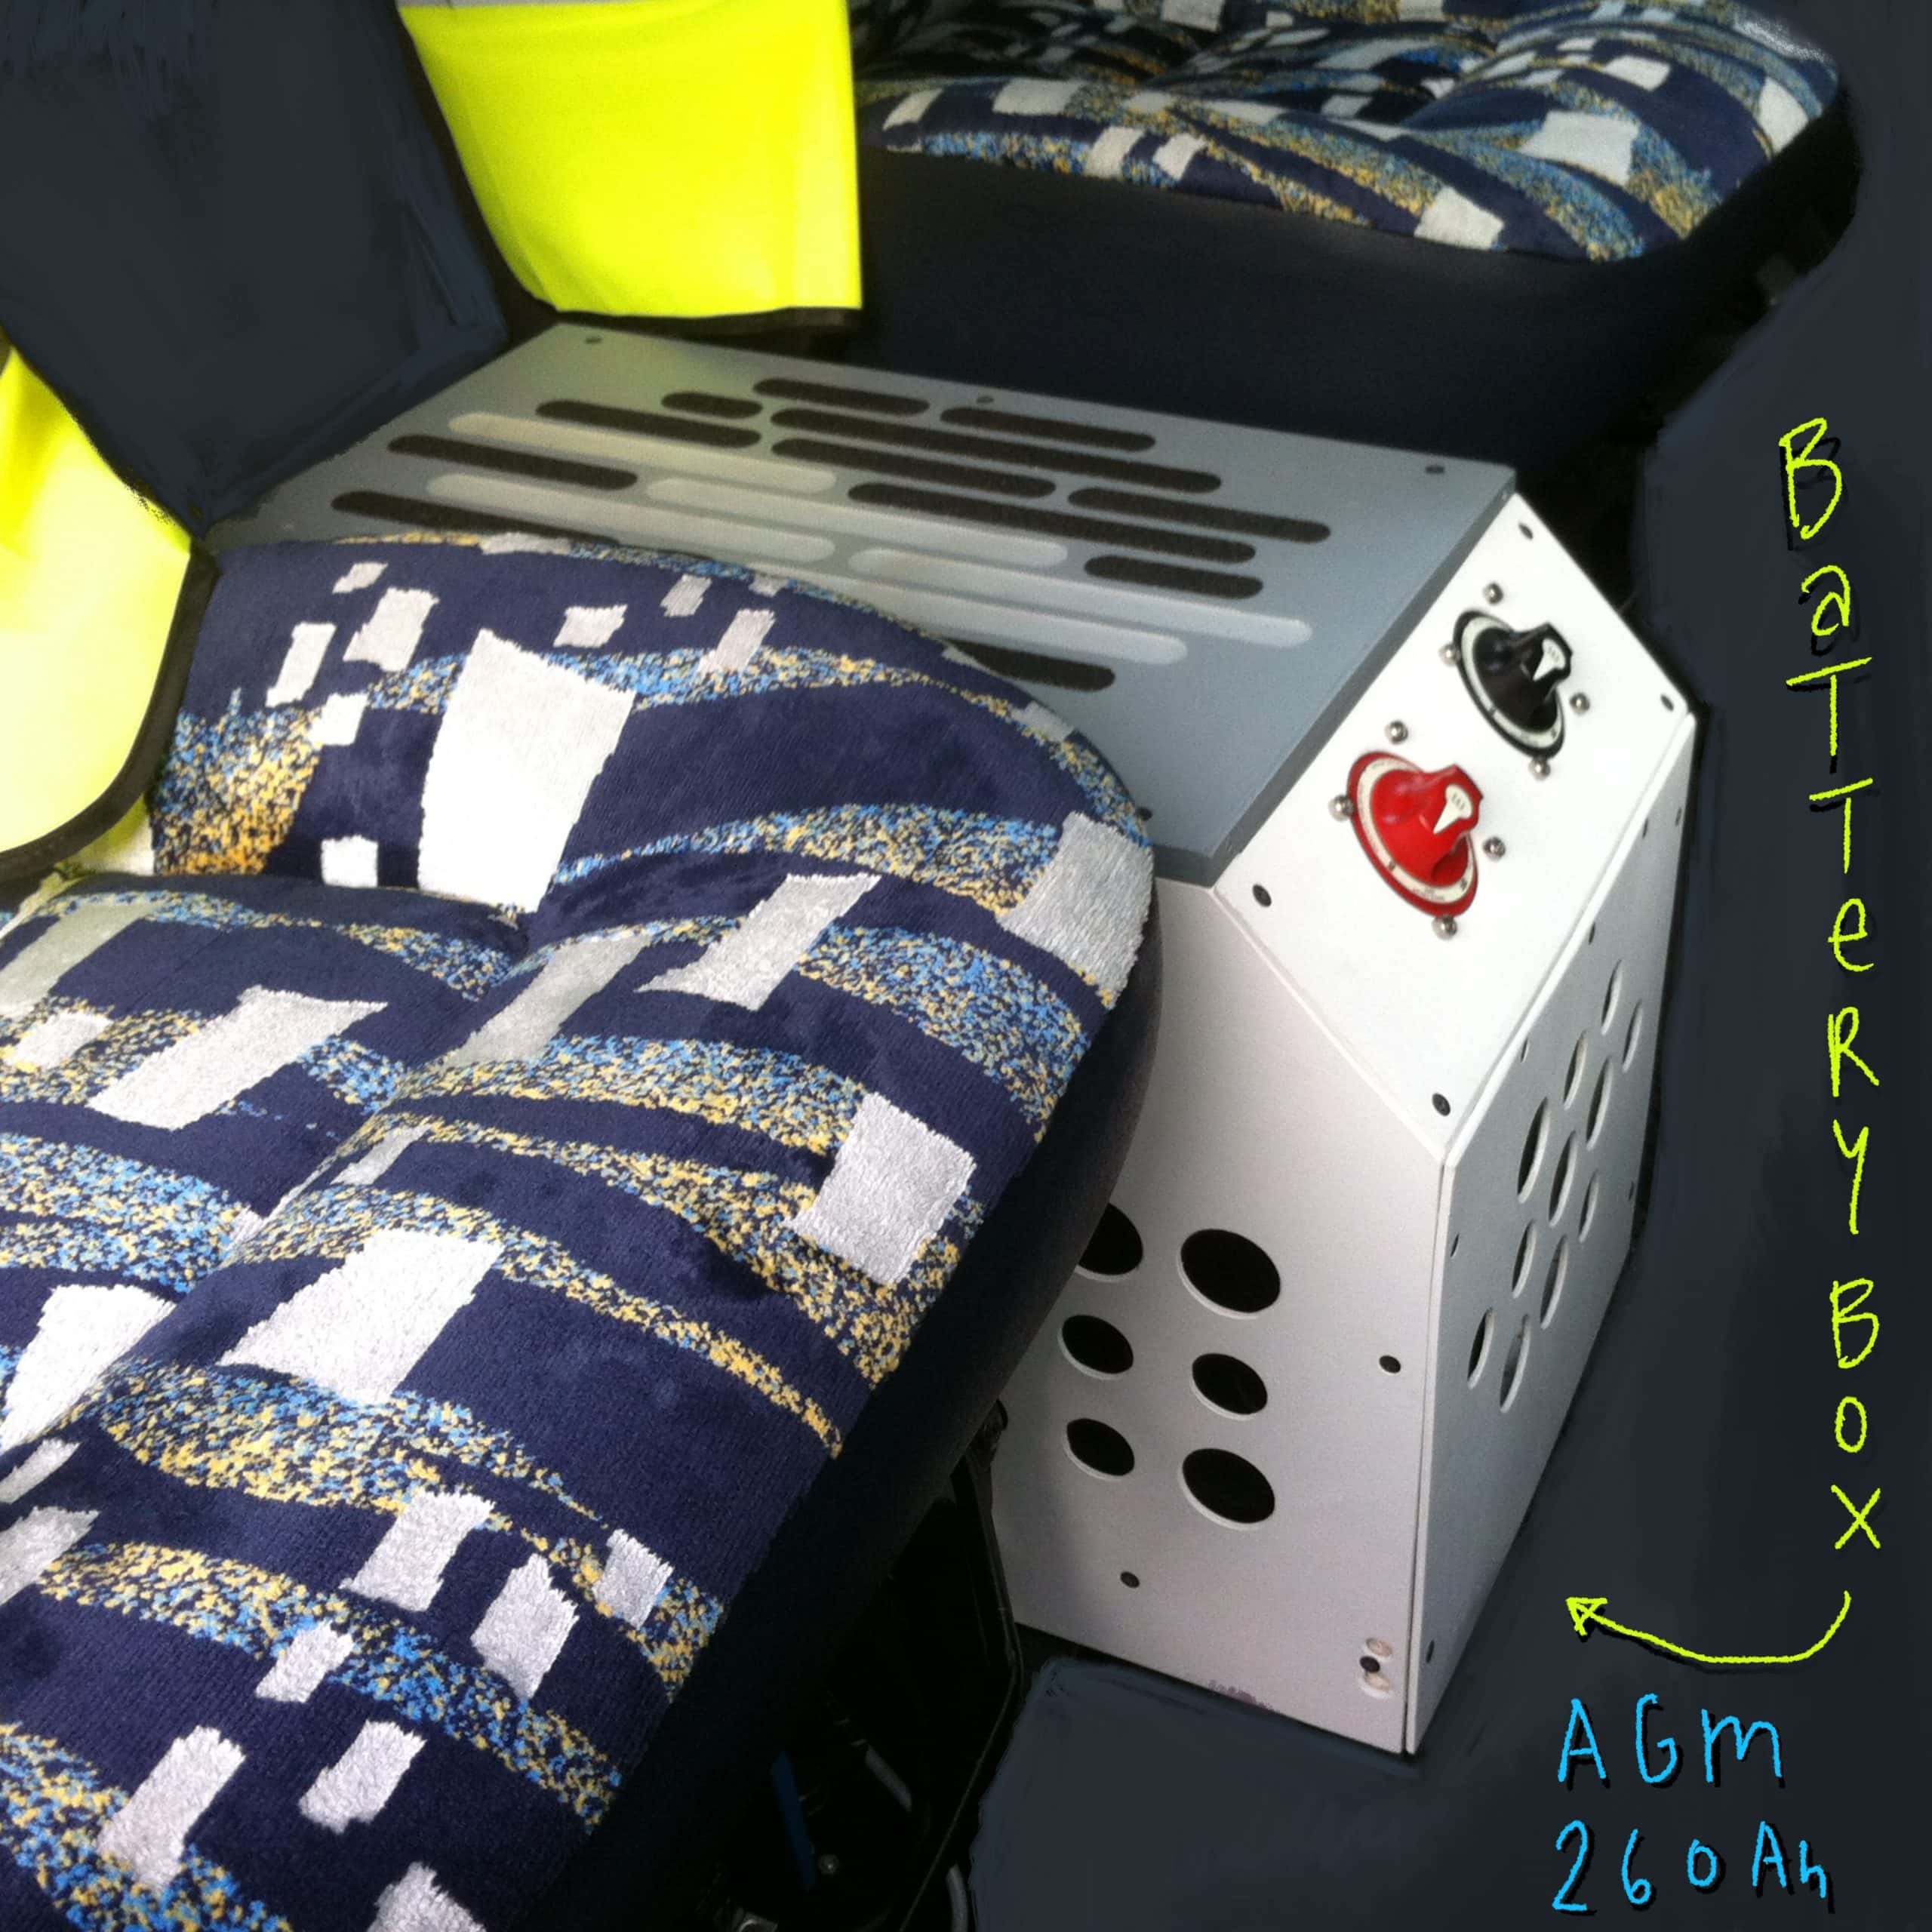
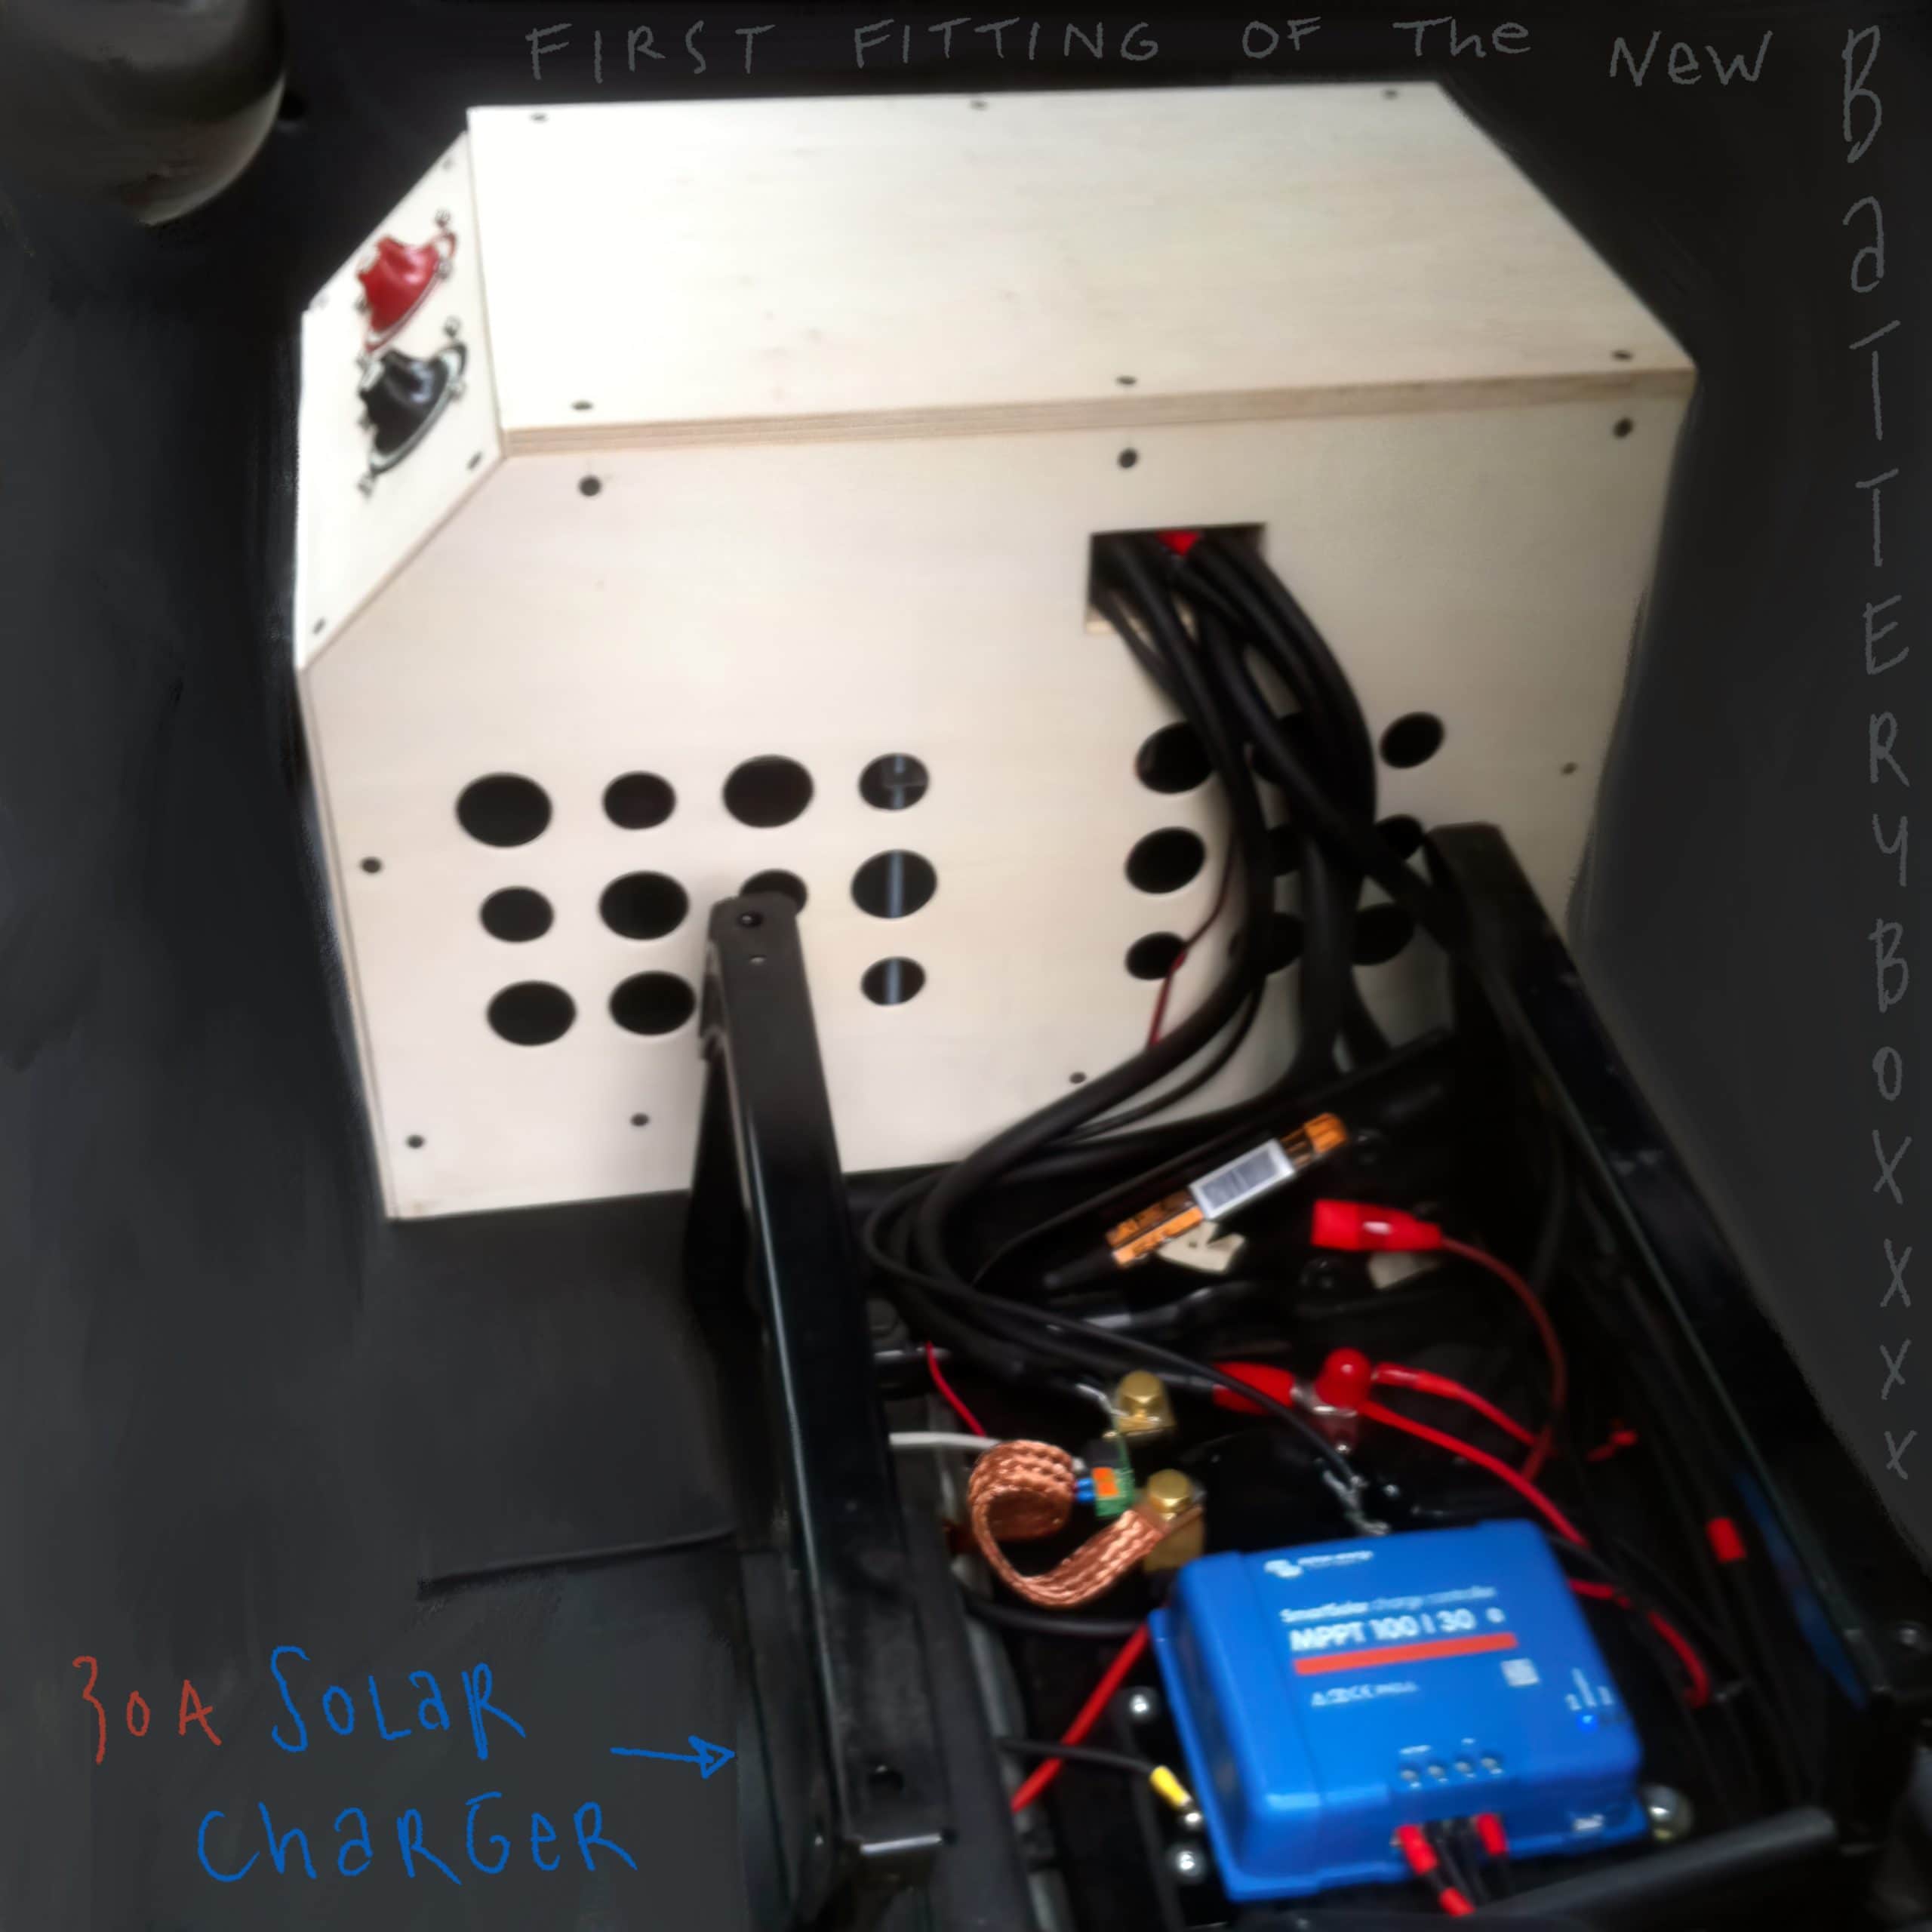
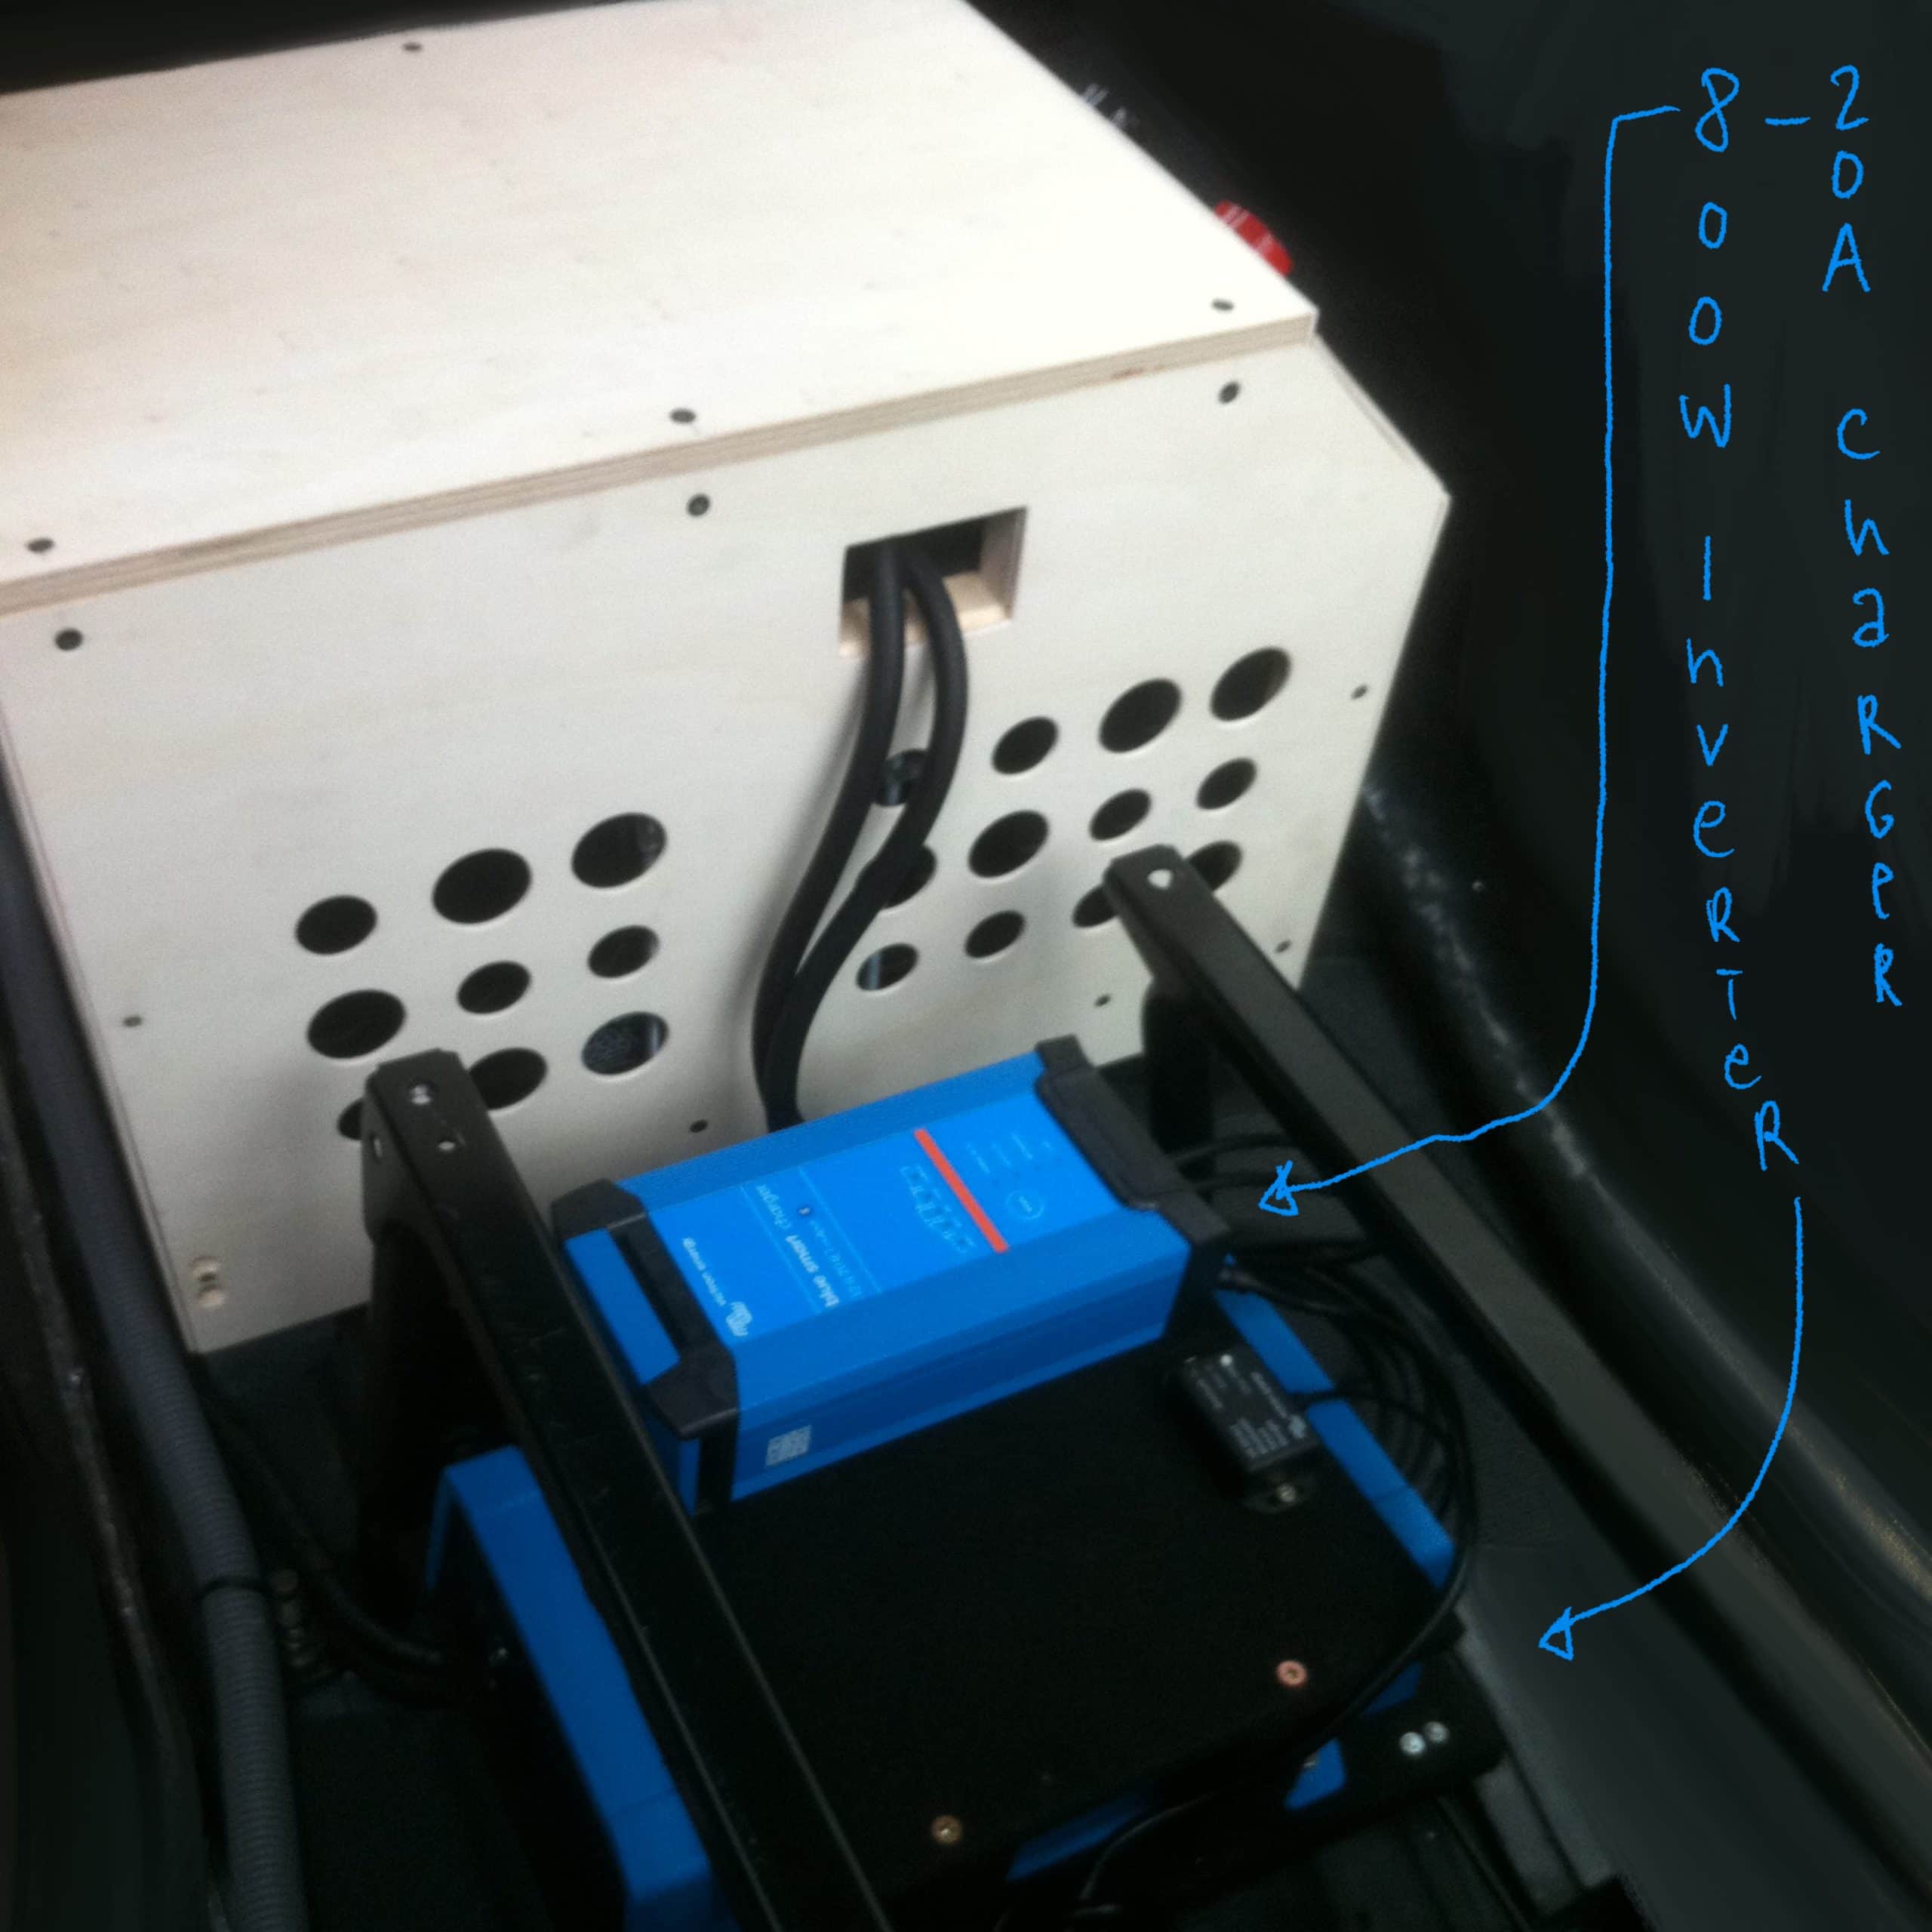
It was a first for us to install everything, 12V and 230V in parallel. It was good to have some help with the electrical diagram as some things are not so straightforward and you have to keep a lot in mind, including the cable diameters for the specific application. But all in all it is manageable and can be done without any prior knowledge.
Telecommunications:
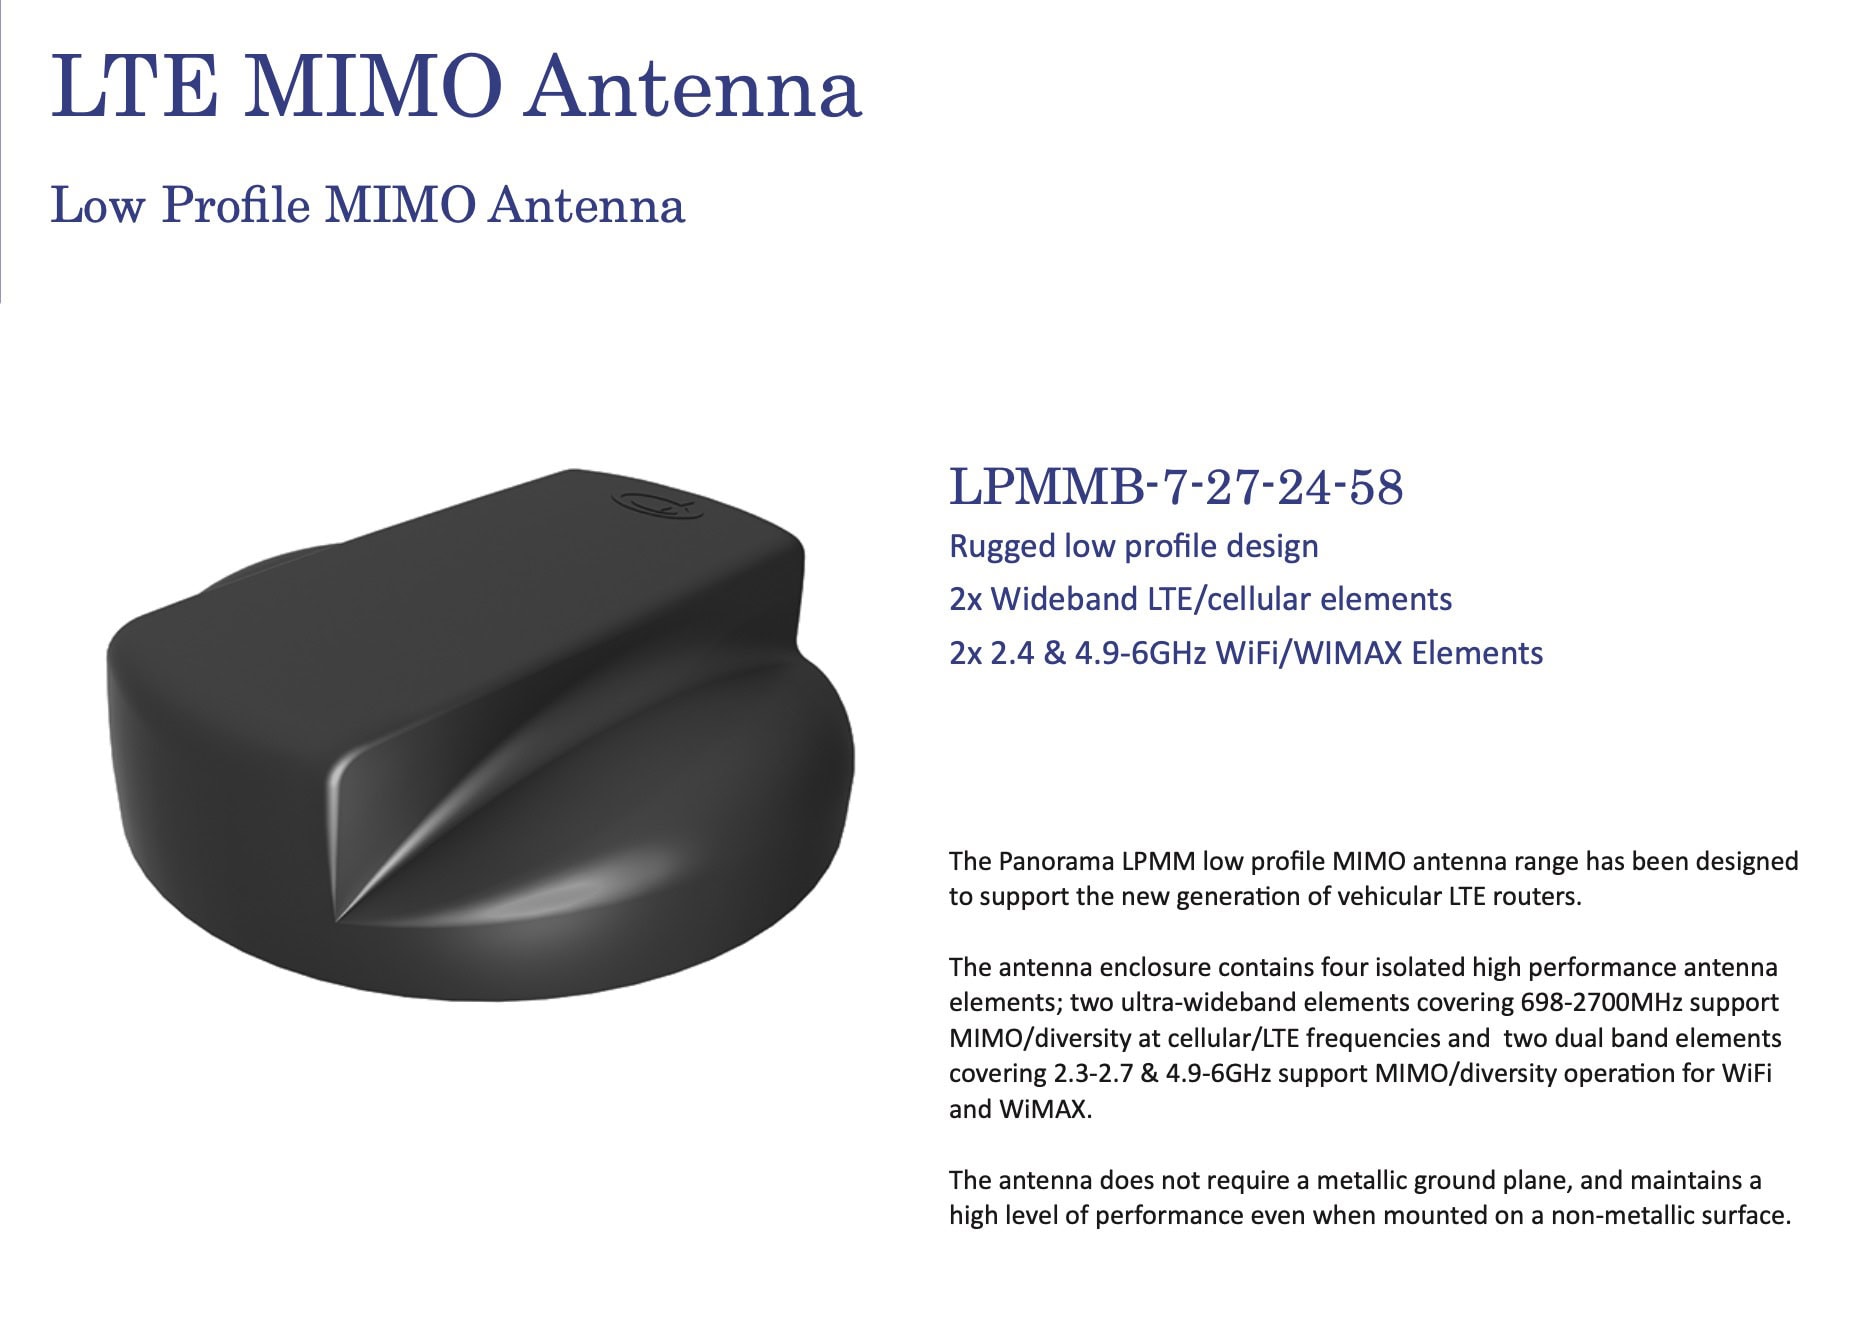
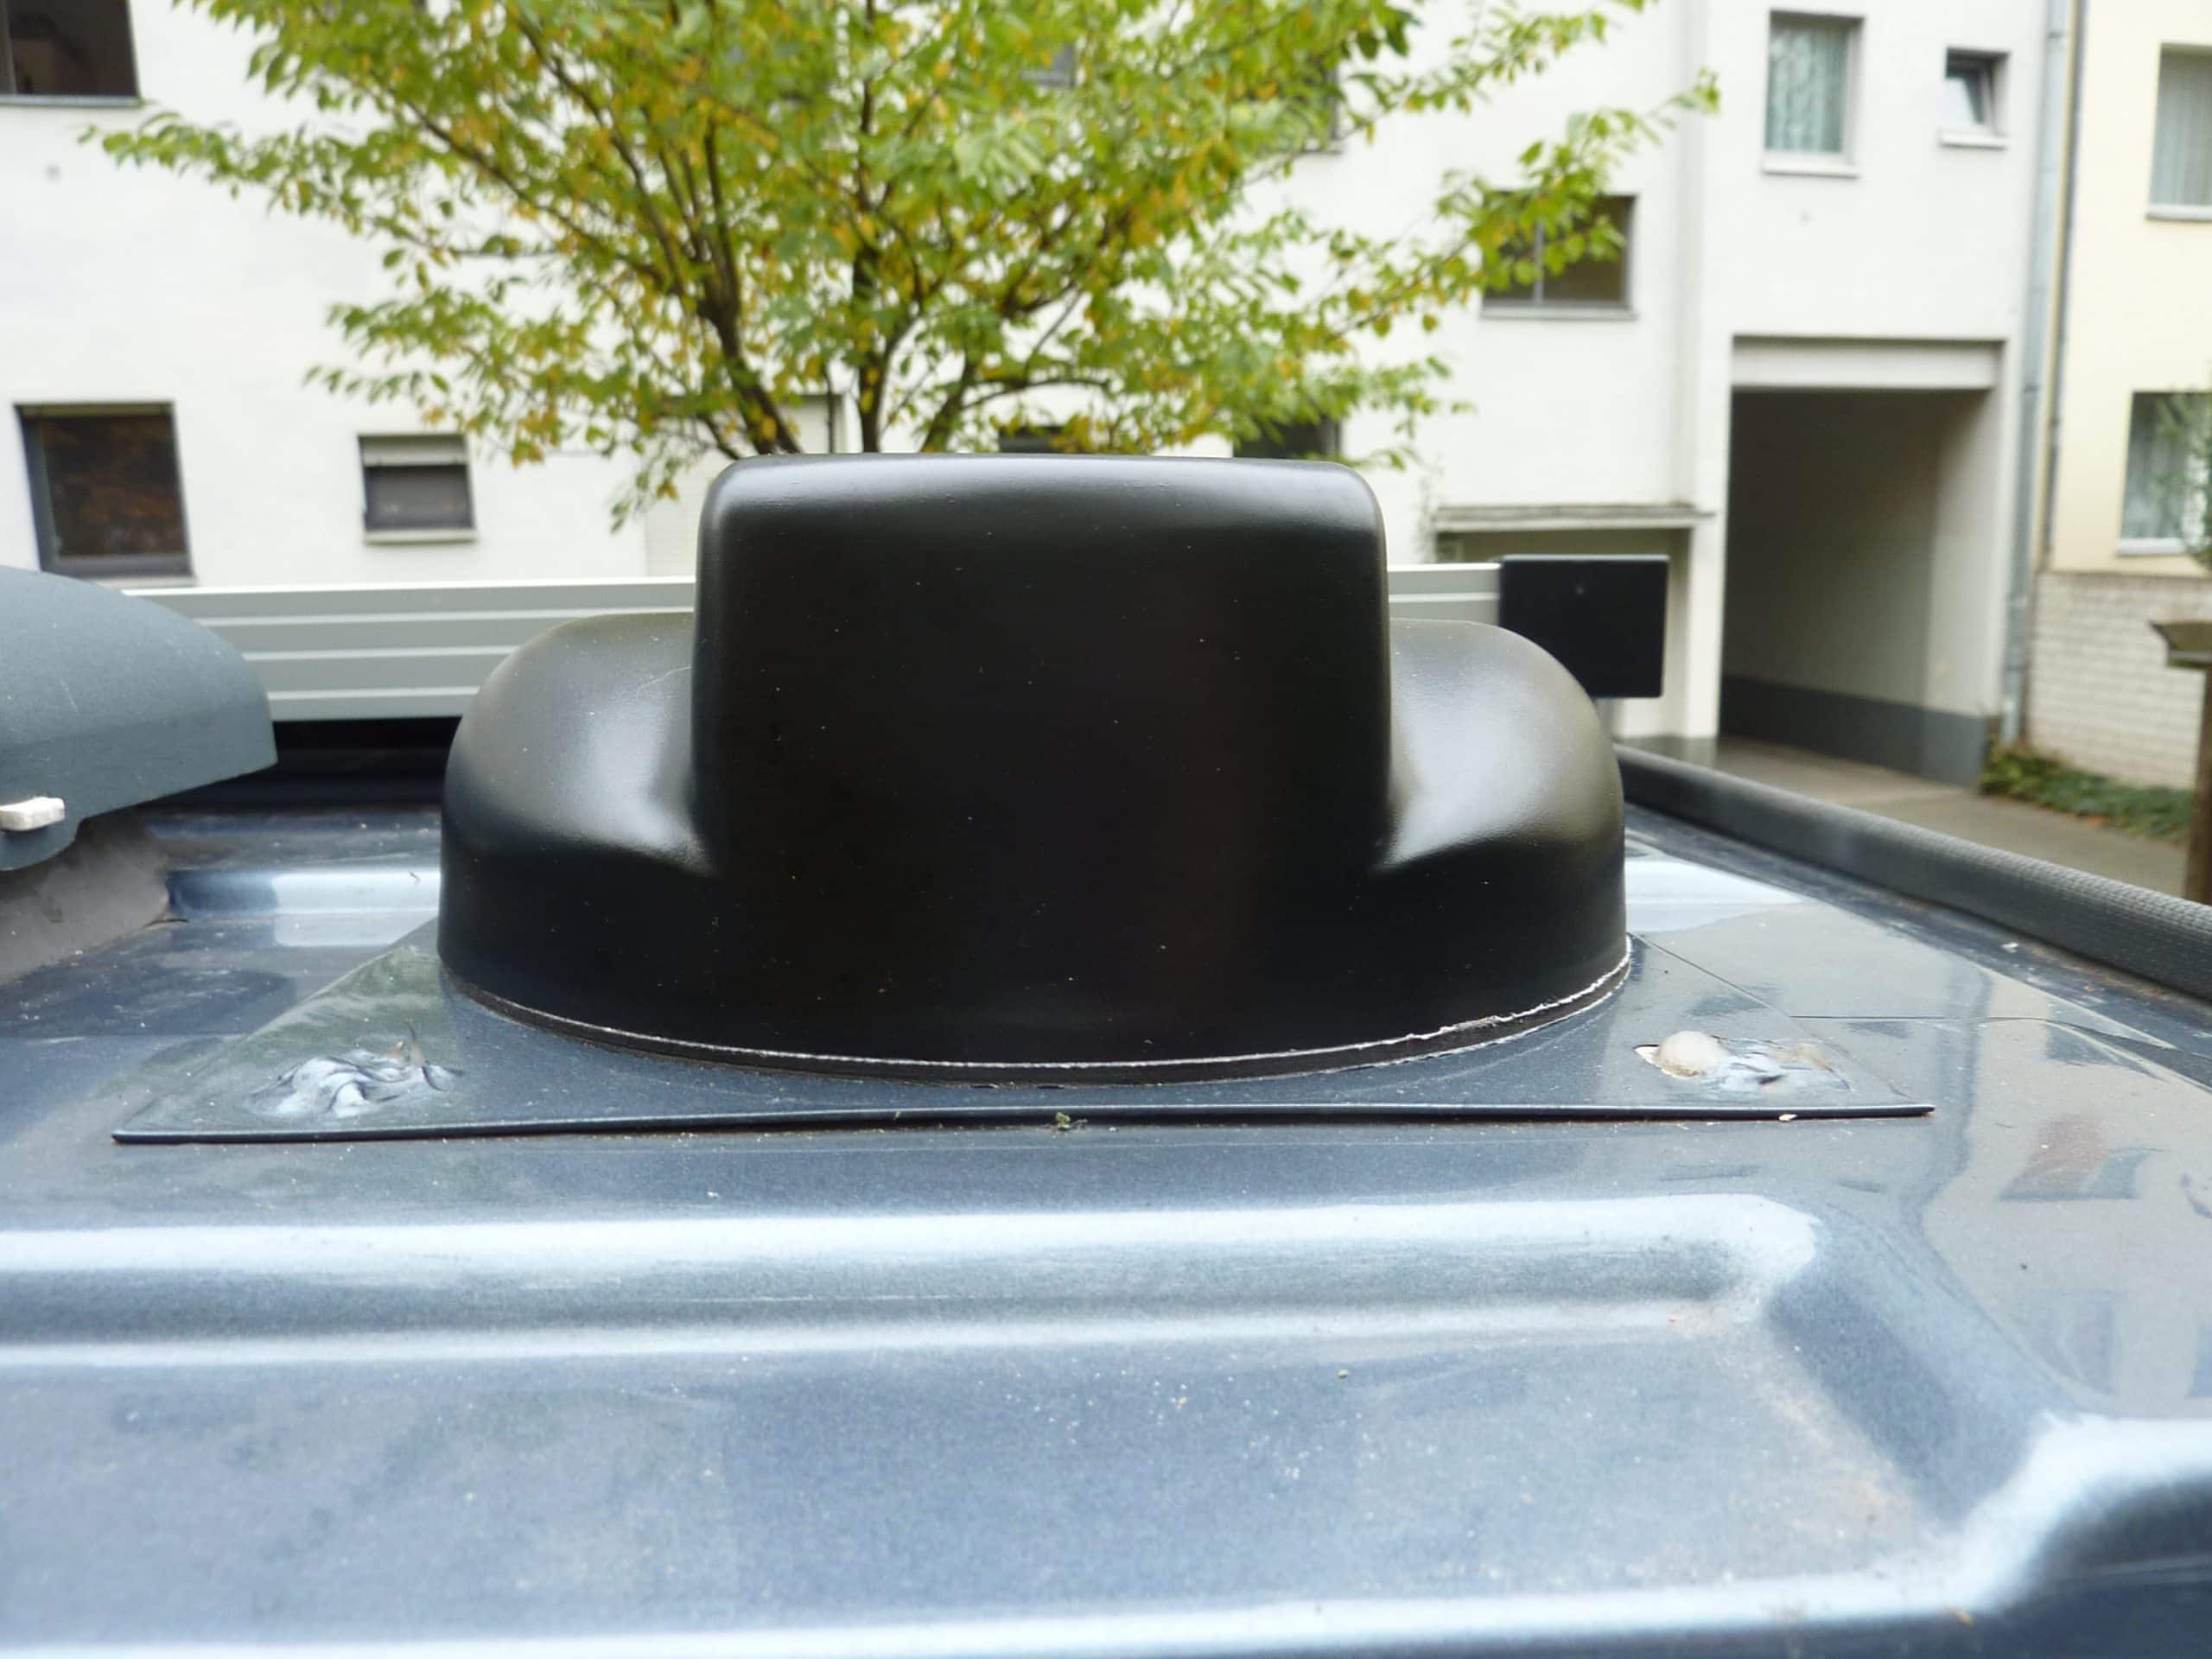
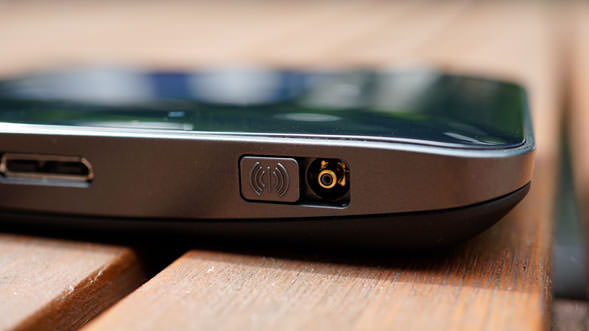
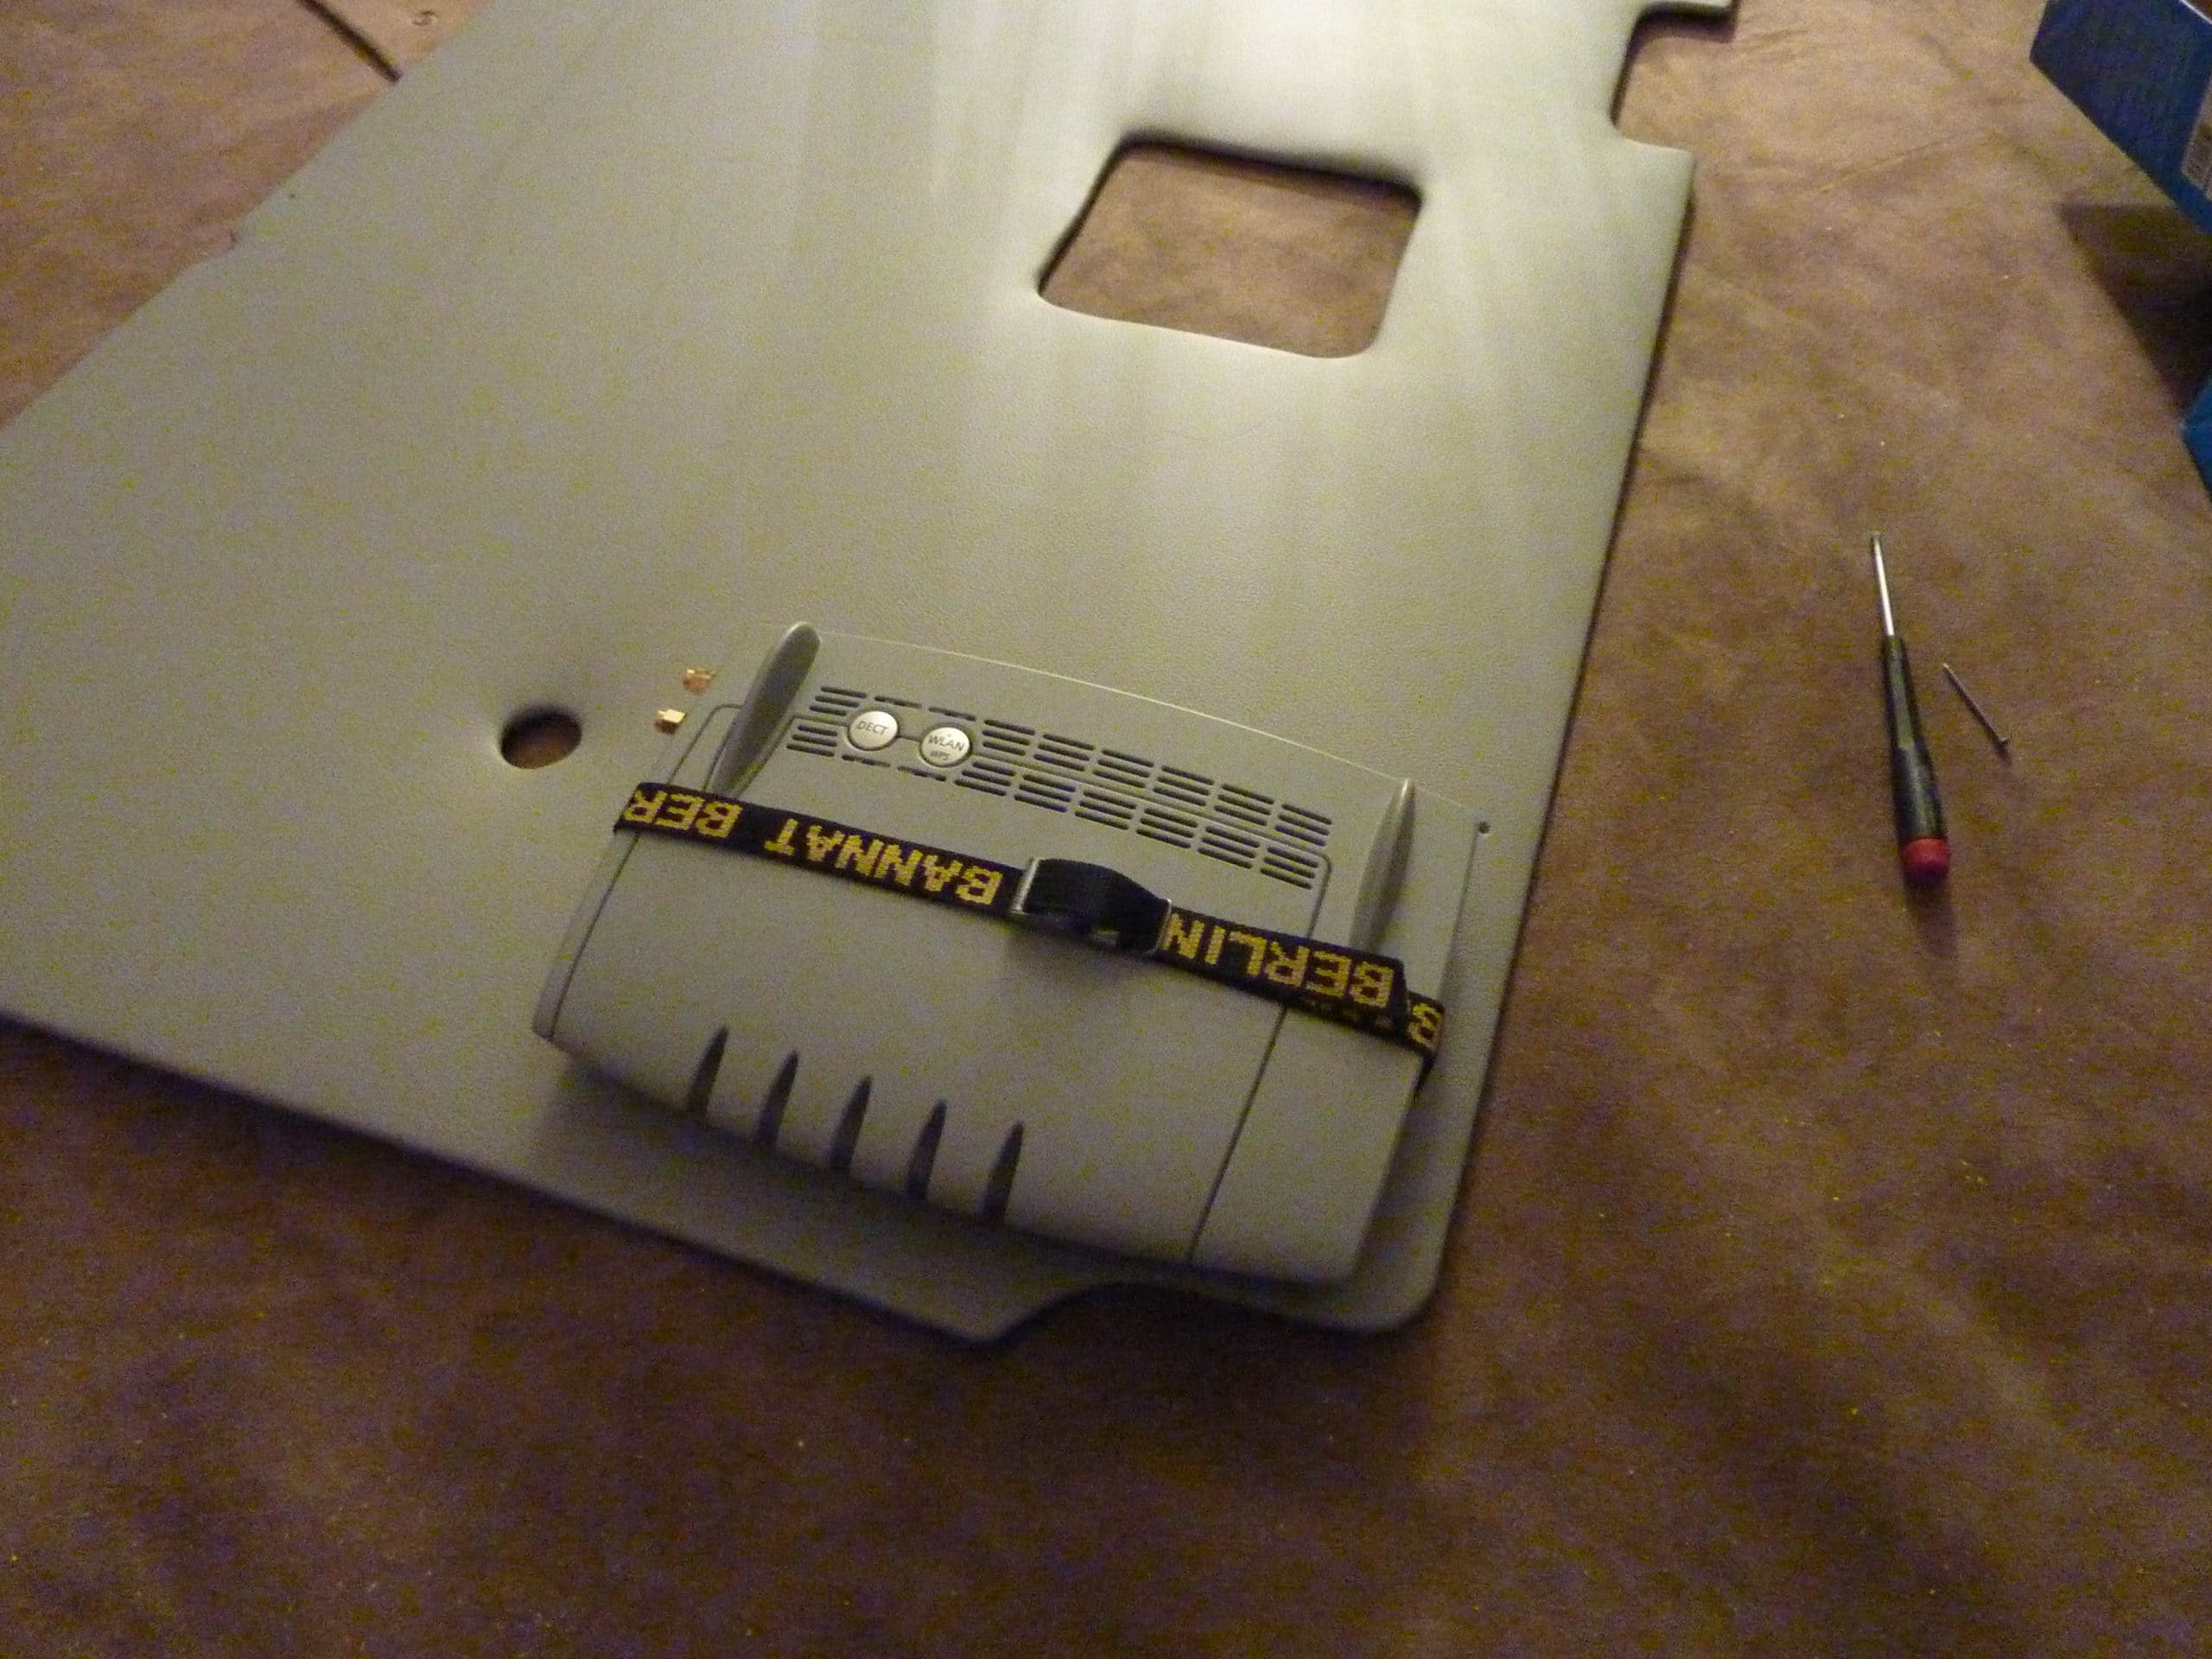
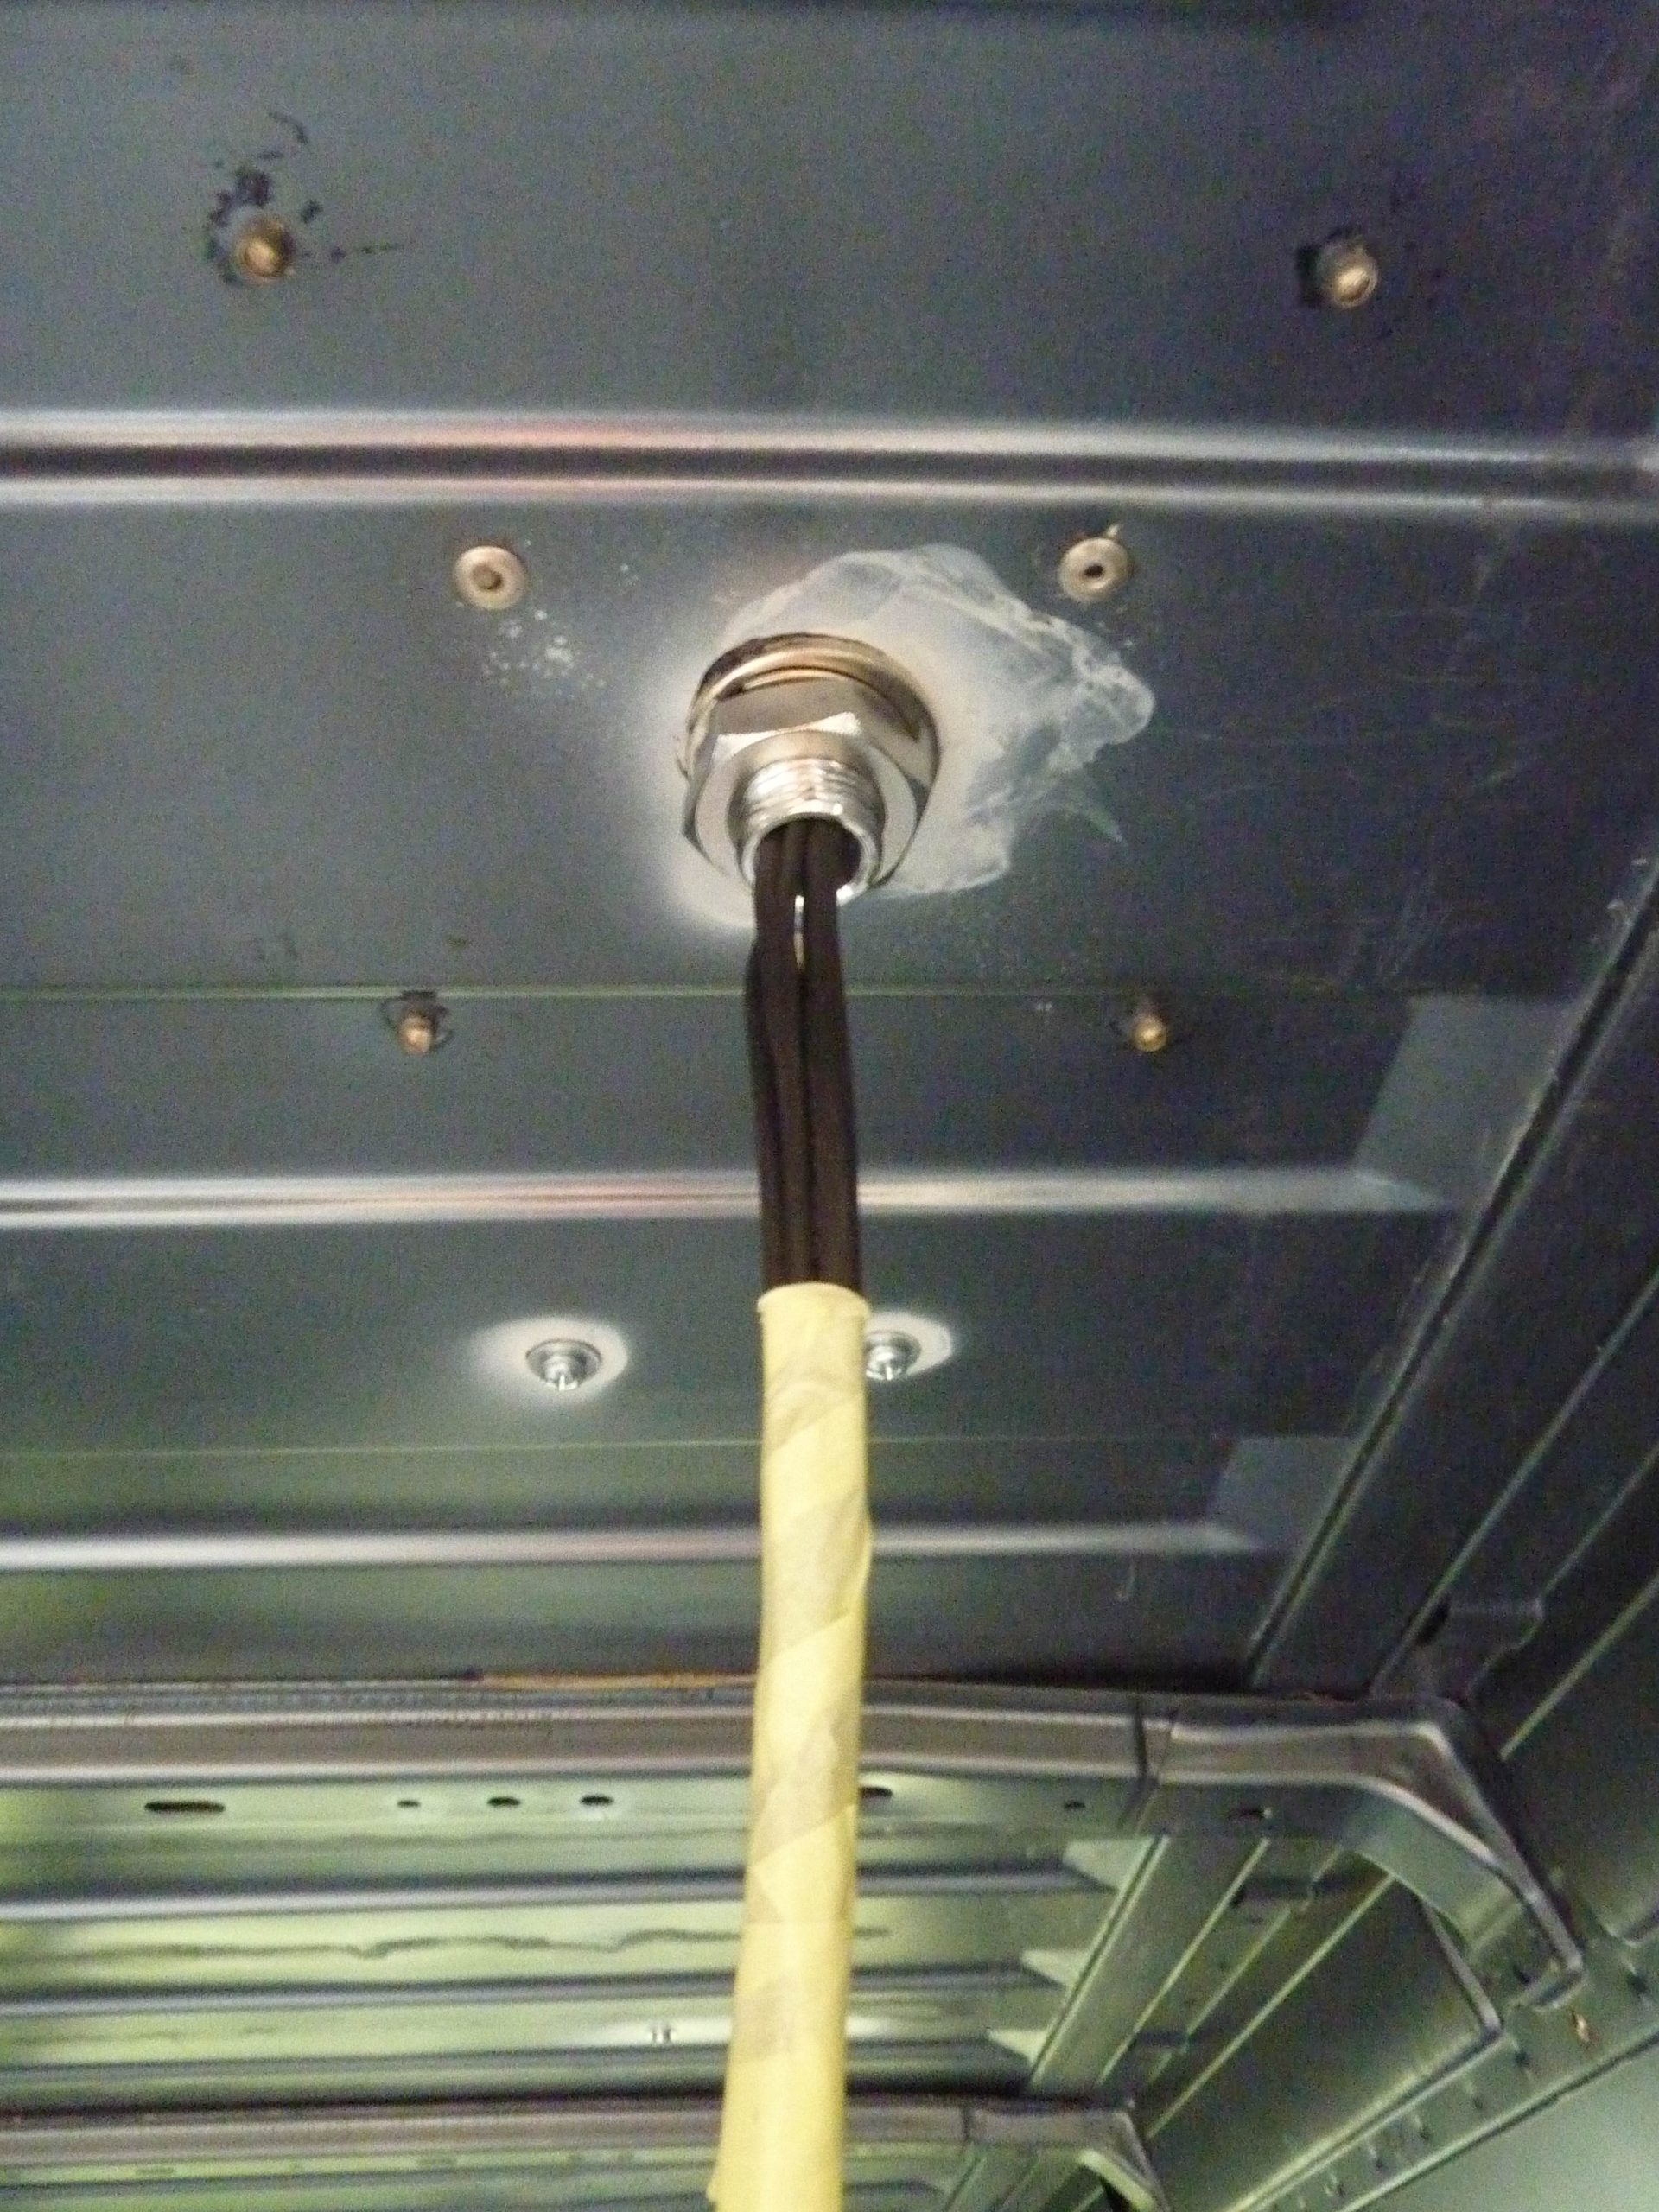
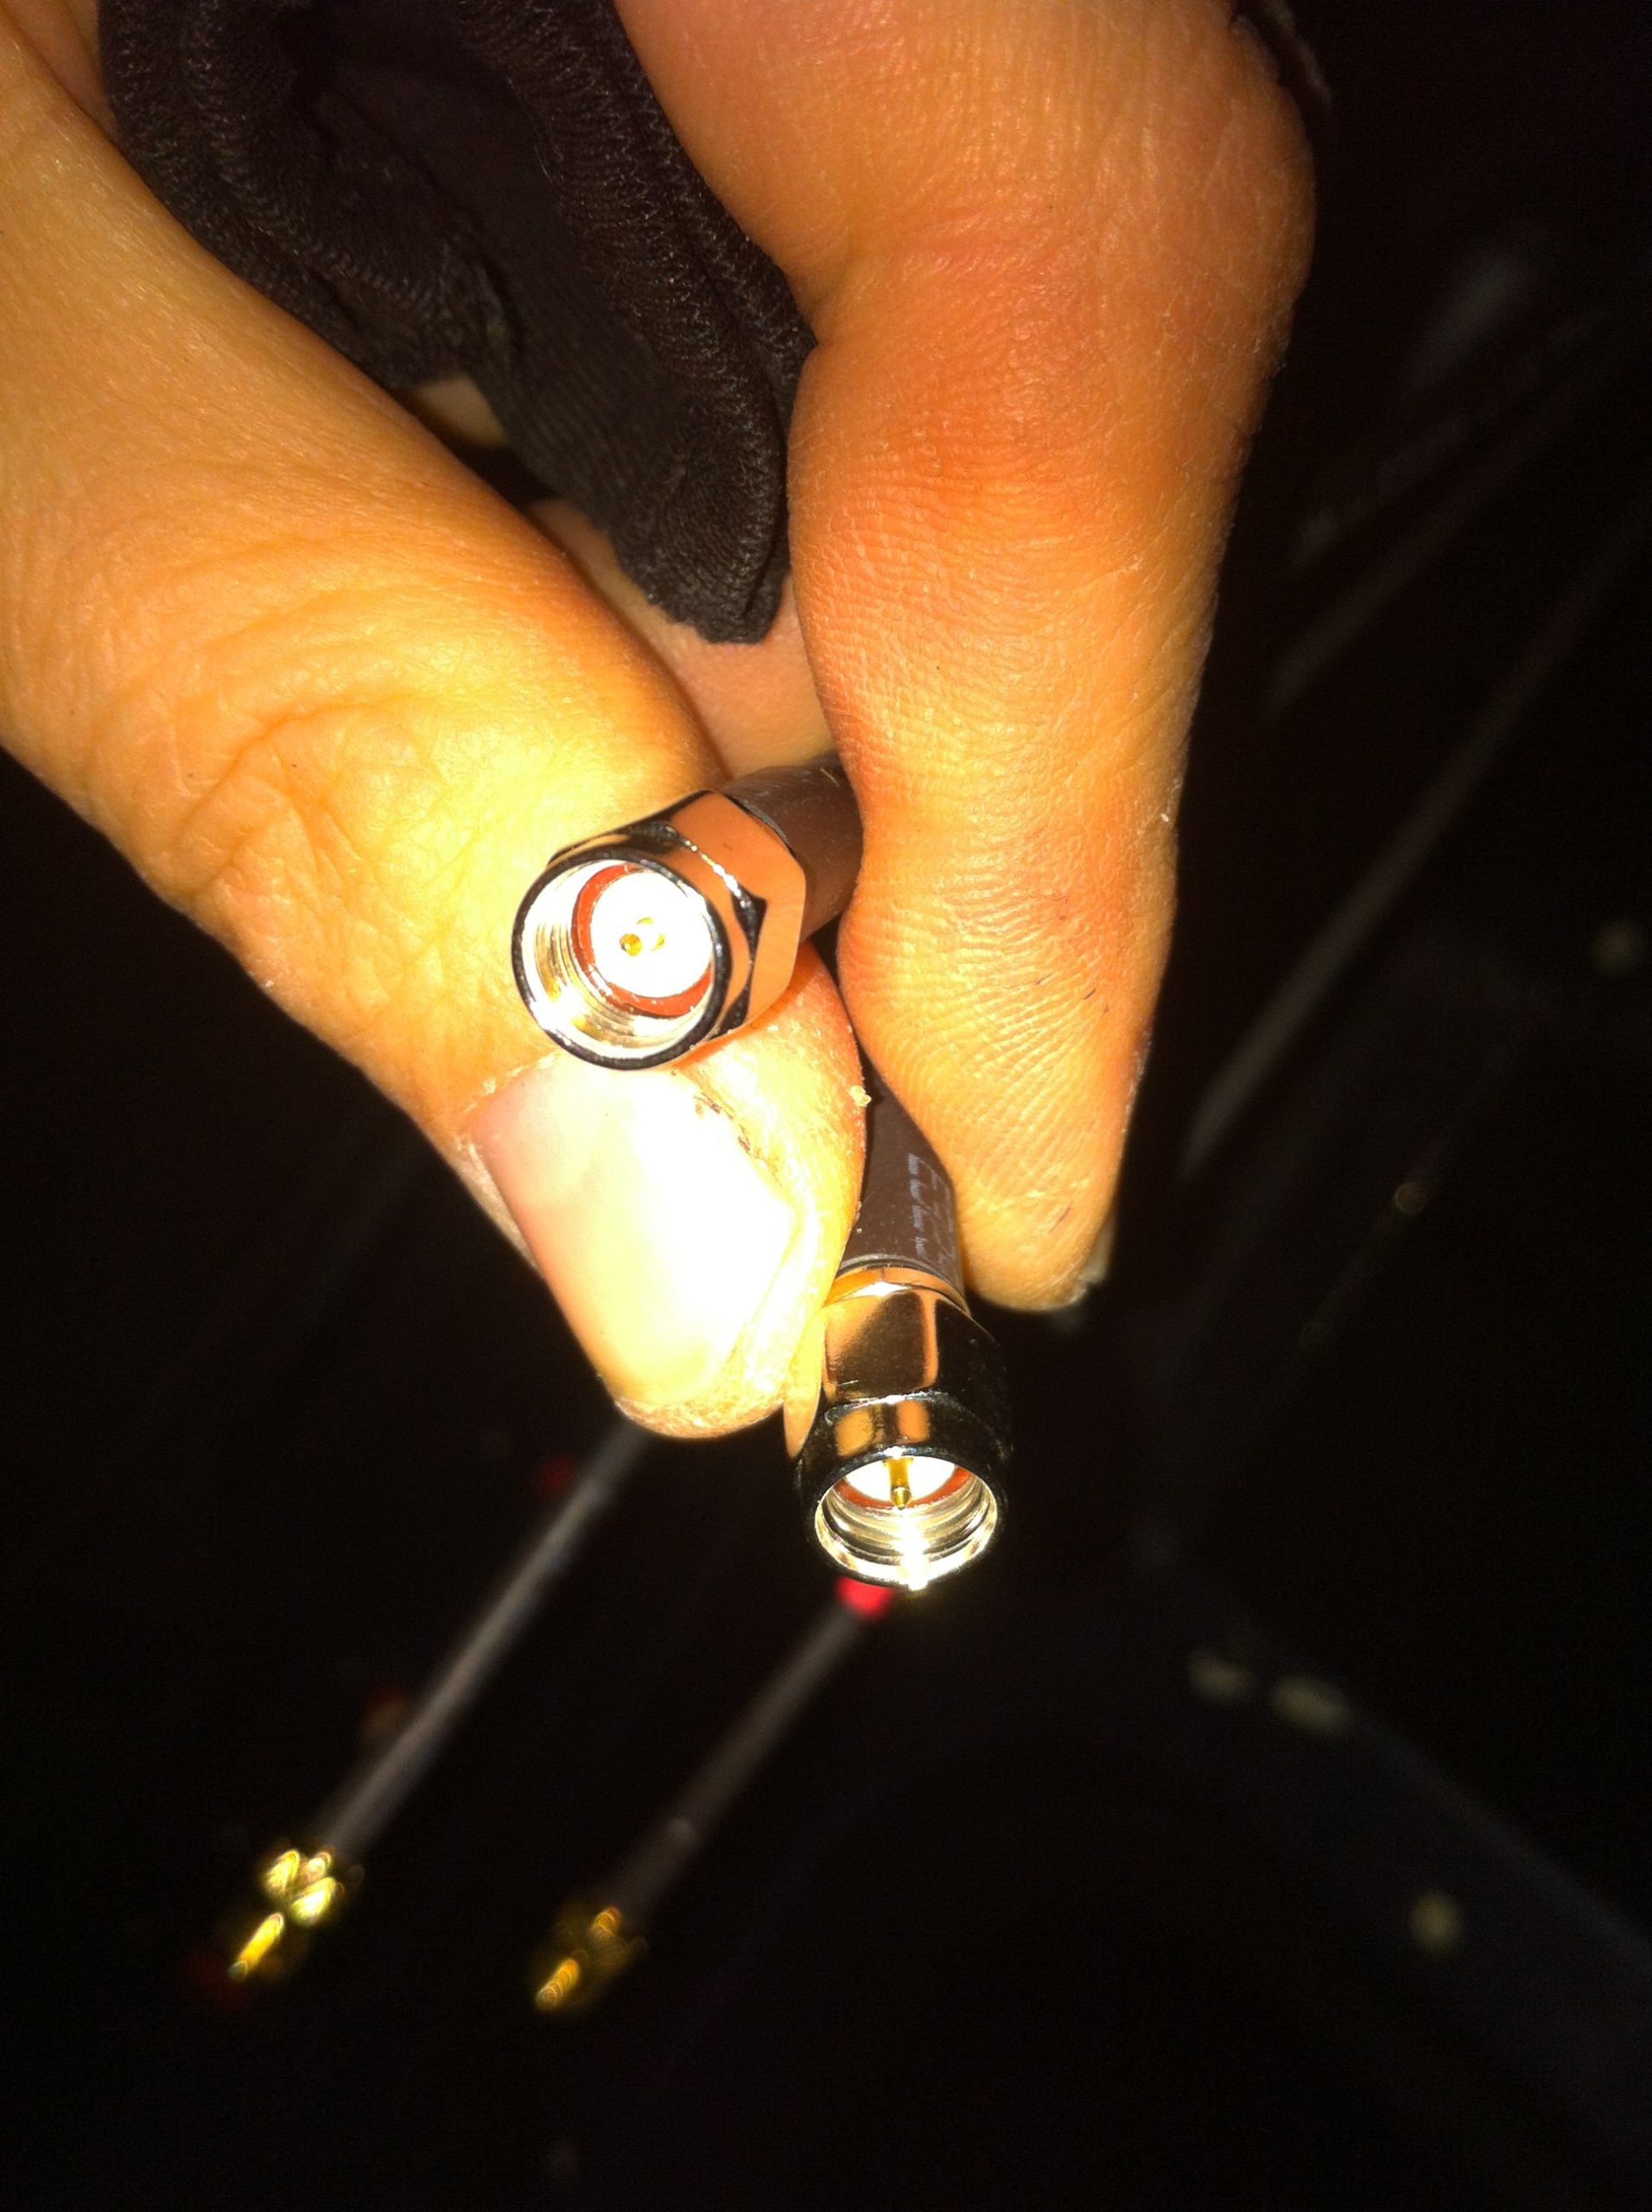
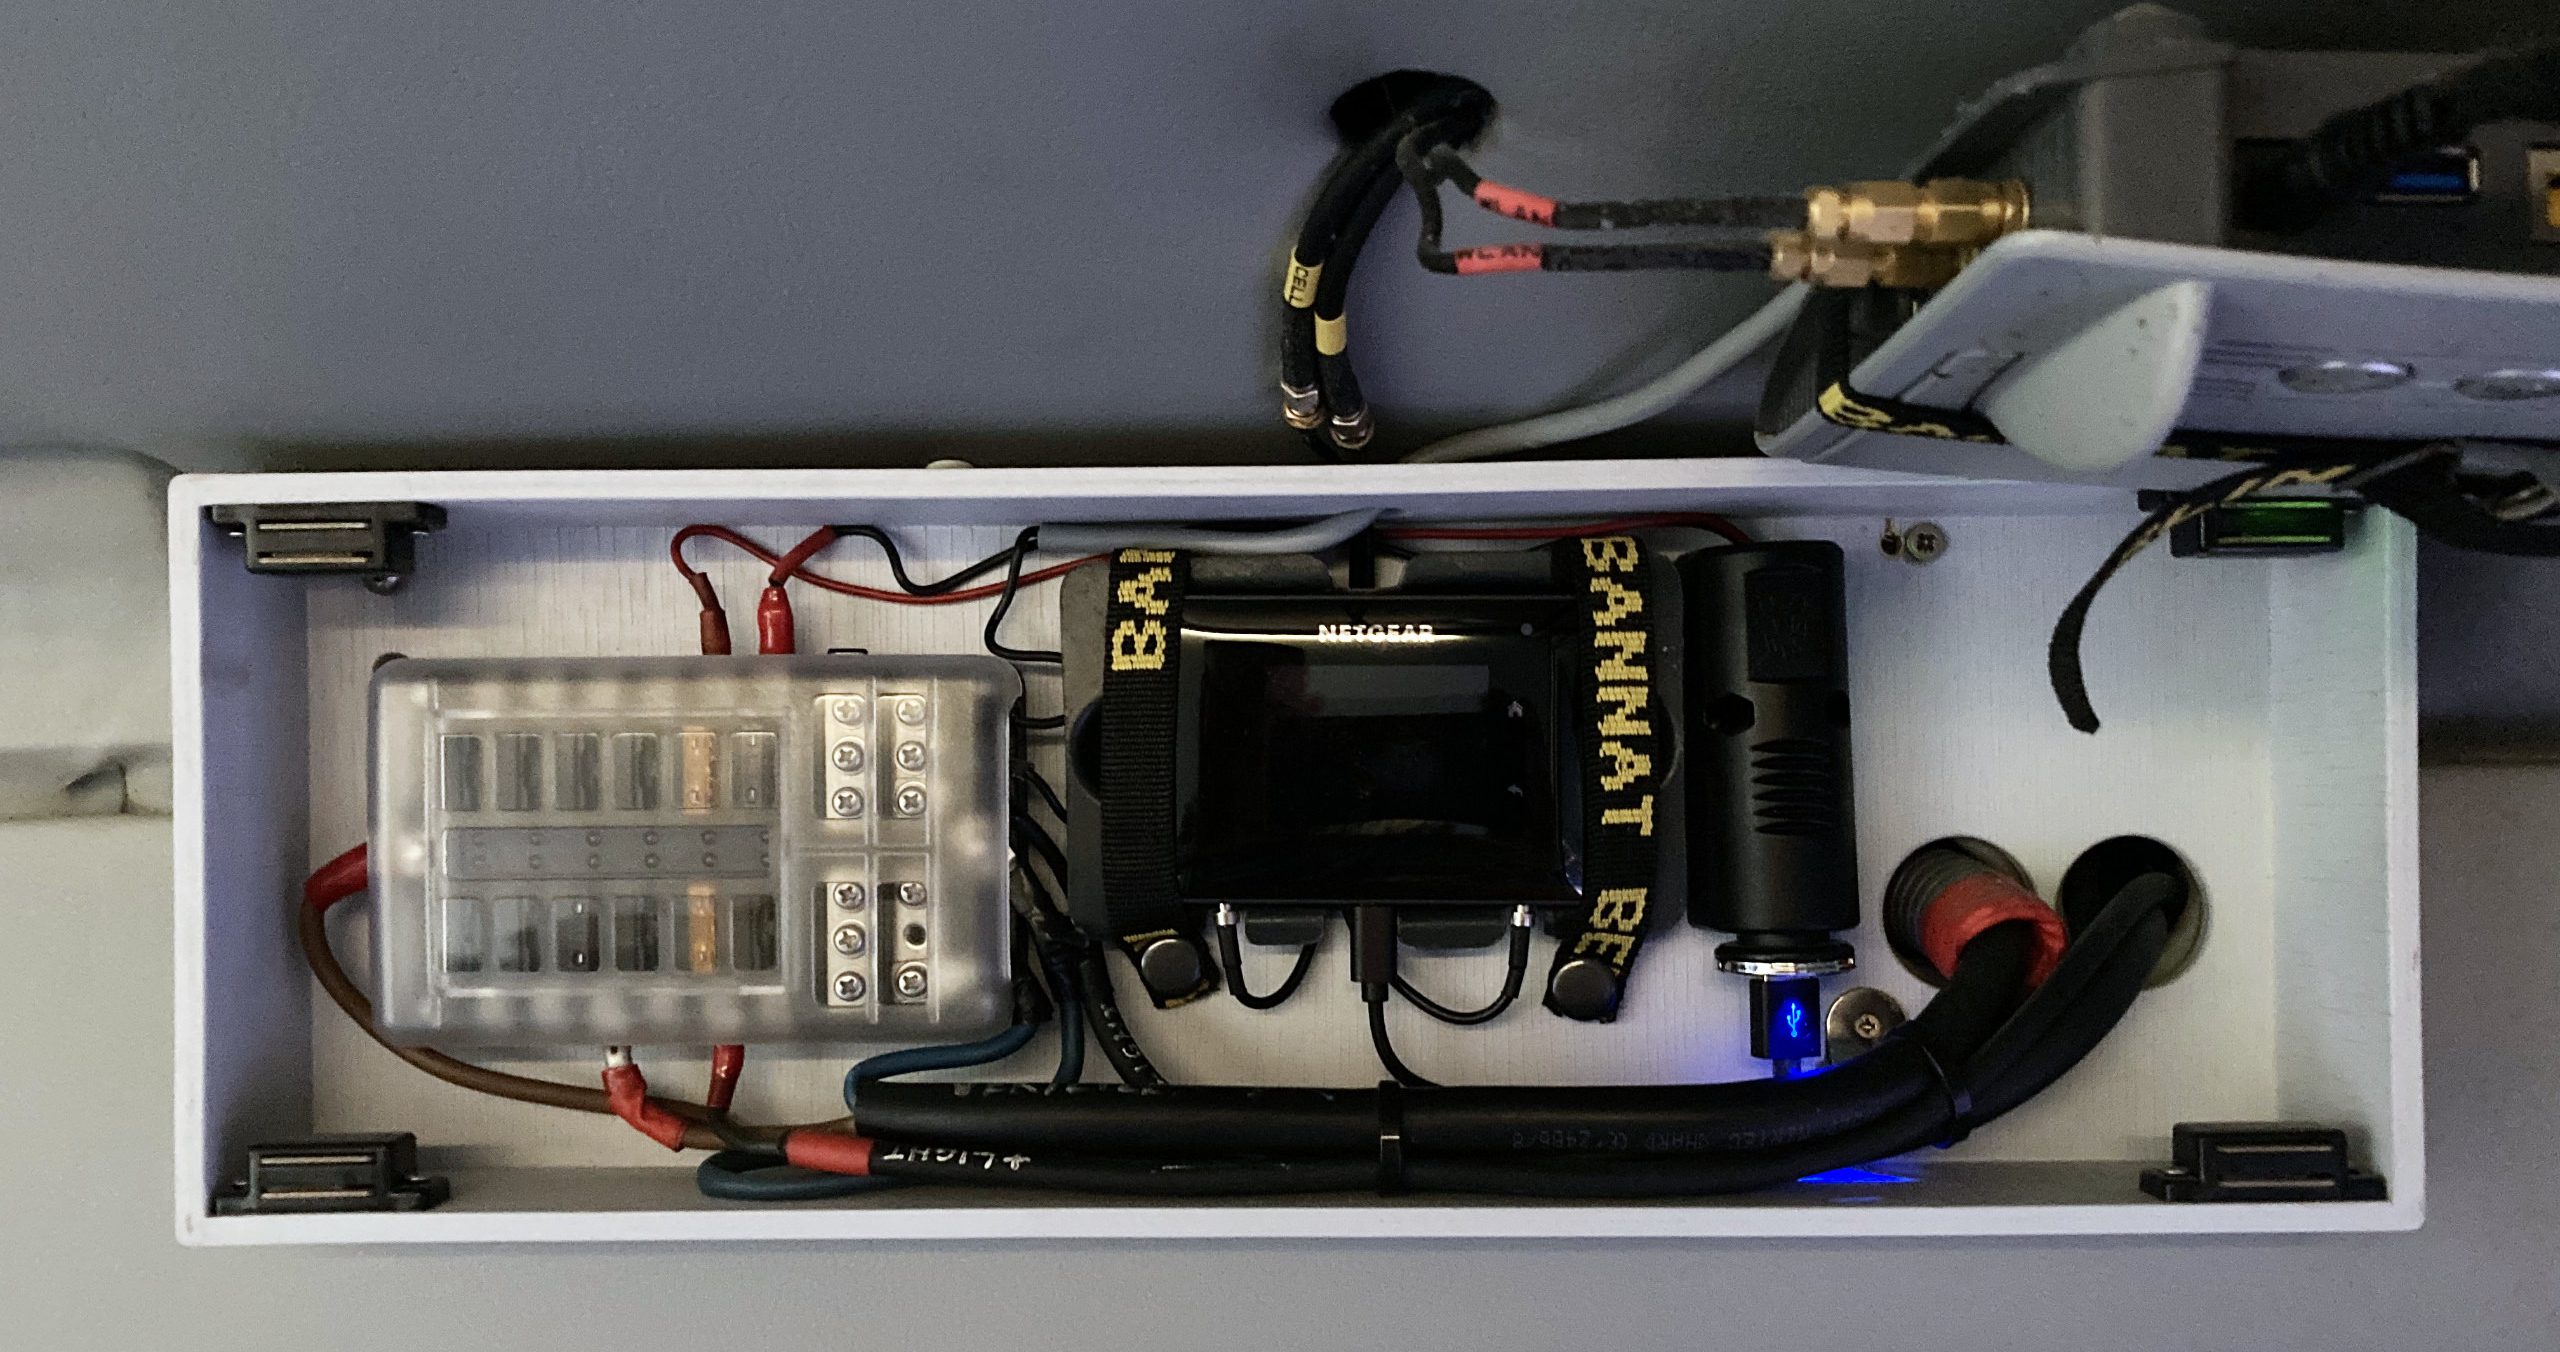
For telecommunications, we use a Netgear AirCard 810 WLAN router, which is fantastic. You just use a local SIM card and have wifi in the car for your phone and laptop or tablet. It works like a charm and is even portable with a battery that lasts pretty long. We installed an extra LTE Low Profile MIMO antenna on the roof which gives it at least 2 more bars of LTE reception which can sometimes make all the difference. We are very happy with this setup.
We also have a real router installed in case we need to connect to a local network with more range, such as at a campground, but since we are always off the grid and our Netgear setup works so well and often has no data limit, we actually never use it.
Water:
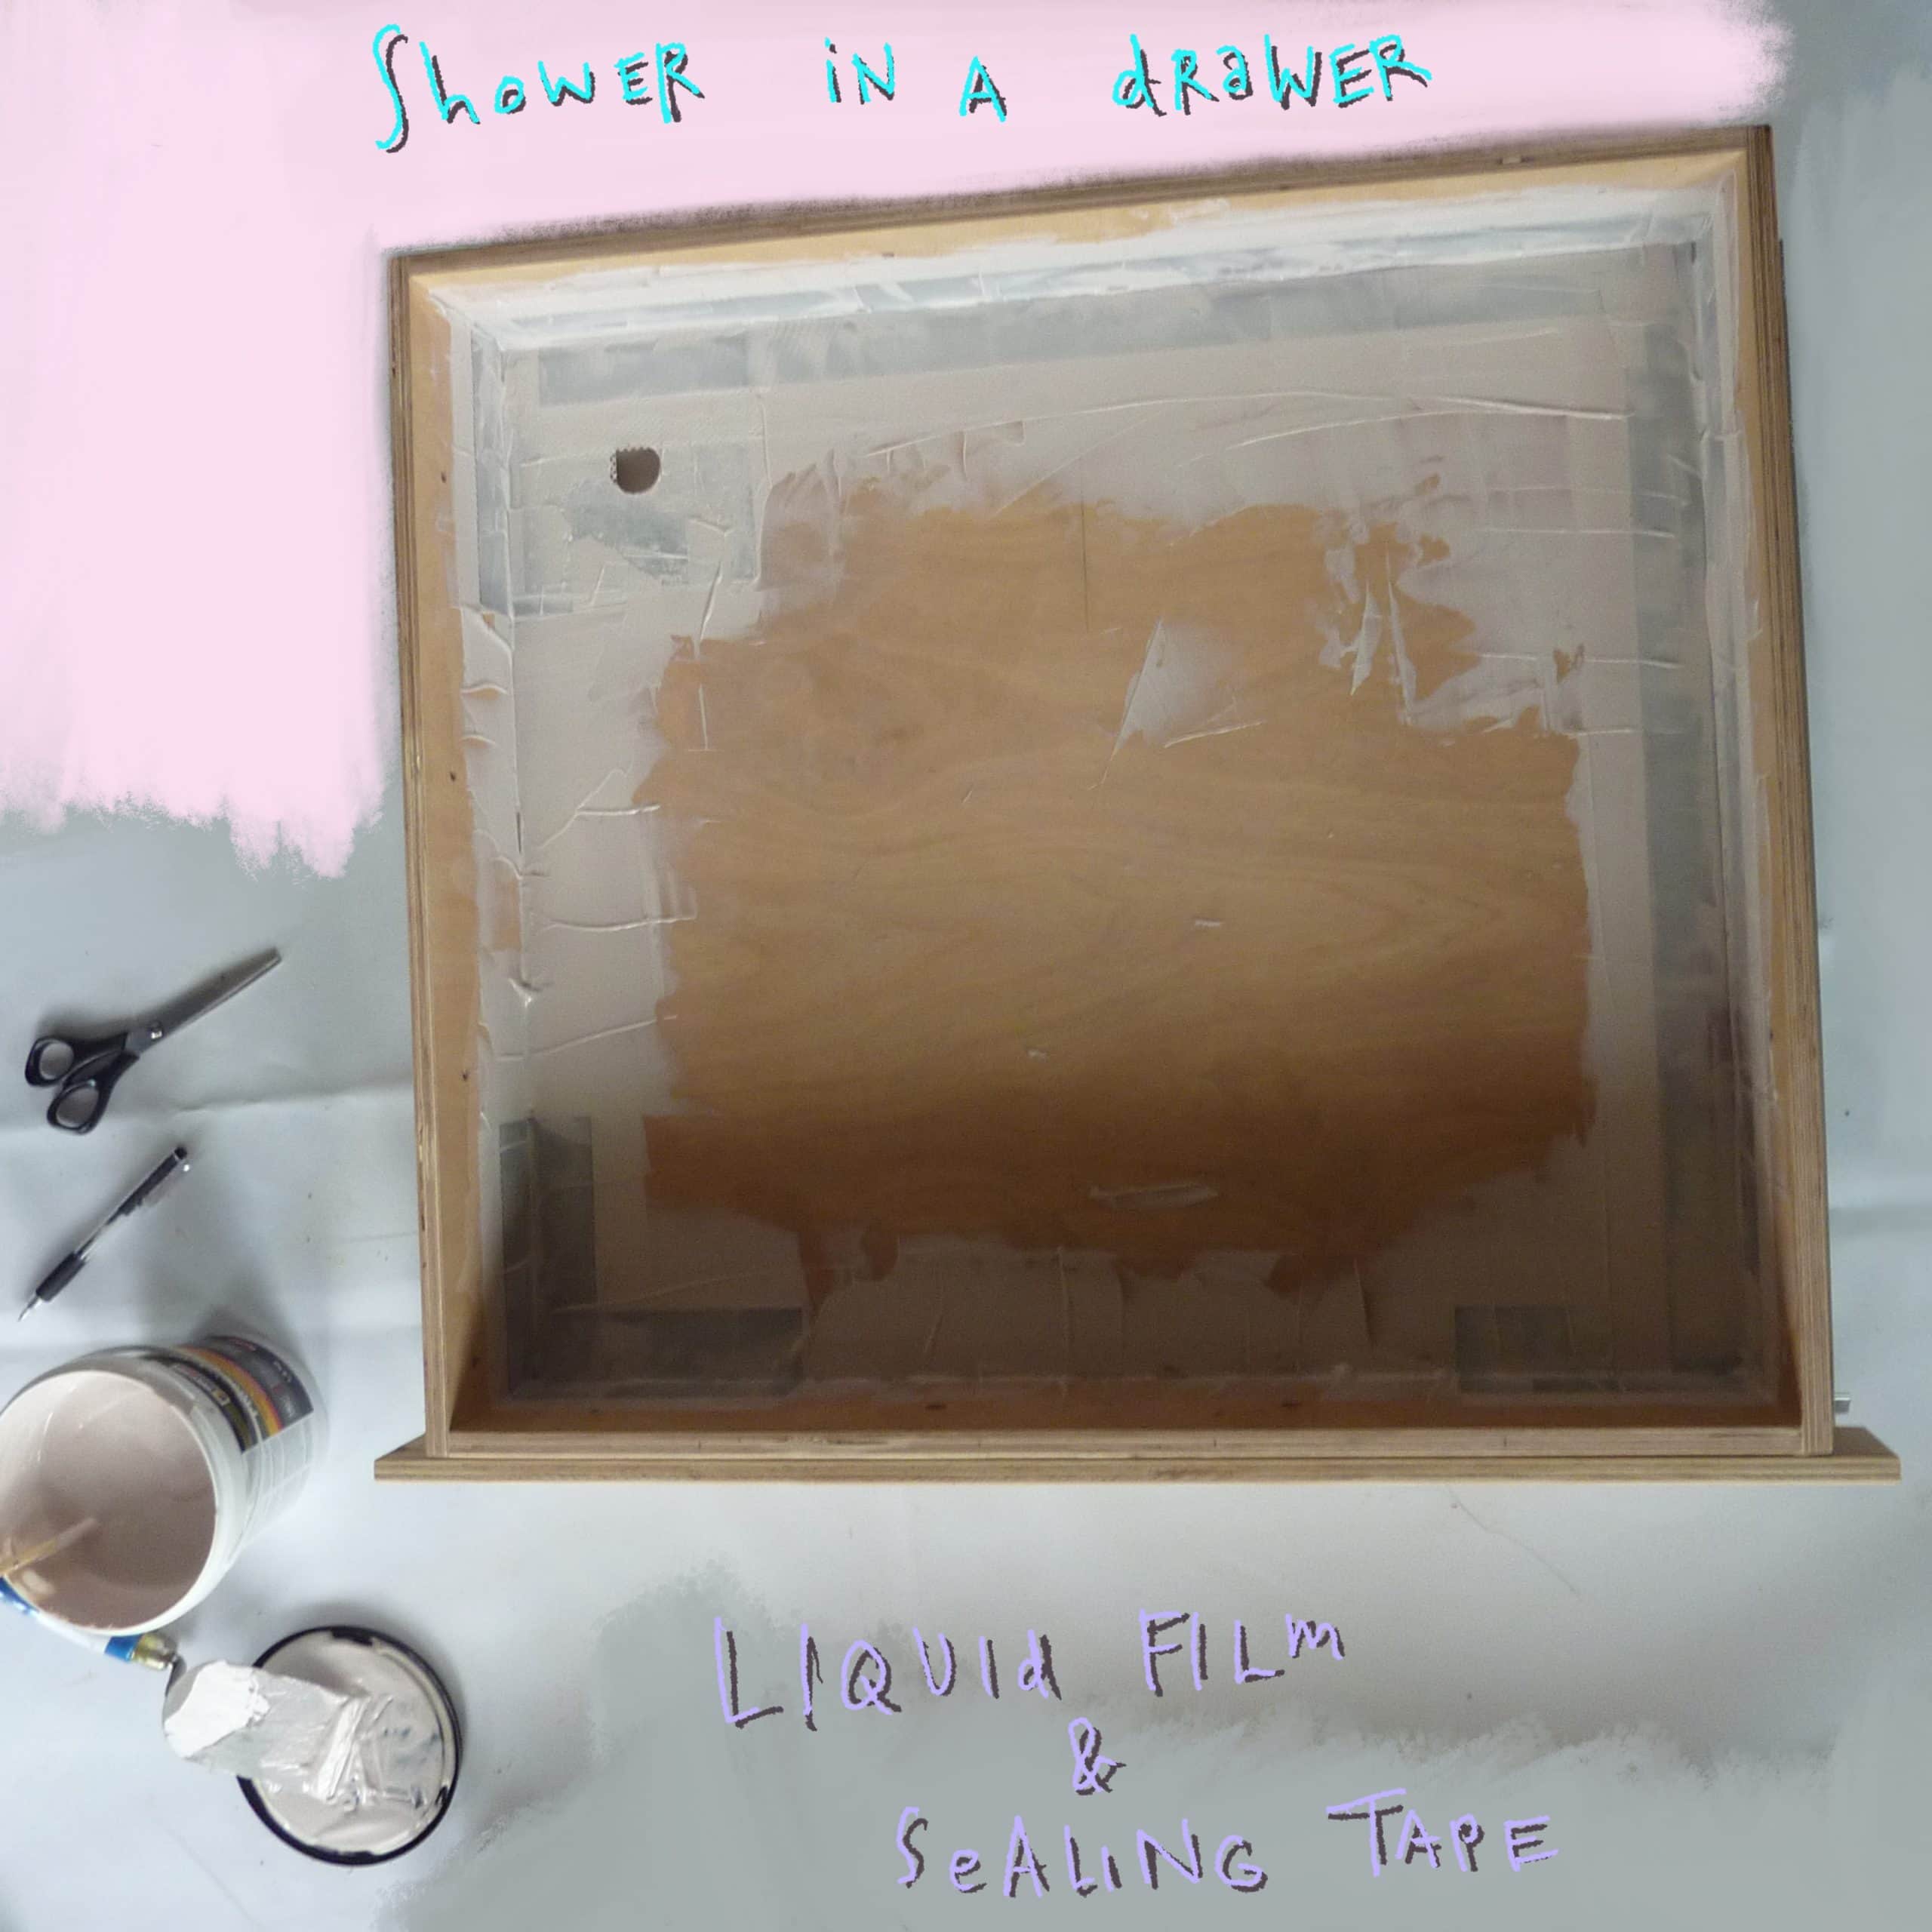
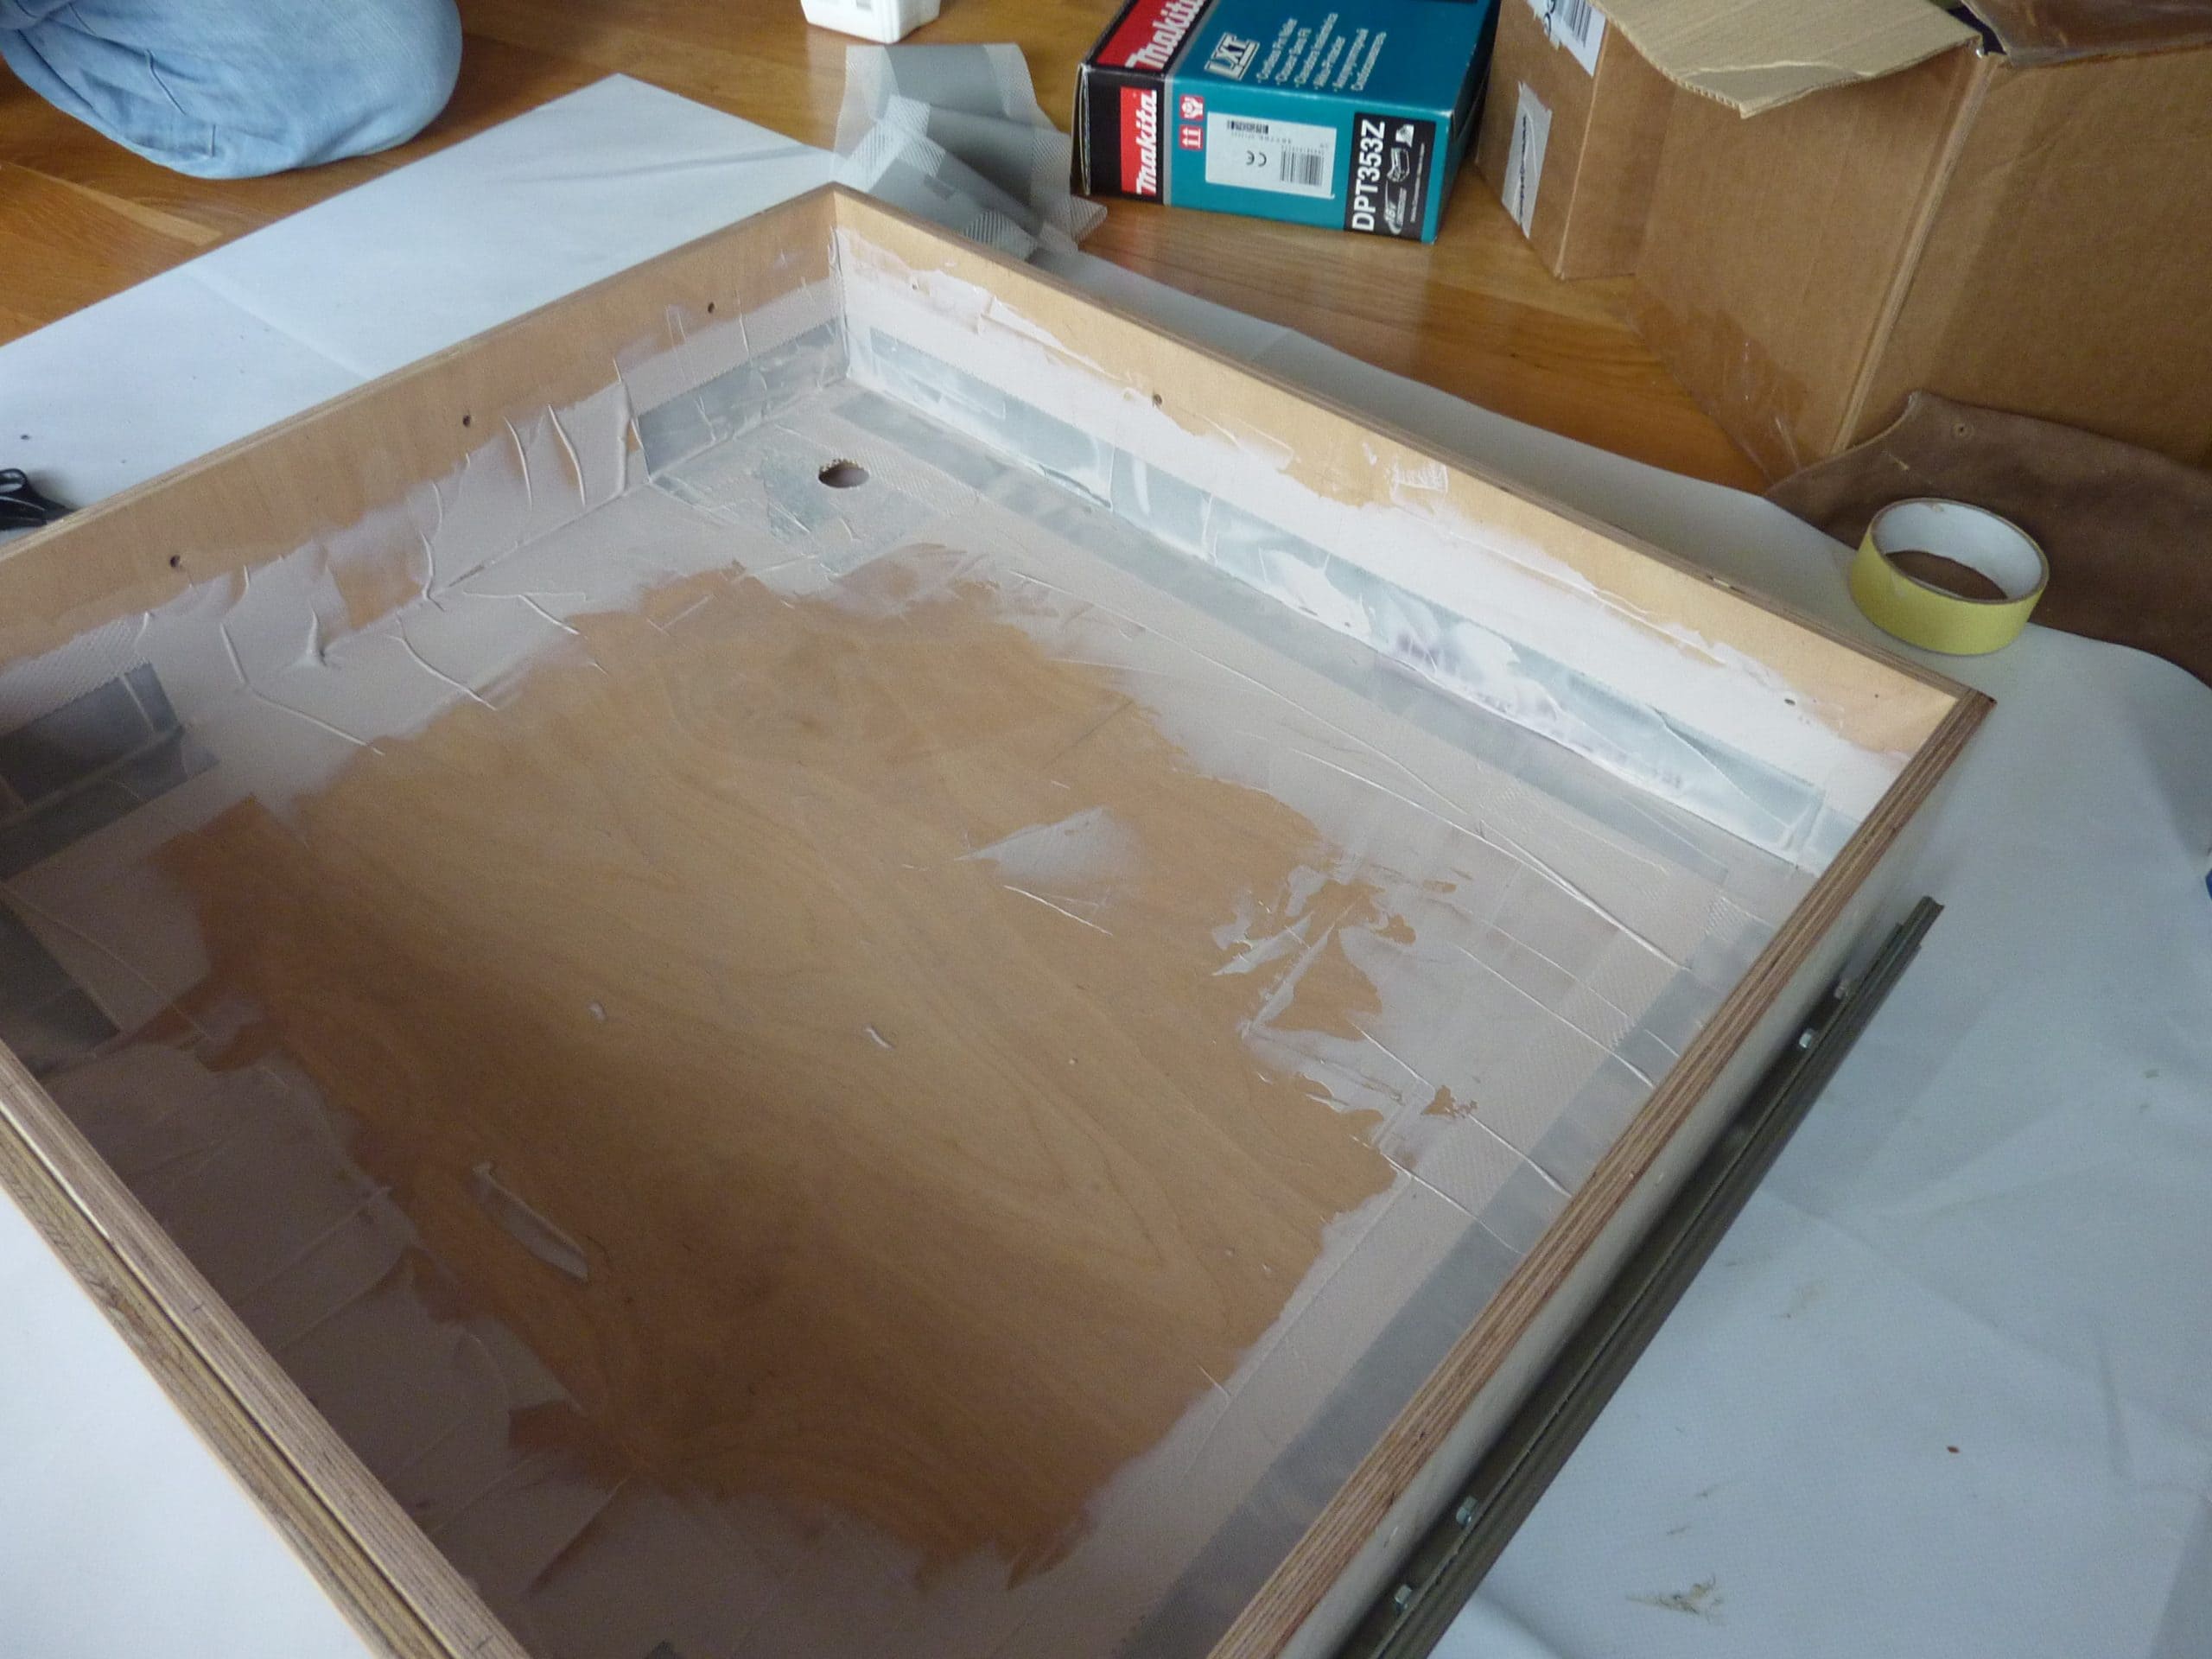
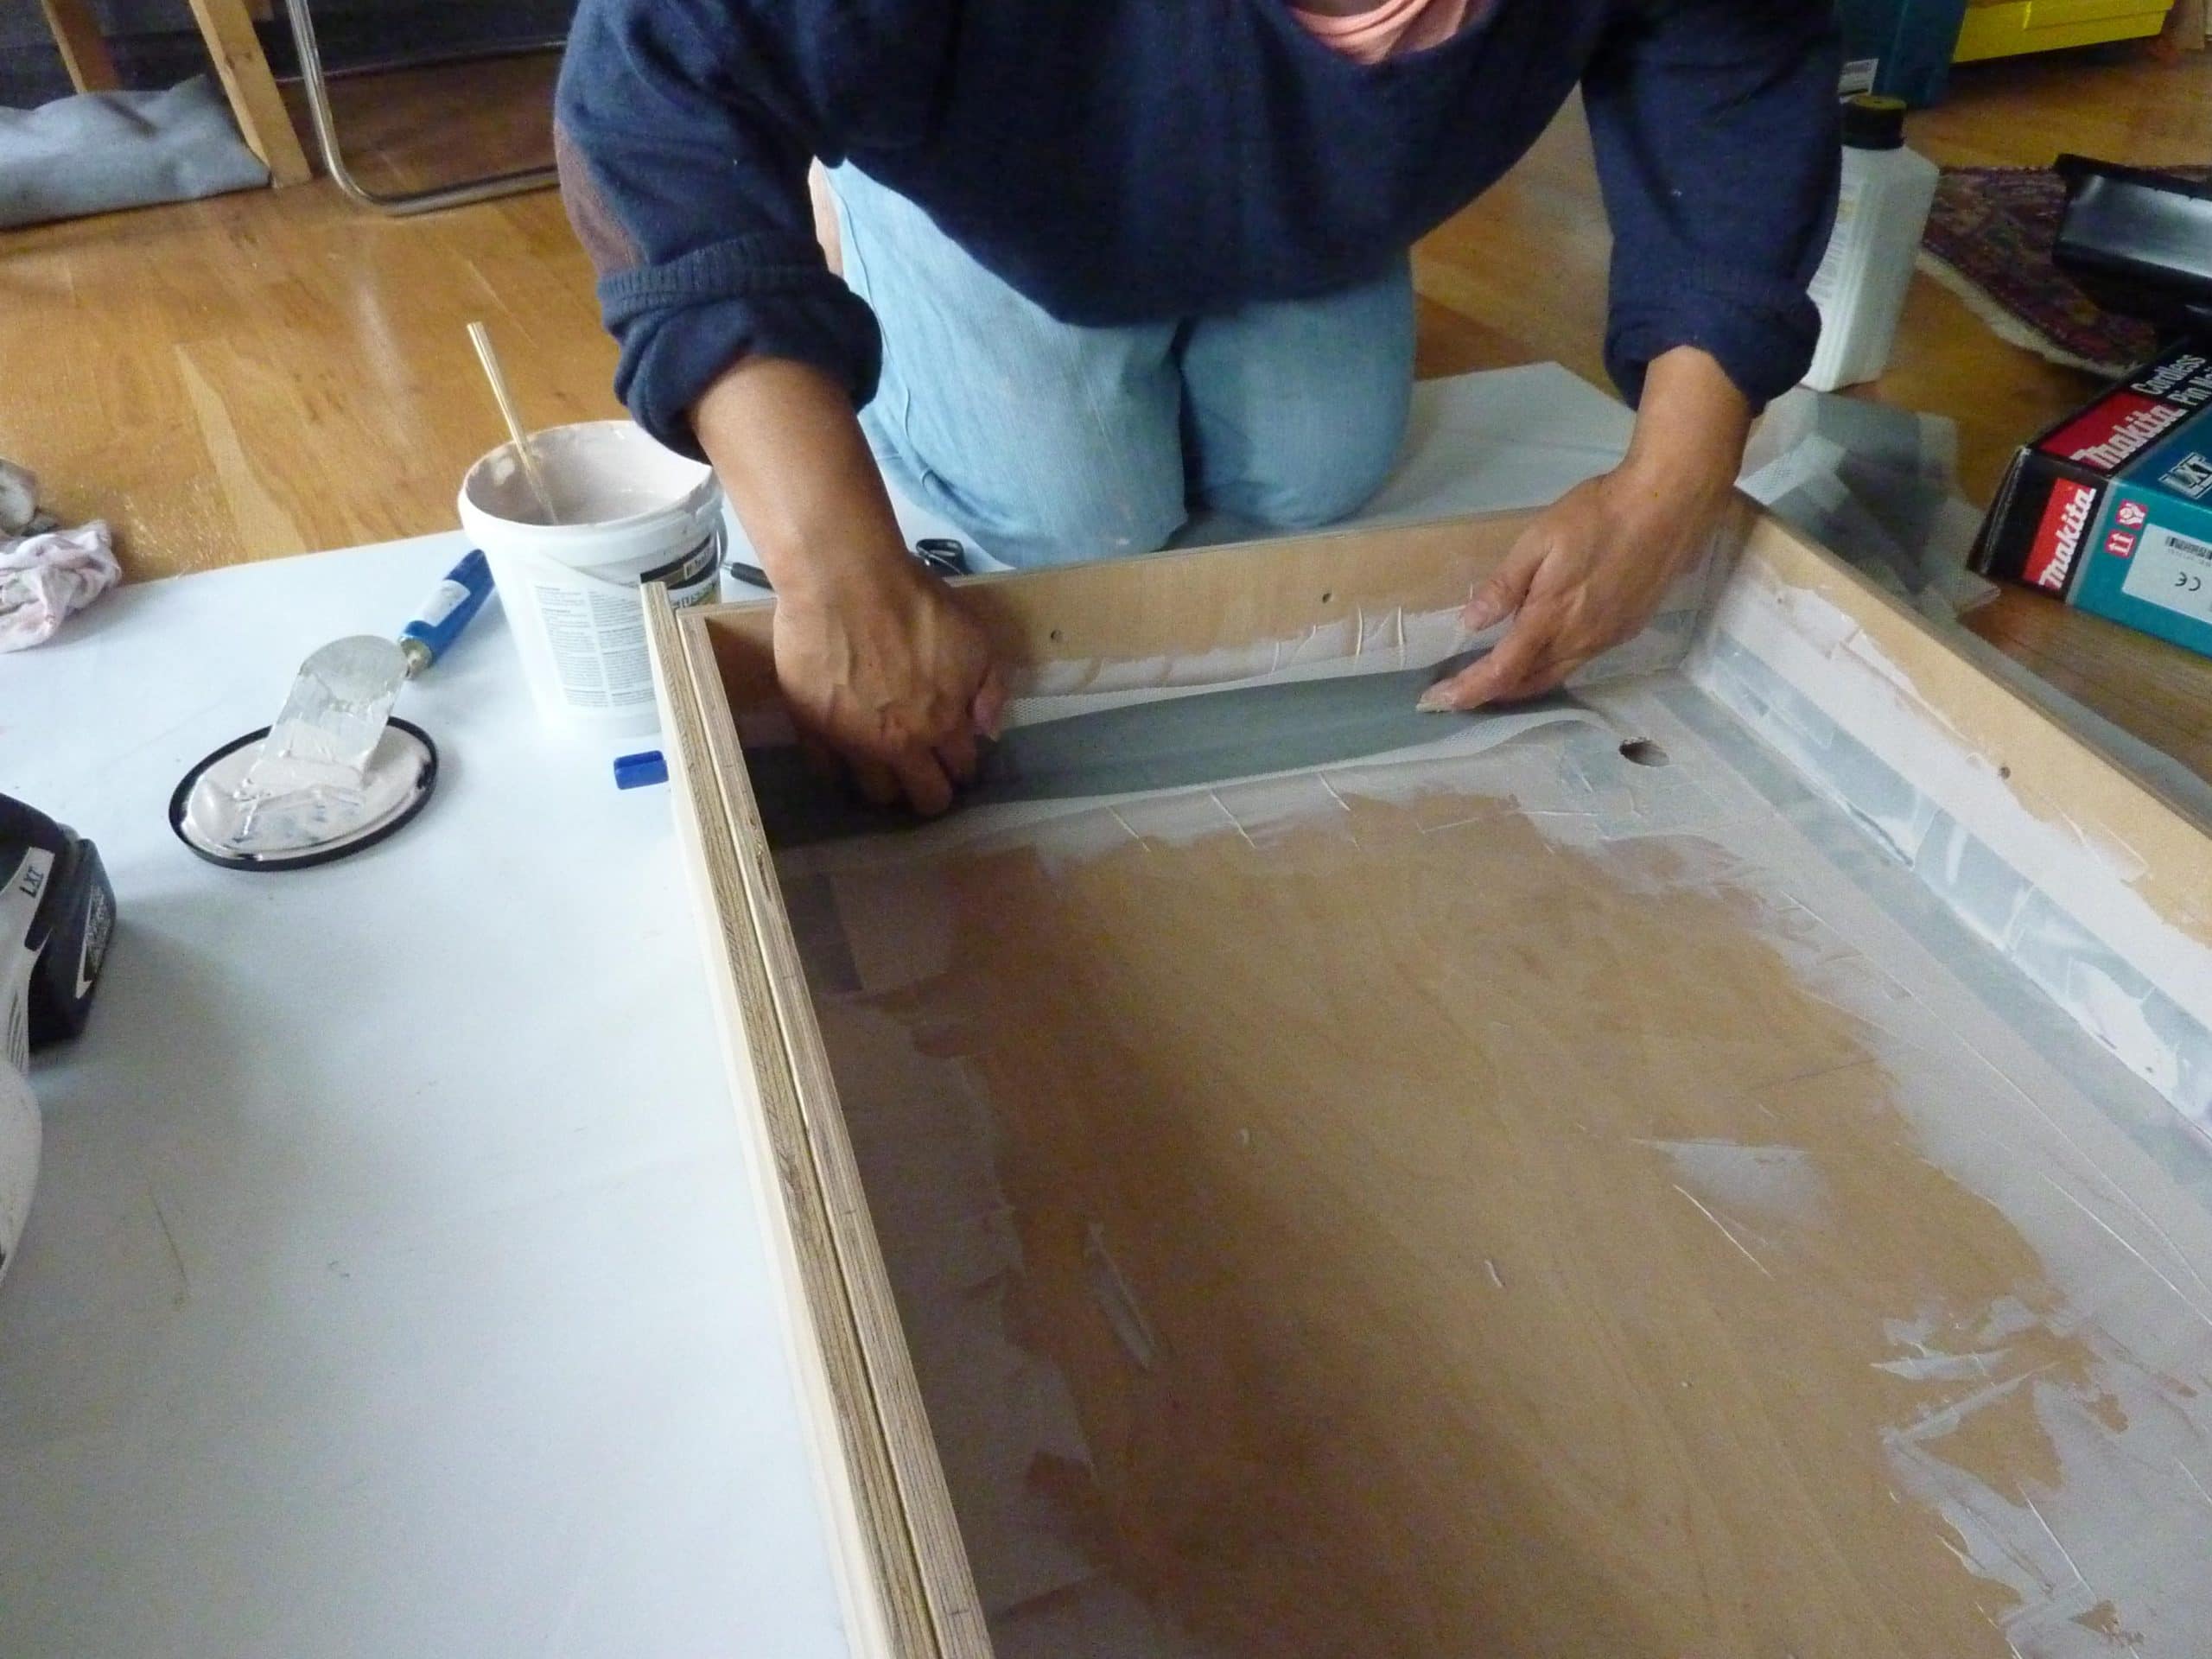
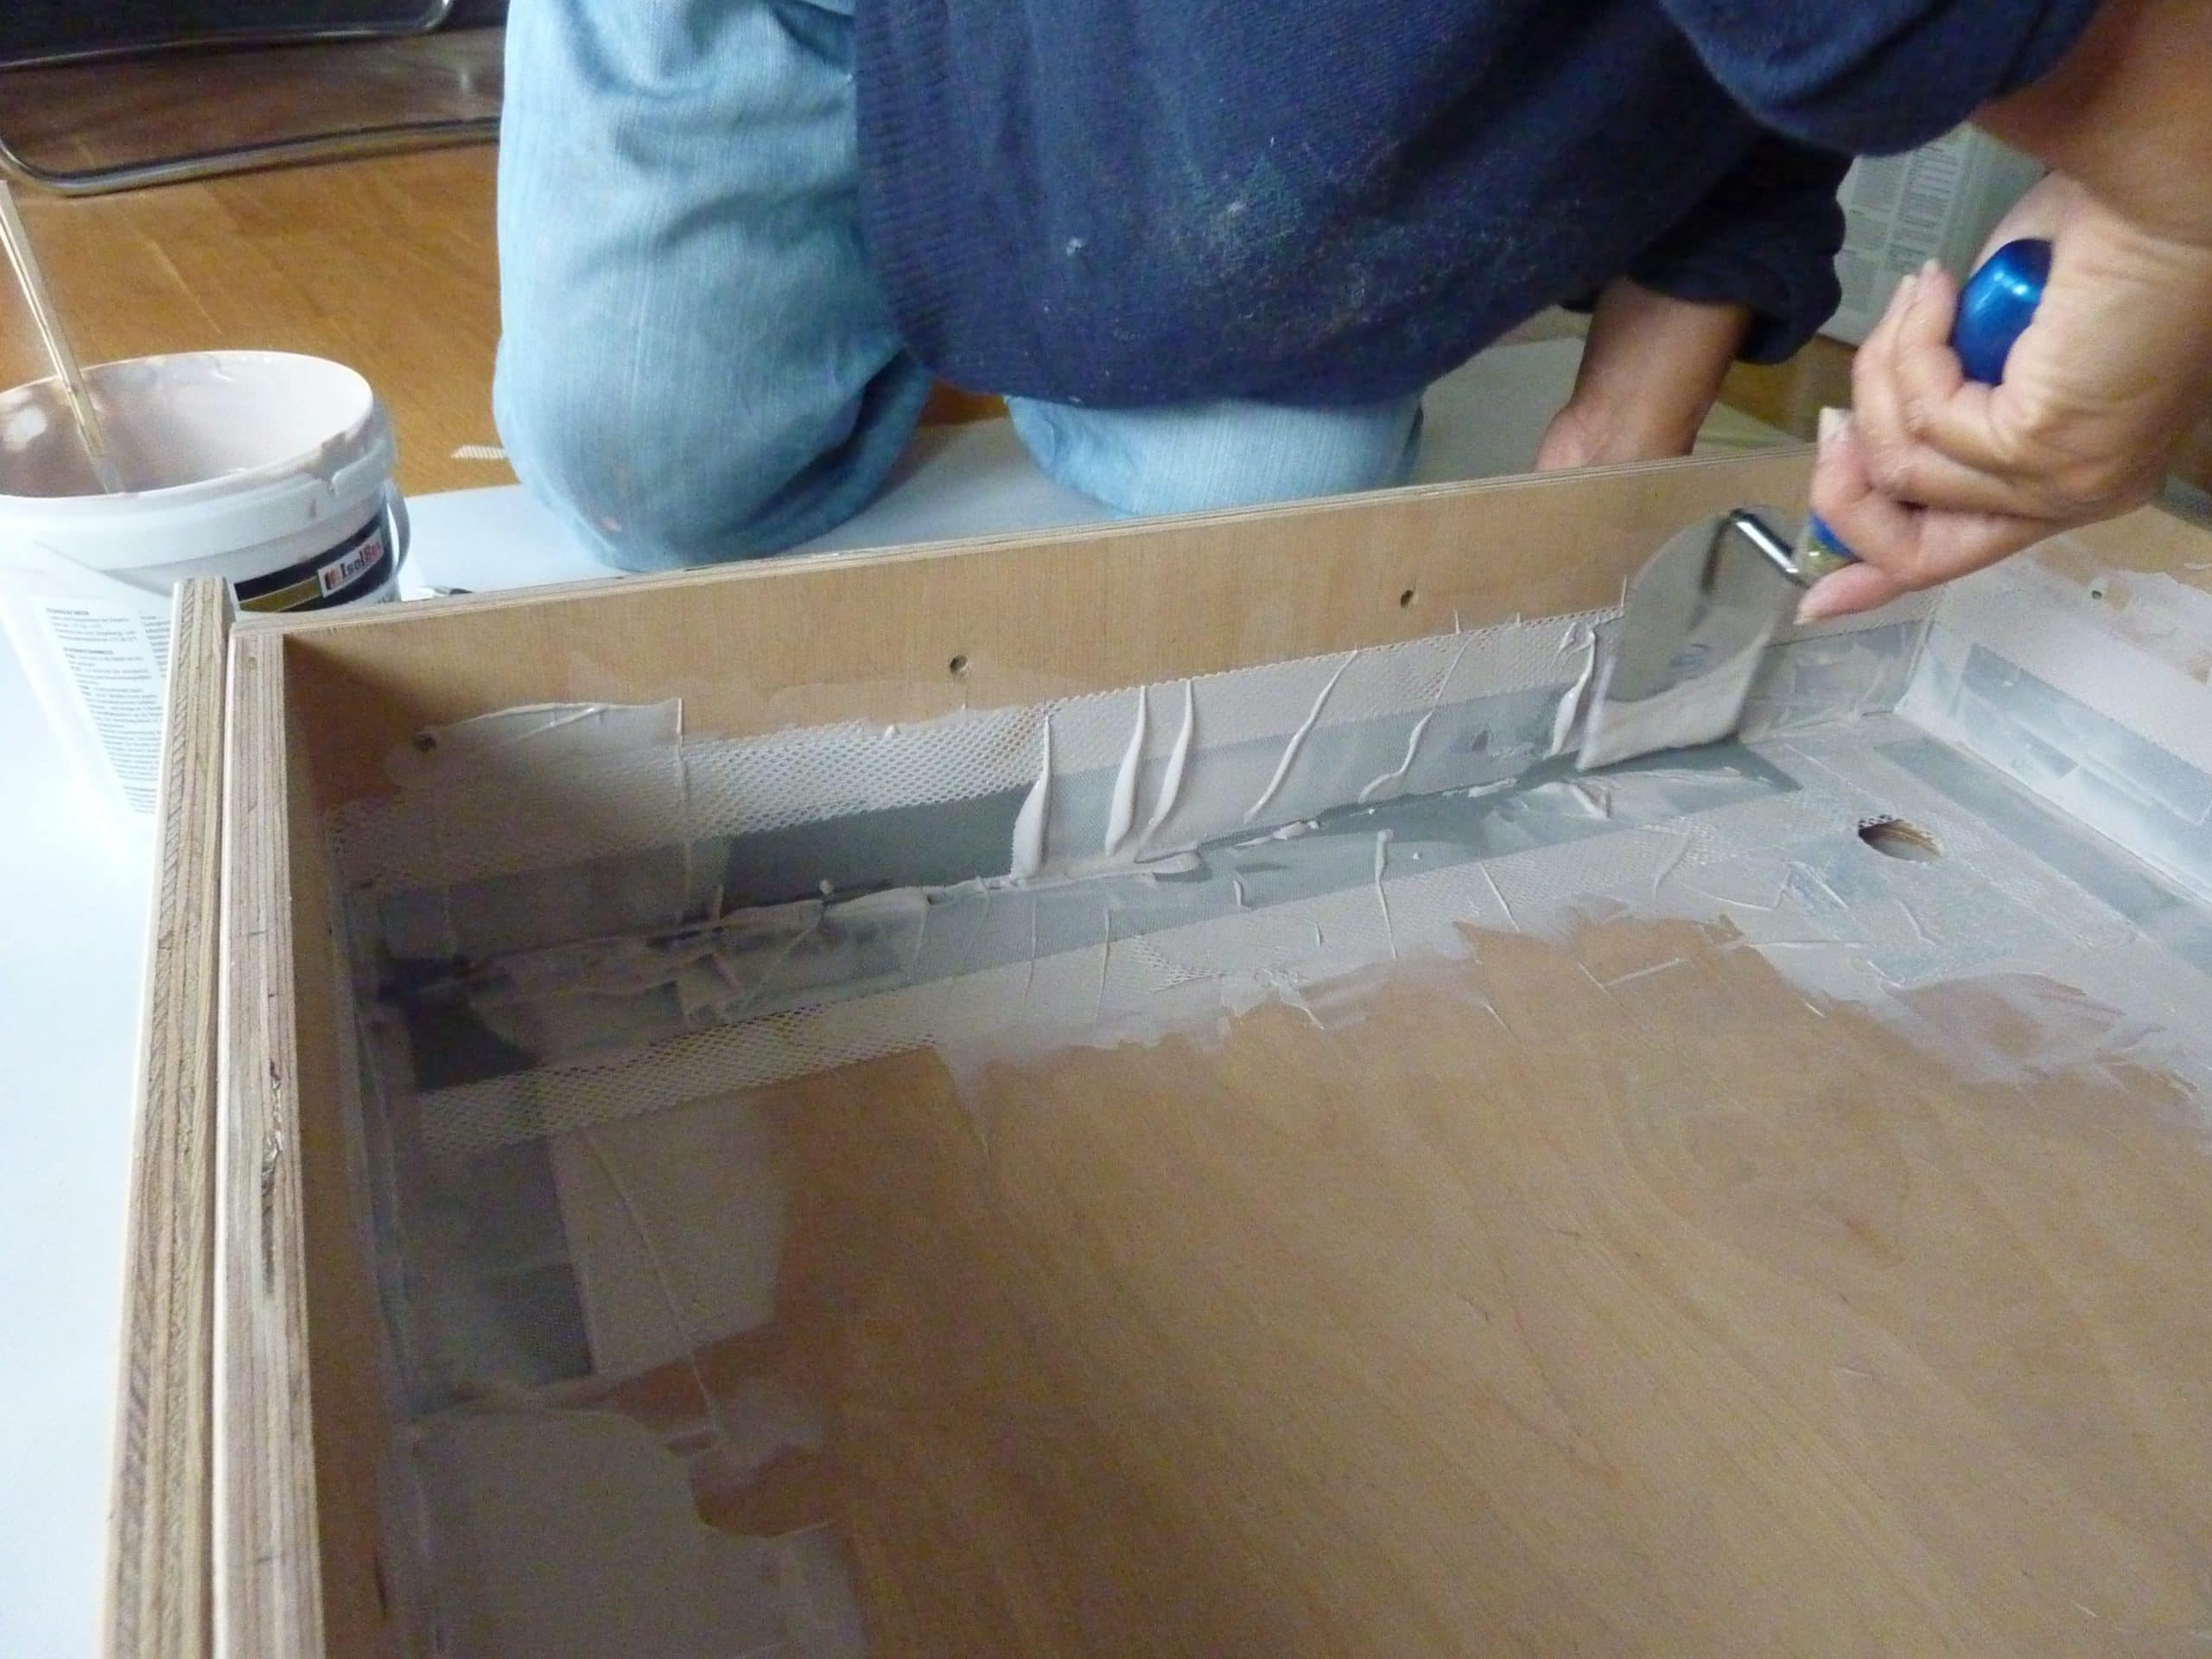
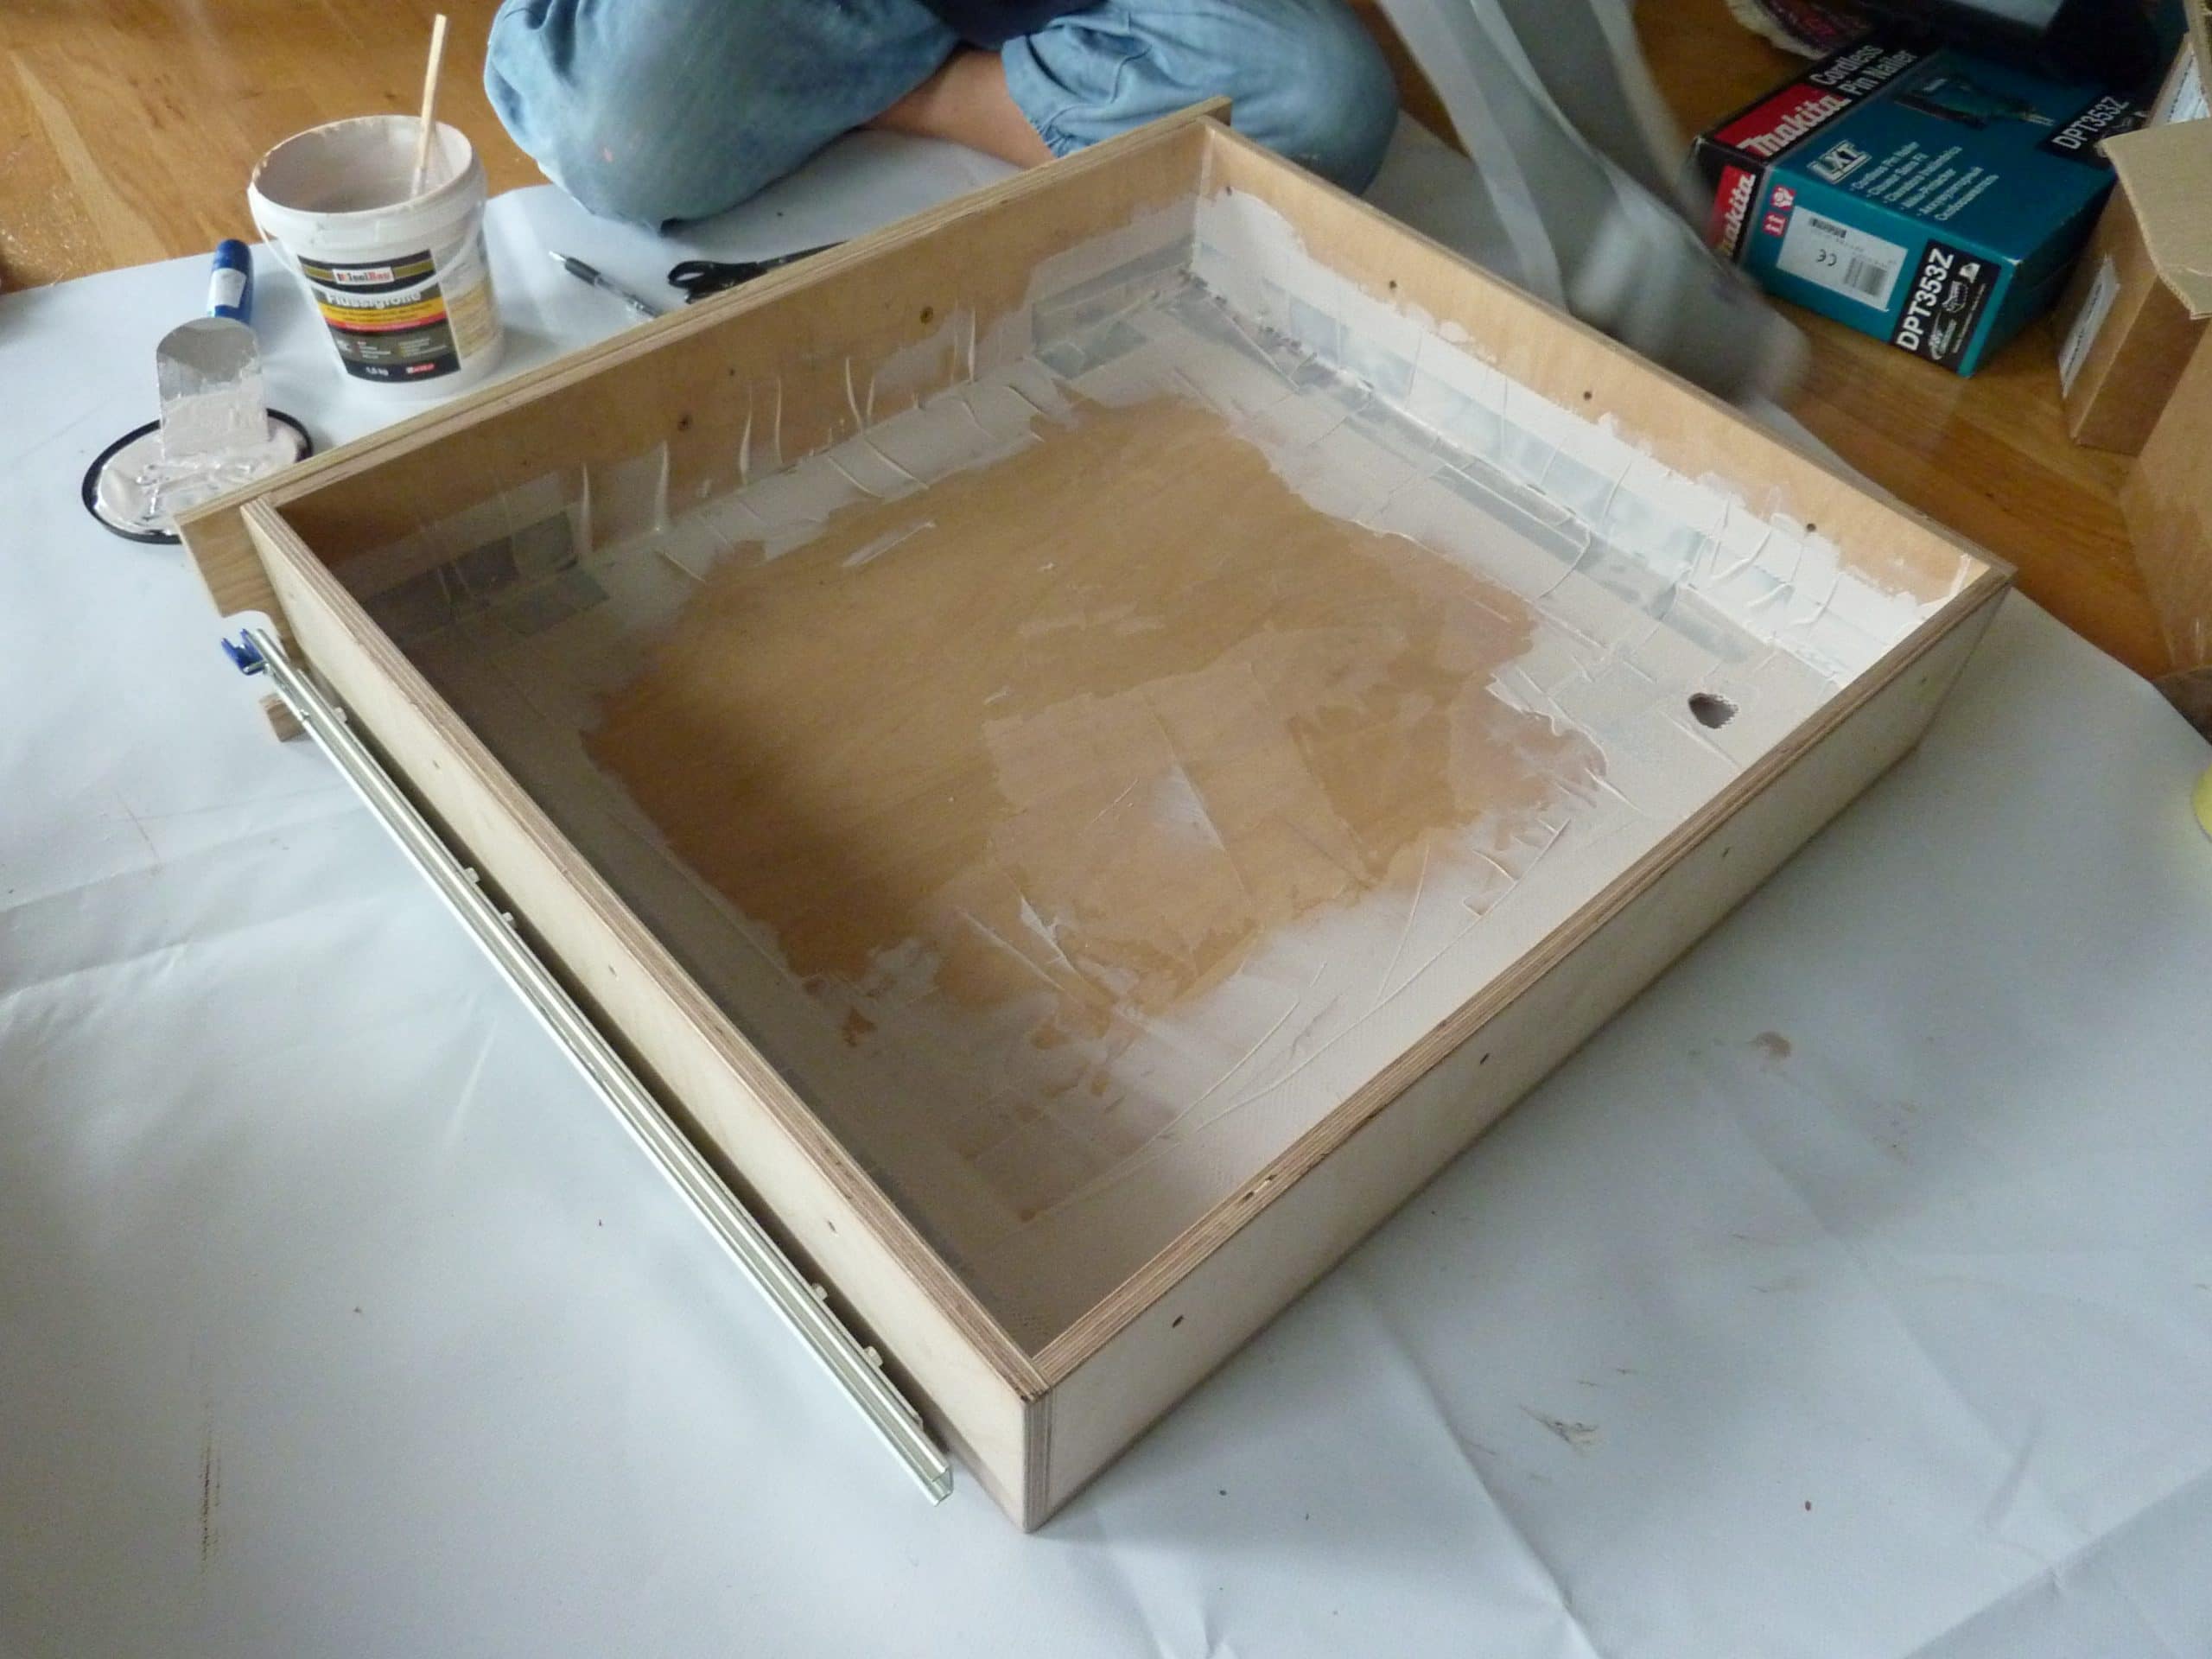
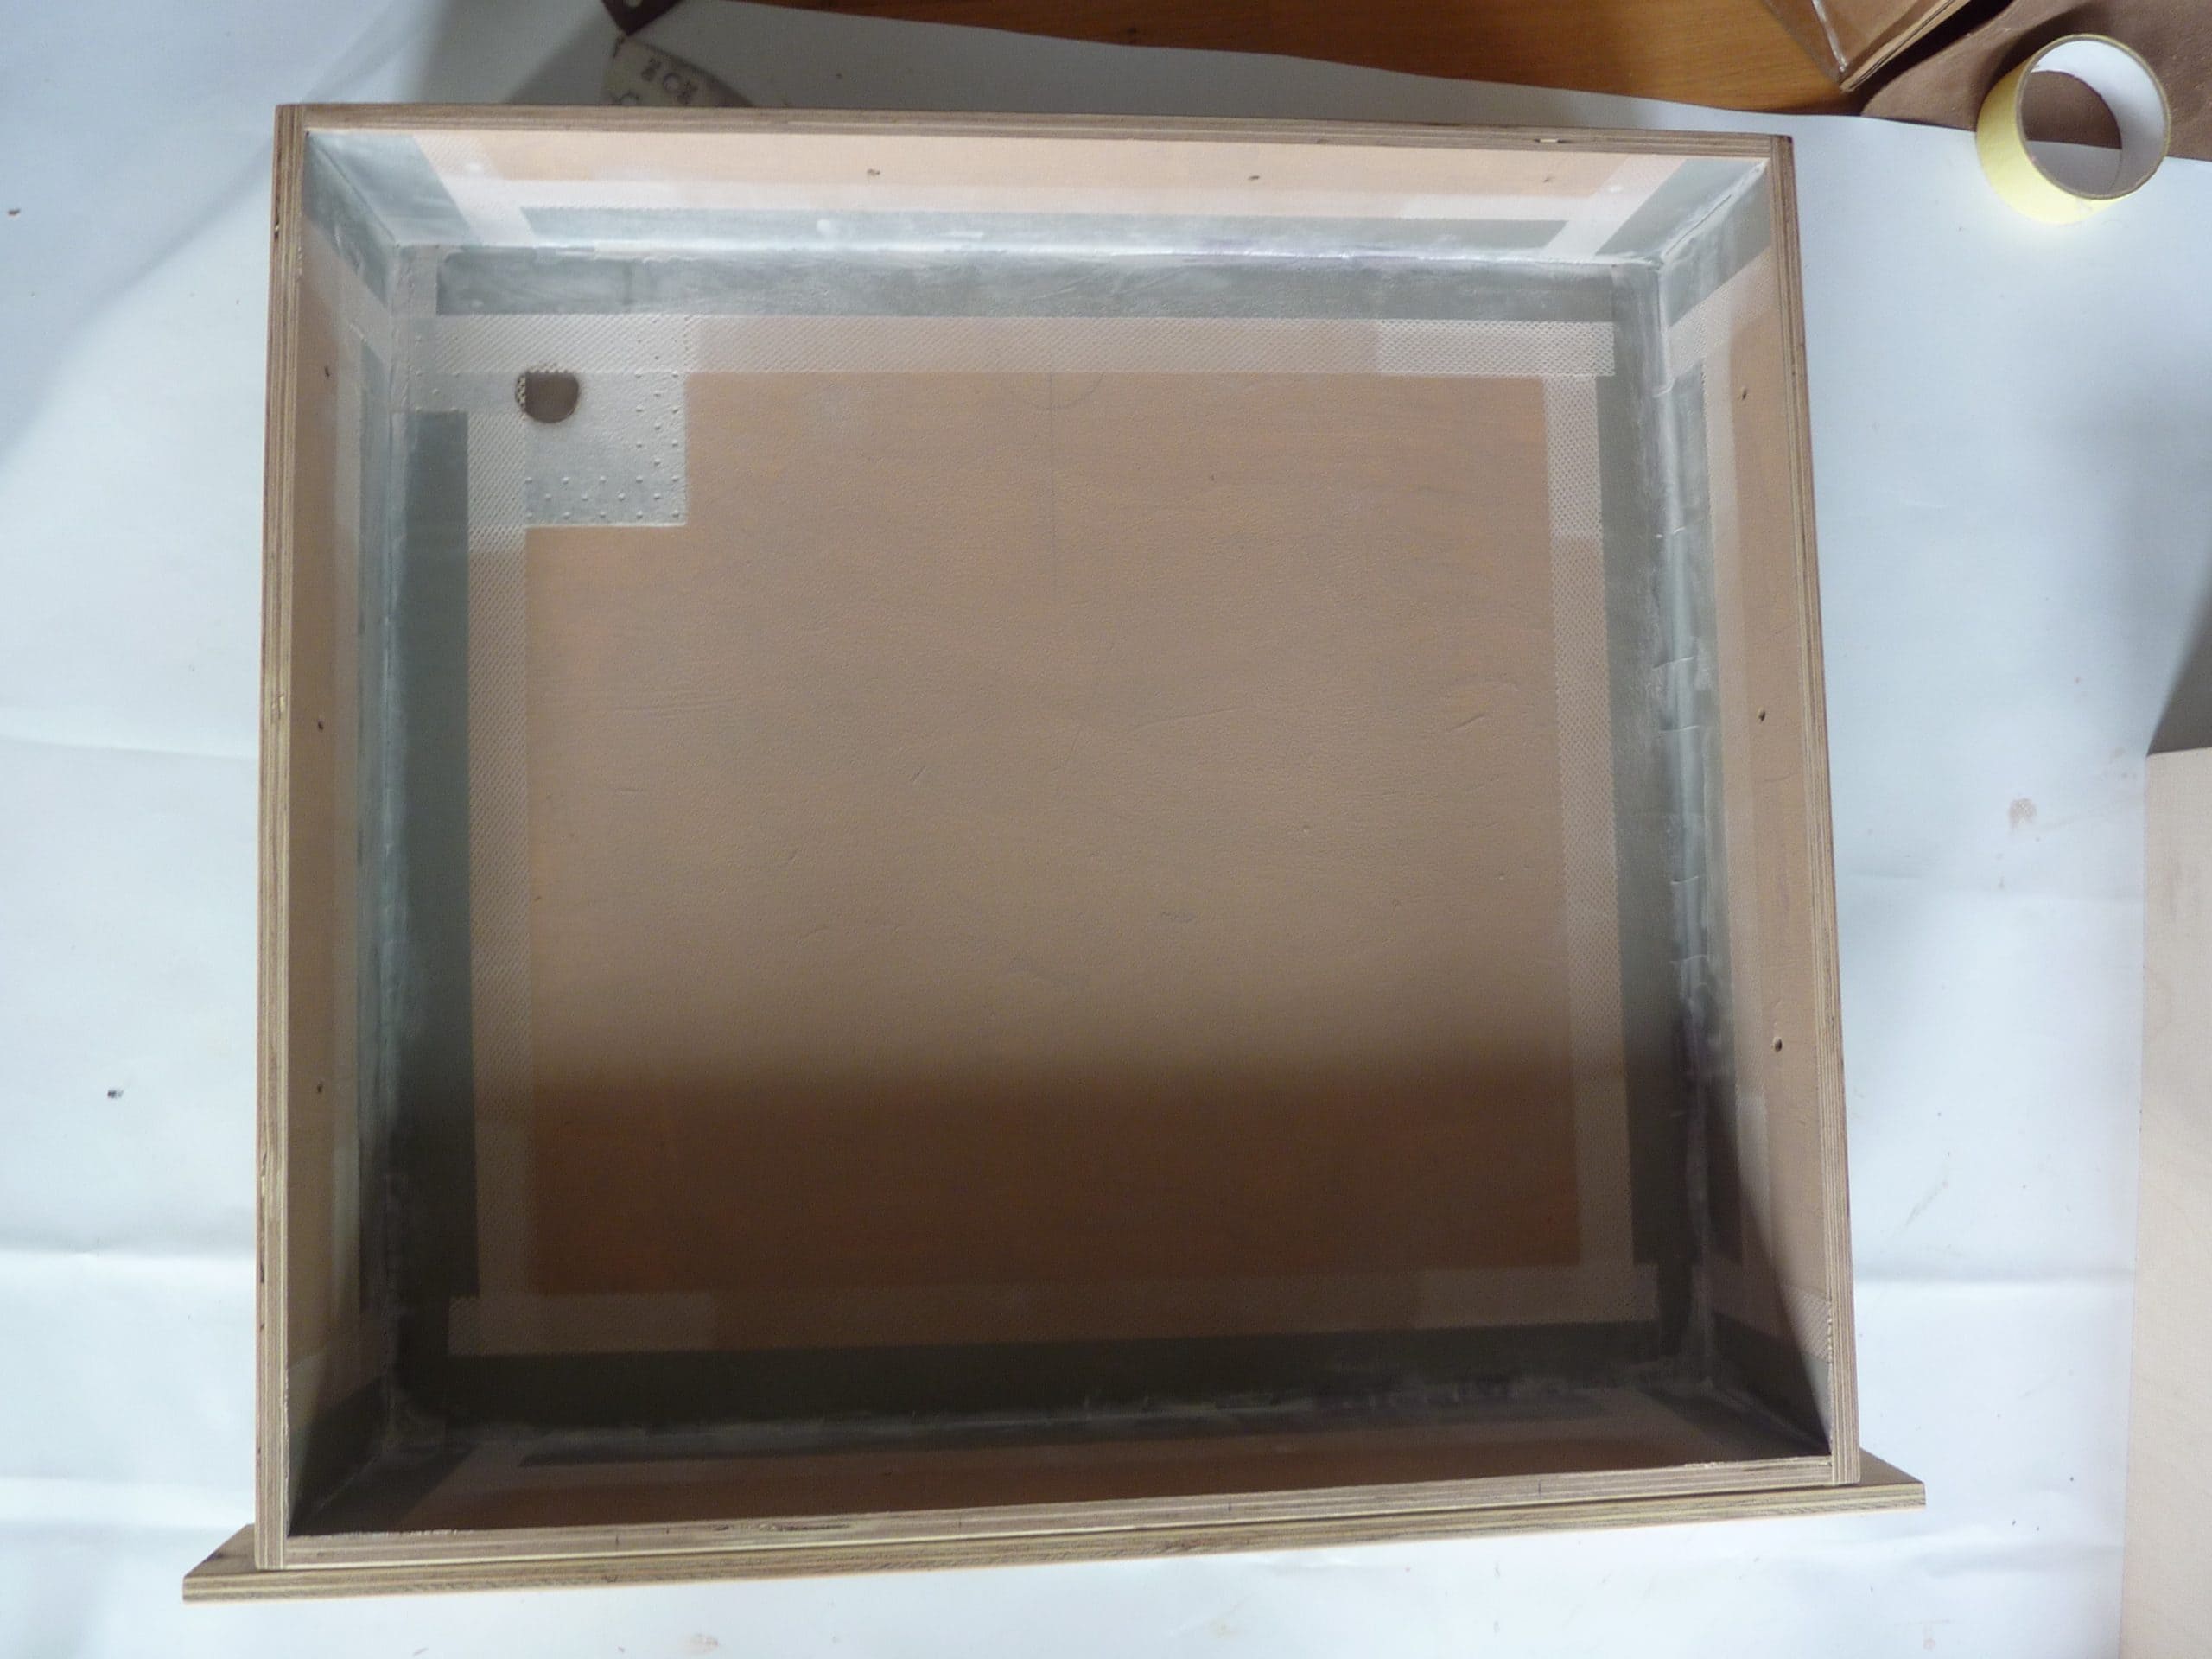
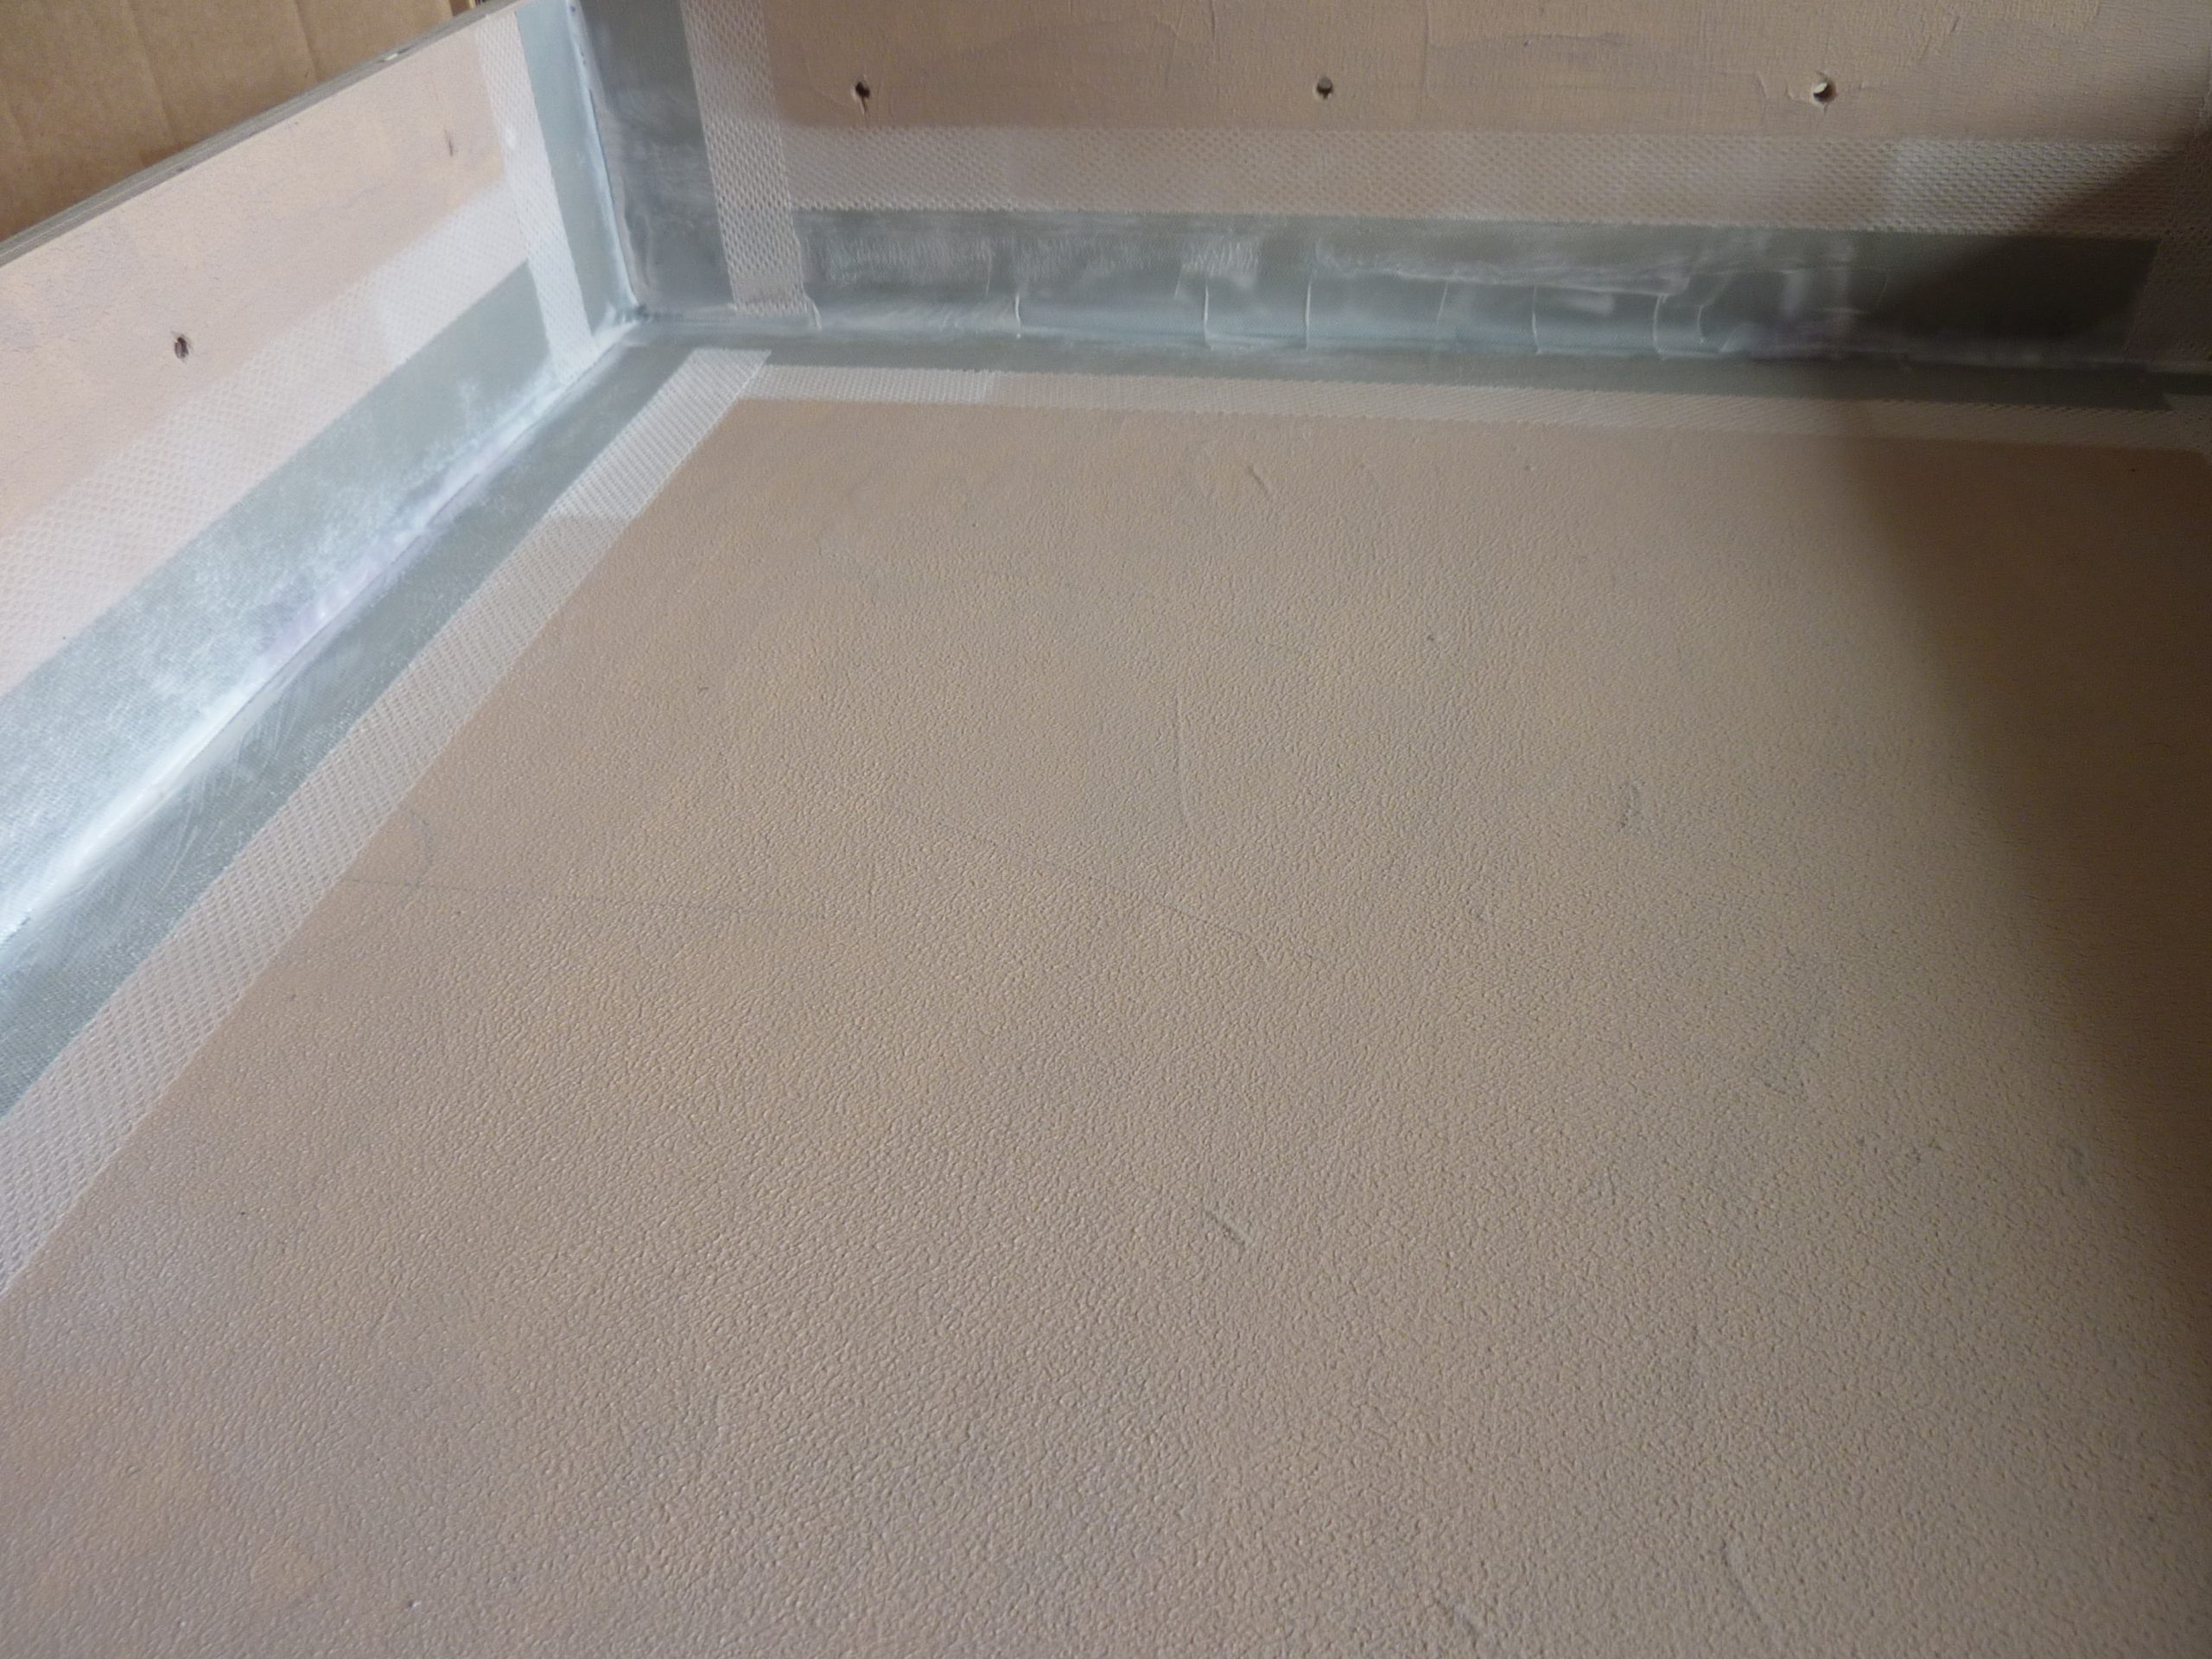
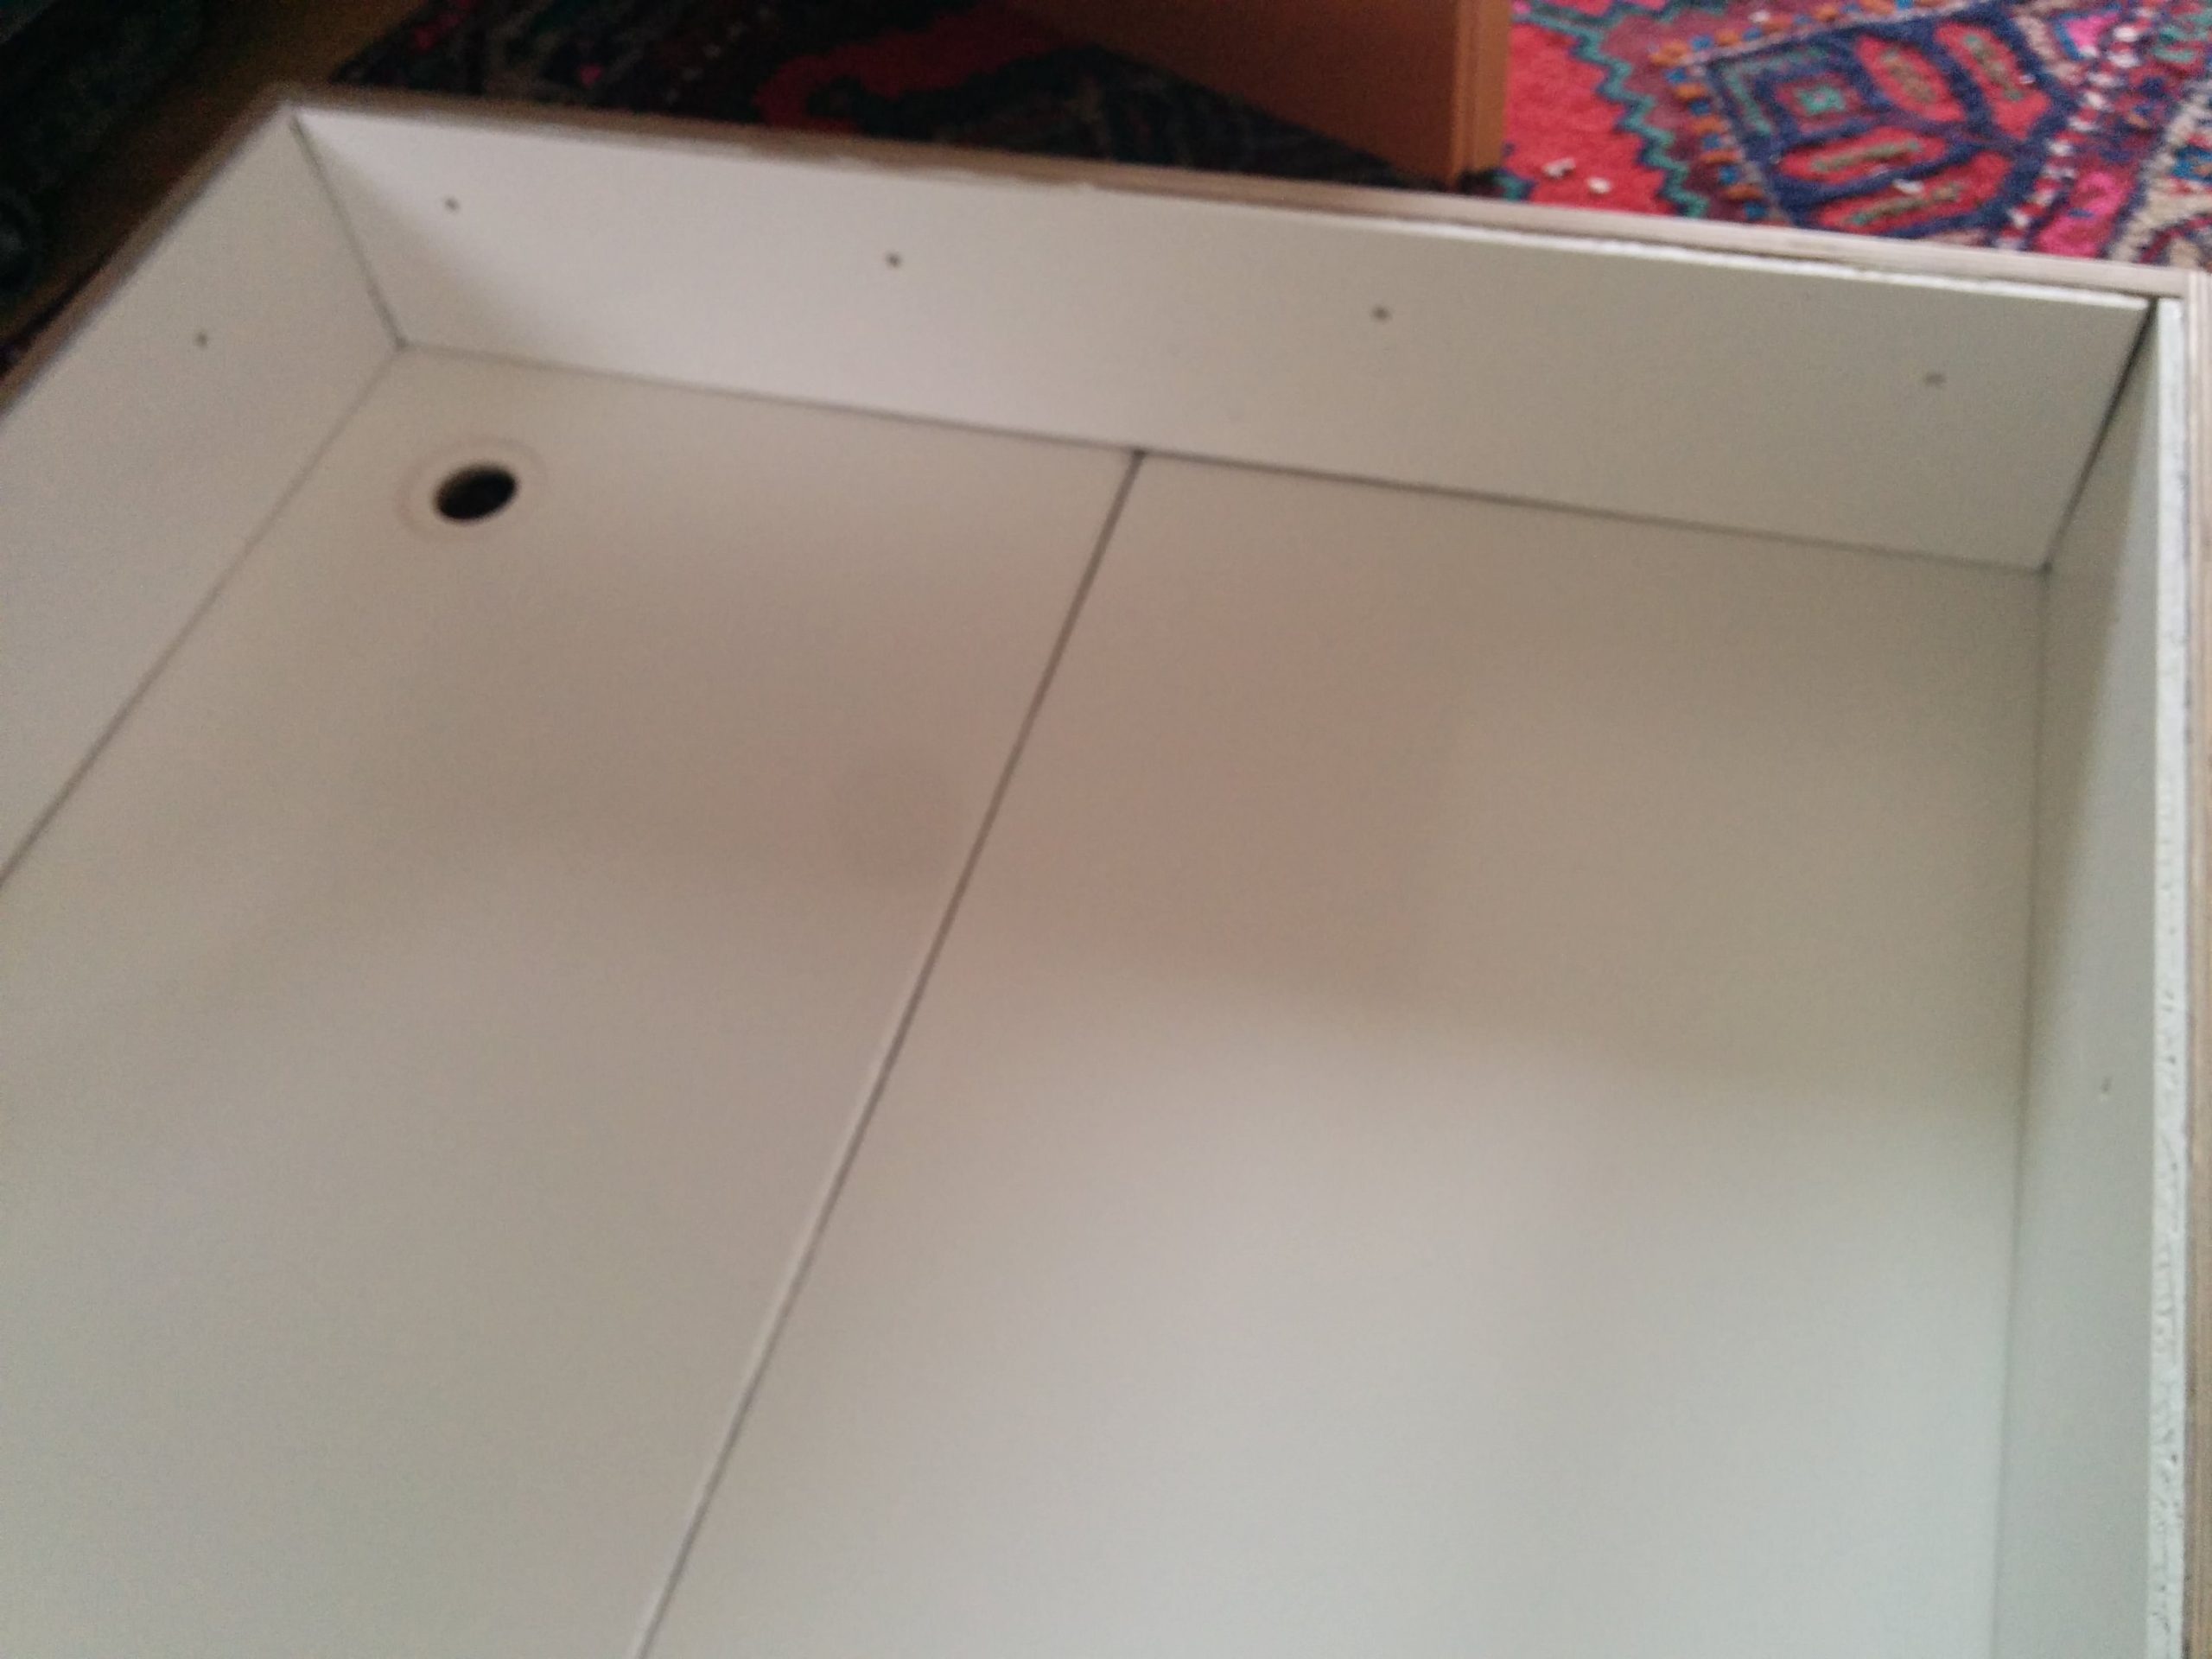
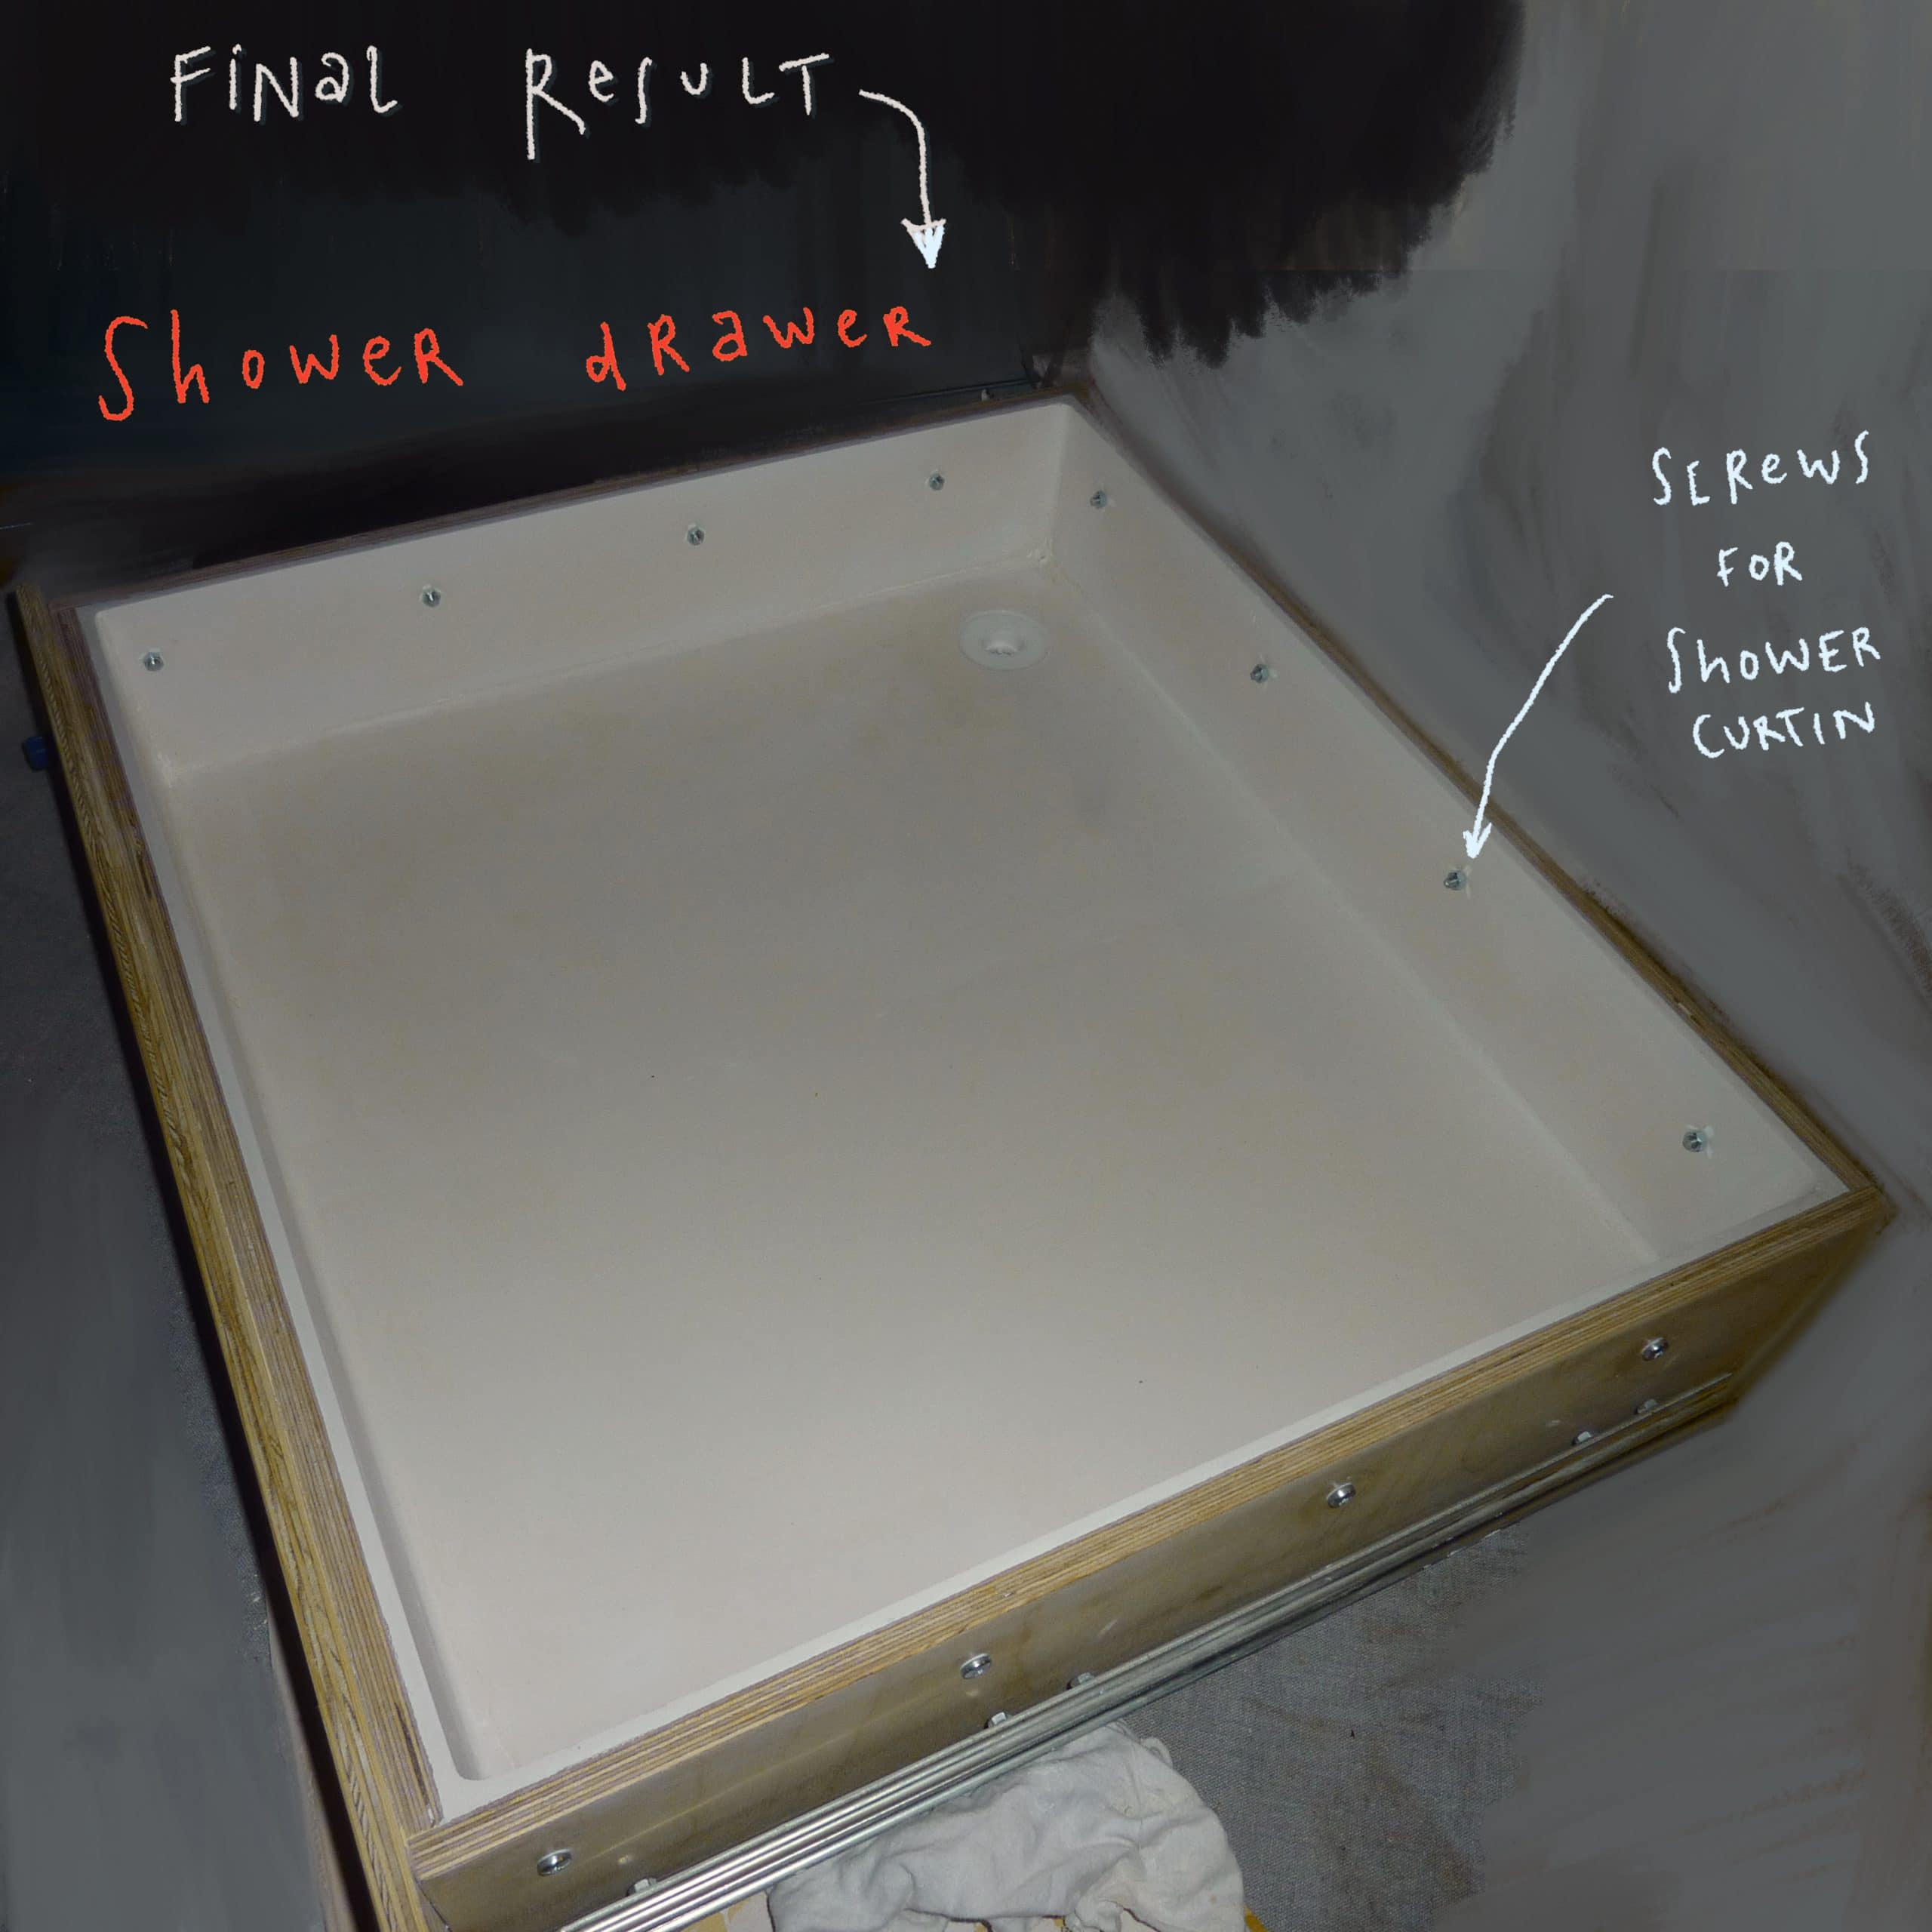
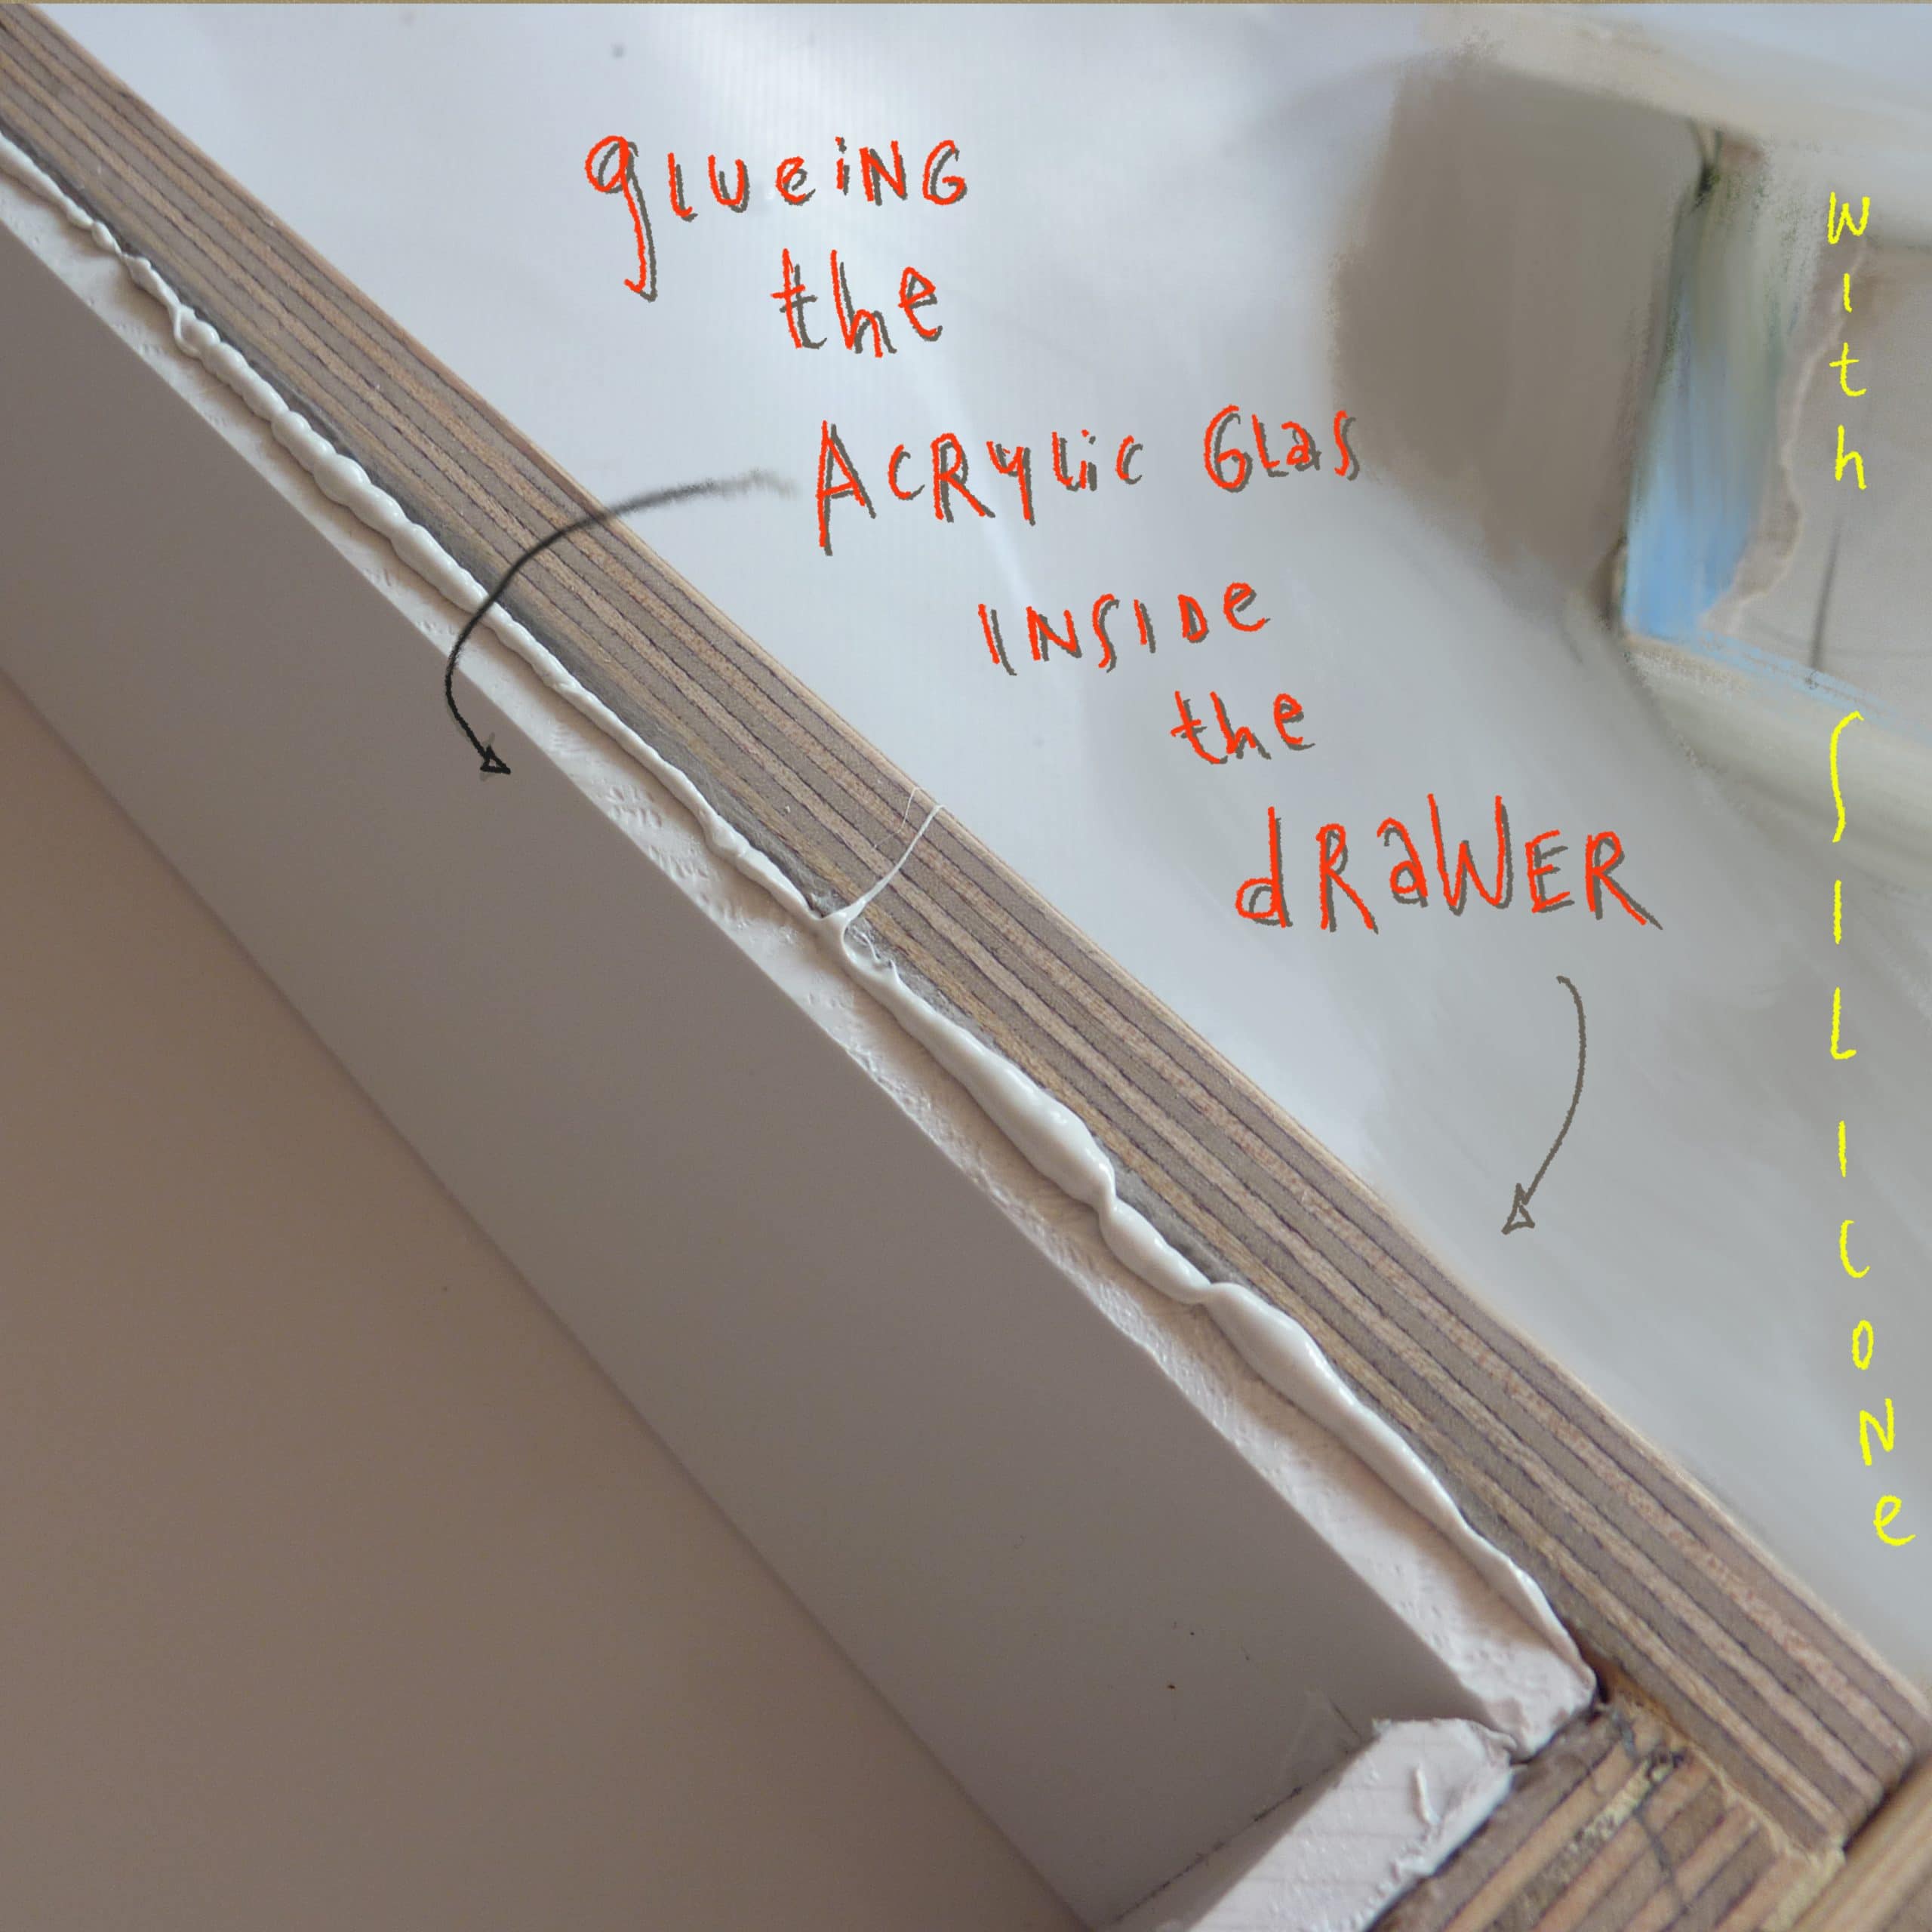
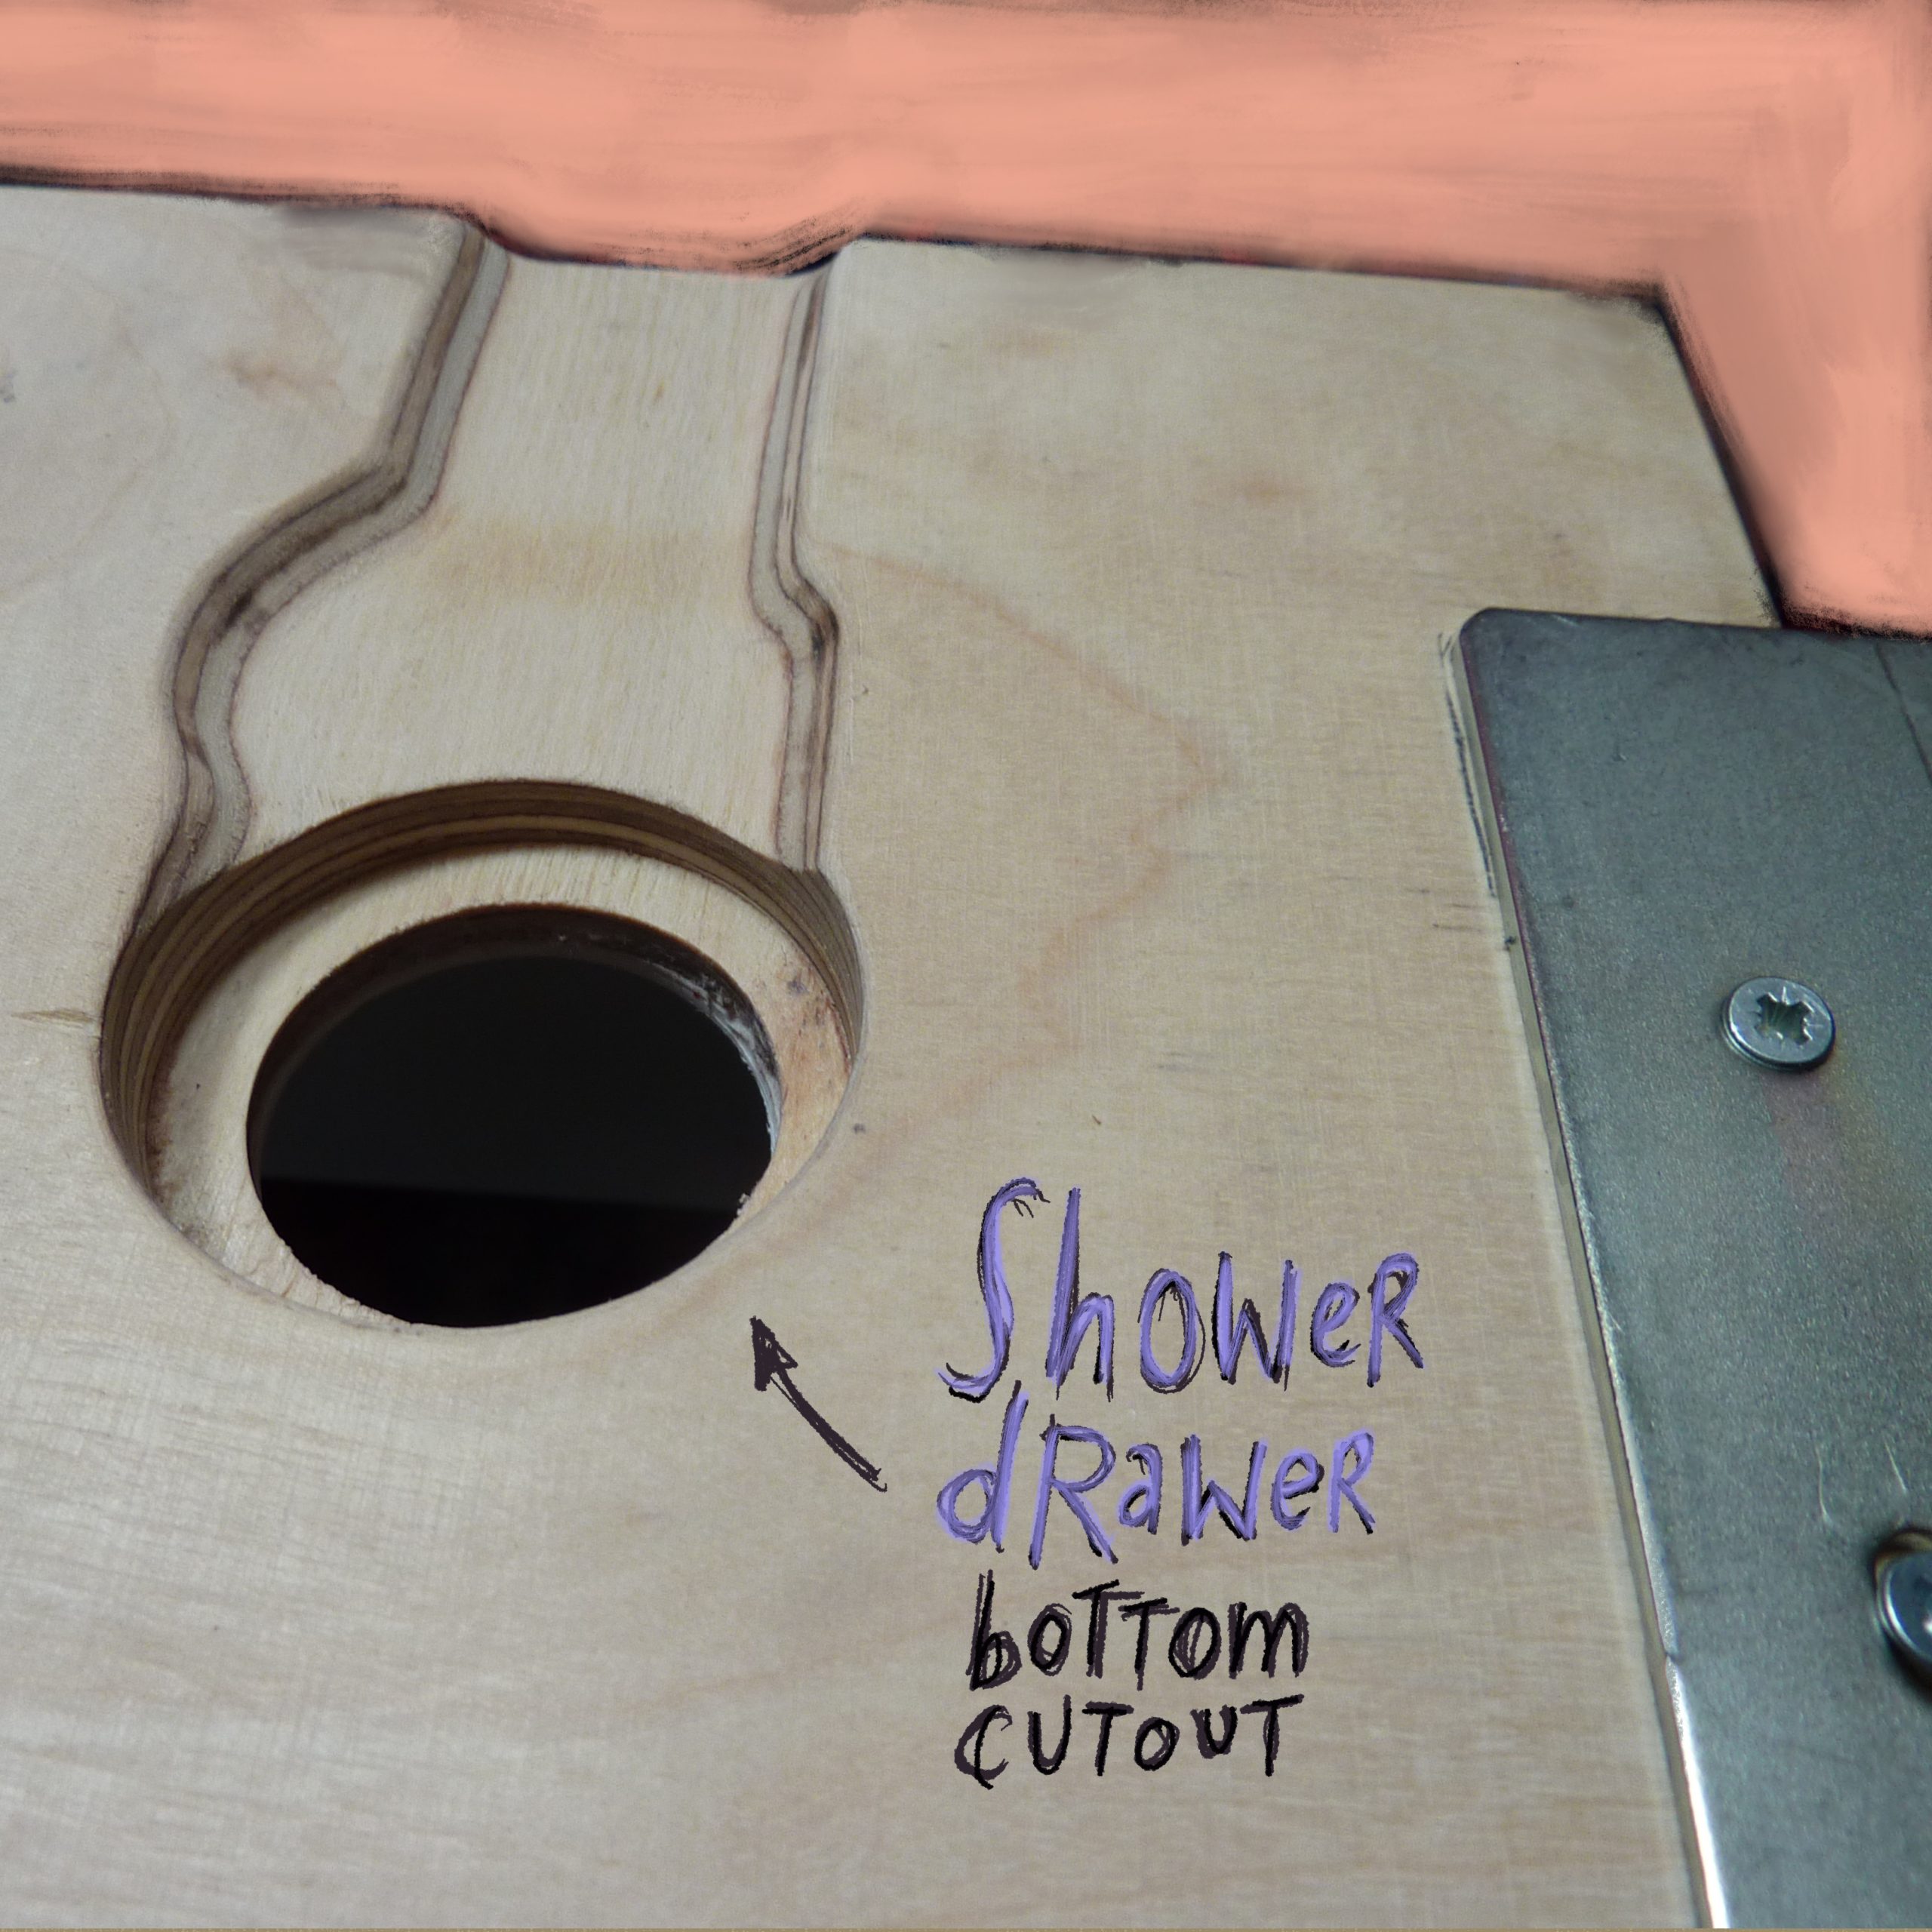
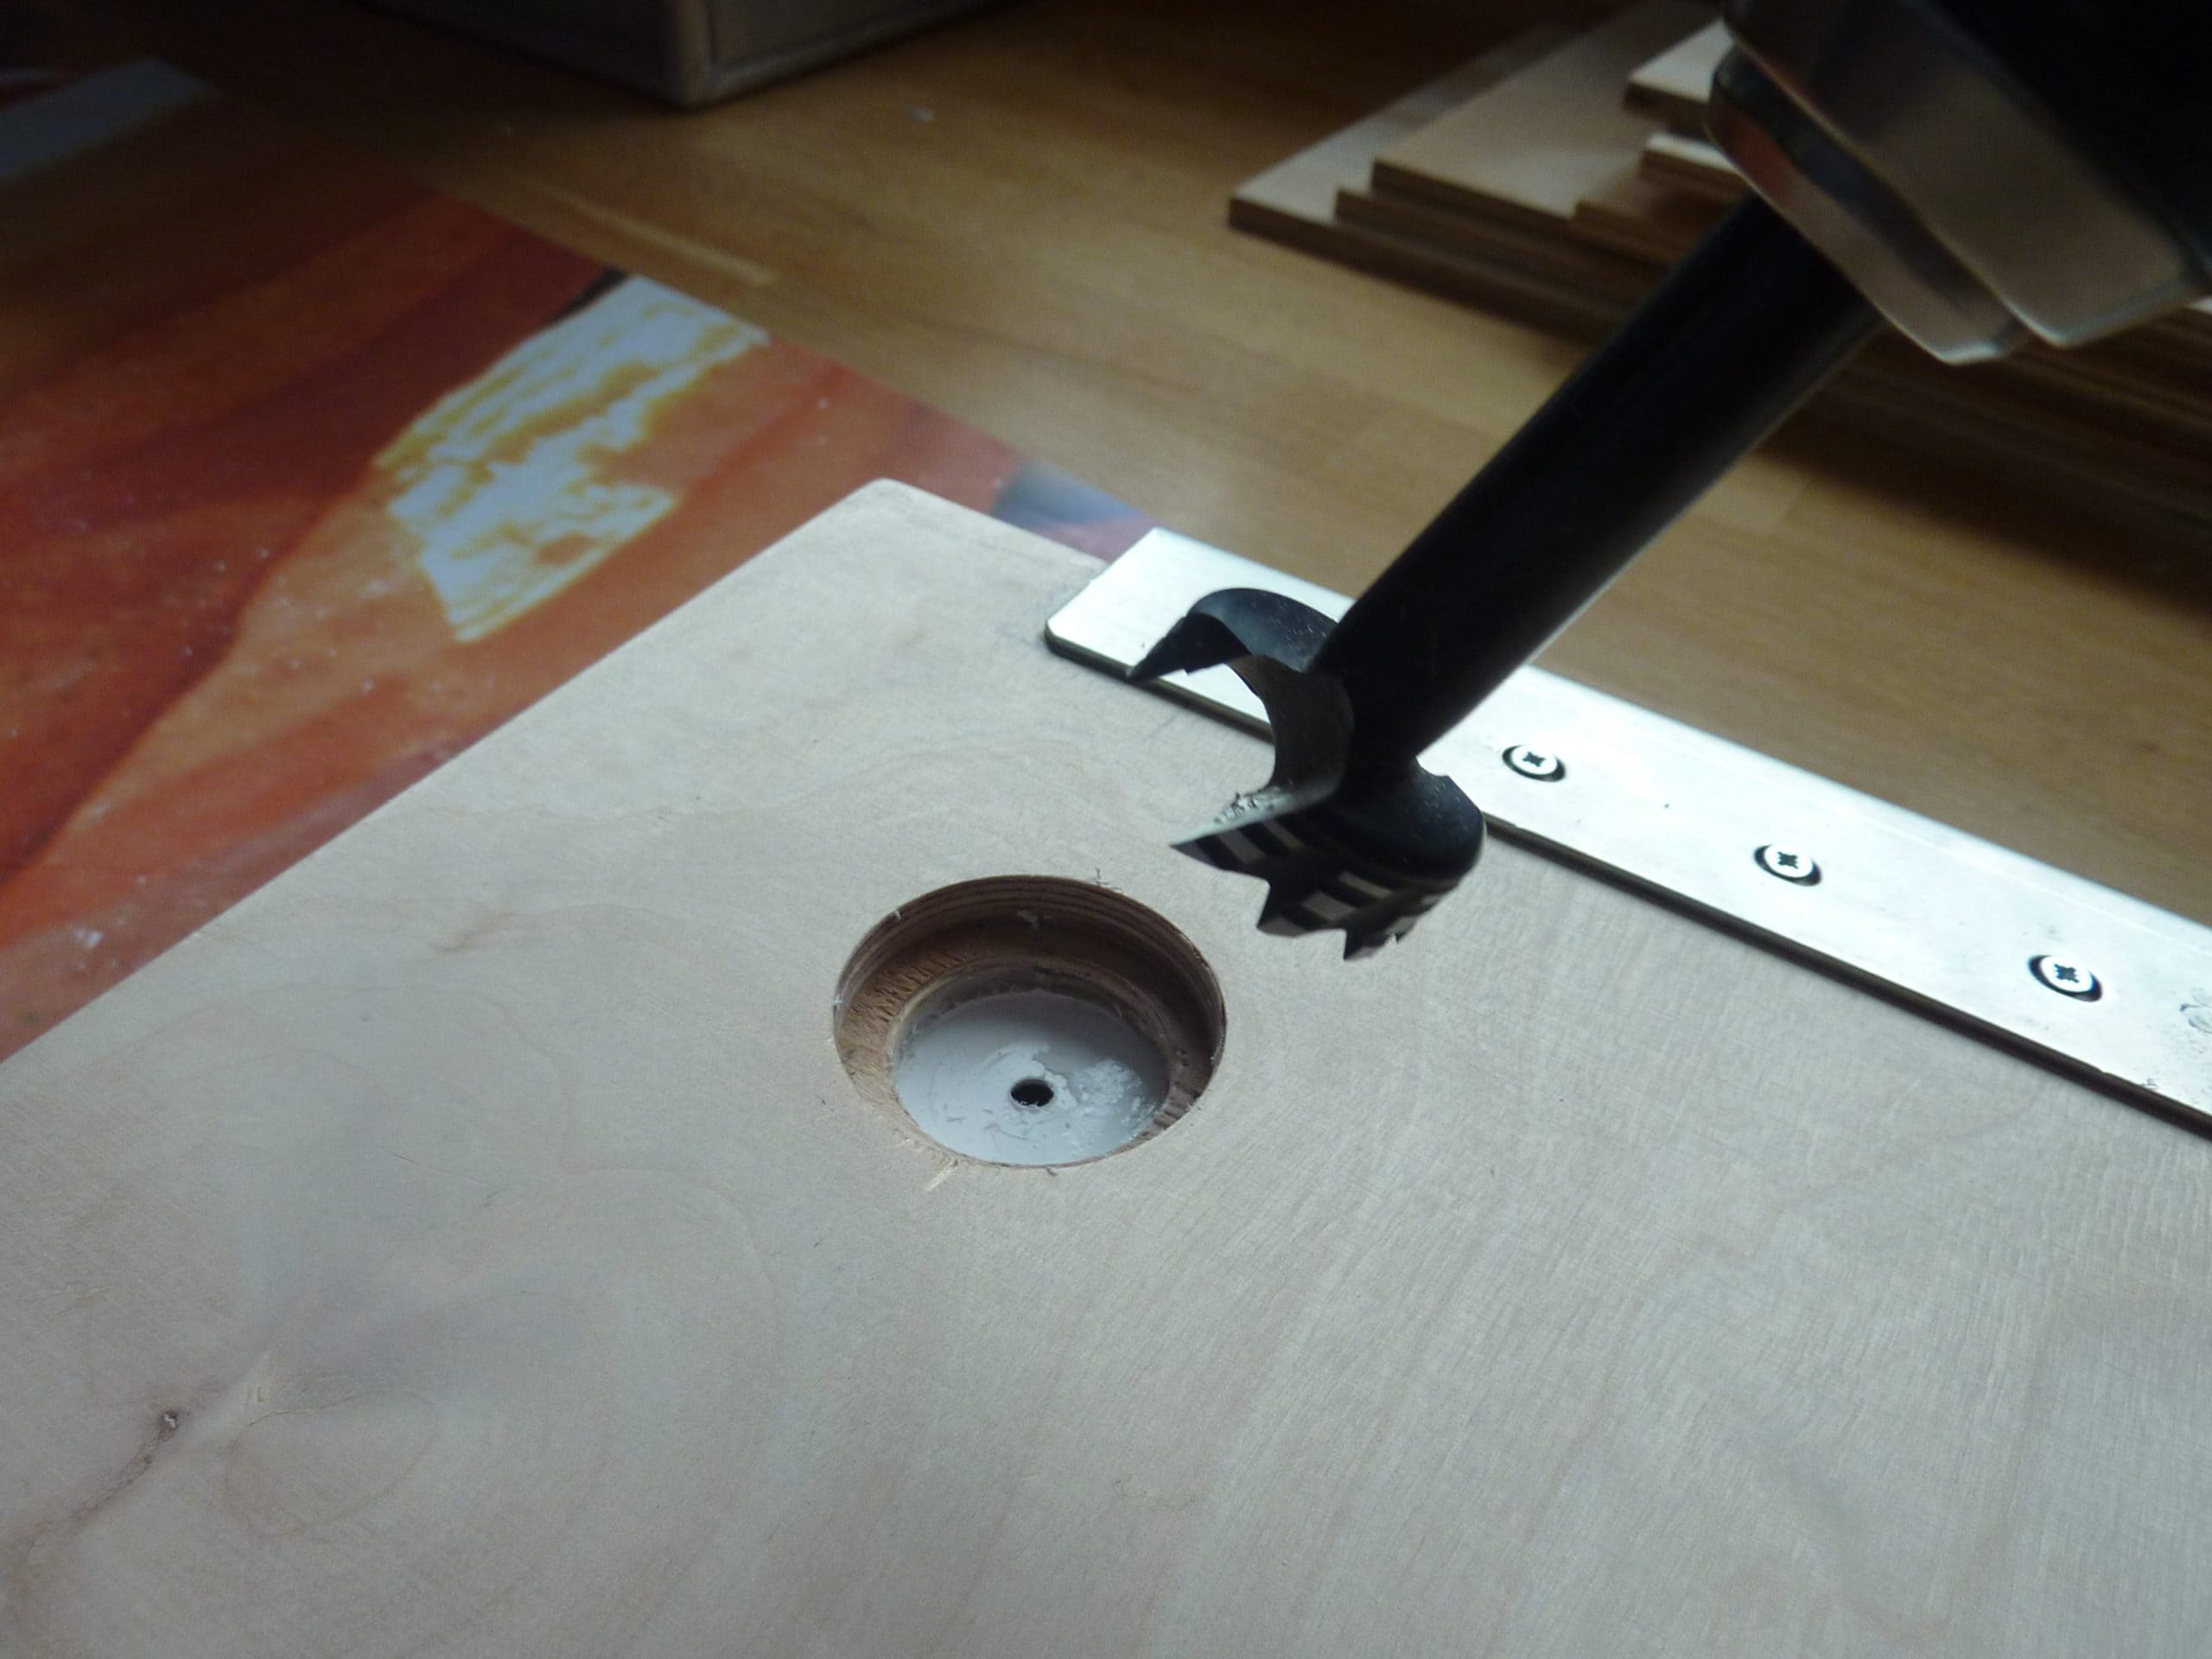
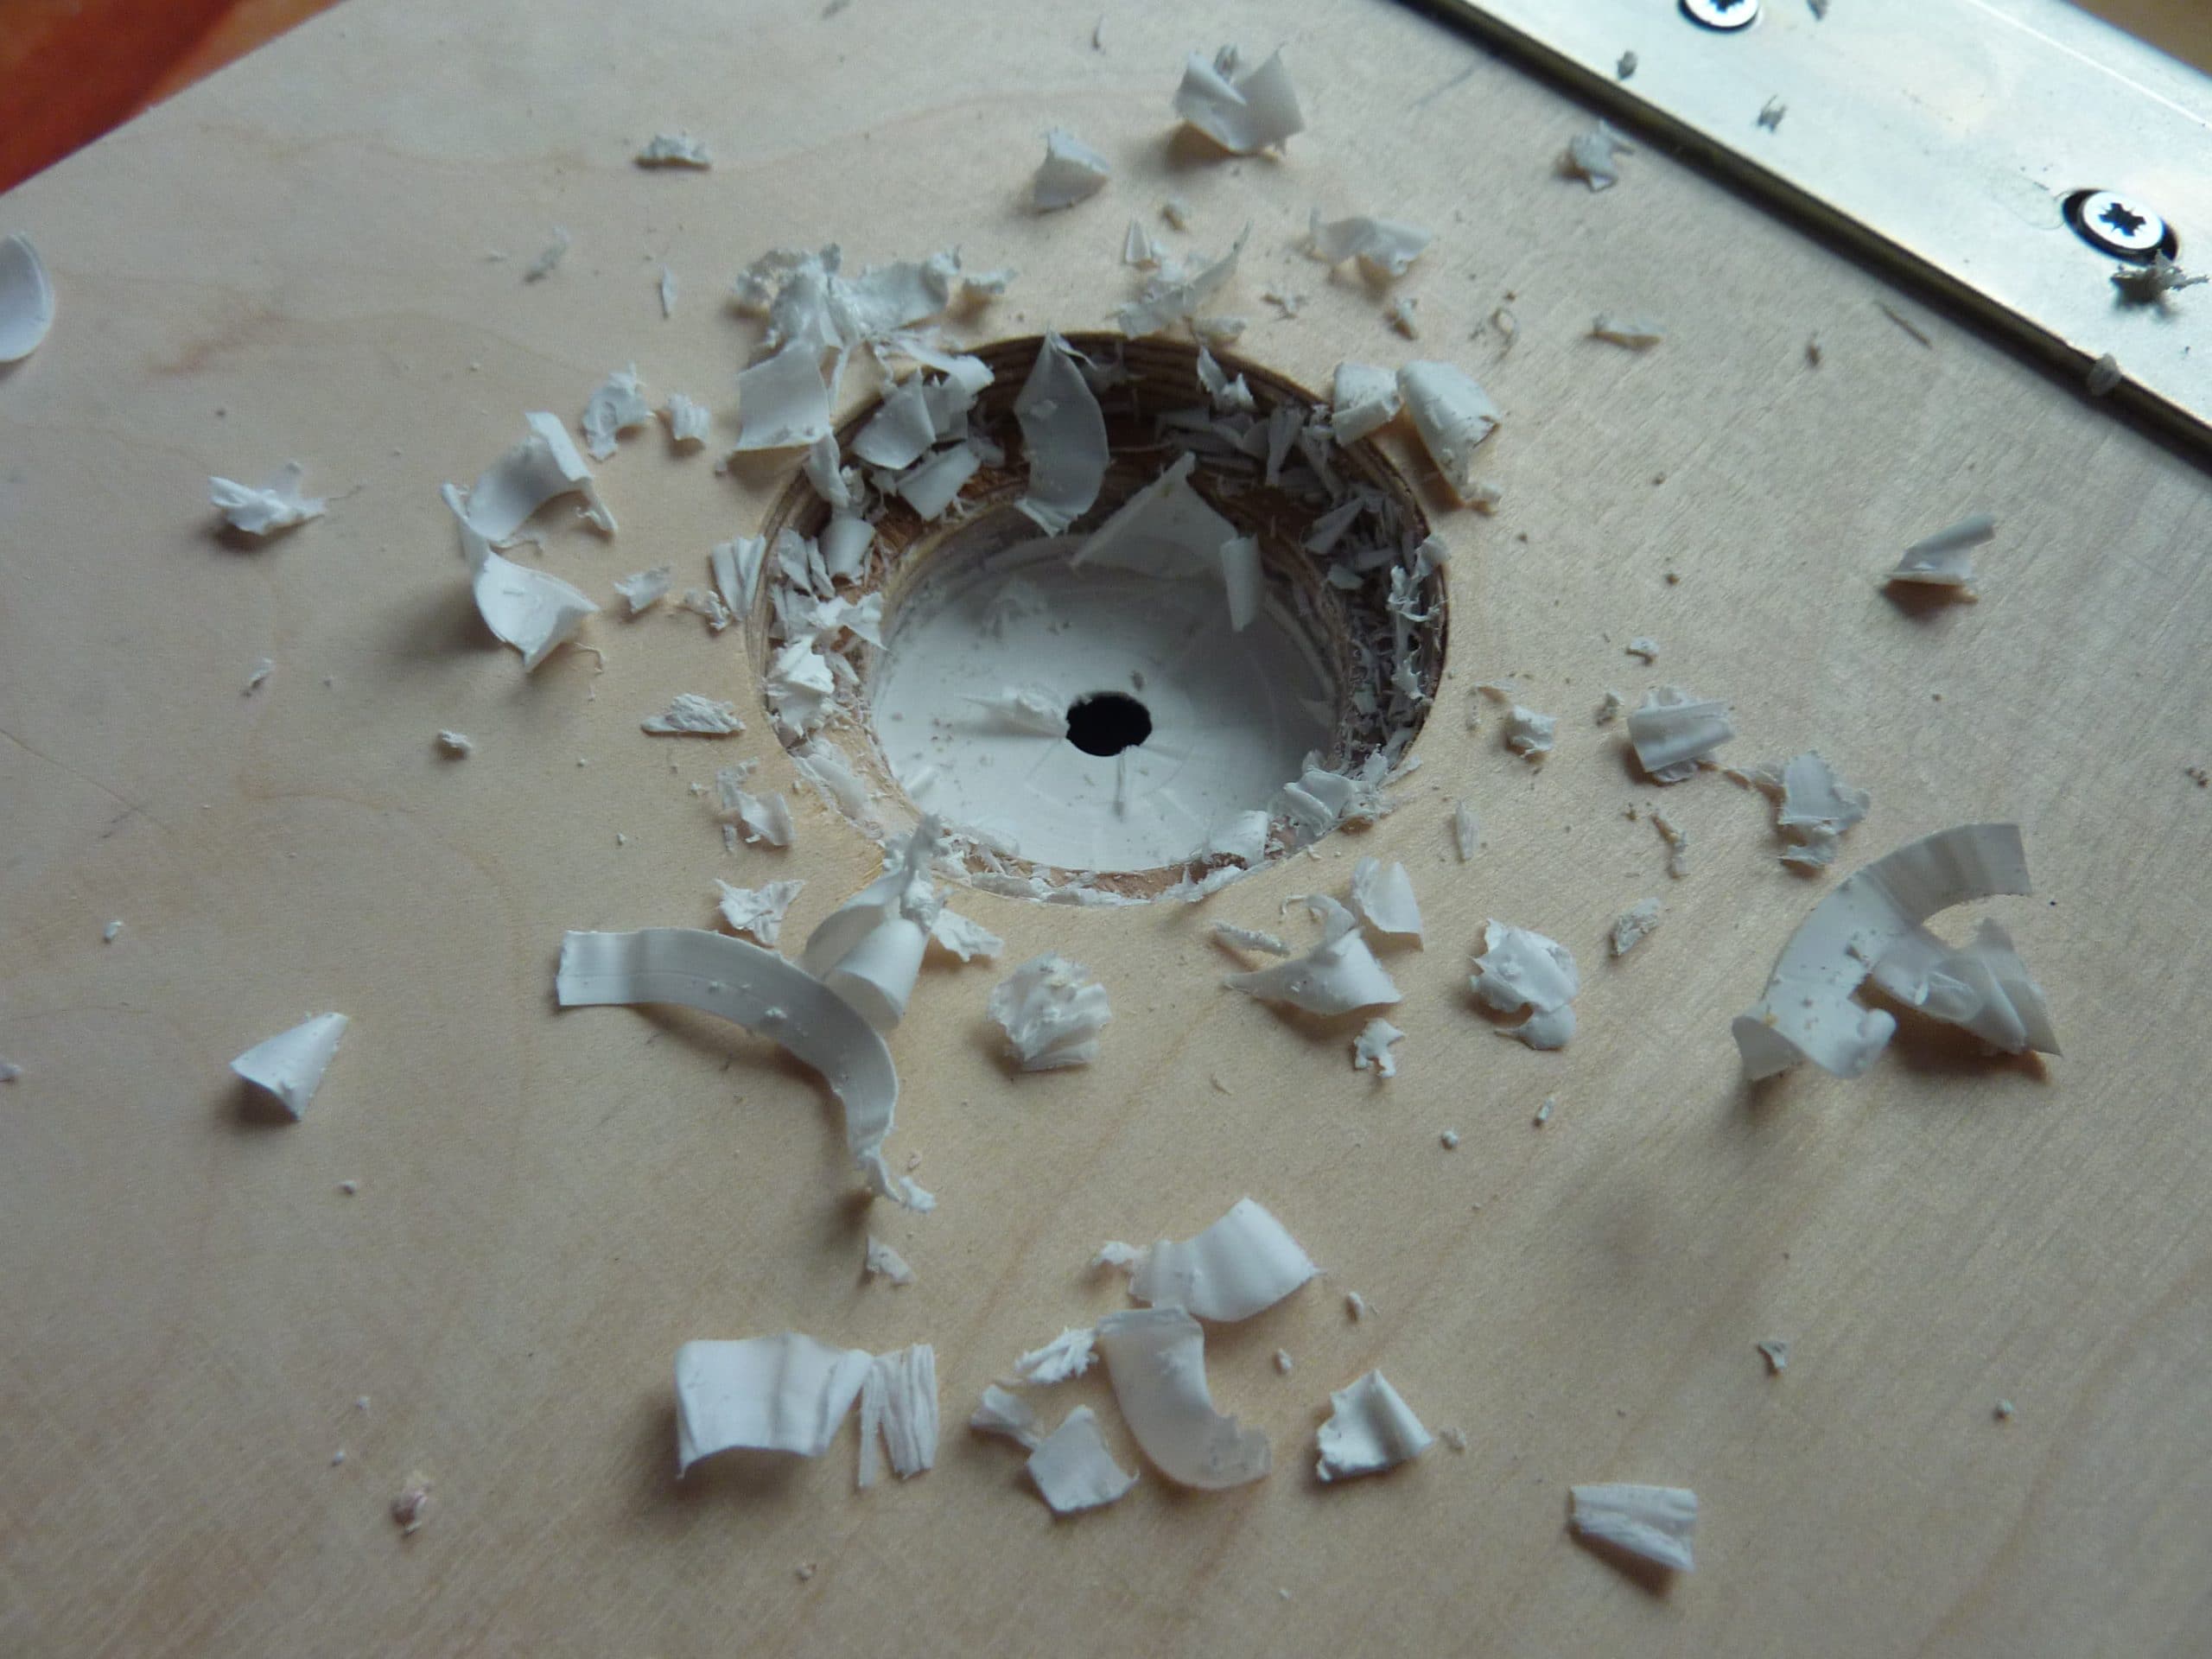
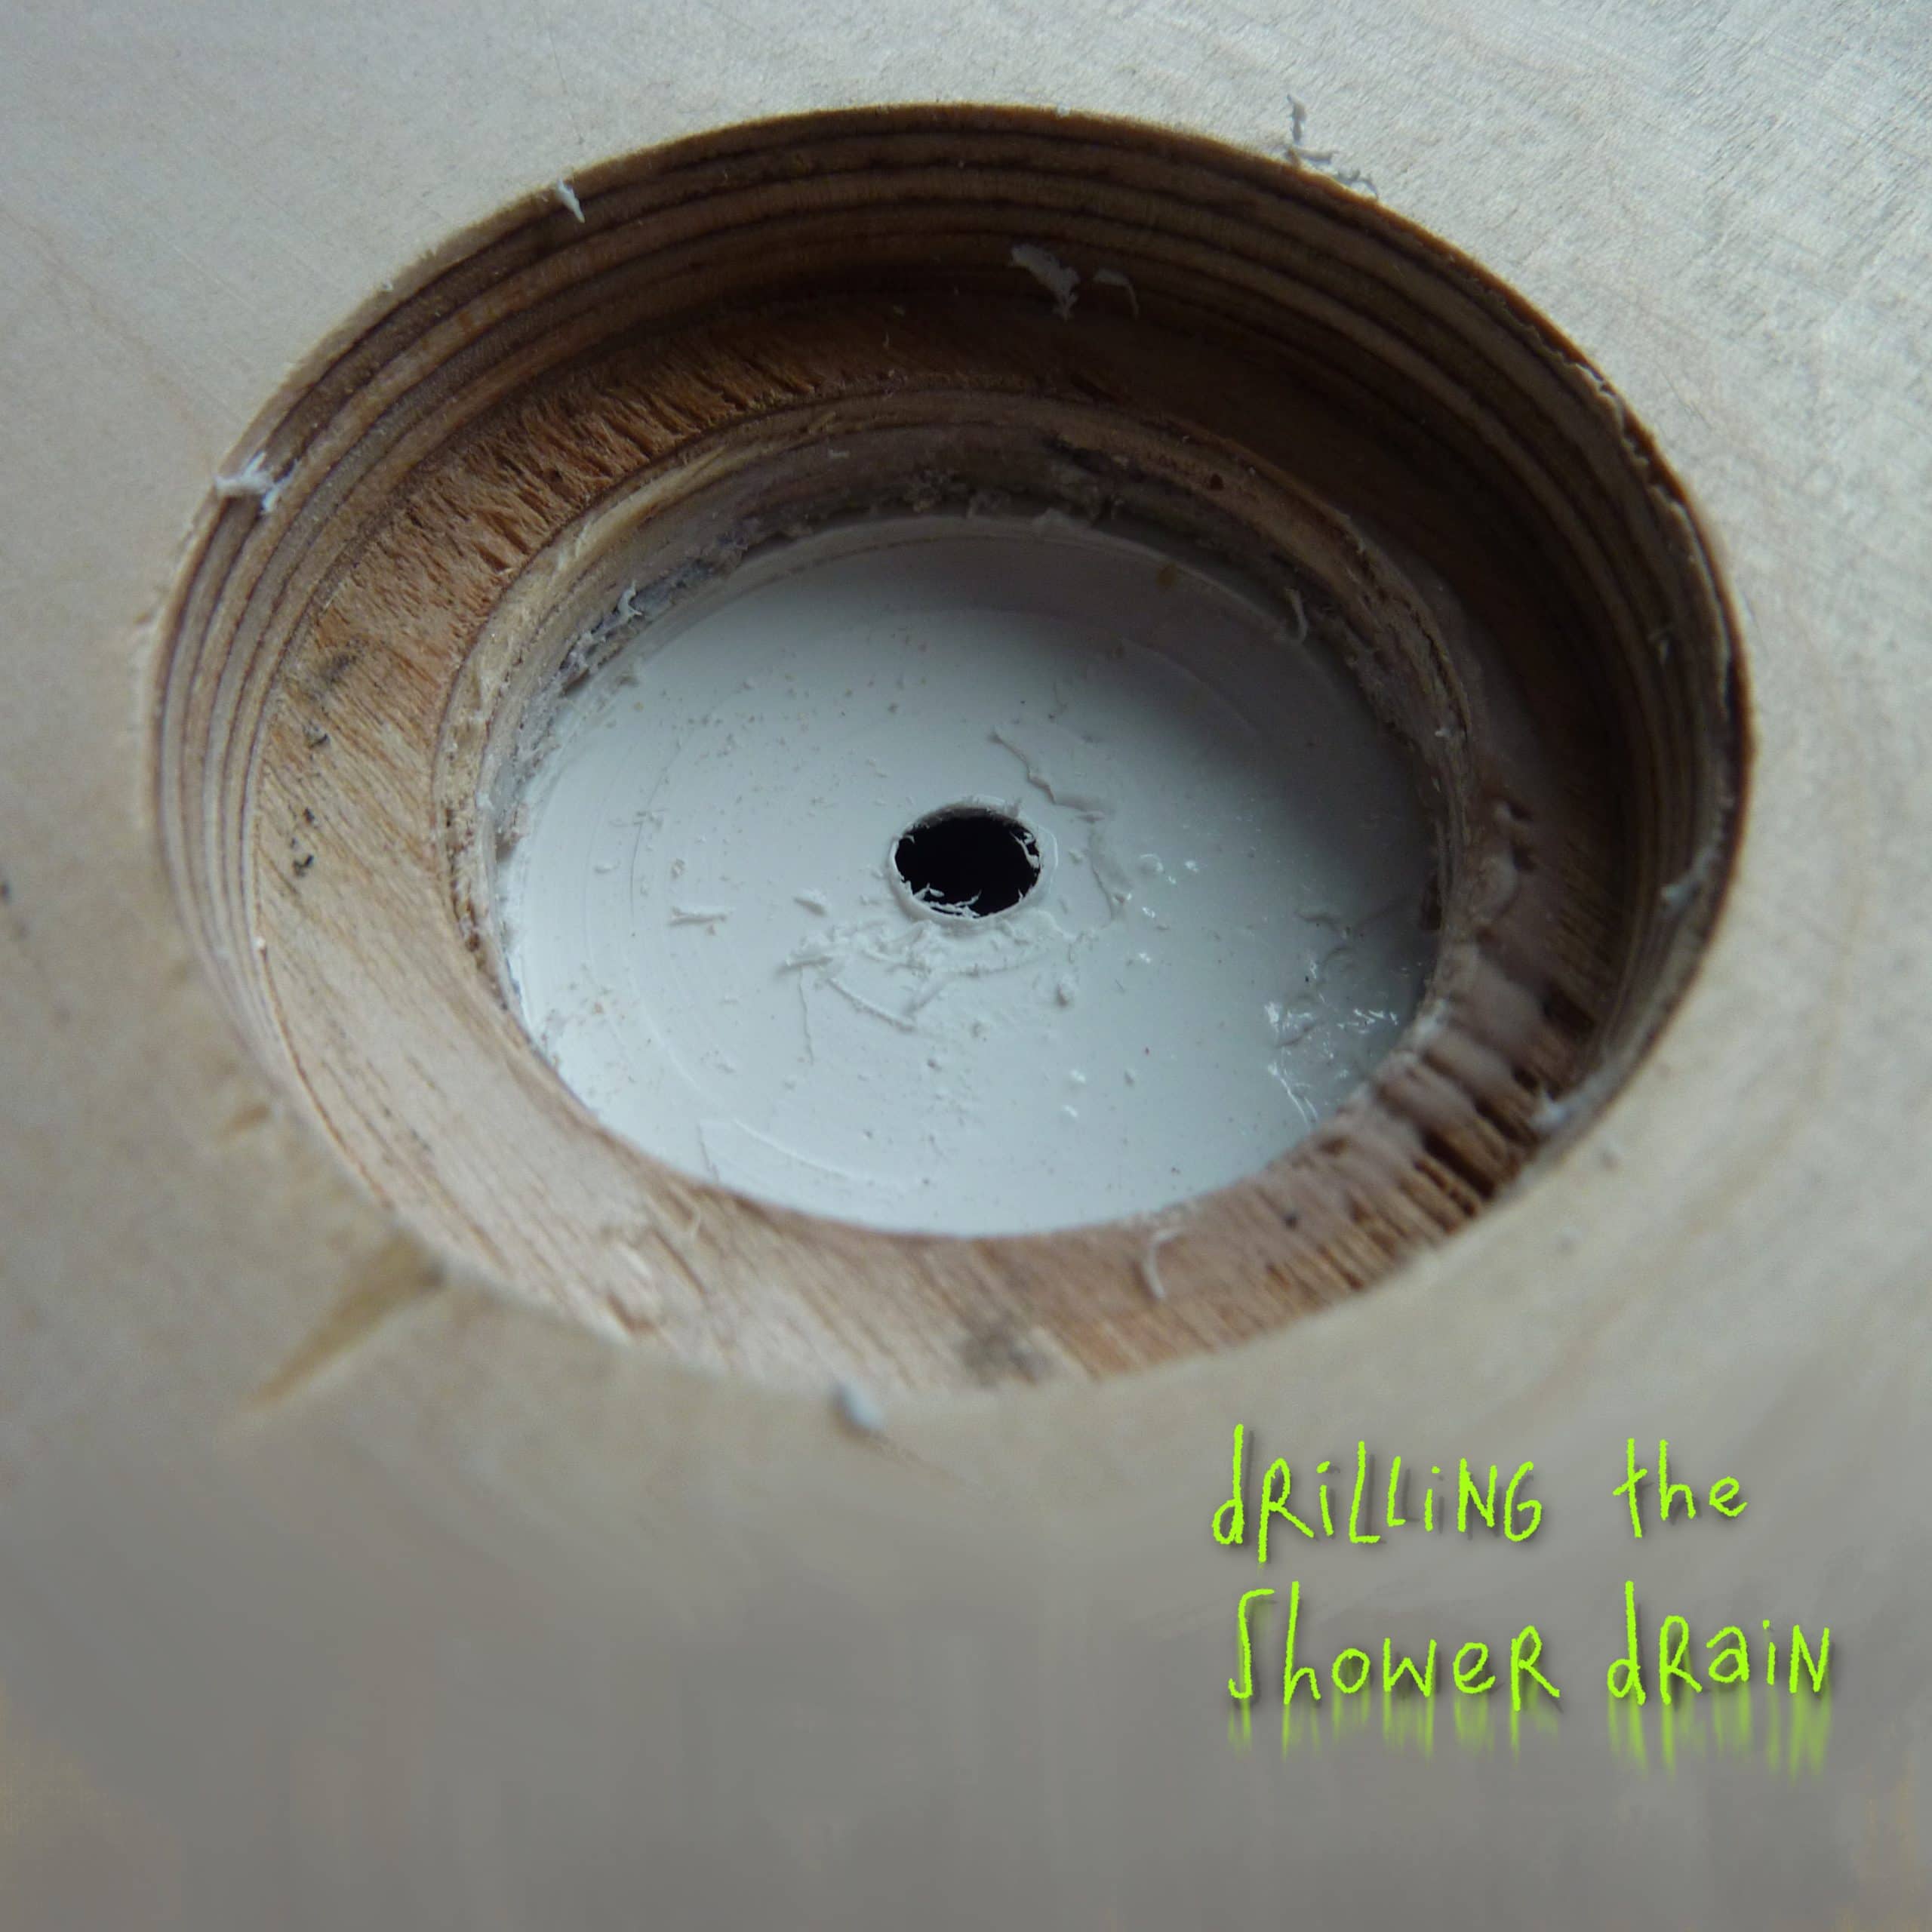
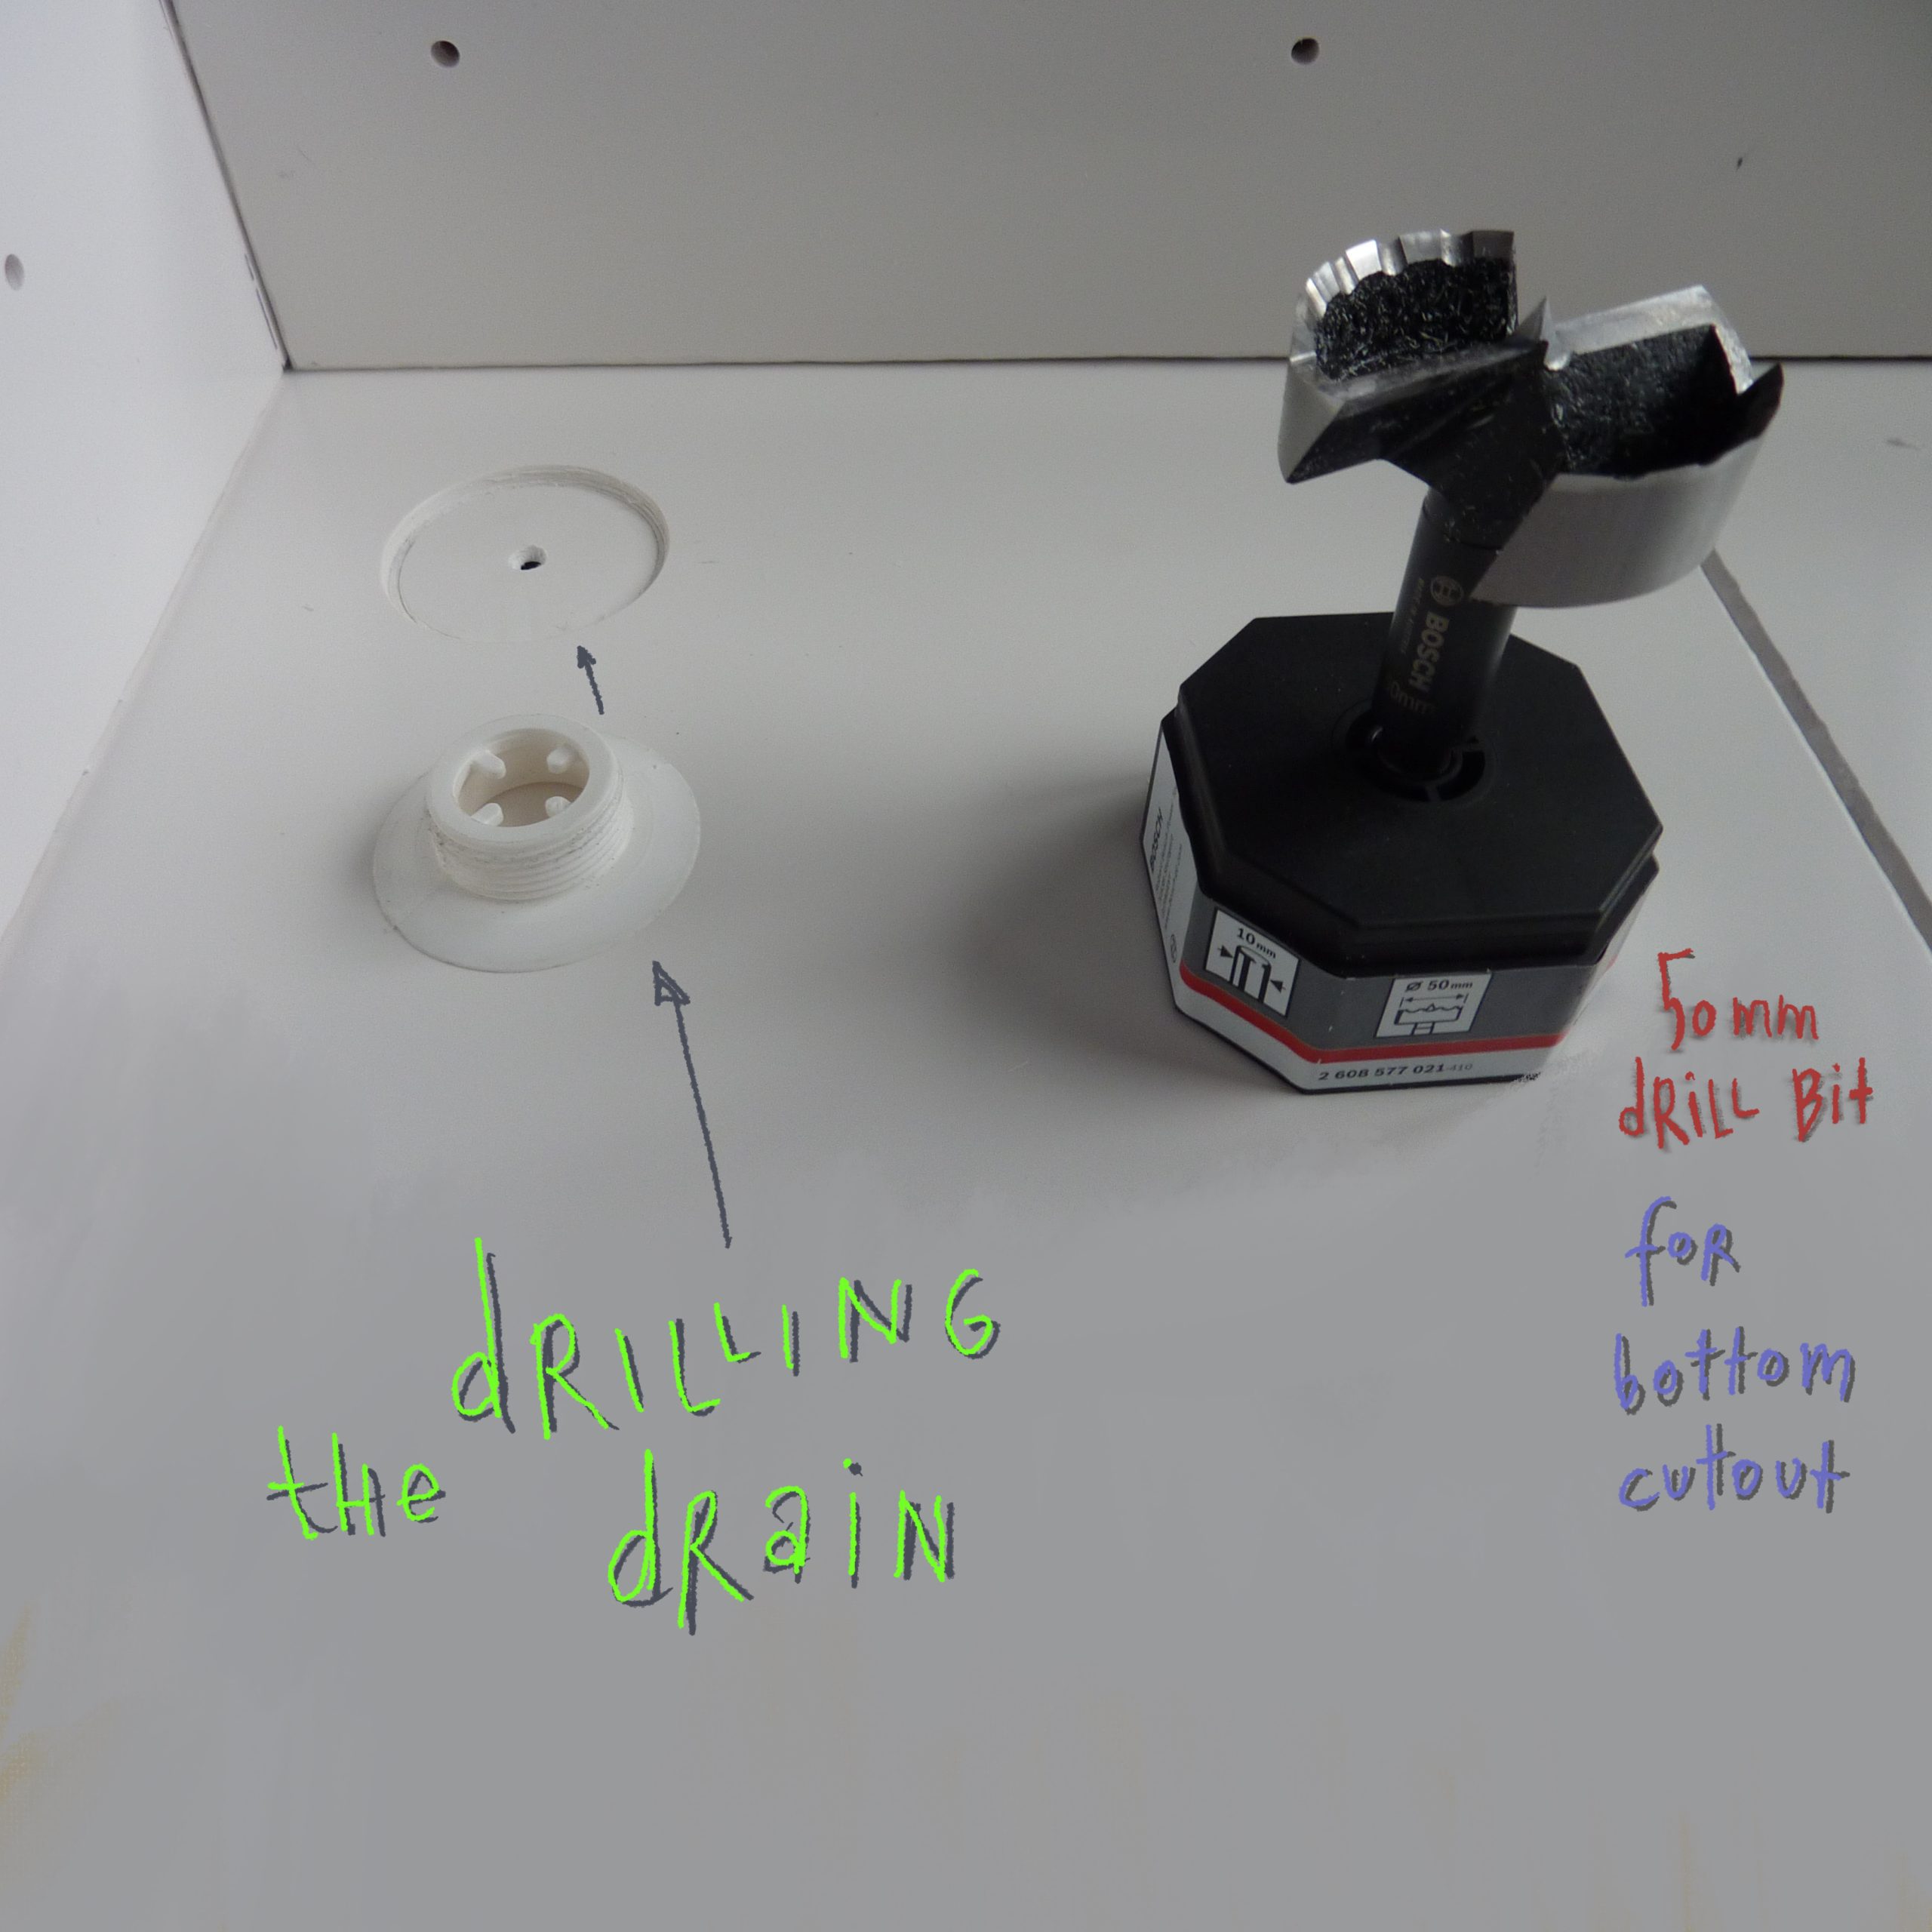
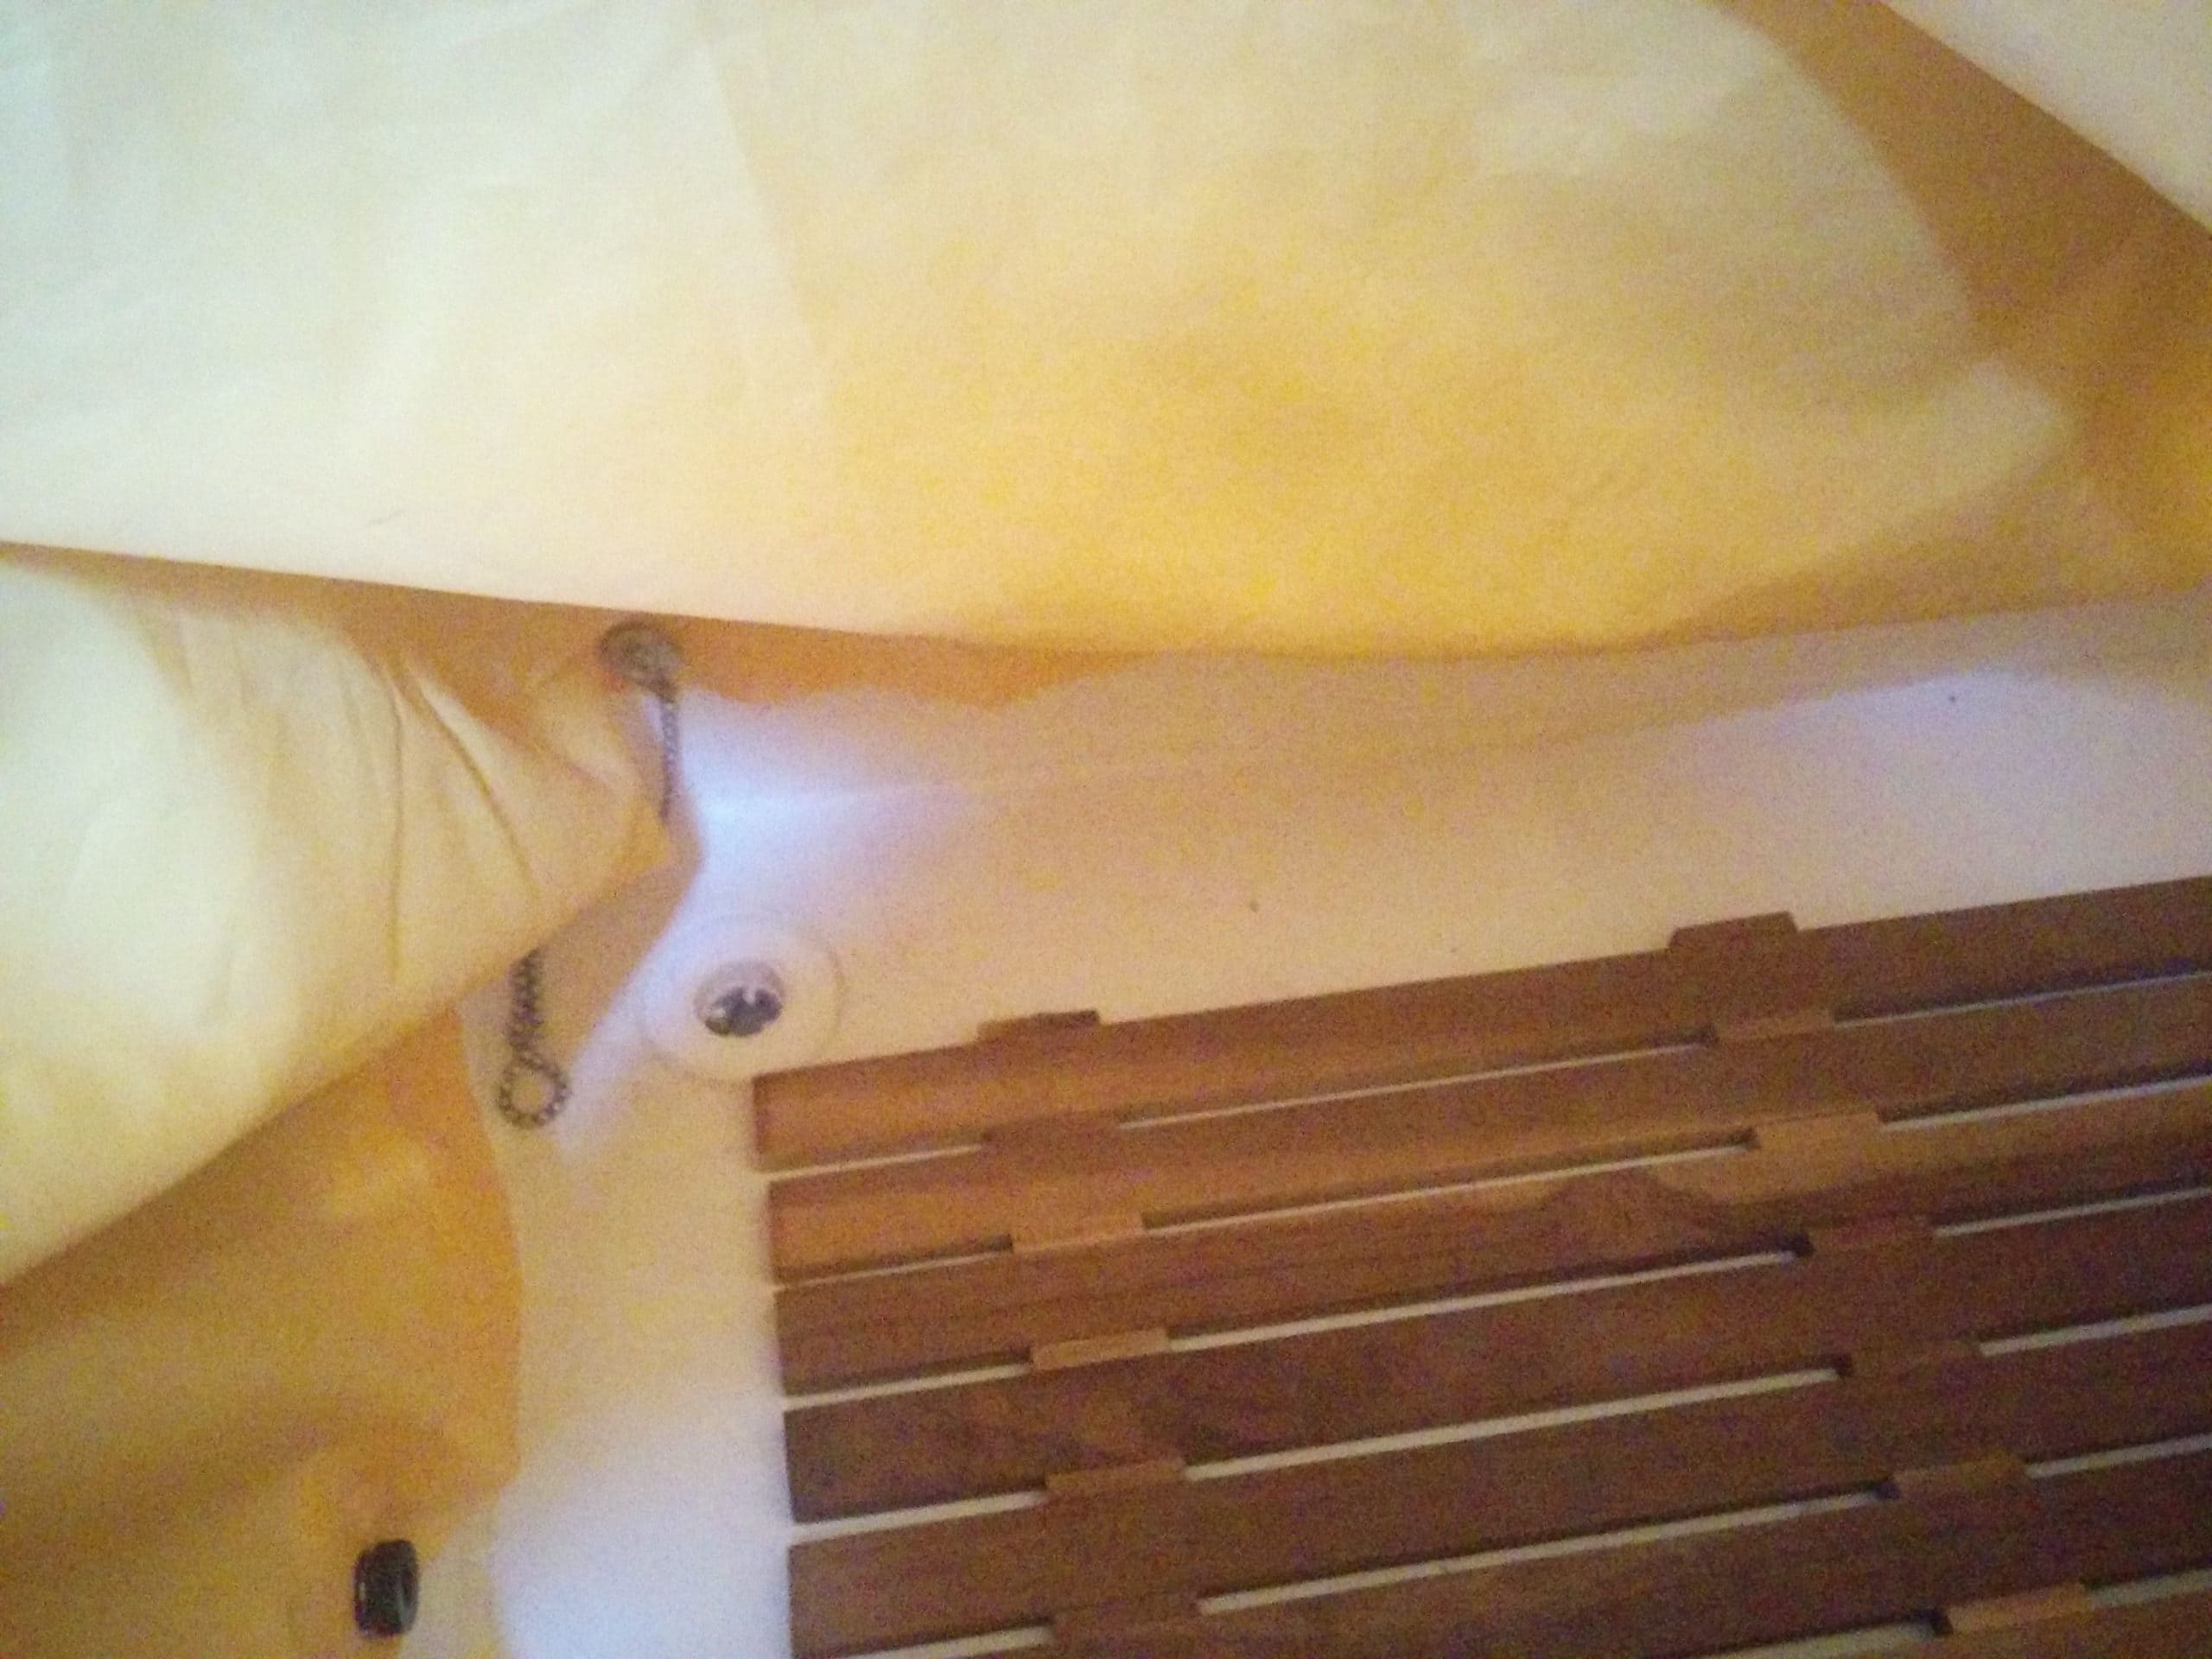
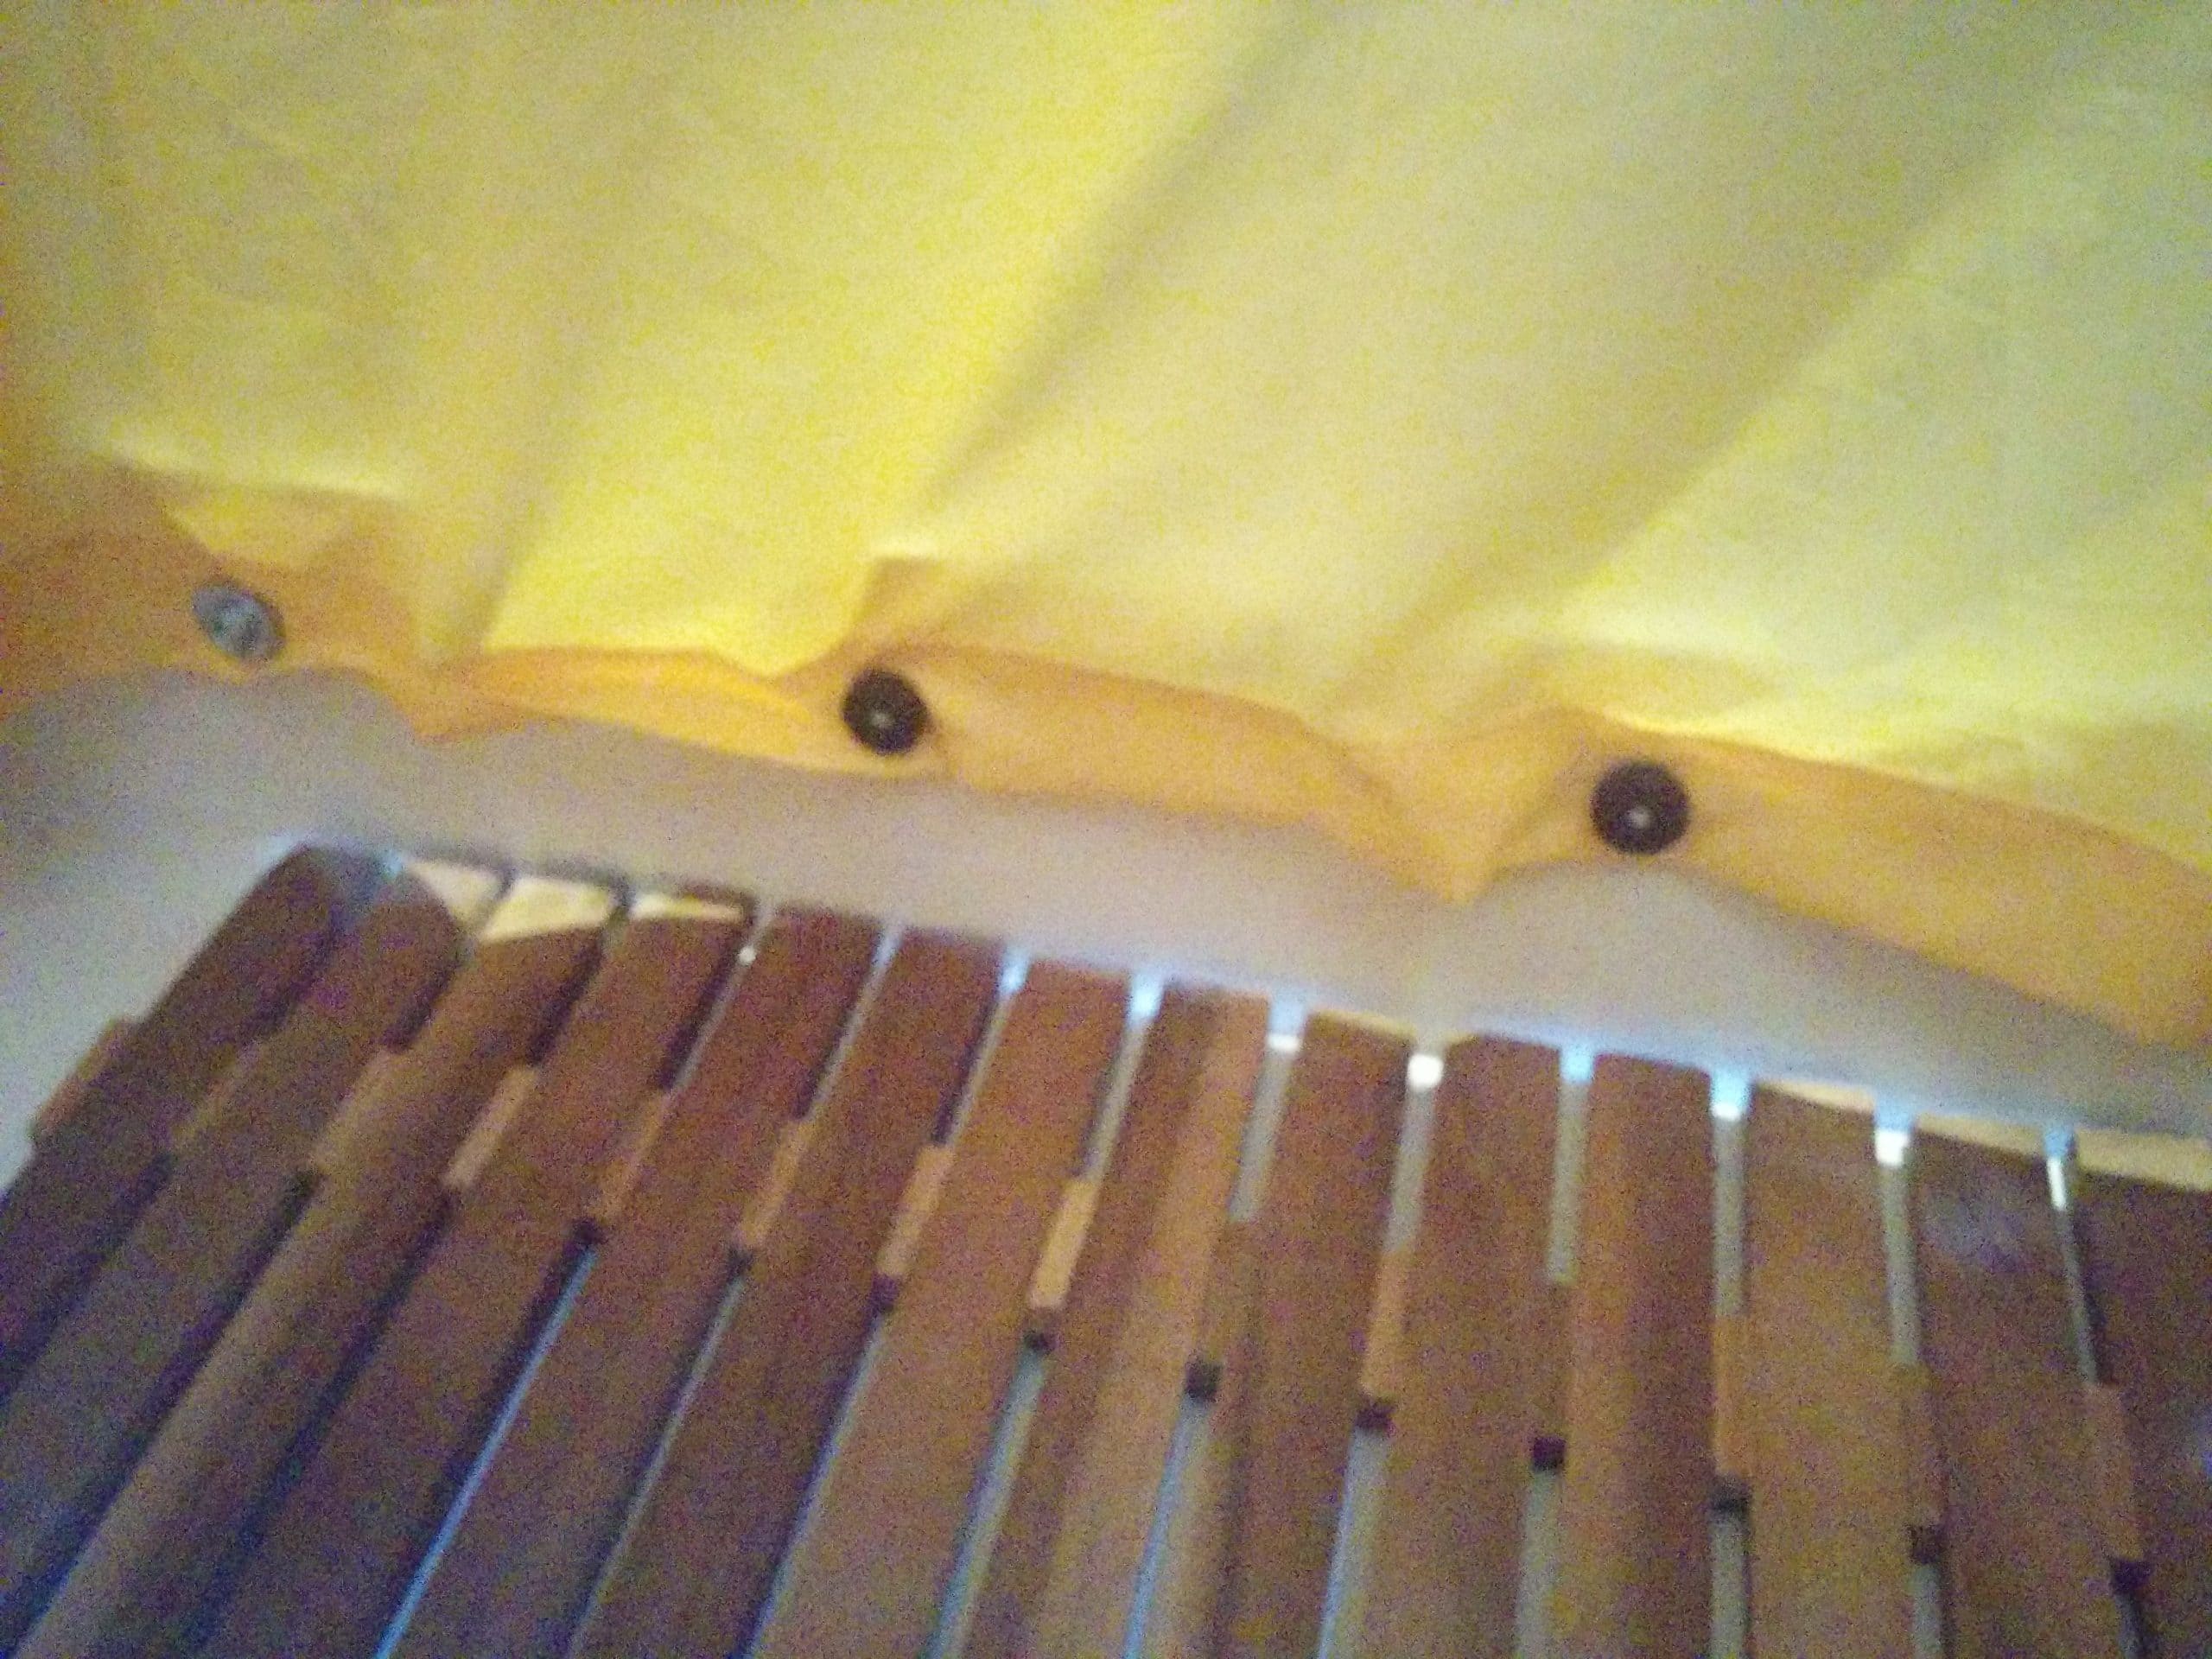
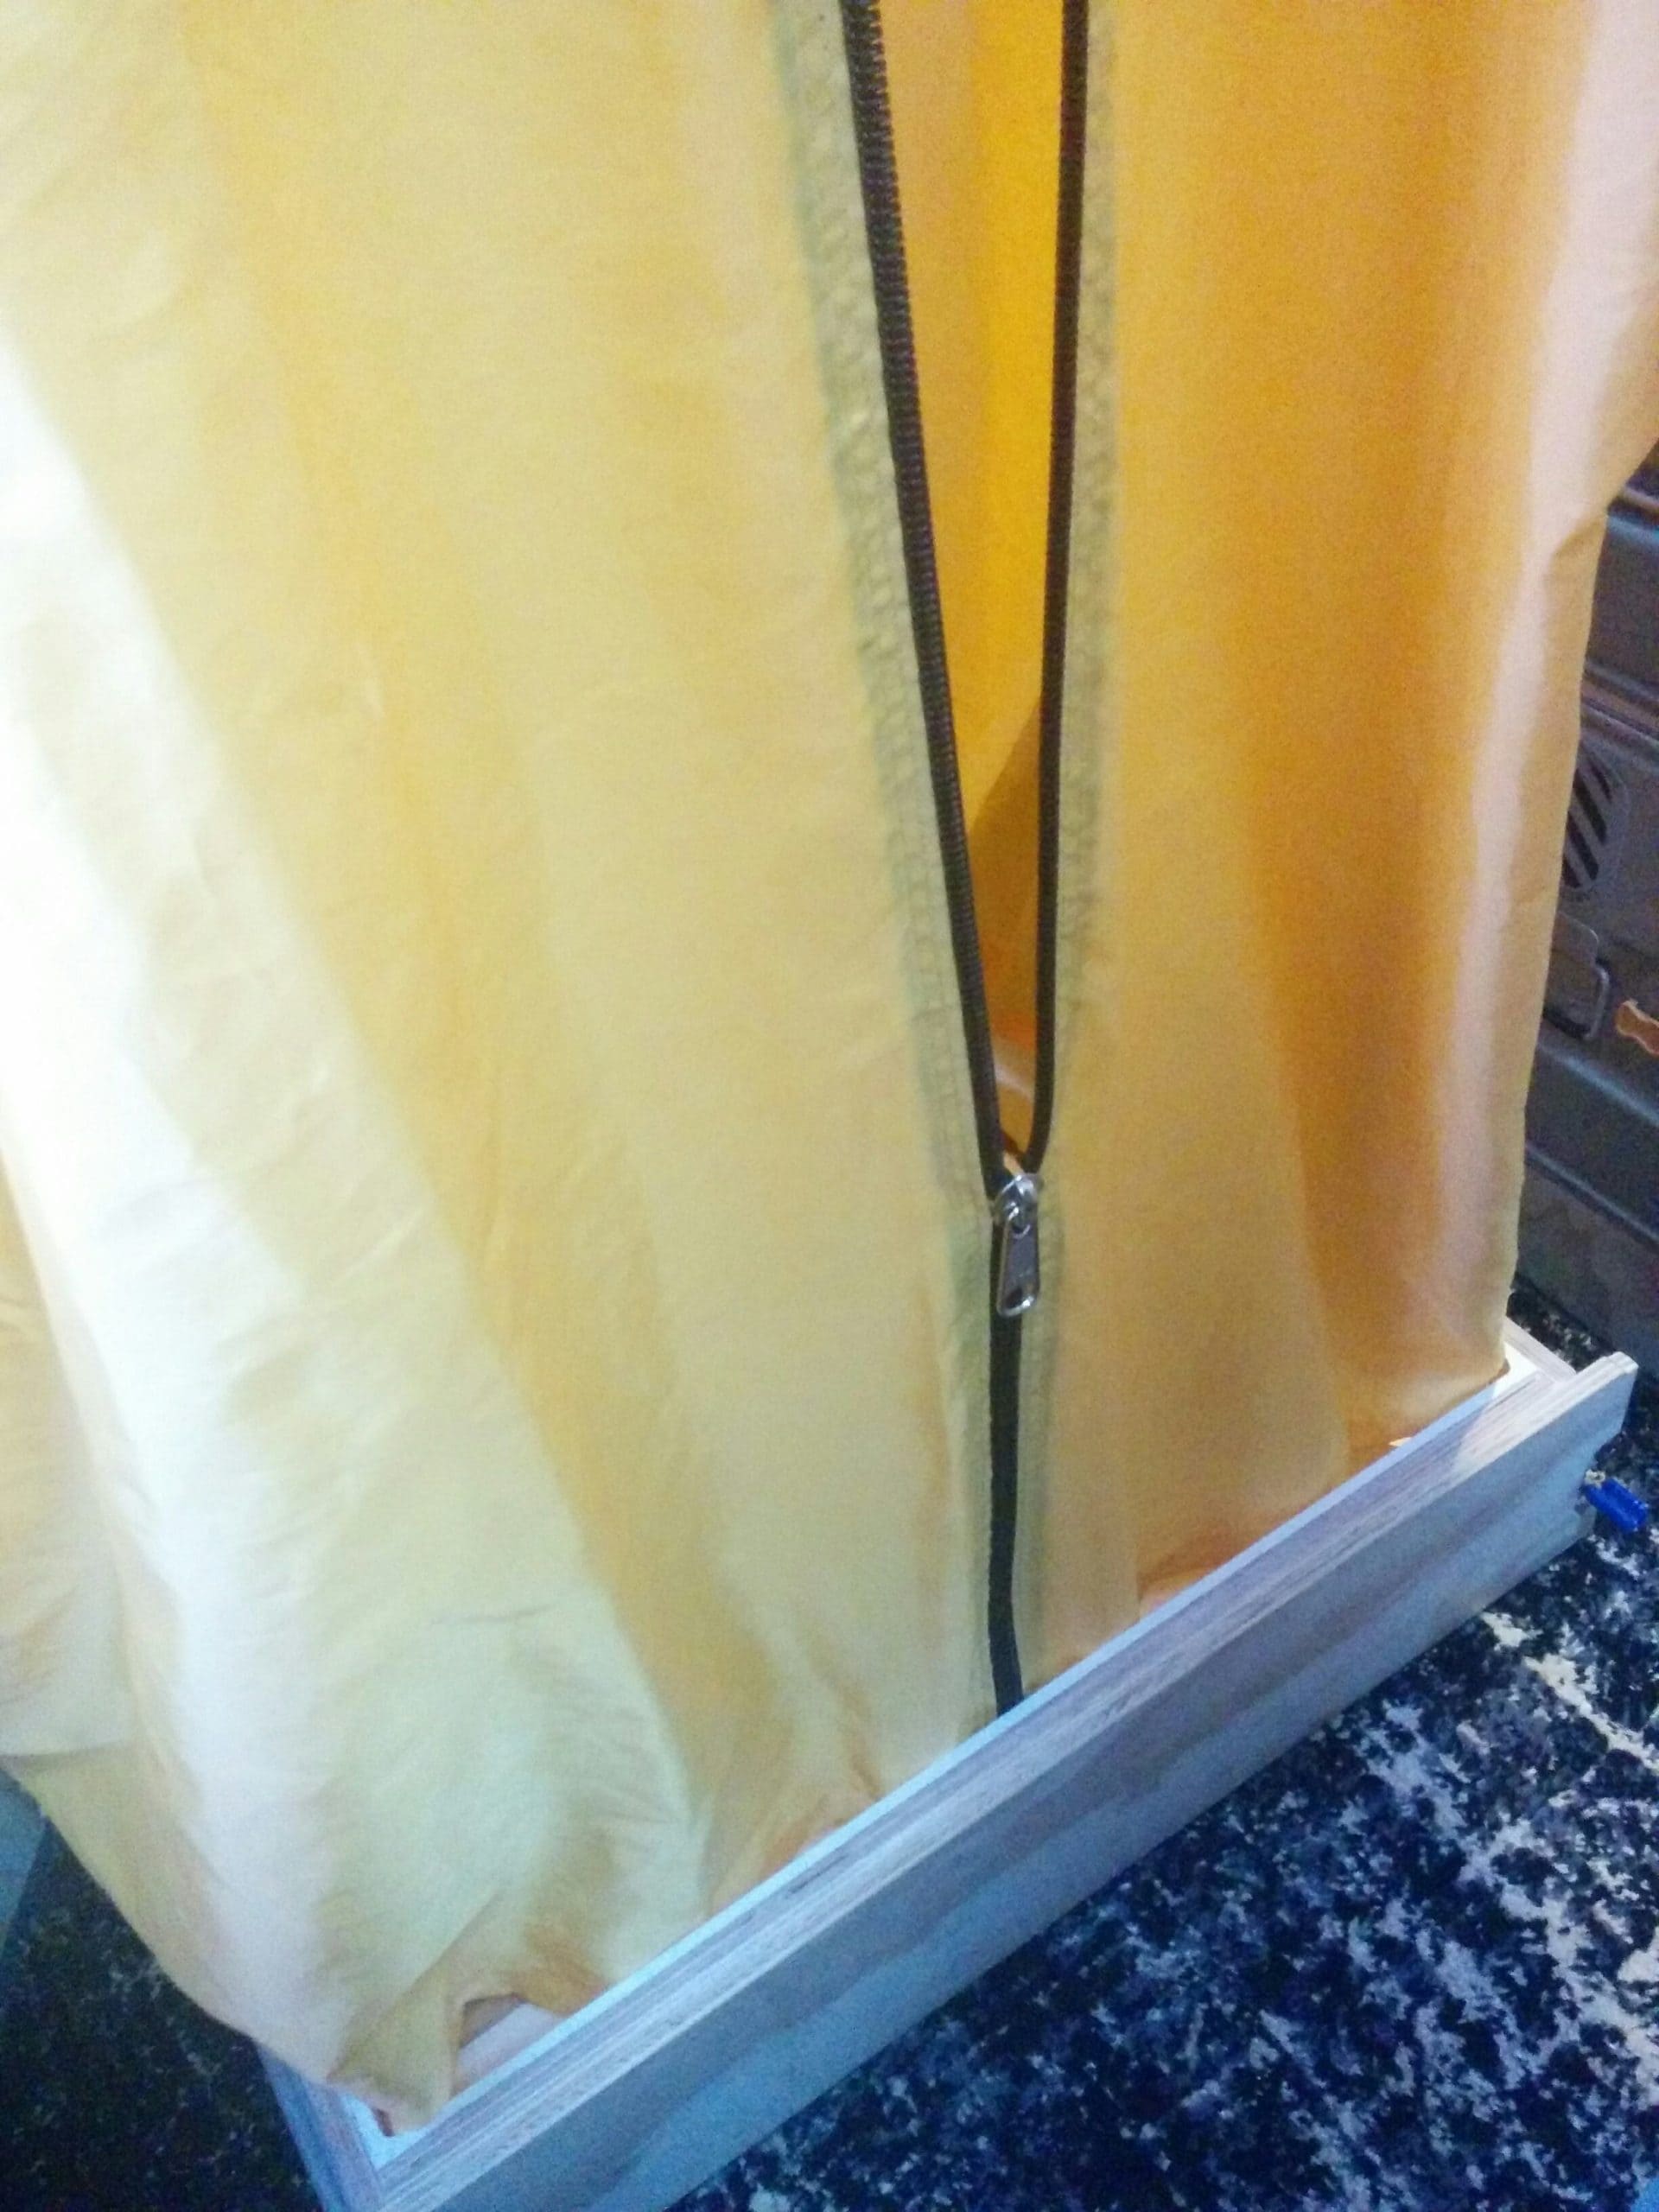
As far as water goes, we’ve chosen 12L containers for fresh and waste water, with the advantage that we can get water anywhere there’s a tap, which makes the system really flexible. We have 3 containers for fresh water and 2 for waste water which will last us about 3-5 days if we don’t take a shower. A shower costs us 1/2 to 1 container for 2 people. We heat some water in our tea kettle and mix it with cold water to have a hot shower. As mentioned before, the shower is in a drawer that we have insulated.
Under the sink we have installed a water filtration system with 2 filters. In the beginning we used a ceramic filter in combination with a carbon filter, but probably due to the vibrations of the car the ceramic filter tends to break, so now we just use a simple membrane filter instead, still coupled with a carbon filter.
We are considering installing a hot water boiler that uses the engine heat while driving. This would come in handy for washing dishes and taking showers after a trip without using too much electricity or gas.
Toilet:
This is the part that people don’t usually talk about. And we believe that it is a colossal waste and a lost opportunity to use our excrement as a fabulous fertilizer that could be put to good use instead of being flushed away and ending up in sewage treatment plants. And this is a general issue, not just the camper situation on the road.
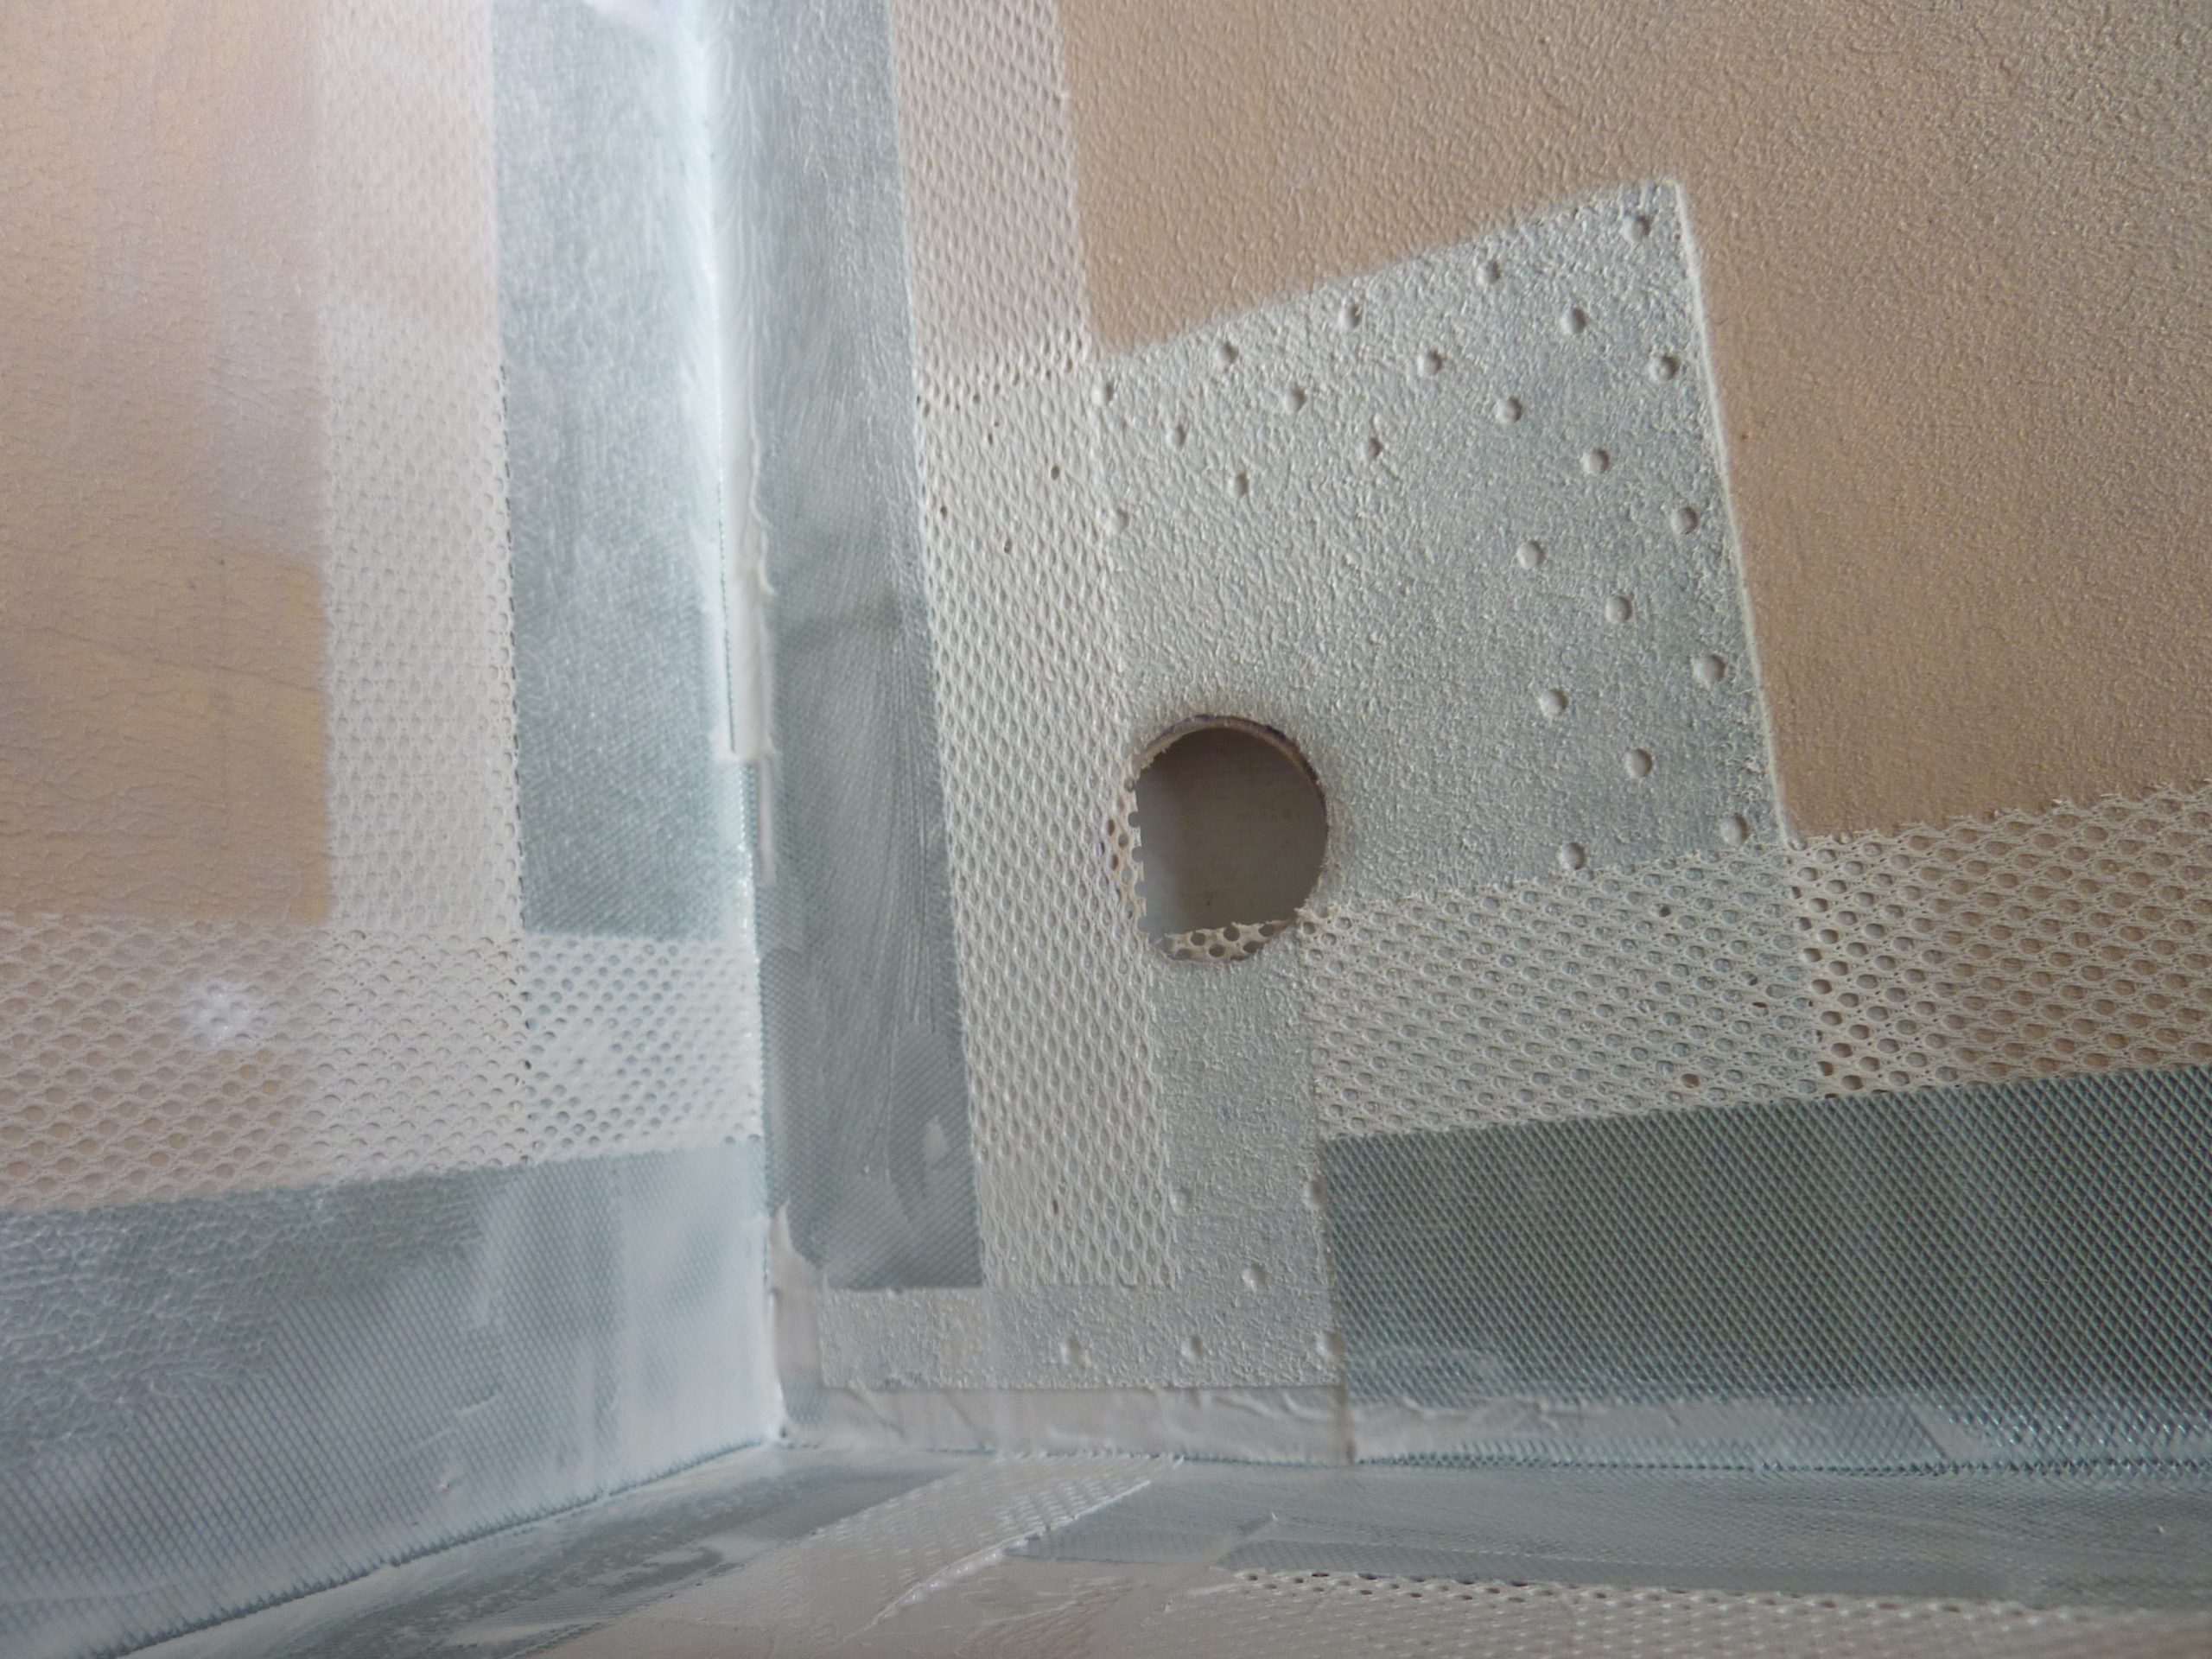
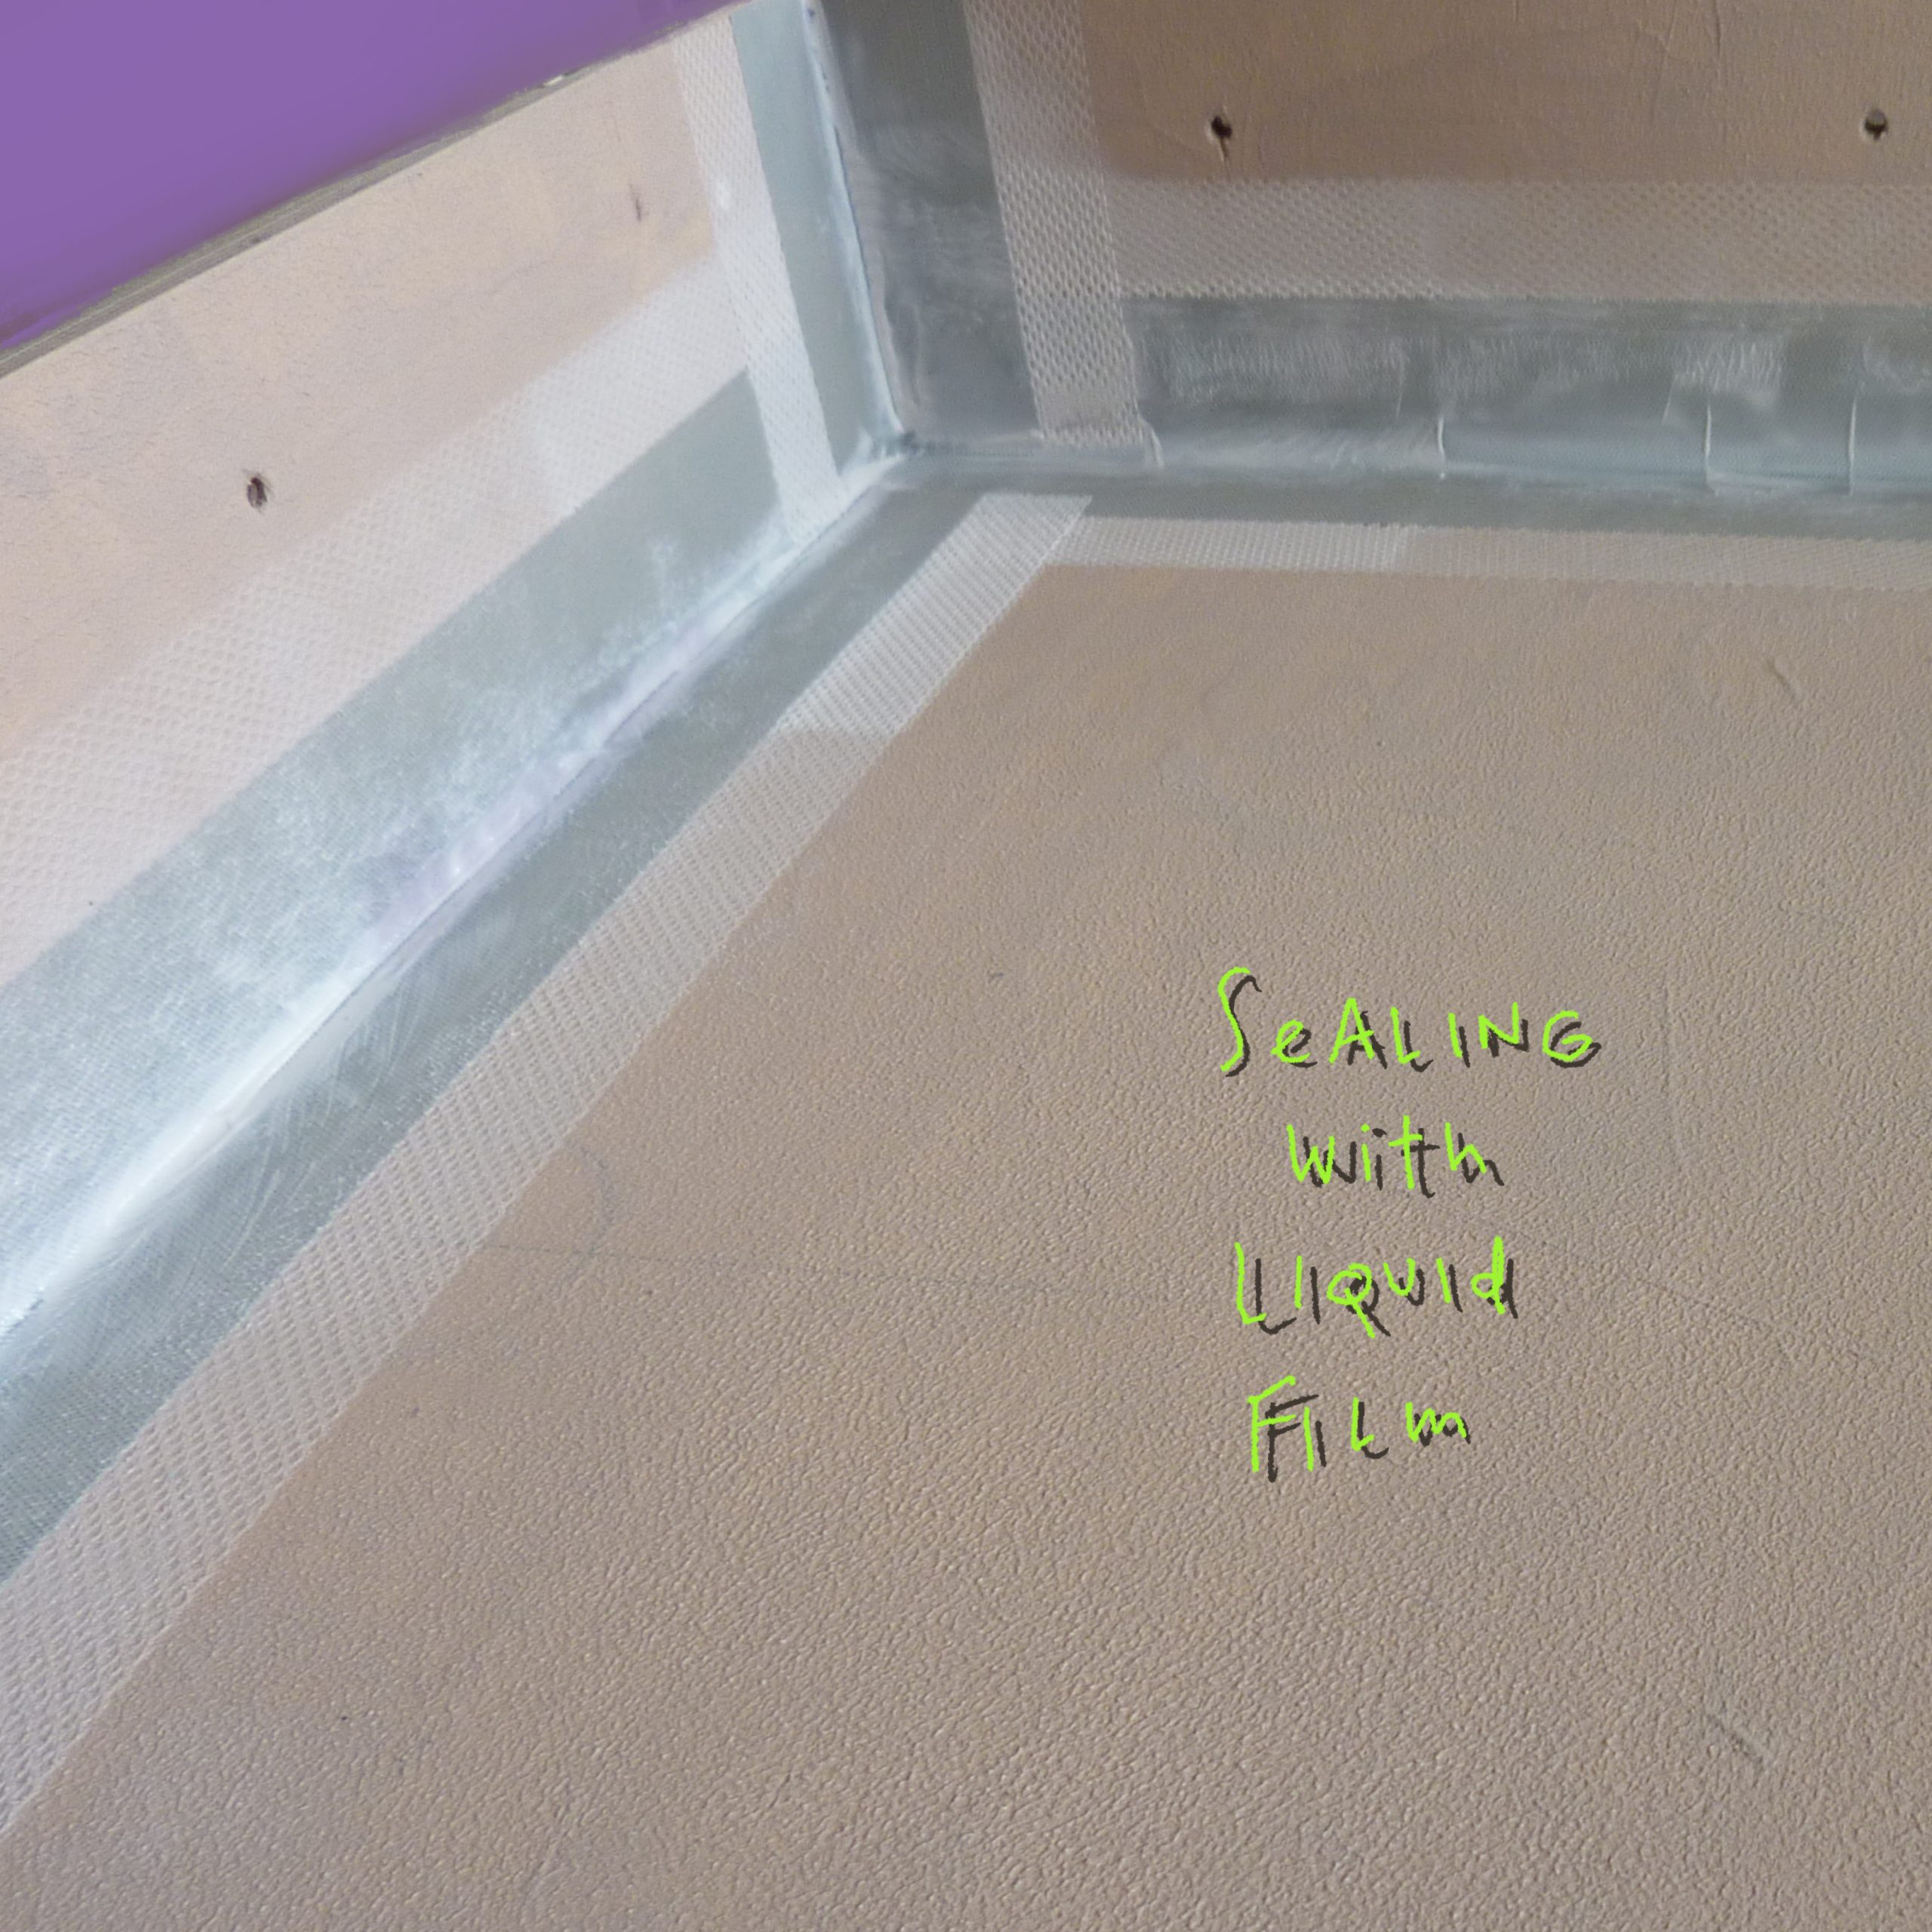
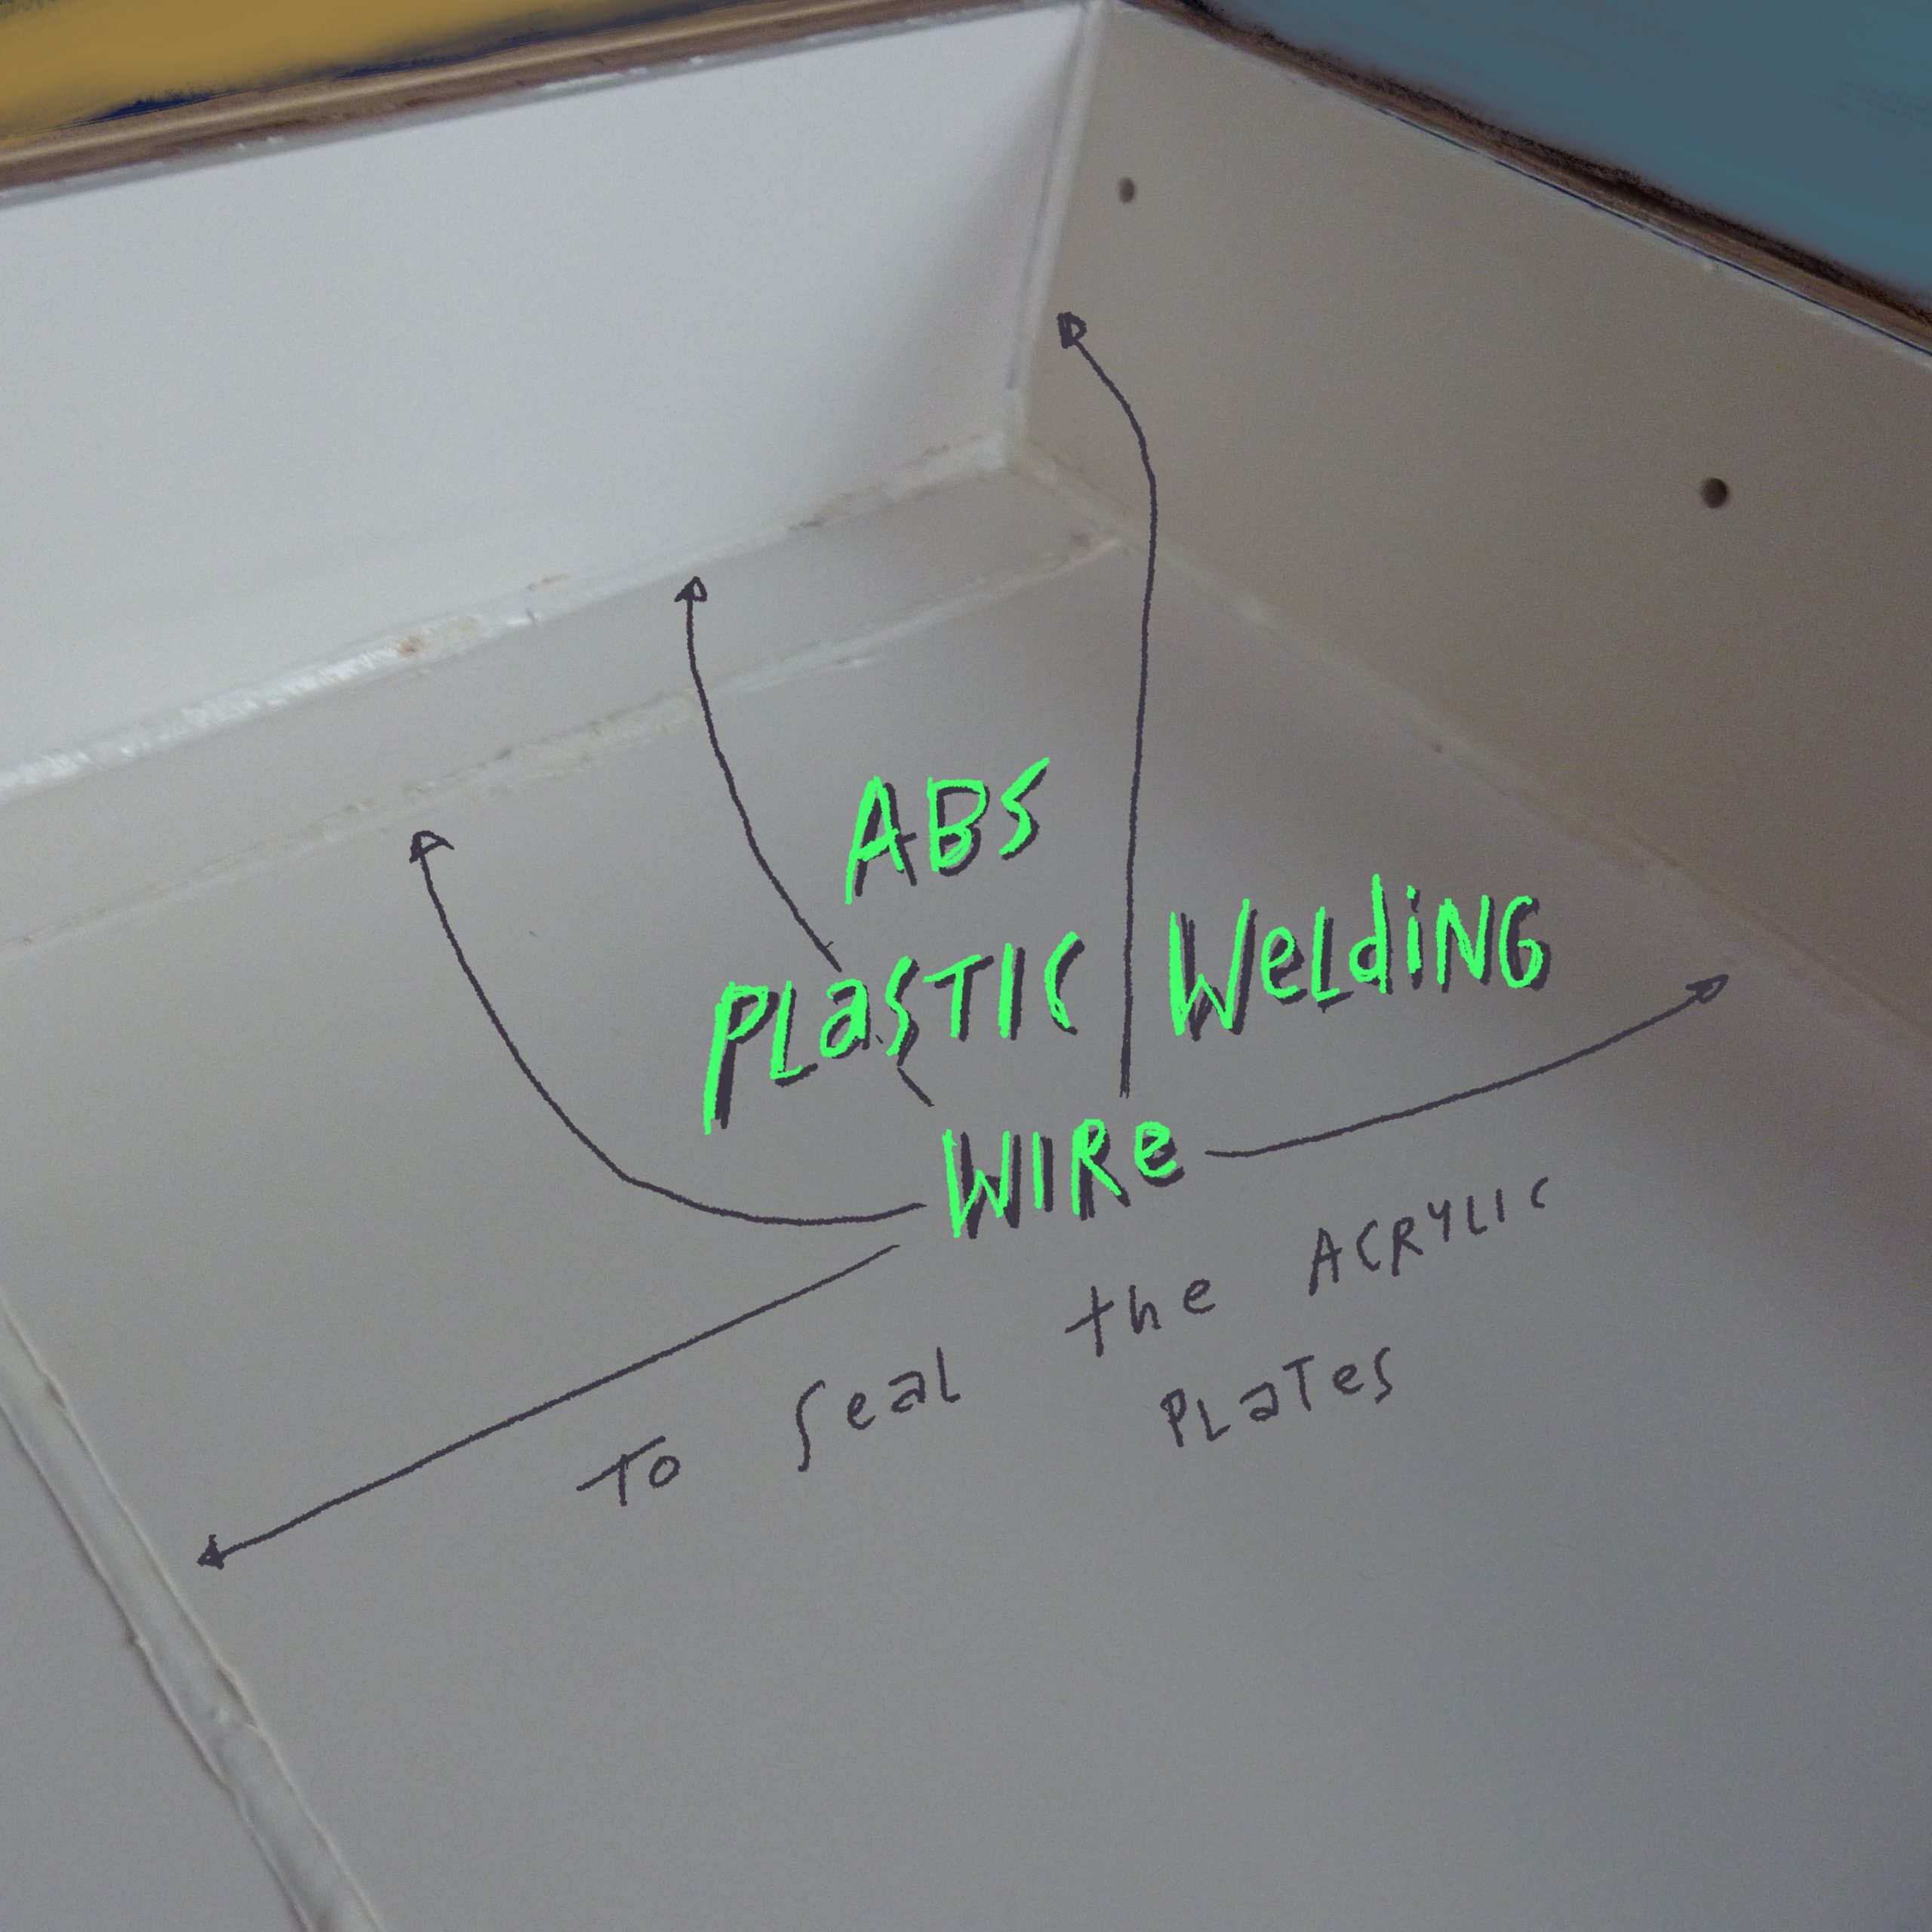
Our toilet setup is based on the idea that we wanted to have a dry toilet without all the chemicals, a more natural approach. So we took a simple plastic toilet that we use with small animal litter. This keeps the toilet dry and as we collect the urine we use a repurposed 10 liter fuel can with a special funnel. It is a funnel made specifically for woman but works for us both. We clean it with water afterwards in the sink and we both have no issues with that. We have two of the fuel cans, which last a few days before they need to be emptied. The main point of separating urine and solids is that it doesn’t start to smell. And in the end it is all fertilizer you can still use. Urine diluted with water (1:8, 1:10, or 1:20 depending on the application) can be used to water your plants and provide them with nutrients such as carbon, phosphorus, potassium, and nitrogen. And from the solids you can create “terra preta” (black soil), a very dark and fertile regenerating soil. And even though you might think it is a mess to handle, it is far less messy than the typical containers used in caravans with all the chemicals. We used to line the plastic toilet with biodegradable plastic bags, although these bags are not as easily degradable as we might think. They need a lot of heat to really break down. So the most ecological thing to do would be to not use a bag at all, but on the road this is not always an option with limited water resources or facilities to clean it properly. If you are stationed you can add it to the compost without the bags, which is the best solution, which as already mentioned makes for a great fertilizer.
Gas:
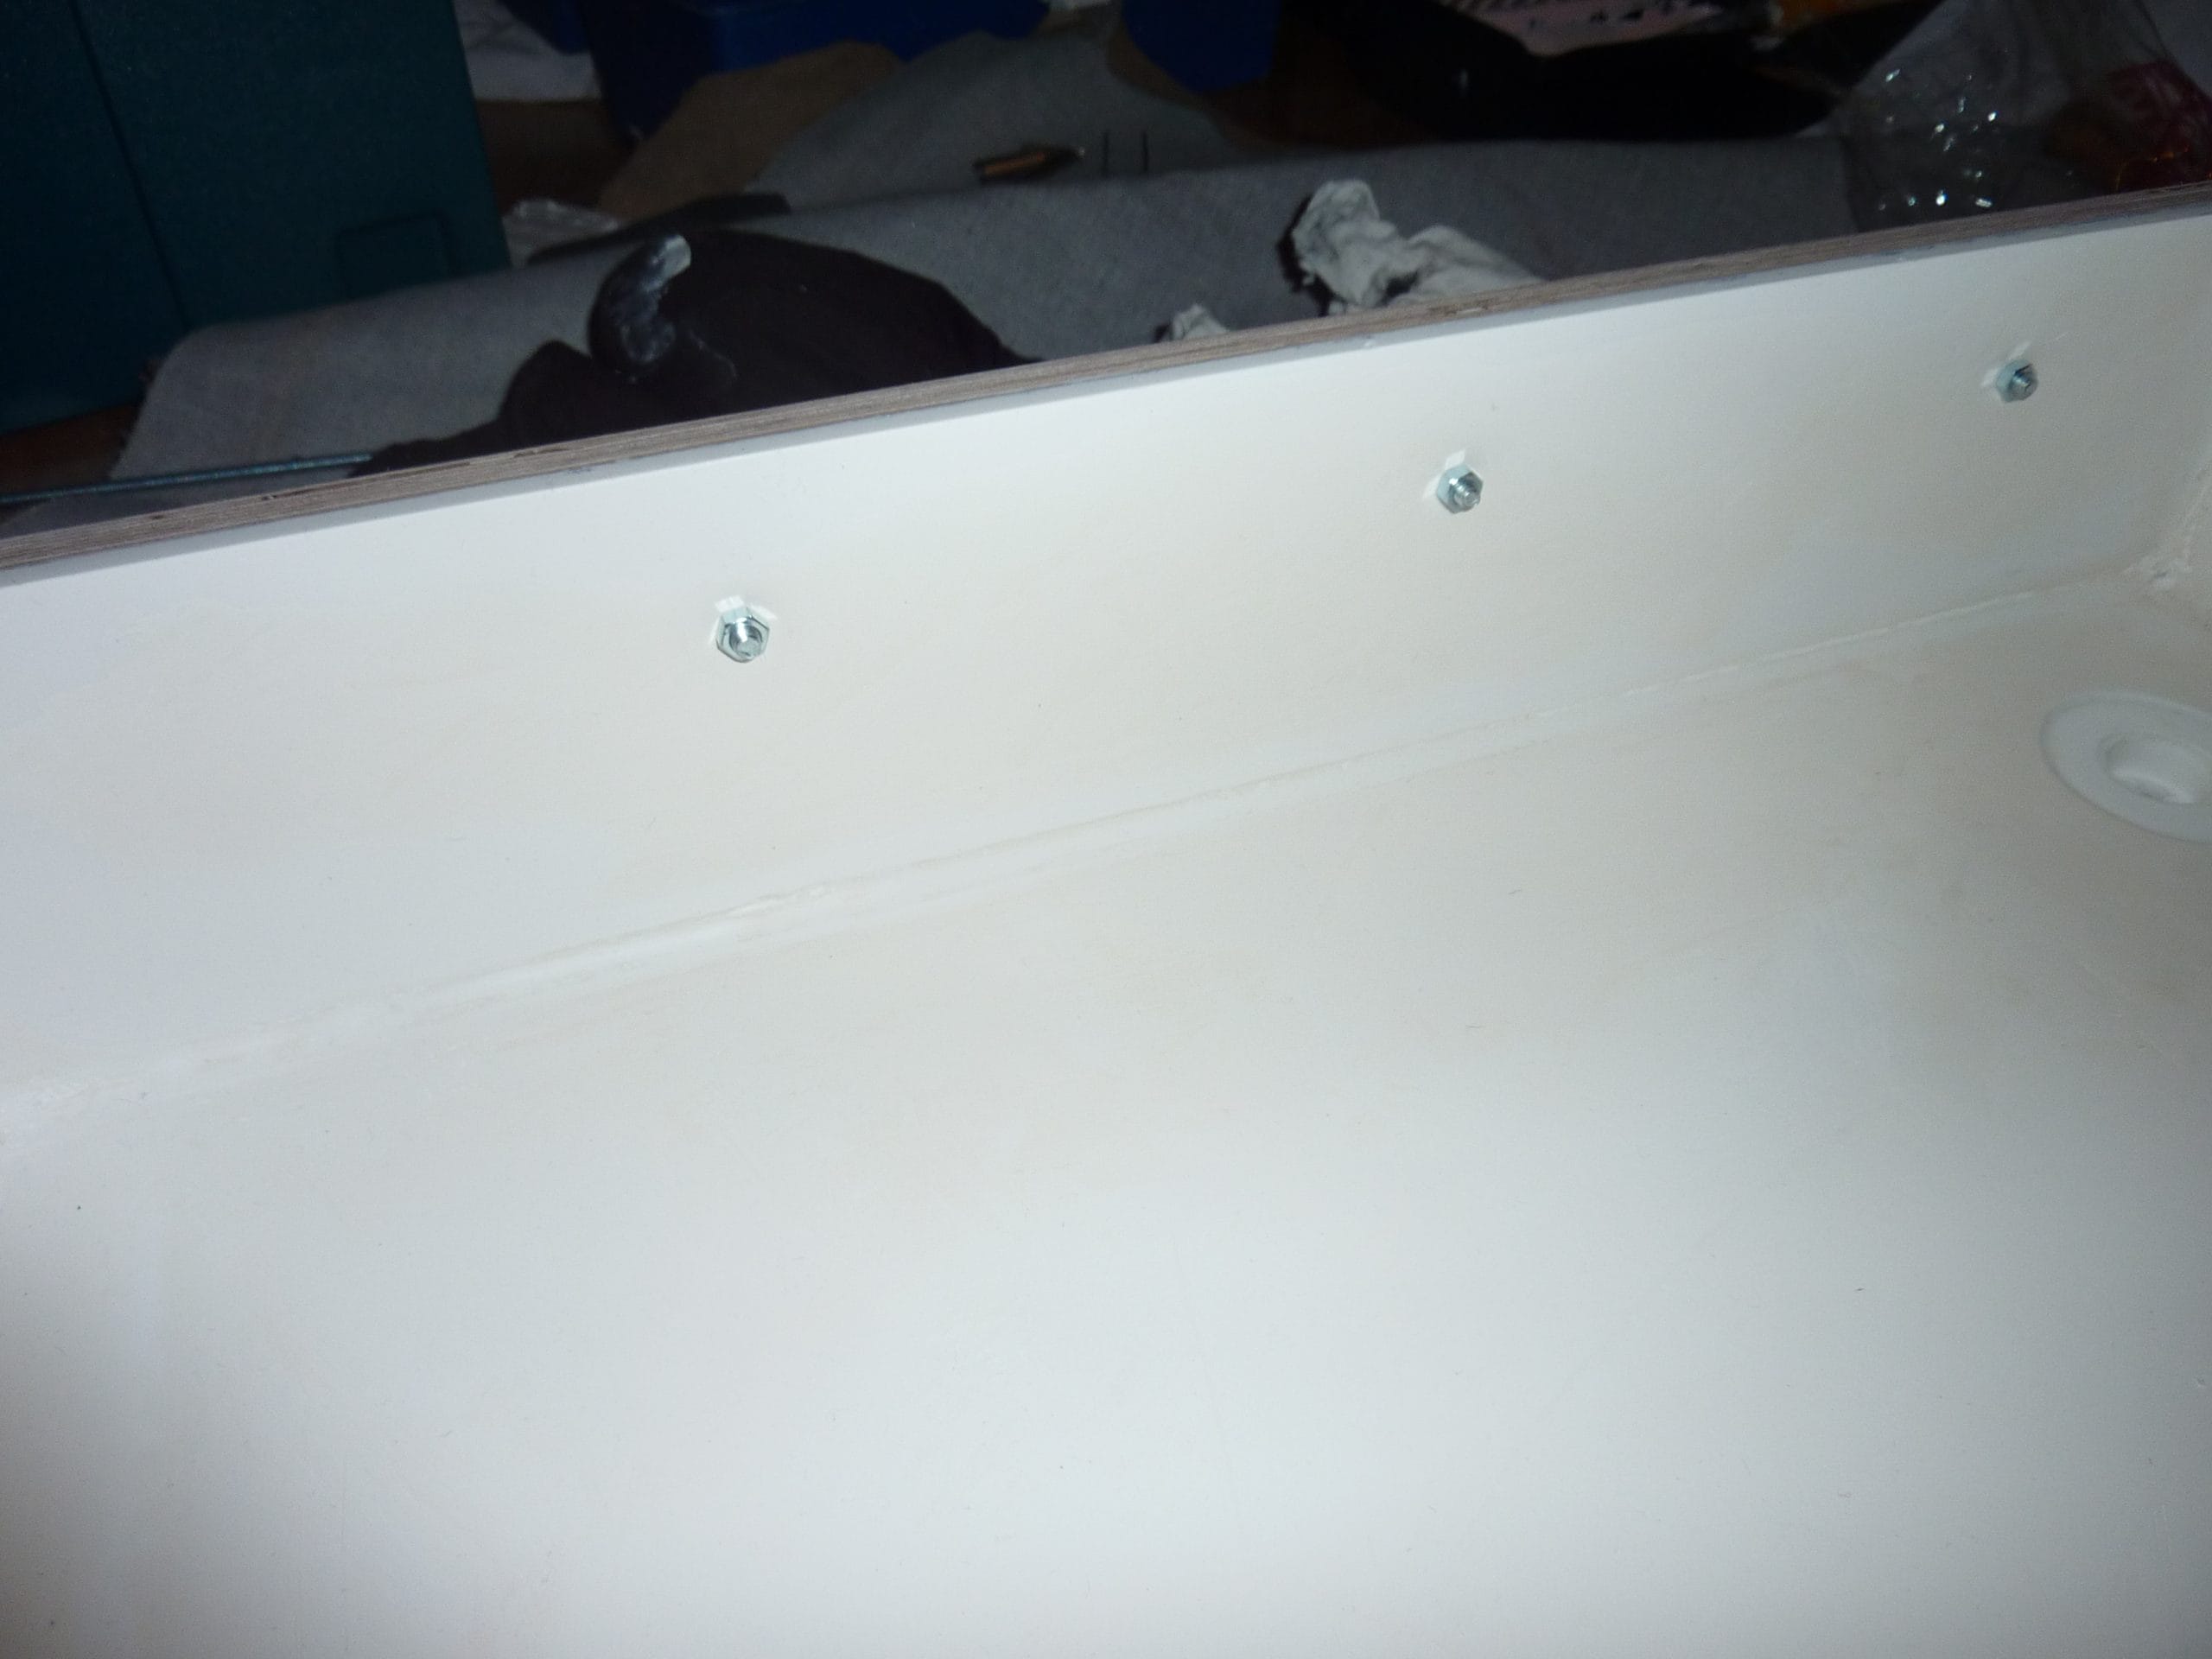
Last but not least, the gas setup is straightforward with a gas bottle that can vary in size. We have a 13kg bottle that lasts for several months depending on consumption, stored in a sealed box left to the sink with an opening on top that doubles as a dish rack for drying. We have two stoves installed, a fixed one and a portable one. The portable stove used to have two burners, but we have now reduced it to one burner, which is sufficient for us and takes up less space to carry around. The fixed stove has three burners and is made by Eno, an Italian company that is often used on boats. The gas pipes are fixed, which was important for the TÜV approval, which was necessary to register the van as an official camping vehicle. The gas installation was simple and straightforward, and you mainly only need one tool to cut the pipes, which is not expensive. We installed the safety tap on the back of the cooker, which is accessible from both the outside and inside, in case we cook on the pull-out extension.
All together the build worked out pretty well and we are amazed how the solutions we came up with all work seamlessly. There is not much we would do different after almost 6 years of traveling with this setup.
But the true accolade came with the TÜV inspection when we re-registered the car as a camping car. The inspector had nothing to complain about and gave us the seal of approval with an atmosphere that this was a conversion well done.
So was it worth it? A camper conversion of this extent is a lot of work. I sometimes wondered if the Youbube videos we watched that advertised complete conversions in less than a week were real. Just getting the parts and understanding what you need took so much time, not to mention the design phase of envisioning what you want to create and actually building it. And if you have never done it before and you have to figure out what tools you need and how to use them, it adds up. But it was also a great experience where we learned a lot about ourselves and grew in our abilities and confidence to manifest whatever we envisioned. Your camper may break down at some point, but no one can take the experience away from you. You can learn from it that you are resilient enough to get through anything if you just put your heart and mind into it.
Images: cueljs

